Let me begin with my deepest apologies to all you fine readers who privately roll your eyes whenever you see yet another Blackhawks post. You can rejoice and be glad, for this is the last hockey-related post for many months!*
*Last ANTICIPATED post… mwah ha ha!!
For those of you like me, though- let us revel together and enjoy this Cup-filled summer, waiting in anticipation for the preseason in September.
So, let me present to you my final Blackhawks cake, “The Road to the Cup.” Brought to WGN TV on June 15, 2015. How did it end up on TV? I sent an email asking if I could. They said yes. That is all.
STEP 1: Devise Theme (1 week before)
I used a drawing app on my ipad to sketch out a rough theme. Four mini-scenes, each one representing a stop on the Blackhawks’ “Road” to reaching the final trophy. The first stop was the Nashville series, and had Seabrook scoring the triple-overtime goal at 1:16am. The next scene was Patrick Kane during his “goal celebration” pose, since that’s the series he started to come alive! The third scene was Duncan Keith, or, as he was renamed, DunConn (for the Conn Smythe Award, the playoff MVP). The final scene was Captain Toews as he skated towards the Cup.
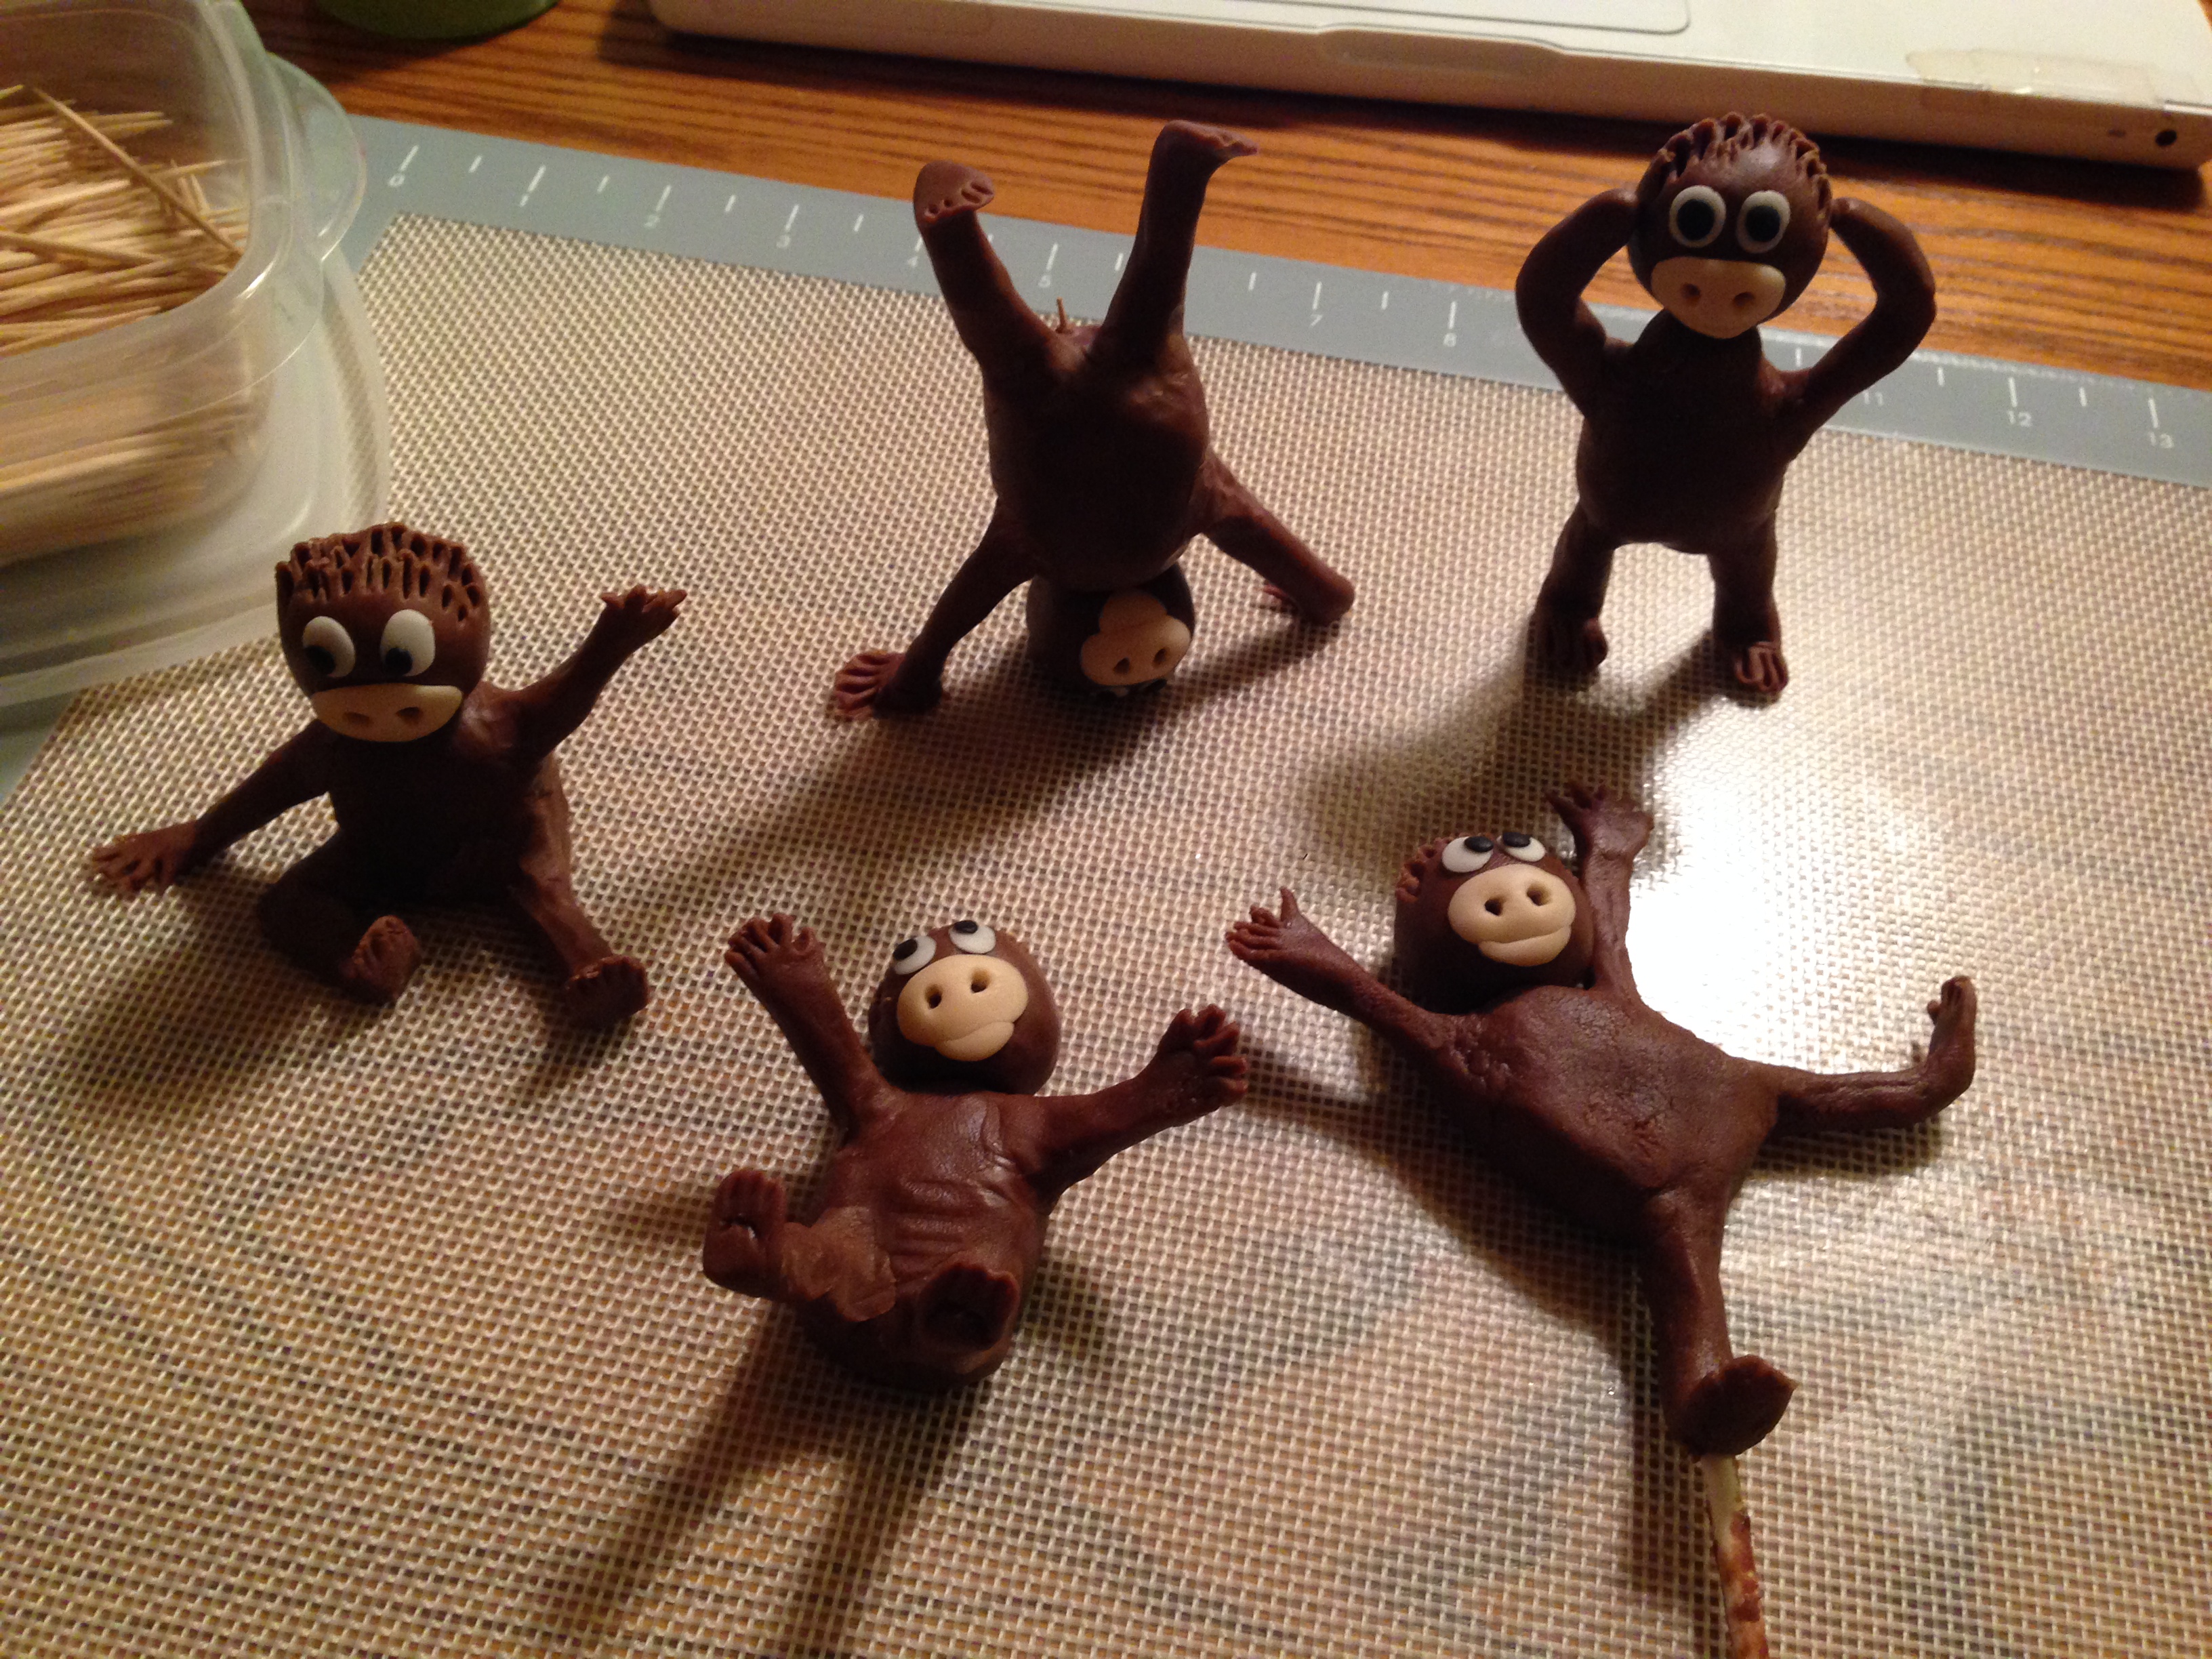
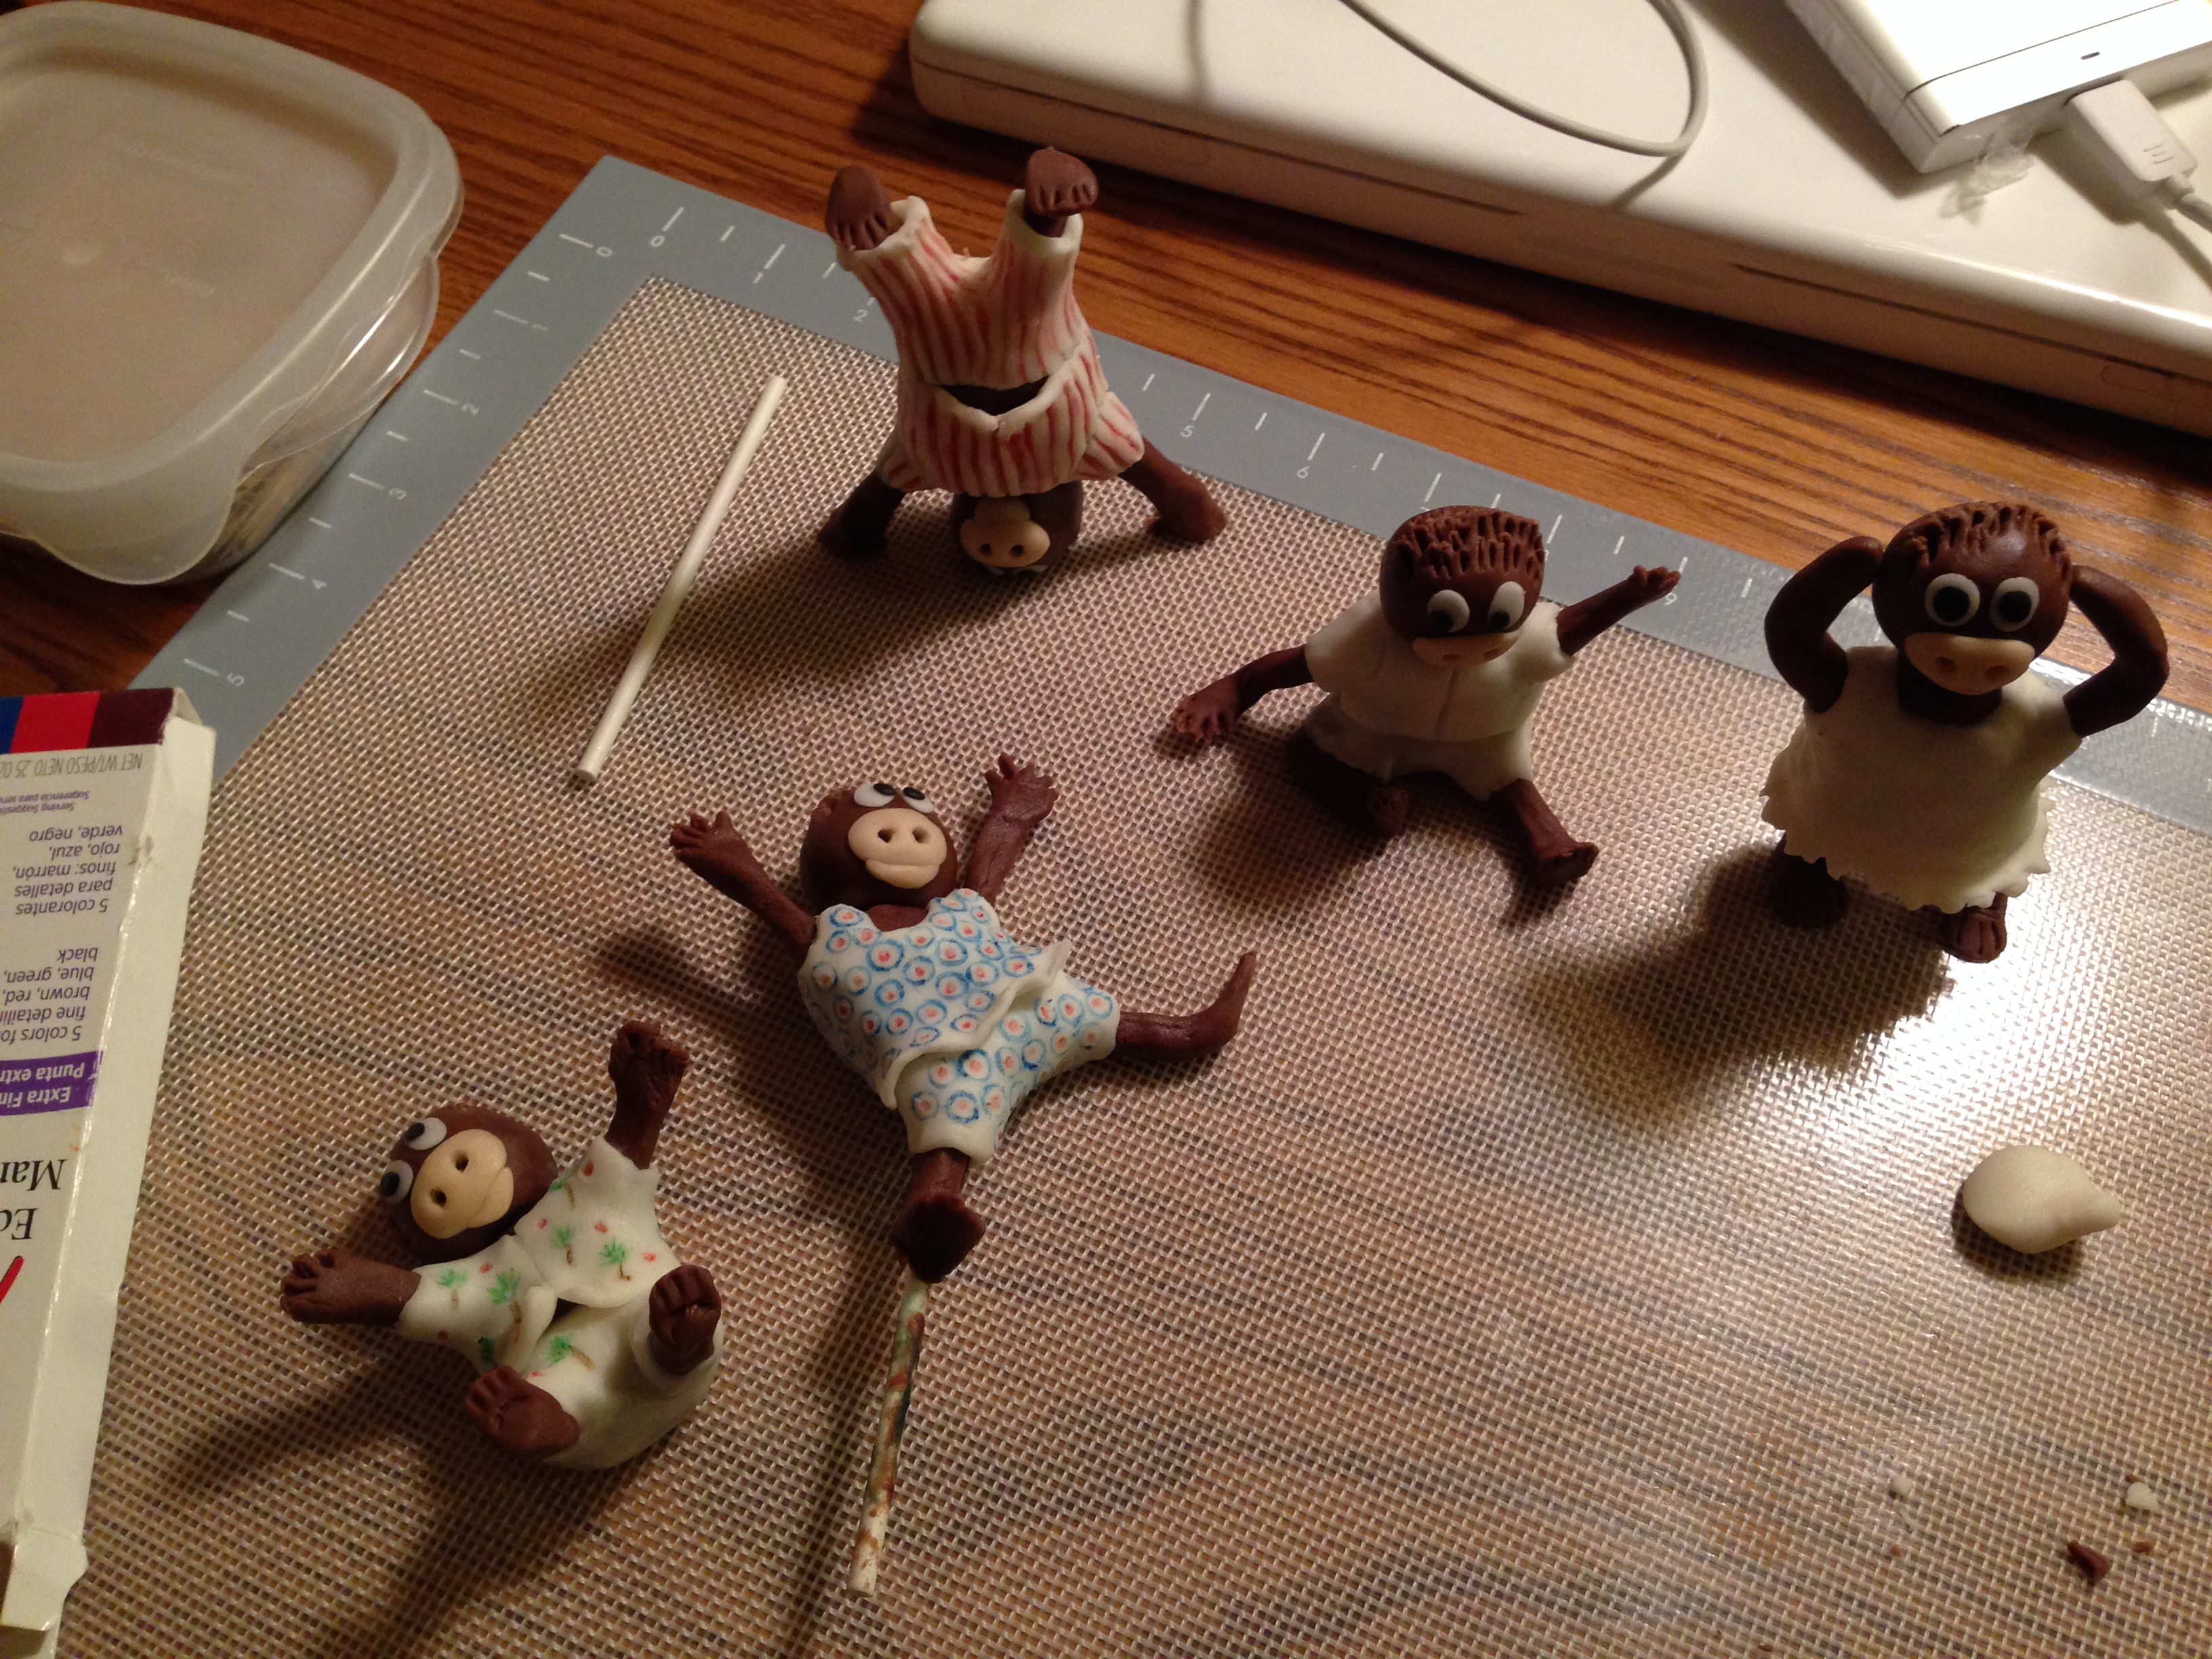
 STEP 2: Create the Gum Paste/ Modeling Chocolate Characters (1 week before)
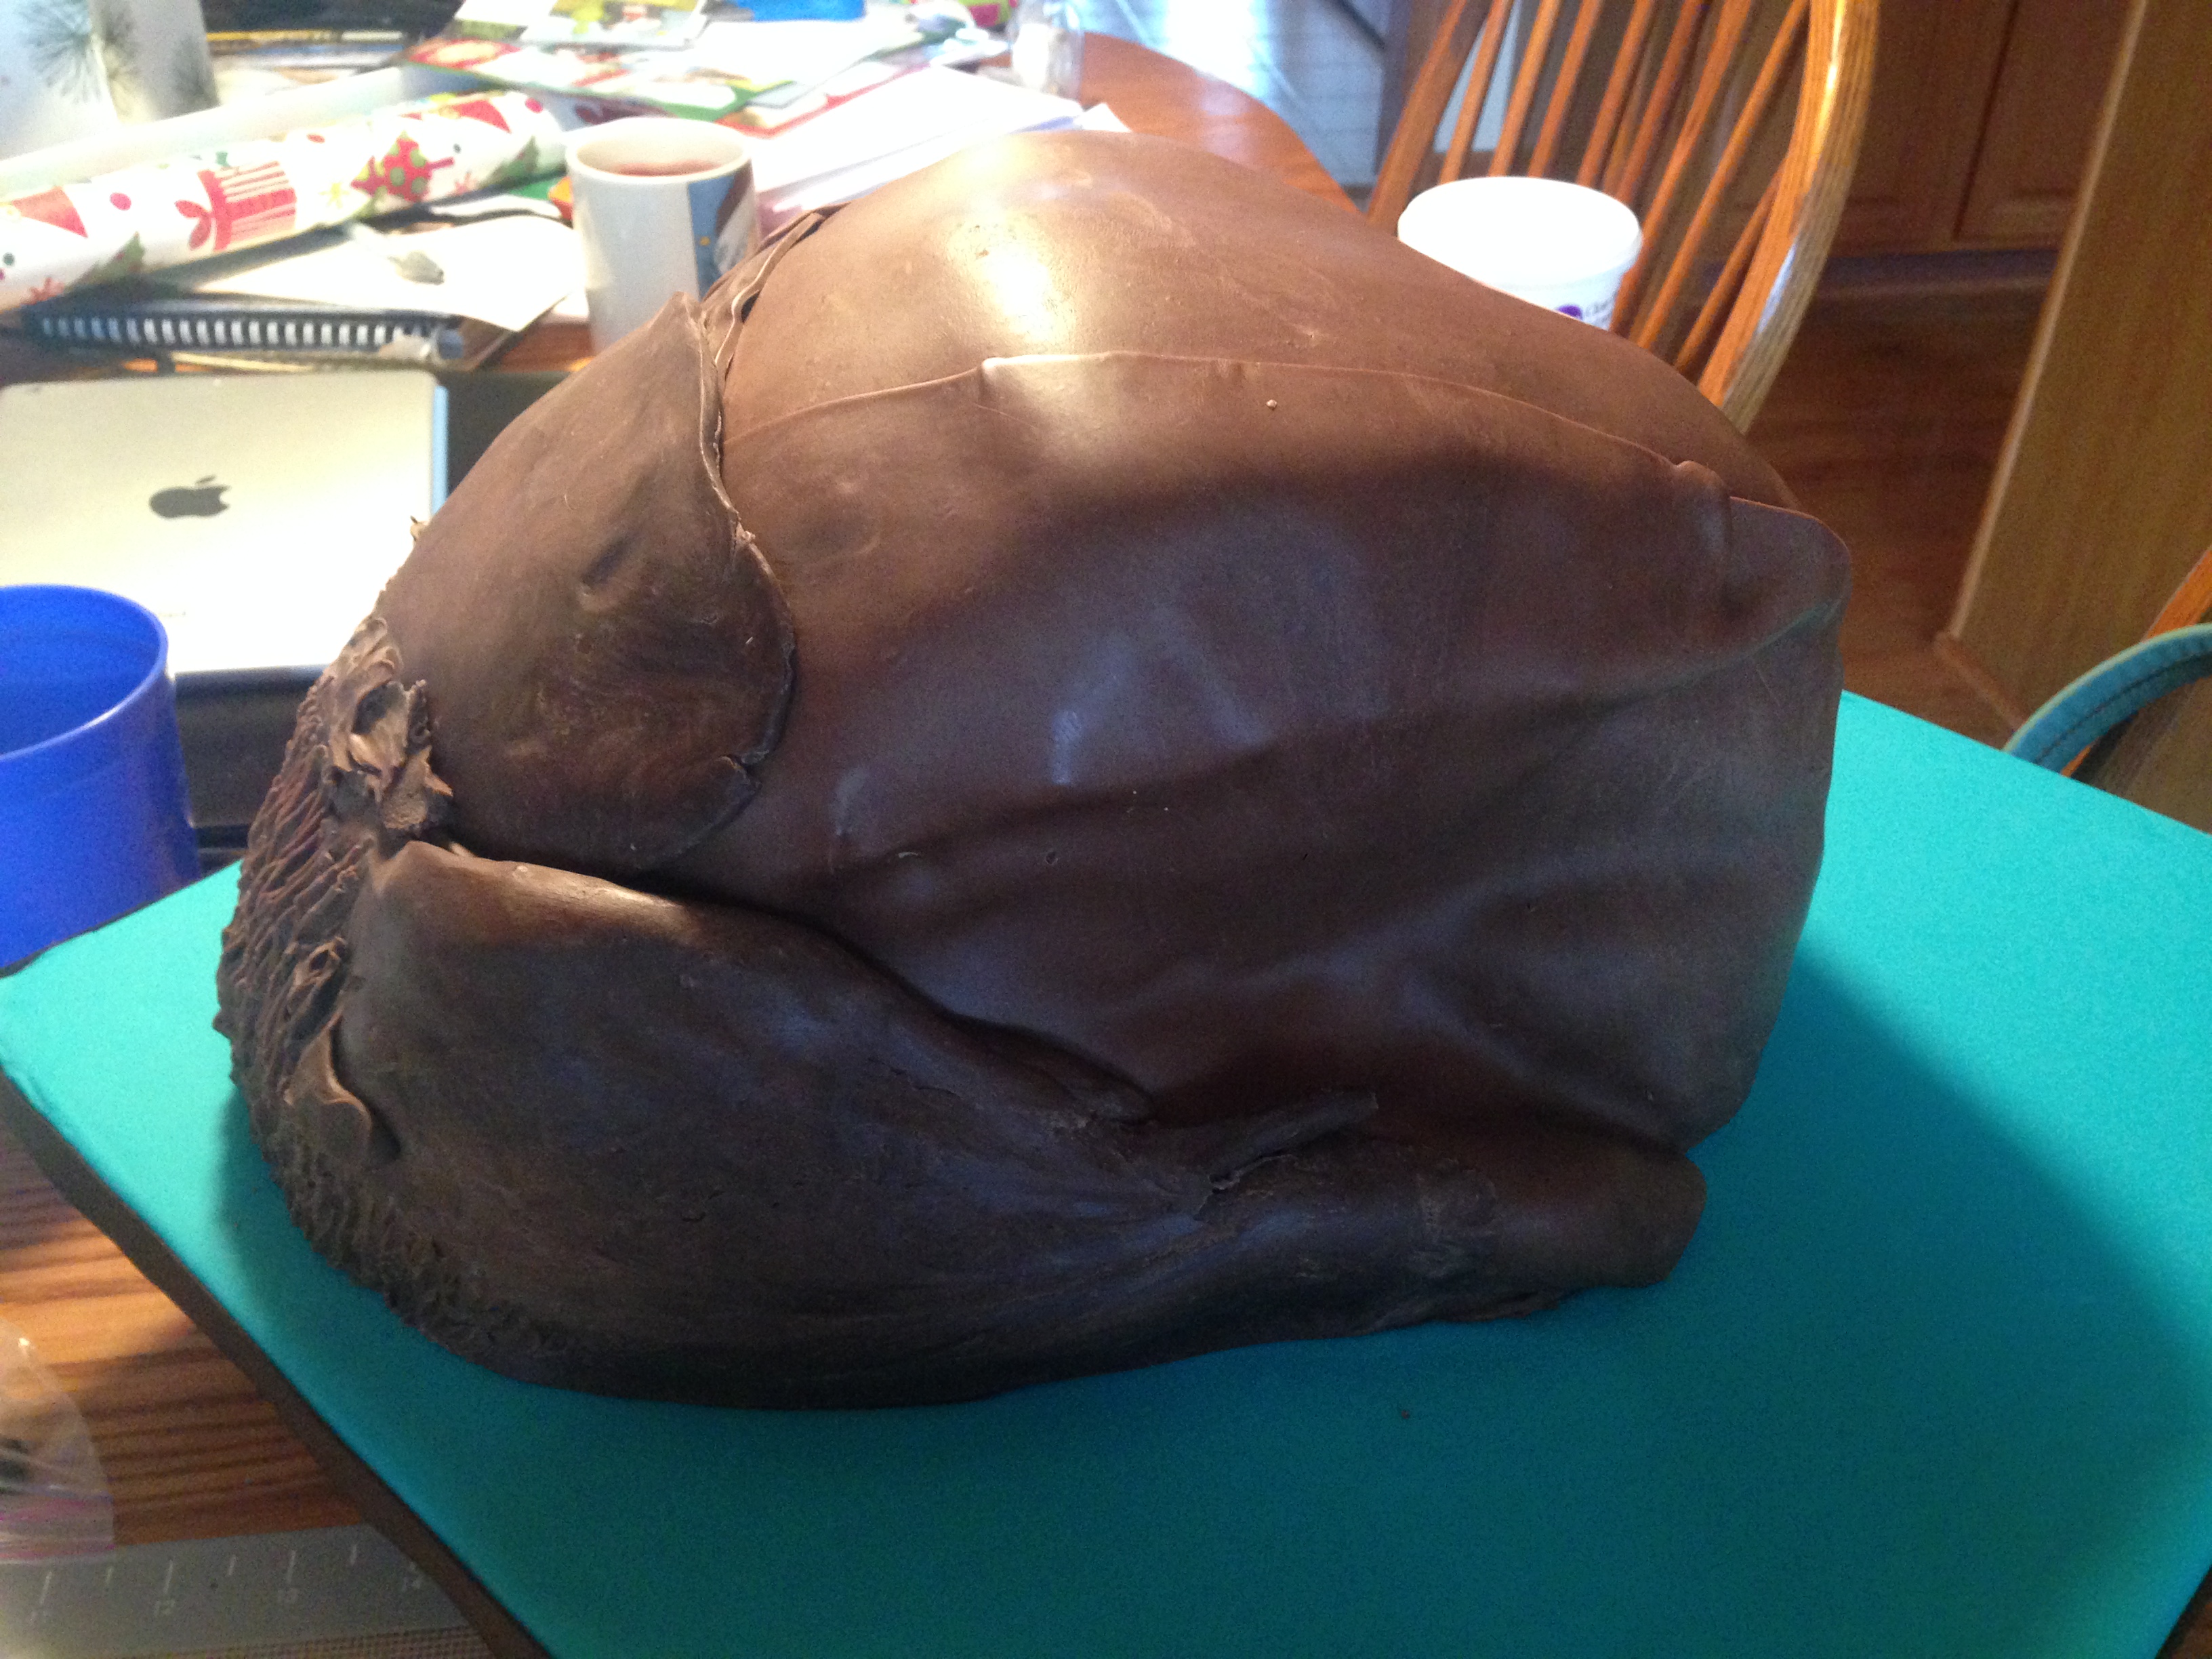
For an in-depth explanation of how to create these players, click here. STEP 3: Make the Cake (The structure pictured below: 2 days before. The actual cake under that: 1 day before.)
Surely there’s a better way… but I don’t know about it. So I used a bunch of pieces of styrofoam, glued them onto the base, and then pushed rice krispie treats in between the spaces to make a smooth surface. I covered the whole thing with modeling chocolate, leaving four empty places where I would place the mini rinks later. (Again, for a detailed explanation on how I created those poured sugar rinks, click here, same link as above.) Why so much styrofoam? Three reasons: it was lighter, it was faster, and I knew that part wouldn’t be eaten anyways so what did it matter?
 Finally, the day arrived: Monday, June 15. Not only the day of the TV segments, but also the day of Game Six- what *could be* the Stanley Cup Clincher!!!
STEP 4: Take the Cake to Stop #1- The Blackhawks Rally at the Palace Grill on Madison (46 miles away, left at 5:30am and arrived at 7:34am. Rush hour, how I loathe thee… Oh, who am I kidding, I slept in the car, ha! My poor mom or sister drove- I don’t even know which one!)
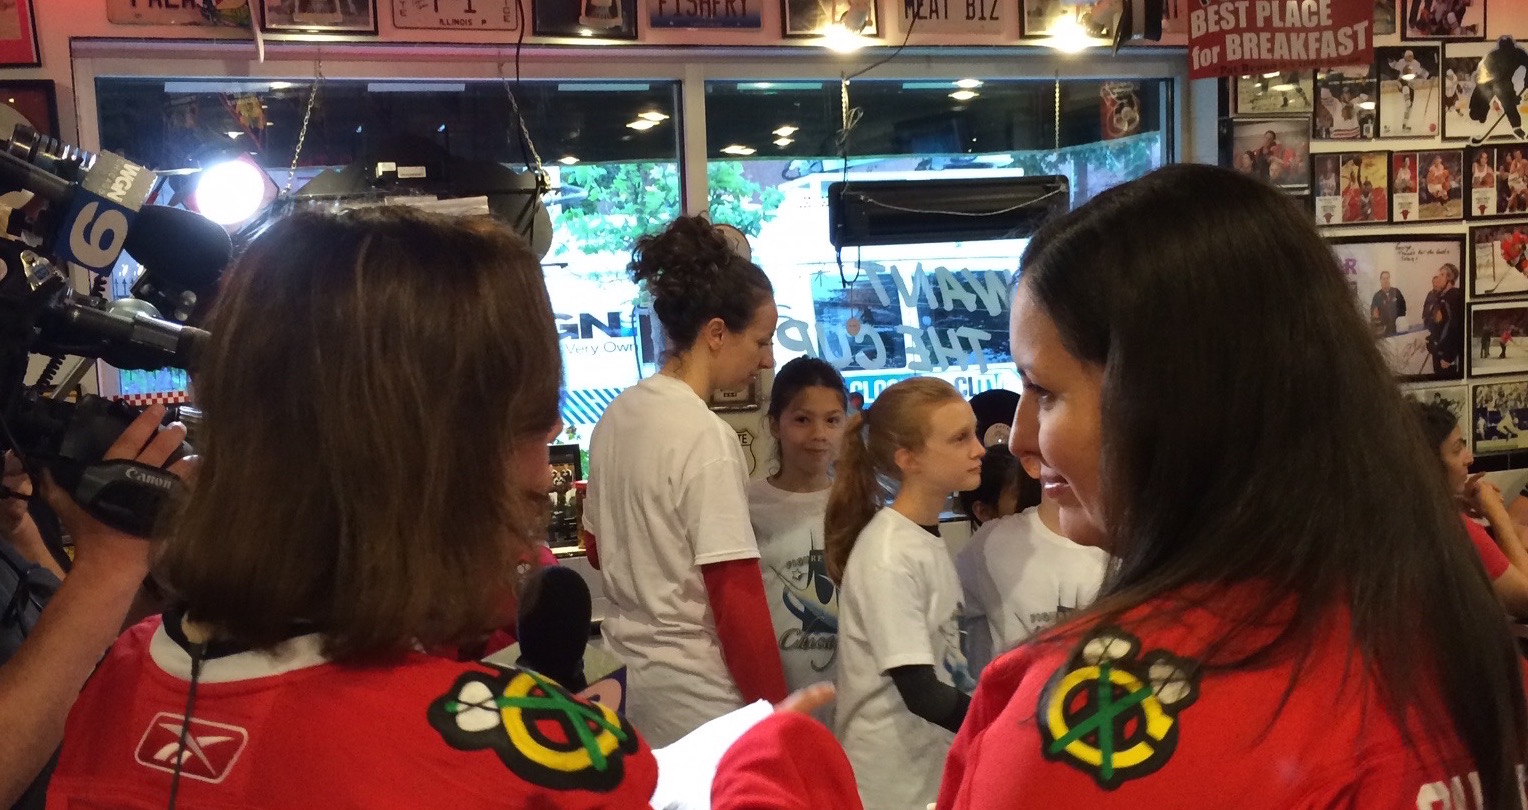
That reminds me. My family is amazing. They do all this work and then I’m the one that gets to be on TV. These two drove me around all day while I slept in the car. I even fell asleep on a couch in the store as they looked at new couches for my parents’ family room. Trust me, there is a post coming in the near future that will provide photographic evidence of the awesomeness of my family. Until that point, please enjoy this, their television debut:  After arriving at the Palace Grill, a very kind producer helped us set up the cake right there in the restaurant. WGN news had two reporters on location, and there was tons going on! A face painter, a bouncy house, Blackhawks giveaways, signed memorabilia to purchase, a live band, and more!
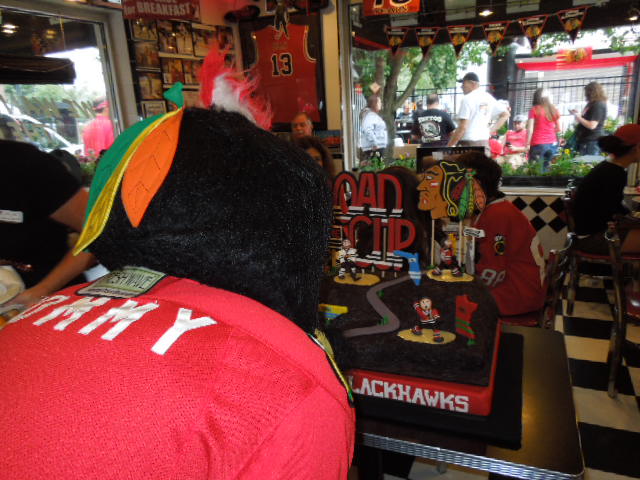
I was also able to meet some local legends! Steve Konroyd (former Blackhawk player and current TV co-host of game intermissions and post-game shows), Pat Tomasulo and Ana Belaval (WGN morning news team), Troy Murray (another former Blackhawk player and current color analyst for the broadcasts on WGN radio), and of course, Tommy Hawk, the team mascot!  Tommy Hawk seemed to enjoy the cake too!
  STEP 5: Get Interviewed on Live Television! (8:50am)
Though short and sweet, I got to say a few words about my cake on the morning news! And my website scrolled across the screen, so… yay!
STEP 6: Eat Breakfast (9:00am)
As Pippin would say, it was “Second Breakfast,” right, guys? After the funtivities were closing up around 9:30, guess who came in?! Many of the players’ dads!
STEP 5: Take Cake to WGN TV Studio (10:30am)
We then drove to the TV studio where a very kind stagehand took the cake inside and promised to put a sign on it so none of the news reporters would eat it. And then it was time for a little relaxing!
STEP 6: Eat Lunch and Go Shopping! (11:00am)
STEP 7: Come Back to TV Studio (3:15pm)
This was my second favorite thing that happened that day (other than, you know, what happened at 10:15pm-ish!!!!). The producer had warned us to put a sign on the cake labeling it, because apparently the staff would eat it otherwise. So we kindly asked the stagehand to put a sign by the cake. With a completely straight face, he said he would take care of it.
We then walked into the studio, he turned the fancy lights on, and OH MY GOODNESS HOW BIG IS THAT SIGN! Keep in mind, that cake is three feet long!
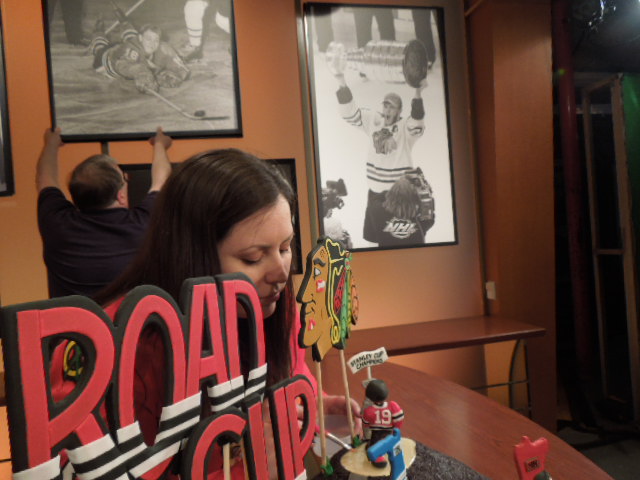
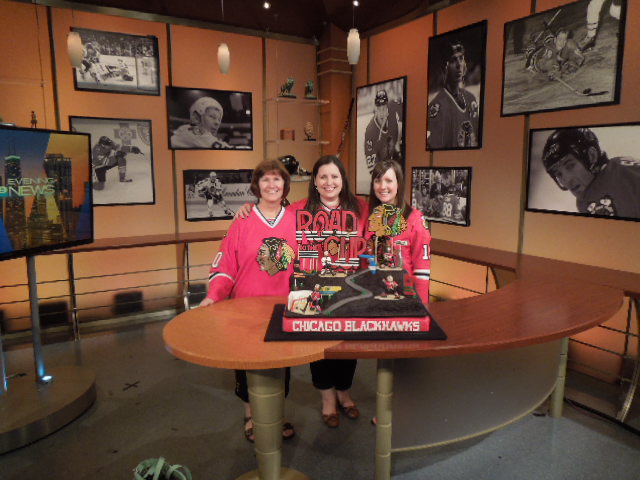
 STEP 8: Get the Cake Prepped for Evening News (3:15pm)
It was a pretty easy set-up, but man, am I jealous of all their lights! It was so easy to photograph the cake! Anyone want to set me up with a camera studio at home? Anyone?? While I readied the cake, my mom and sister took photos and the stagehands exchanged the background art for some awesome Hawks stuff.

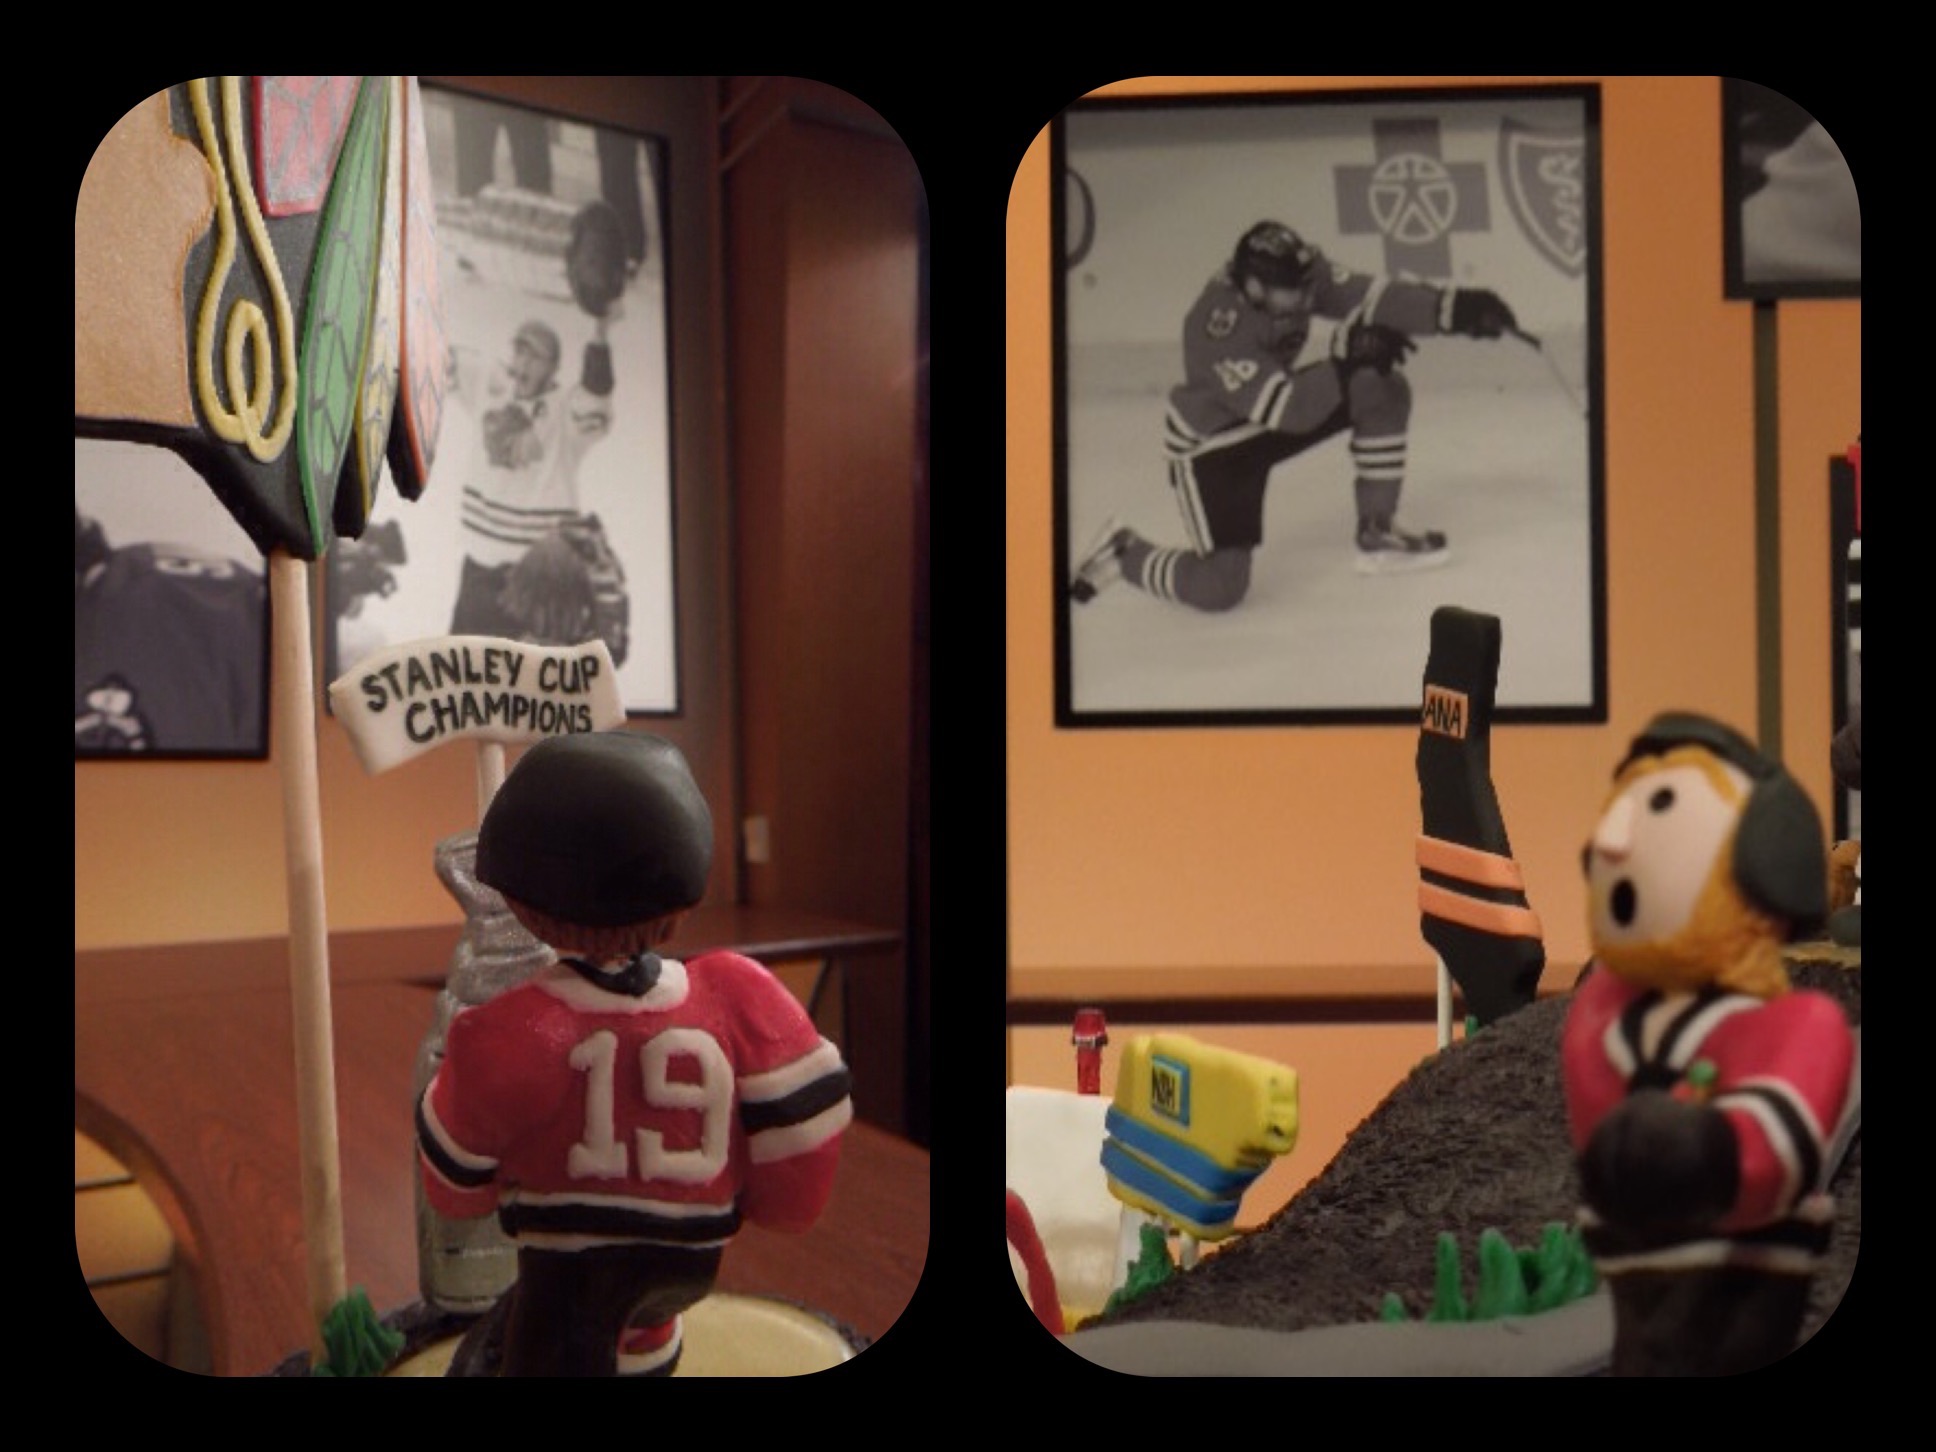
 Mom even managed to take a pic of my Kane and Toews figures, with their respective posters in the background! She’s so artsy! 🙂

 STEP 9: Wait for Interview (3:45pm- 6:10pm)
I was told that my segment would be on at 5:15pm. We waited patiently (Elizabeth organized the Green Room– you’re welcome, WGN–) and then, just at 5:00pm, they announced there was a tornado warning! A tornado was right above Cook County! And so began the weather coverage. Obviously, I knew the segment wouldn’t be on at 5:15, right as the warning expired, but I had hopes that there might be time for it at some point before six o’clock. Unfortunately, though the tornado dissipated, there was still quite a storm over the city, in particular right over all the people waiting outside the United Center to watch the Blackhawks game- and so the station had to keep going with weather coverage. Of course I understand, but it was an unfortunate amount of time and money spent to not get that evening news segment!
STEP 10: Try to Watch Blackhawks Game! (the rest of the night!)
Of course, I did all this since I’m a Hawks fan. So when the 4-6pm news ended, I wasn’t so much sad about the canceled segment, as I was antsy to get out of there so we could find a place to watch the game. So we get in the car, and I’m thinking, hey, we’re traveling out of the city- going the opposite way of everyone else presumably- so we should probably get to, like, Schaumburg, before puck drop at 7:15.
HA!
According to the GPS, we made it 0.6 mile in ONE HOUR! Let me repeat- just over a half mile in an HOUR! (If you want a good laugh, I just googled it- Schaumburg is 30 miles from the studio.) So, cake packed in the trunk and all but forgotten, I start having a spaz attack. It’s now 7ish, and we were still in the car. How could I NOT watch potentially the last game of the year?! We looked around the gridlocked traffic, and what did we spot, but an… Olive Garden.
Perhaps not the normal place to head to watch a Stanley Cup Final Cup-clinching game. But there was no option. After I called from the car to ensure they actually had a bar, we dodged the raindrops and flew inside, backsides in the seats just in the nick of time. The kind management team allowed us to turn the TV sound on. (Whew.)
 STEP 10: Move to an Actual Bar Since Olive Garden Closed
As the second period drew to a close, we readied ourselves, paid the tab, and opened the umbrellas. As soon as the horn sounded, we bounded out to the car and moved along to the next bar. We parked, ran inside, and secured a spot juuuuust as the third period started.
 The rest, as they say, is history. 🙂 It was a splendid evening celebrating with people we didn’t know, but with who we shared one very important passion. And since that day, I’ve created a different treat to recognize that accomplishment: Stanley Cup-cakes. Click here to see more.
  For more Blackhawks goodies, check out my other cakes/cookies:
– Full-sized dog with giant hockey puck and jersey
– Blackhawks jersey cookies
– More Blackhawks cookies
– Blackhawks logo cake
Are there other hockey treats I haven’t made yet? Please let me know in the comments! I have a long summer to prepare for the next season. 🙂 Oh, and I learned an interesting tidbit today: Next year will be their 88th season. I think that’s a good omen, don’t you?
#Showtime 🙂

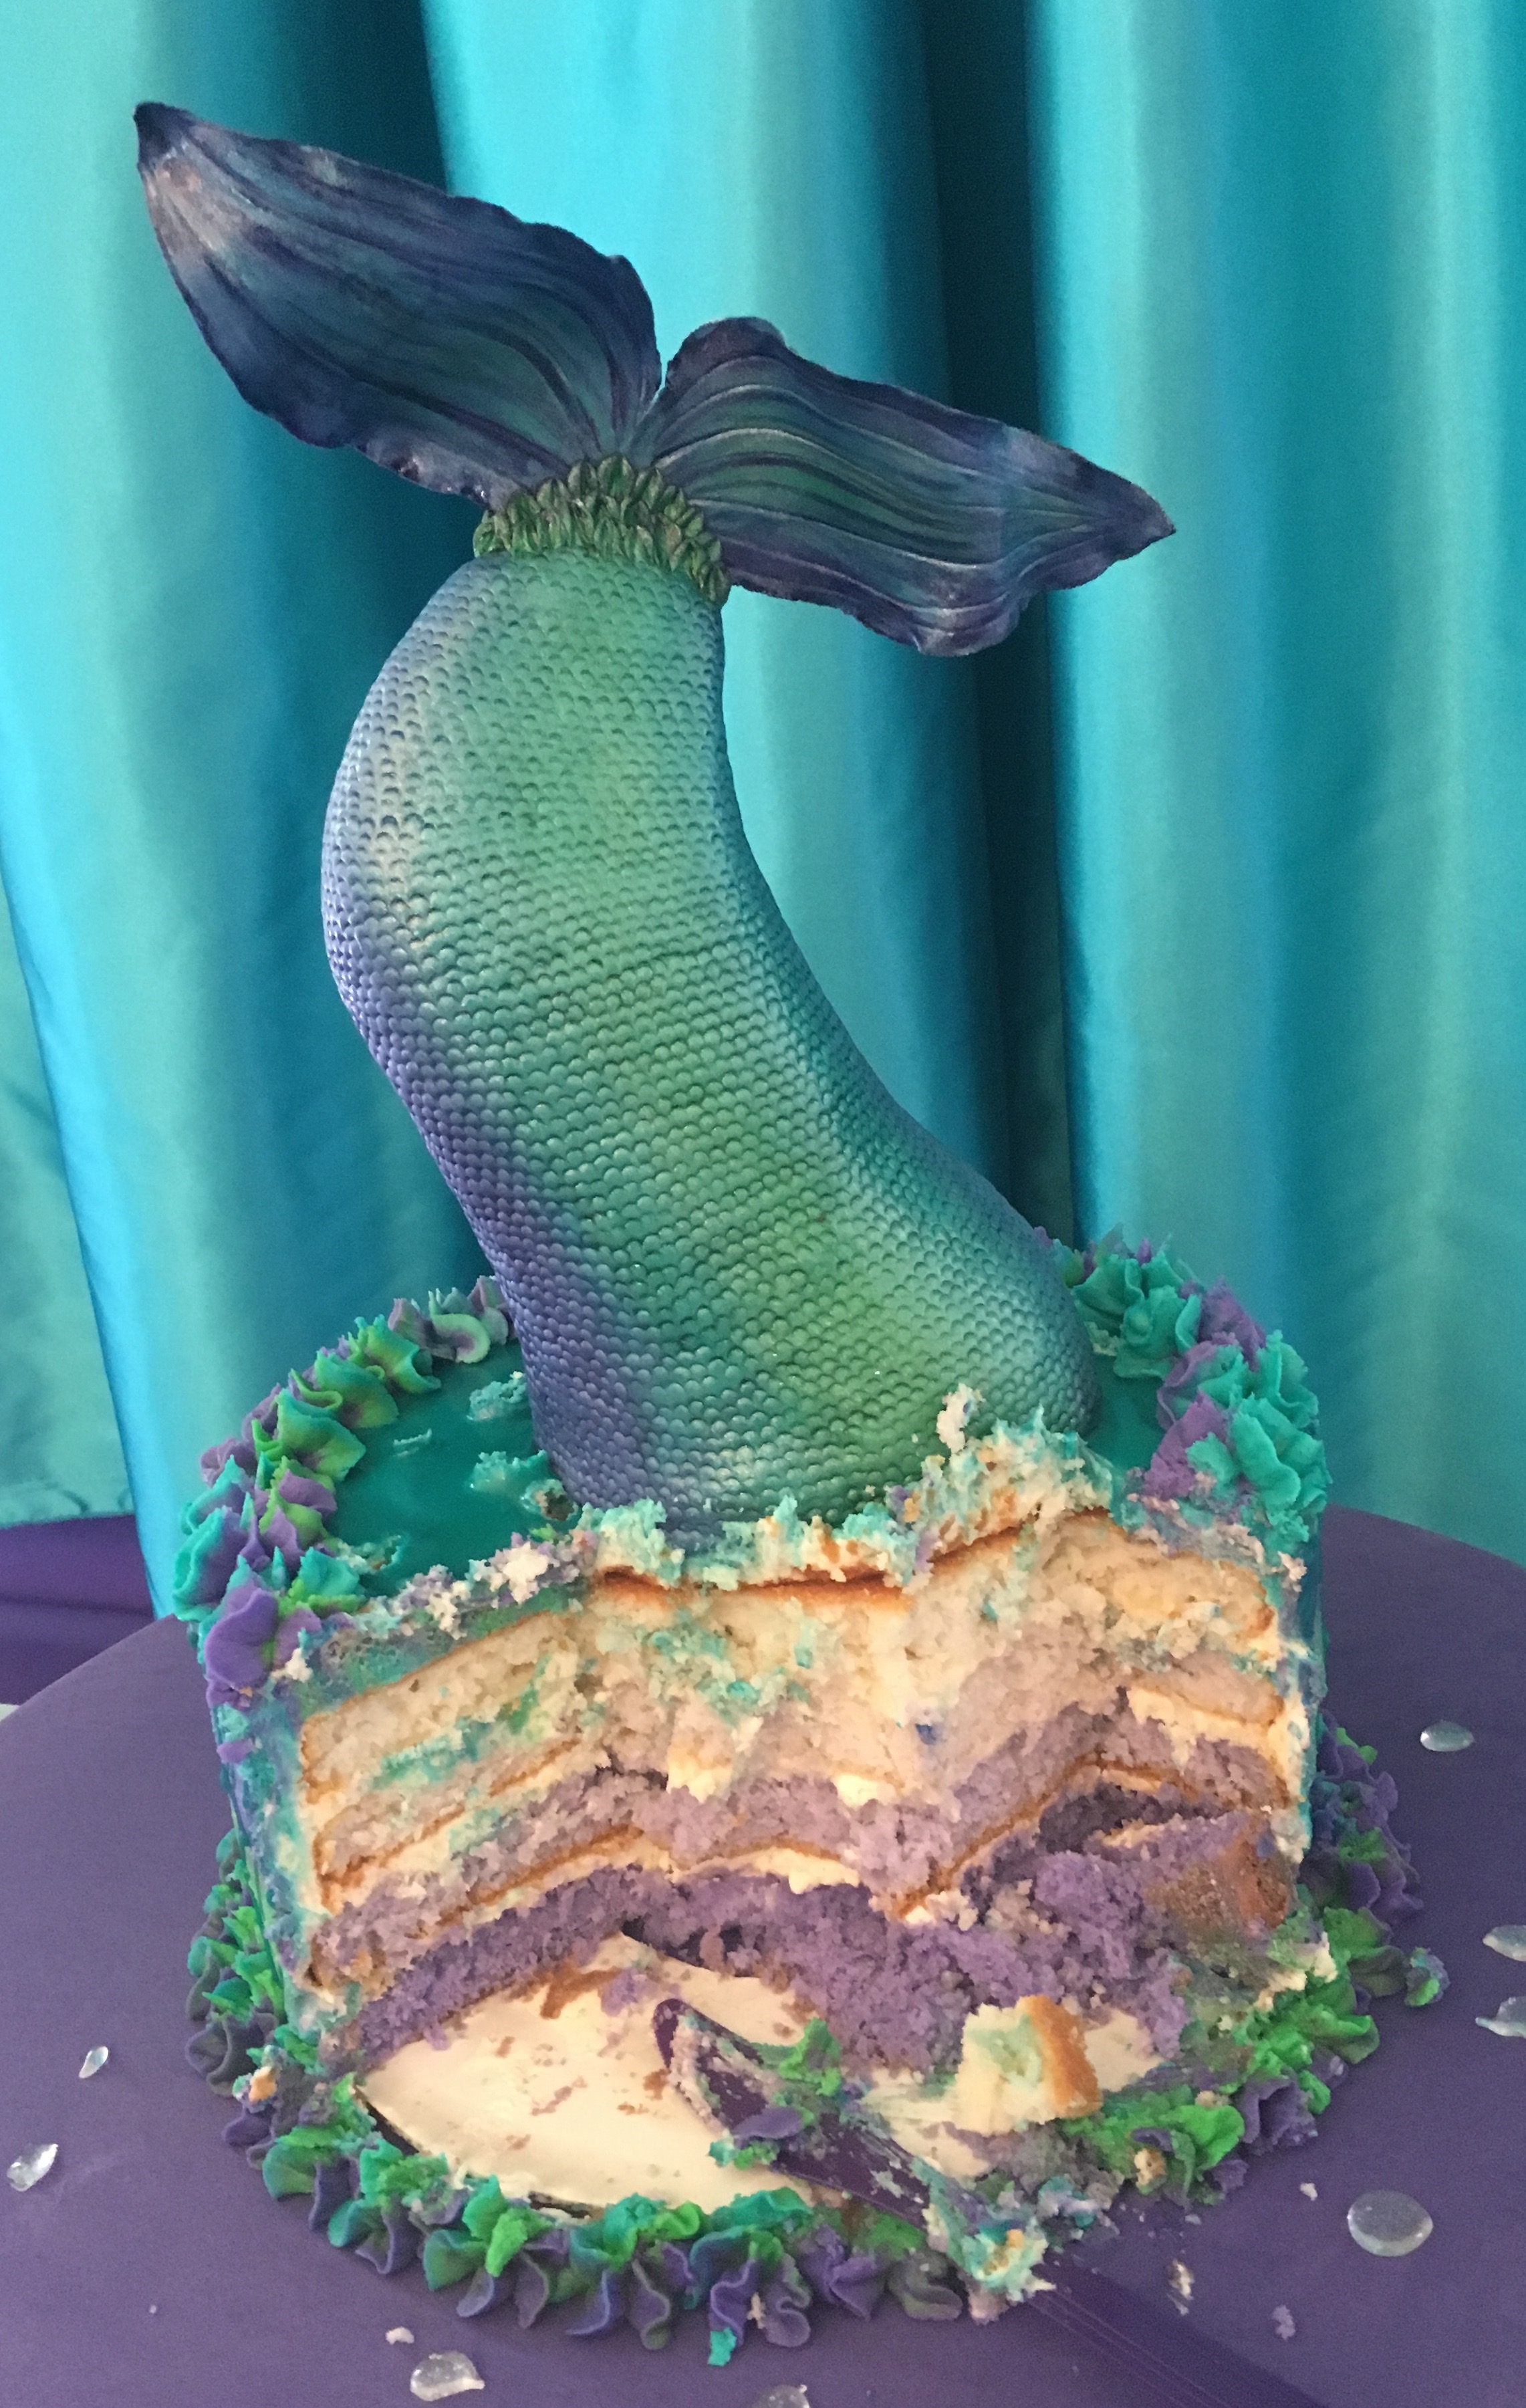
 I realized a girl can measure her love for her sister in individually-punched mermaid tail scales. “Yes, I love my sister roughly 7,000 evenly-spaced holes’ worth.”
  Then I painted it with gel food coloring and melted some isomalt and poured it on a silicone mat to harden in approximate “splash” shapes. Once they were hardened, I stuck them in the cake.
 Set those chocolate tails atop a buttercream cake, and voila!