Blog

How to Make a Lifelike Raw Turkey Cake

I’m just going to apologize in advance for this post, because it’s super disgusting. On the other hand, it’s sort of cool???

No, just disgusting? Yeah. Definitely disgusting.

realistic raw turkey cake 2 I think most people can agree that (cooked) turkey is good, right? But, like, raw? When you have to pull out the baggie of body parts and then shove wet bread chunks up its backside?realistic raw turkey cake 1 Oh and don’t forget those thick veins. And the pervasive smell.

realistic raw turkey cake
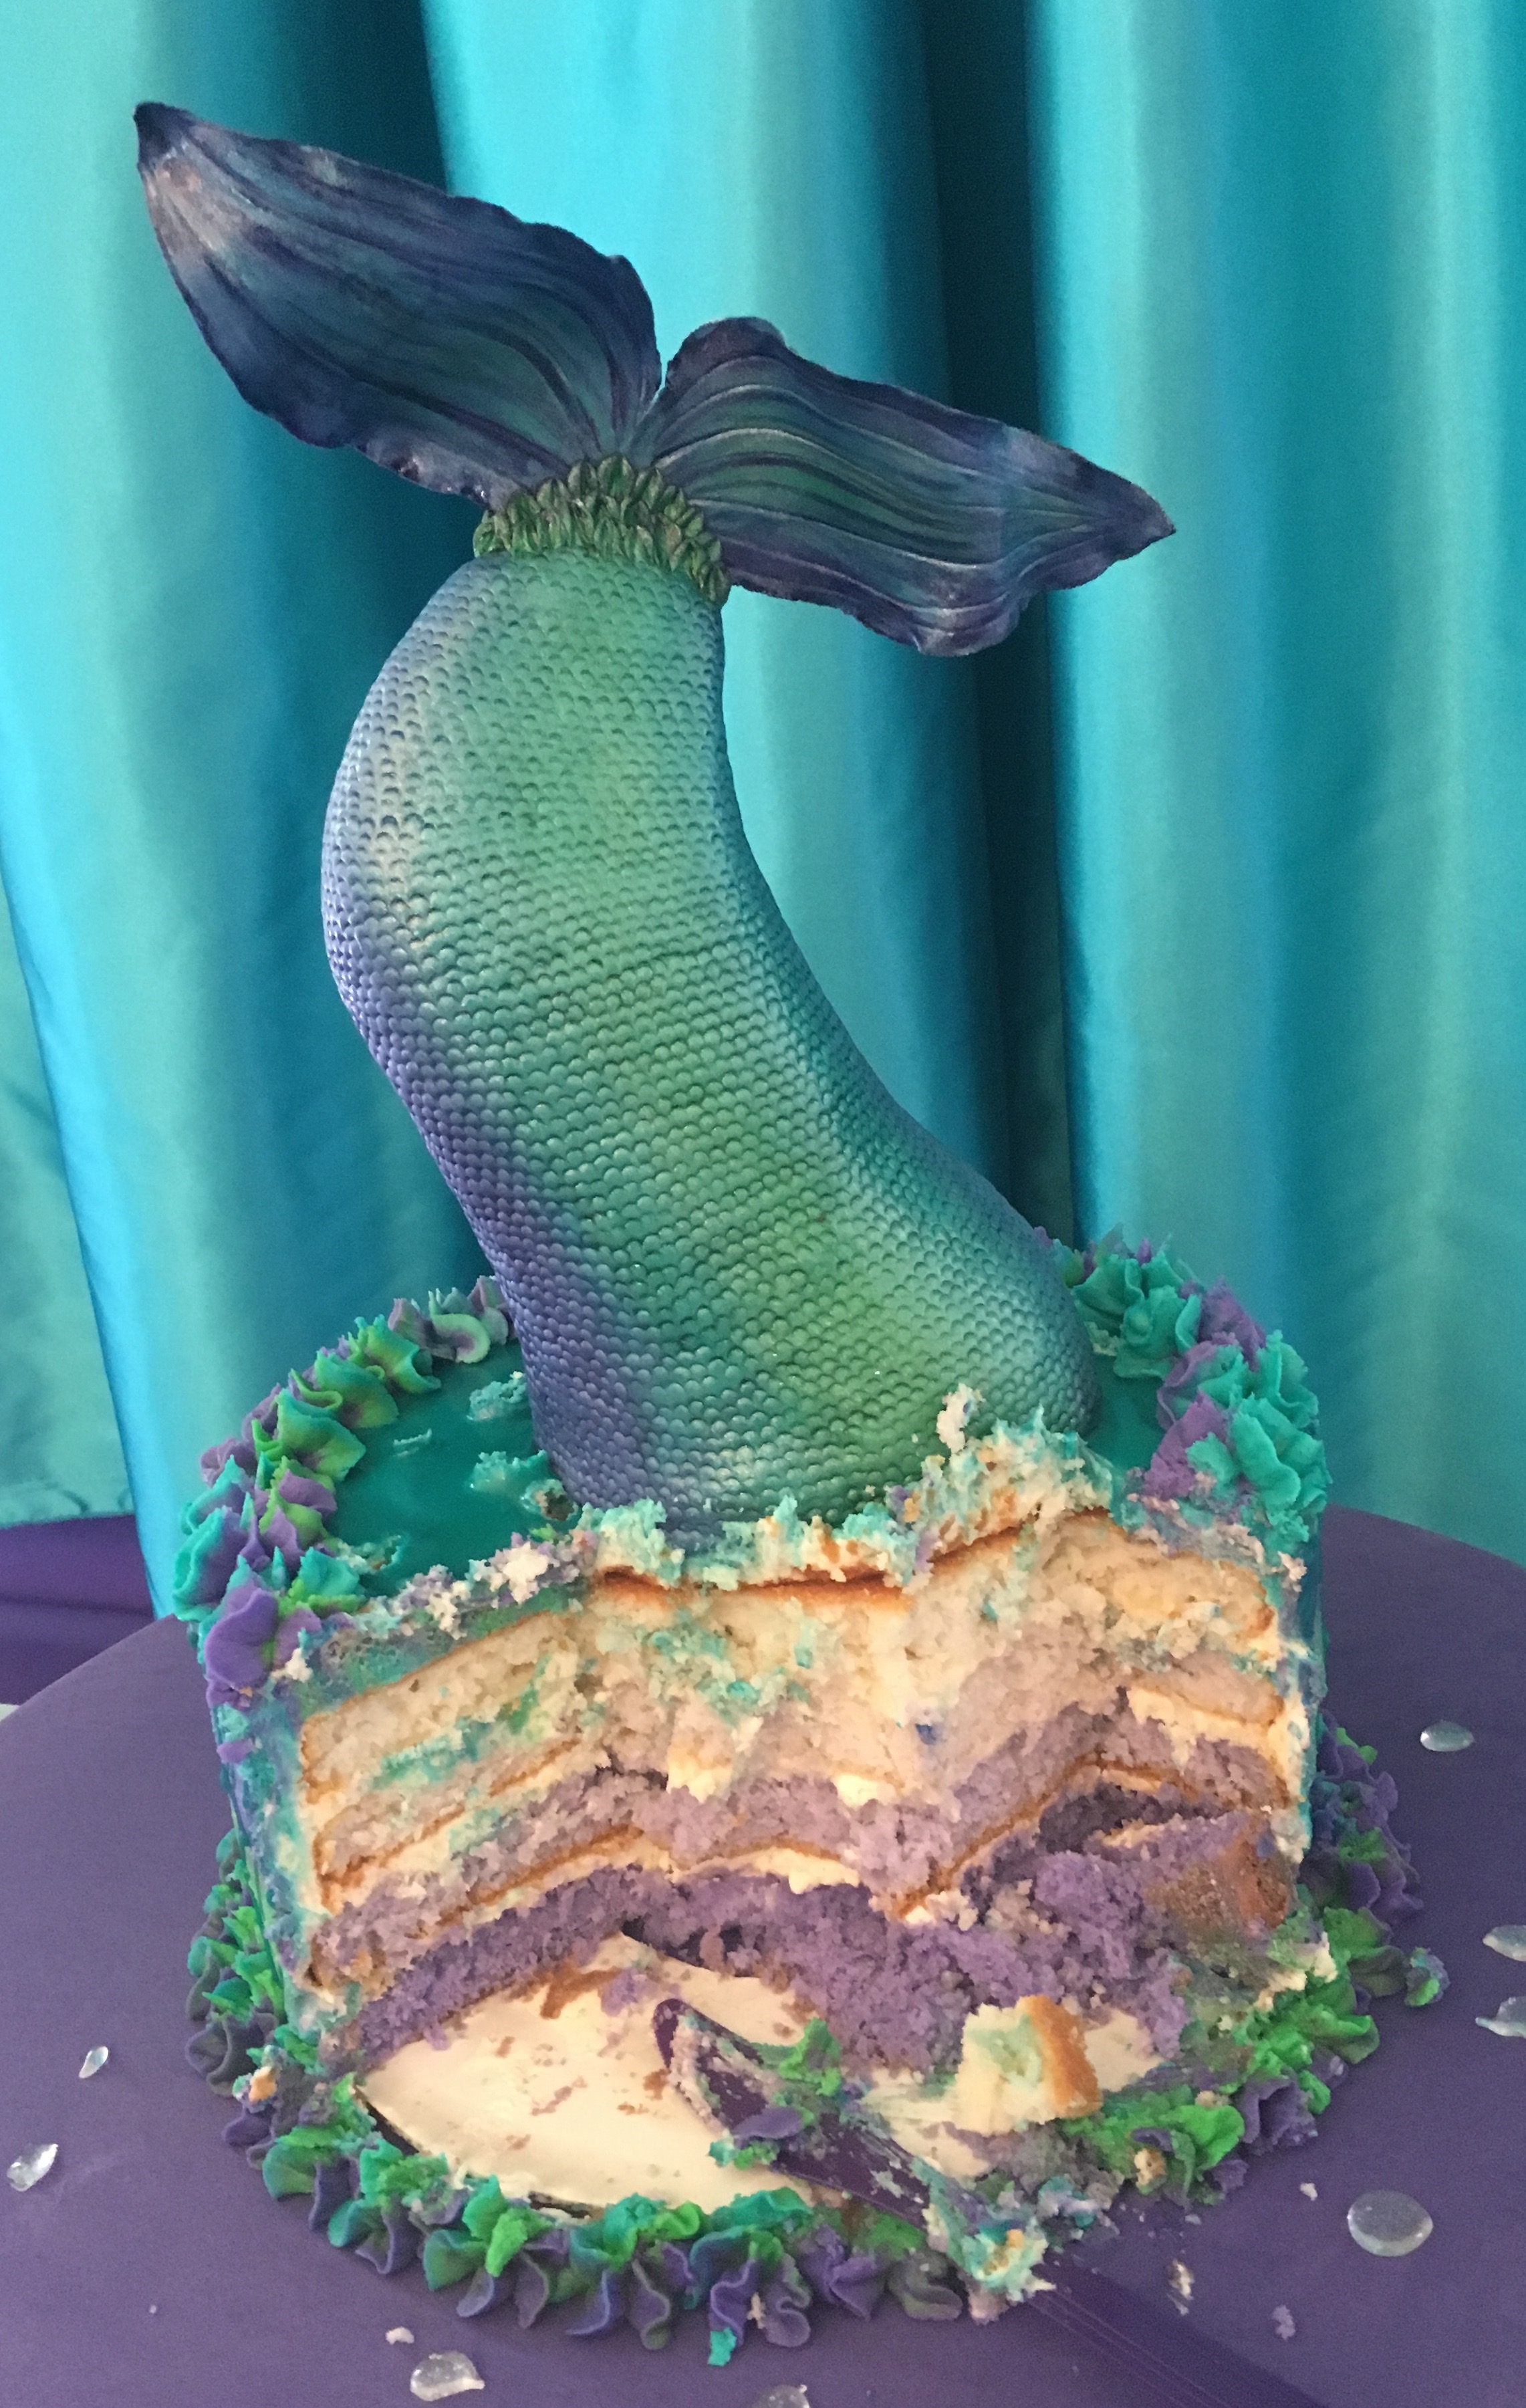
In case you’re interested in sufficiently grossing out your guests next Thanksgiving, here is a step-by-step photo diary of my process:

how to make realistic raw turkey cake steps

  1. Begin with a simple layer cake. Carve into turkey shape. Cover with buttercream.
  2. Make a cake pop dough (cooked cake mixed with buttercream until it’s very thick and can hold a shape) and mold them around two straws into a drumstick shape. Cover these with buttercream as well.
  3. Roll many (many, many) pink fondant balls and stick them into the buttercream. Make sure to go in rows, and keep your size consistent as well. Some are large, some are medium, some are small- just look at a regular raw turkey for inspiration. :/ This step is important in order to achieve the “dimpled” look.  (“Plucked-feather” look?)
  4. Cover entire bird with an ivory-colored piece of fondant.
  5. Paint with blue and purple. A real raw turkey has shades of blue and purple in certain parts of the skin. Then highlight certain parts lighter pink or bright pink/red. Go crazy, make veins, do the whole shebang.
  6. Once everything is painted and is dry, cover with a thin layer of piping gel to give it that “wet” look. (ewww)

realistic raw turkey cake red velvet fondant

And voila… finally, a turkey that vegetarians can enjoy.

realistic raw turkey cake 3
* I take no responsibility for any nightmares you have after seeing these photos

Two Little (Chocolate) Mermaids

When one’s sister has been obsessed with The Little Mermaid since, well, forever, naturally, one throws her sister a mermaid baby shower. So I grabbed a chunk of modeling chocolate, shaped it into a tail, covered it with blue fondant, picked up a Tip #5, and settled in for the night, punching away. I realized a girl can measure her love for her sister in individually-punched mermaid tail scales. “Yes, I love my sister roughly 7,000 evenly-spaced holes’ worth.”  Then I painted it with gel food coloring and melted some isomalt and poured it on a silicone mat to harden in approximate “splash” shapes. Once they were hardened, I stuck them in the cake.Set those chocolate tails atop a buttercream cake, and voila! 

A Floral Explosion!

Well, hello, strangers! I realize it has been ages since I’ve posted anything here. I want to let you all know that I have been working quite a bit behind the scenes and will be doing a website update at some point in the near future. In the meantime, I figured I may as well post photos of a cake I made recently. Enjoy!

For a more in-depth explanation of gum paste flowers, click here. And forgive the cake- it was one of the very first ones I ever made! 🙂

Pretty in Pink

paris eiffel tower bridal shower
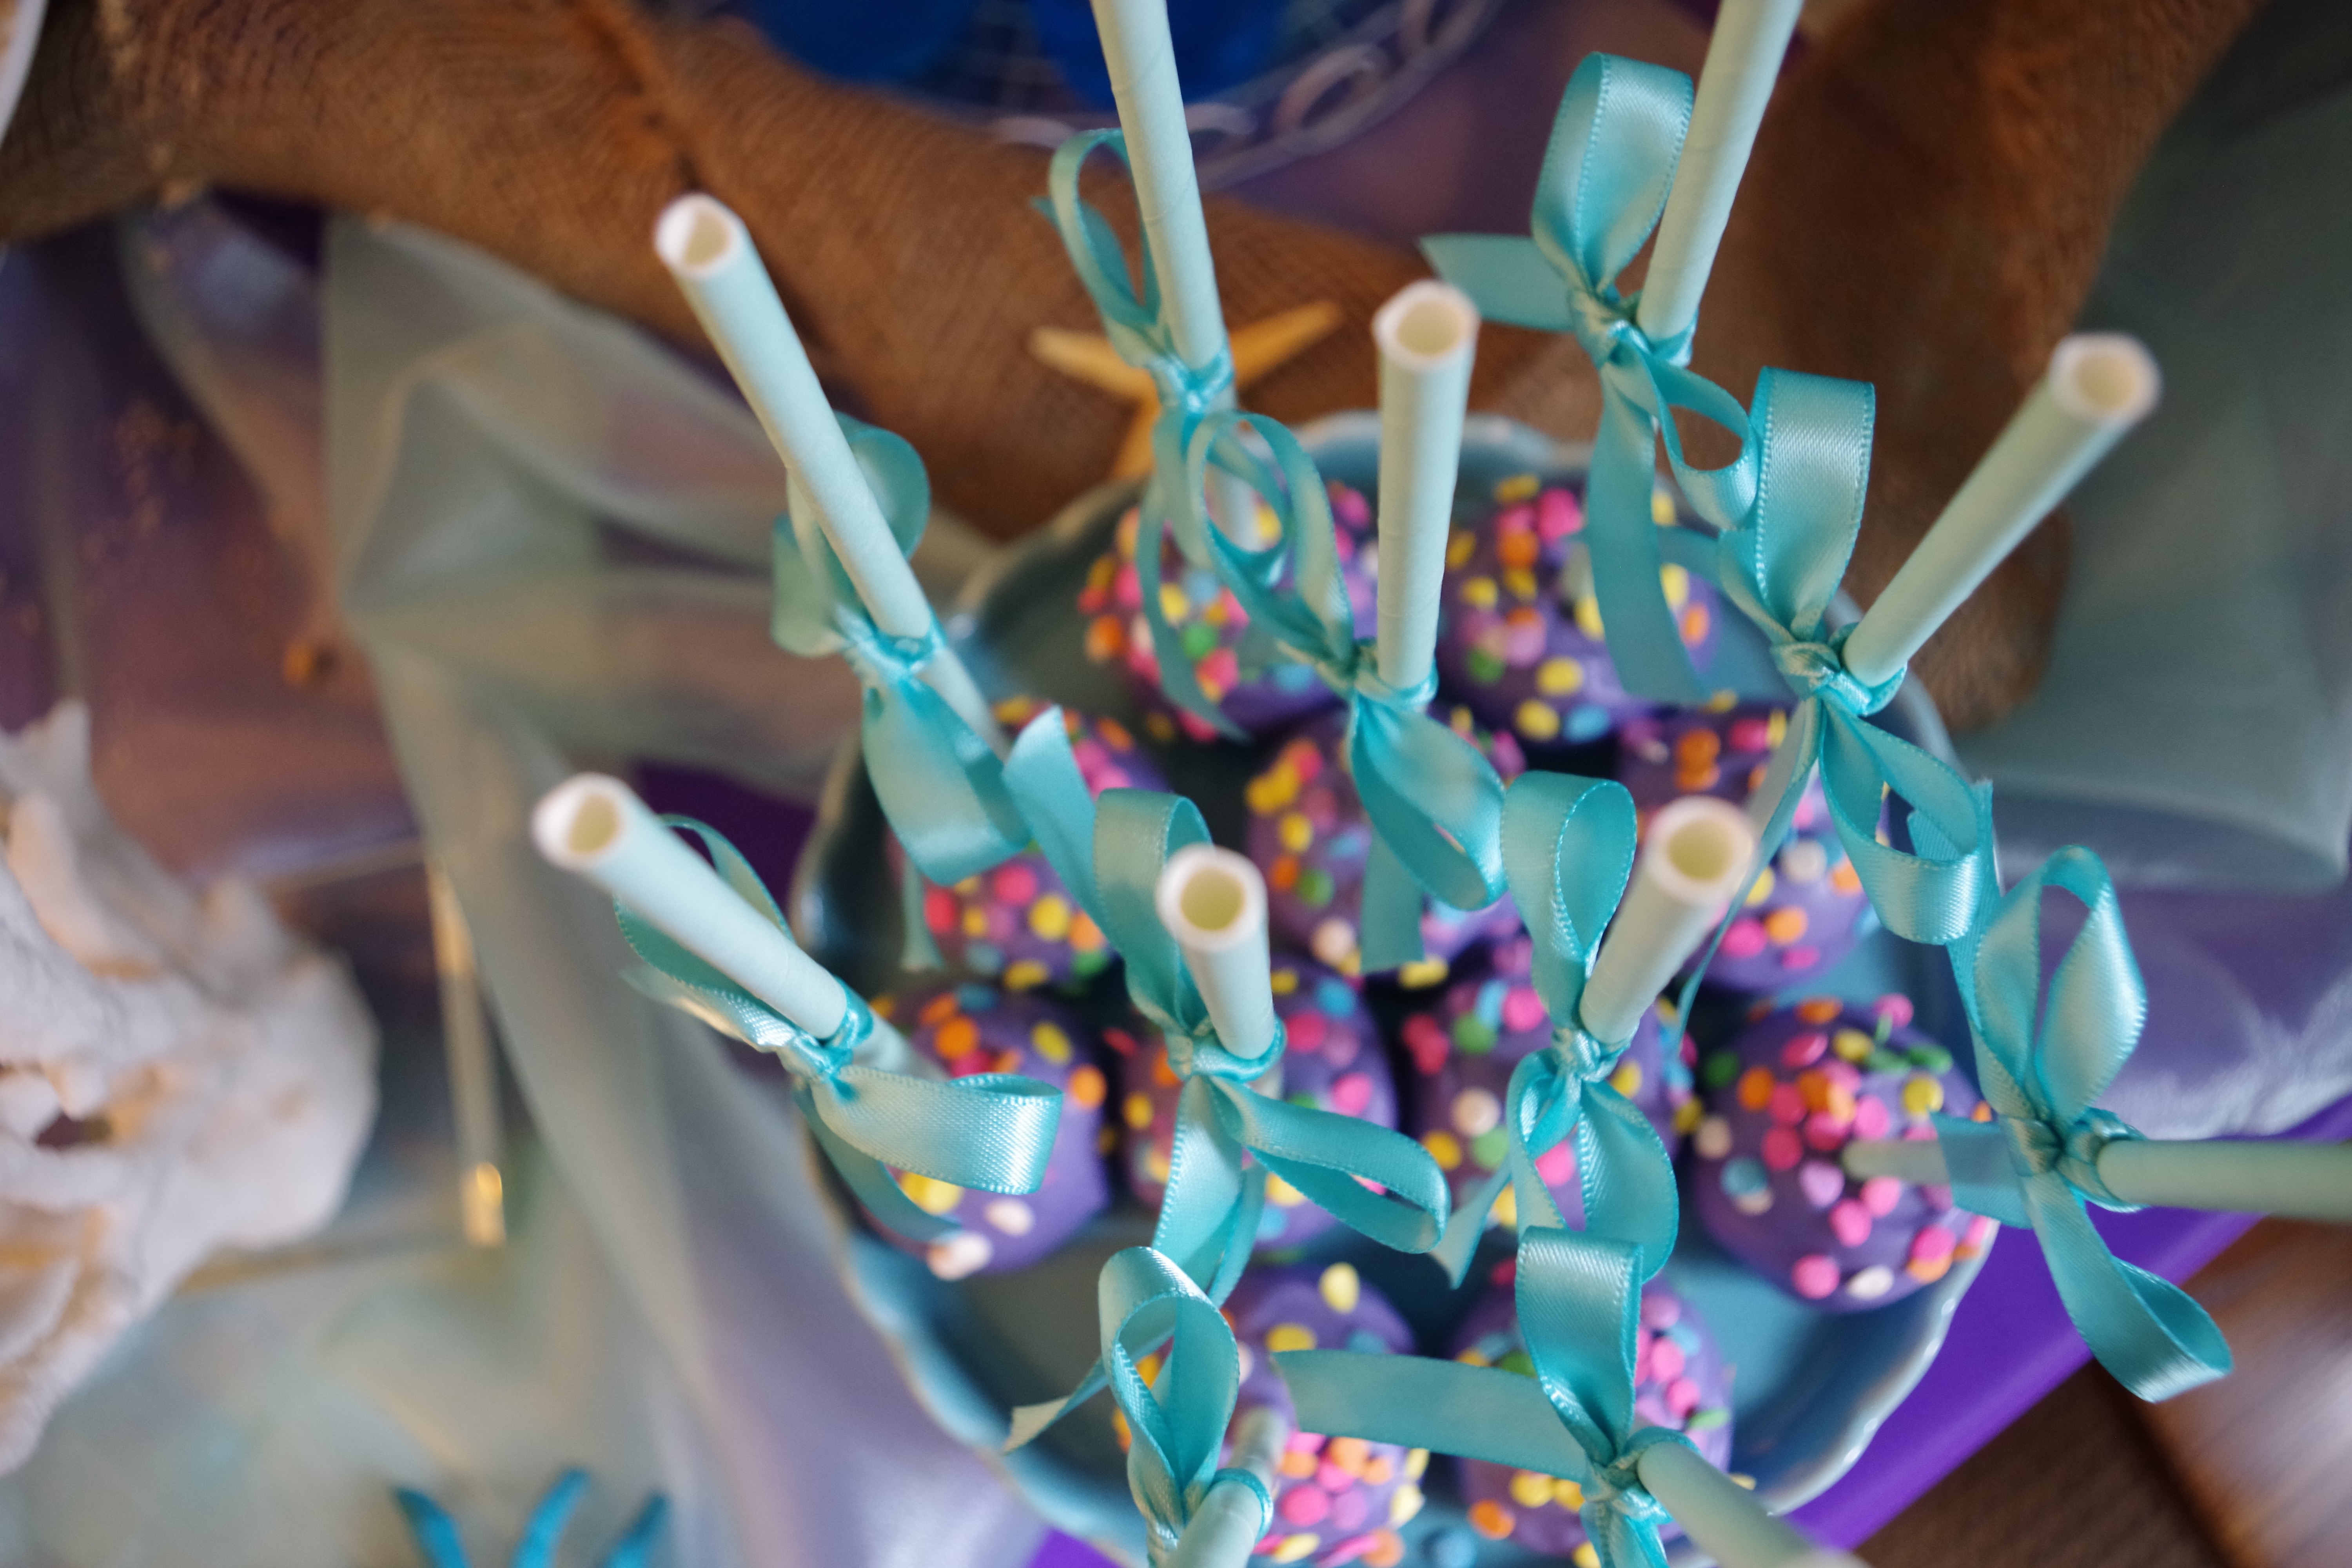
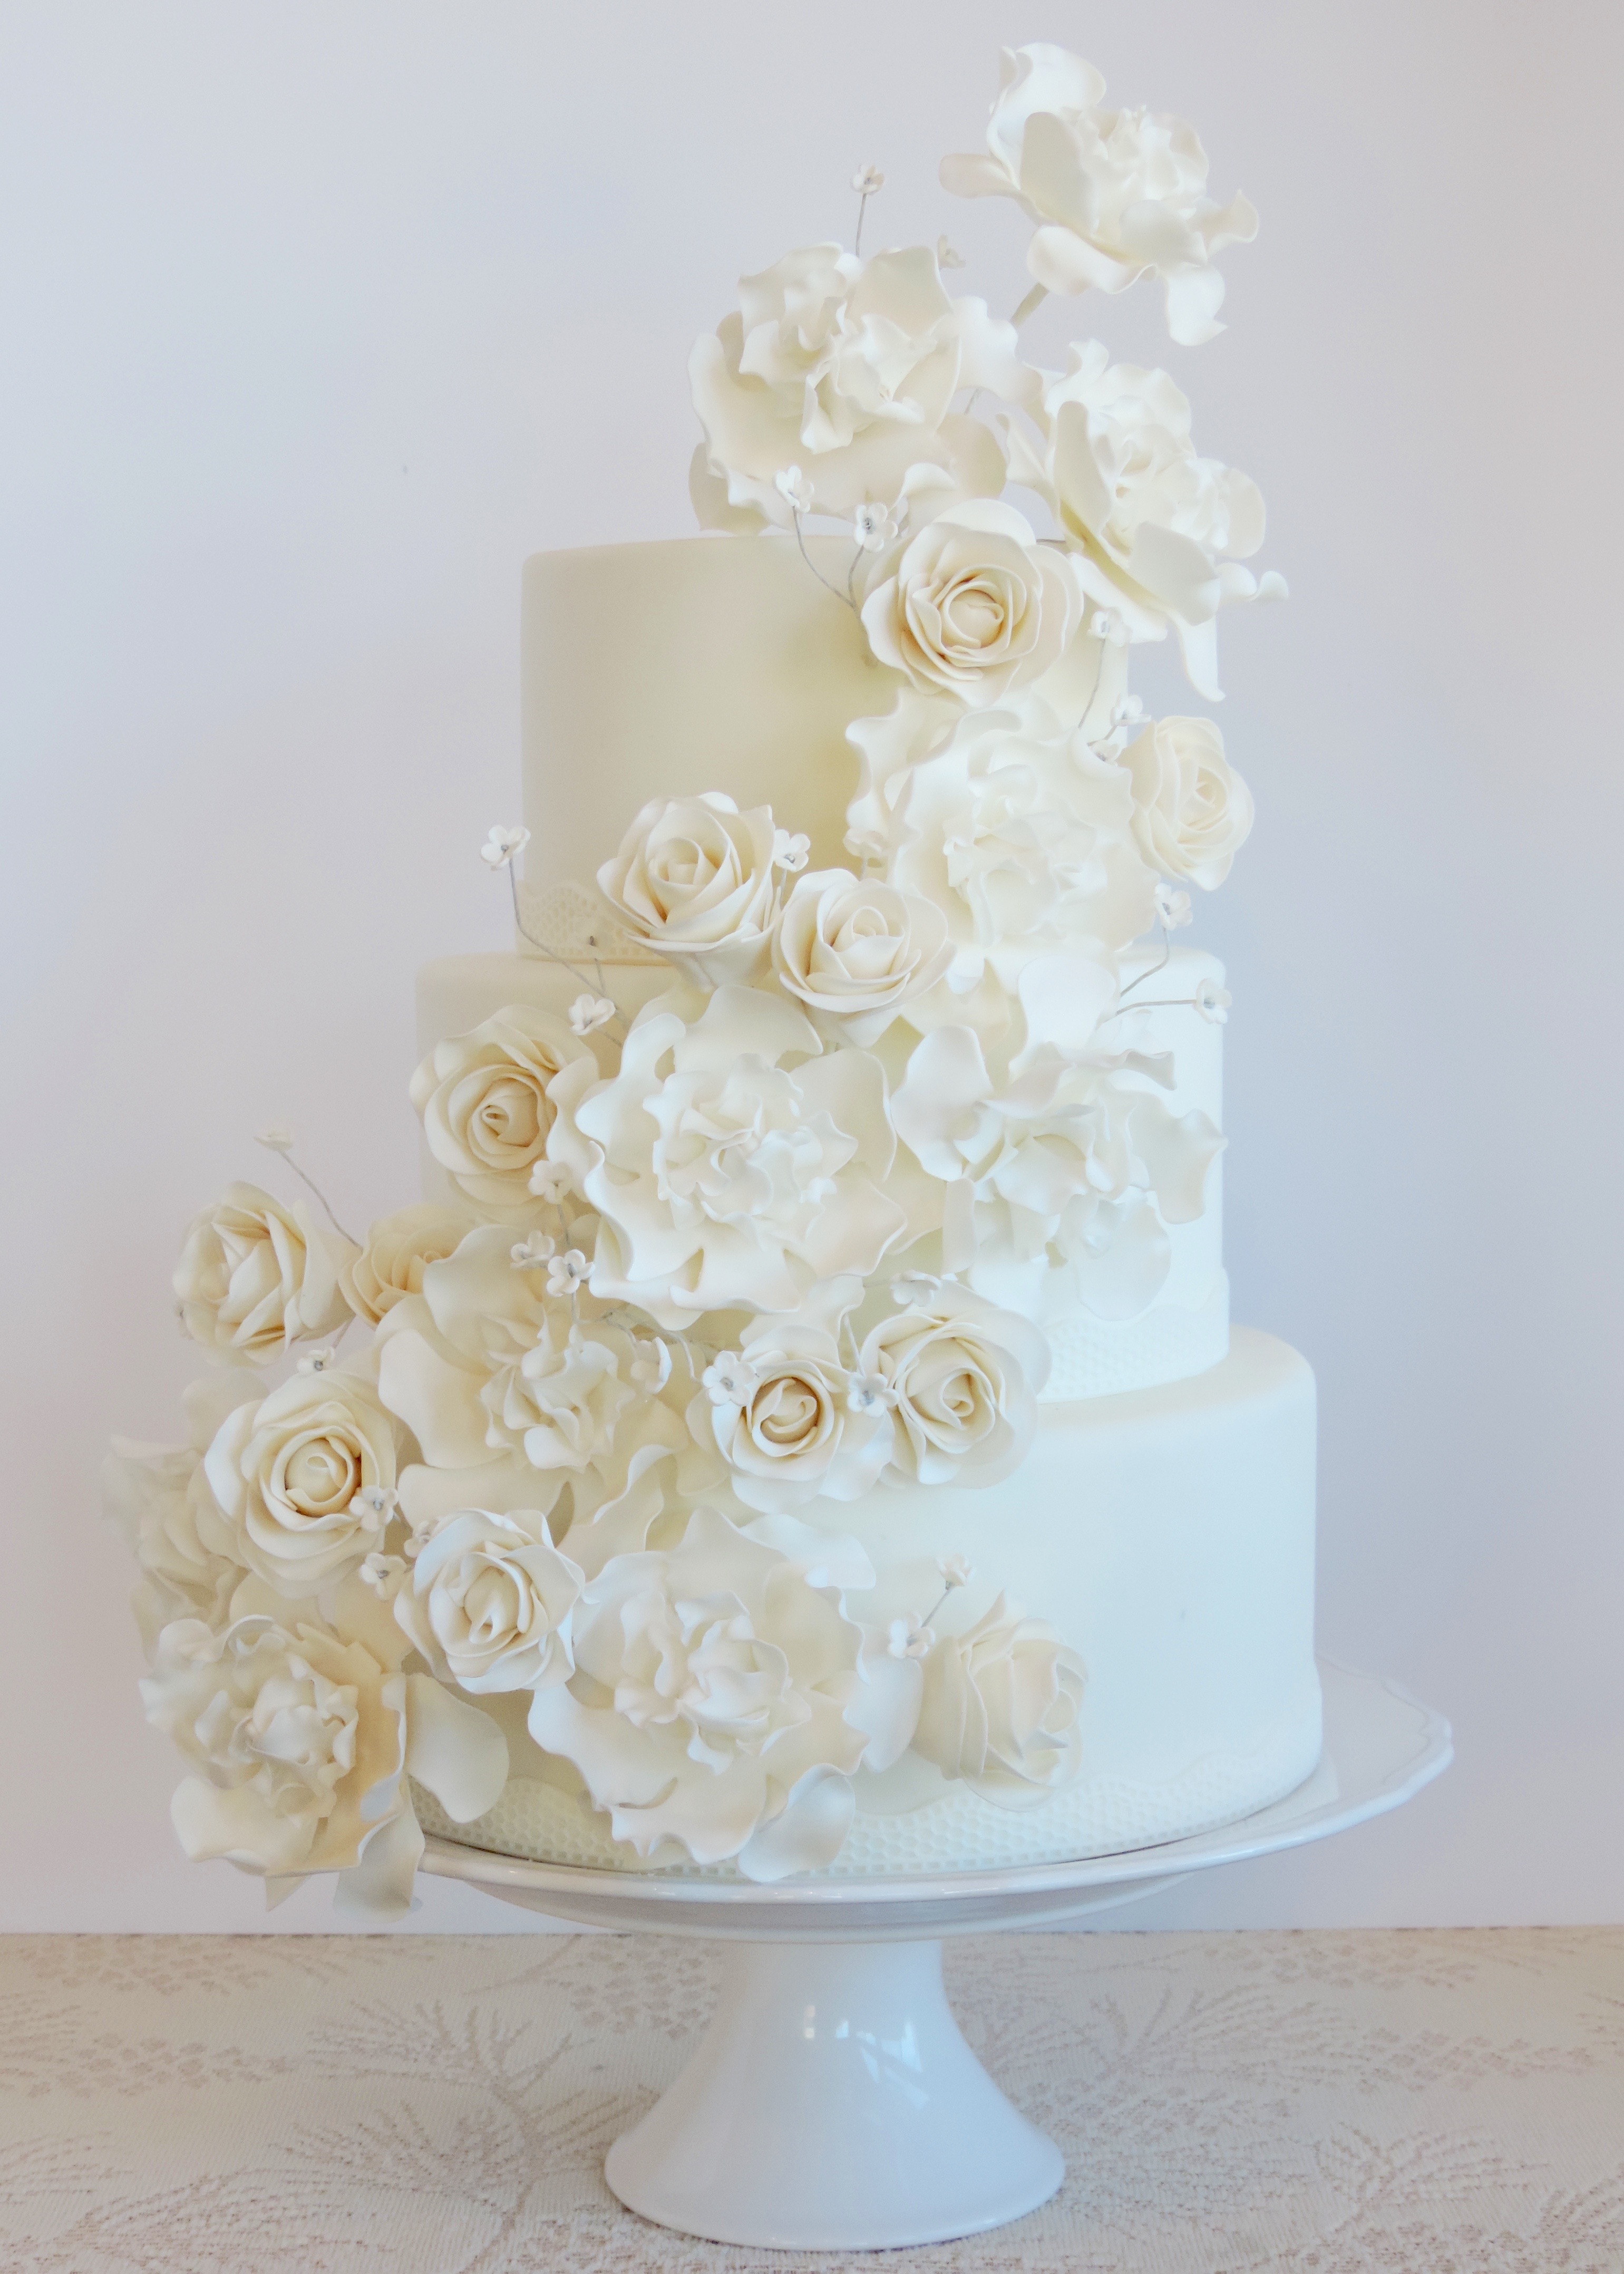
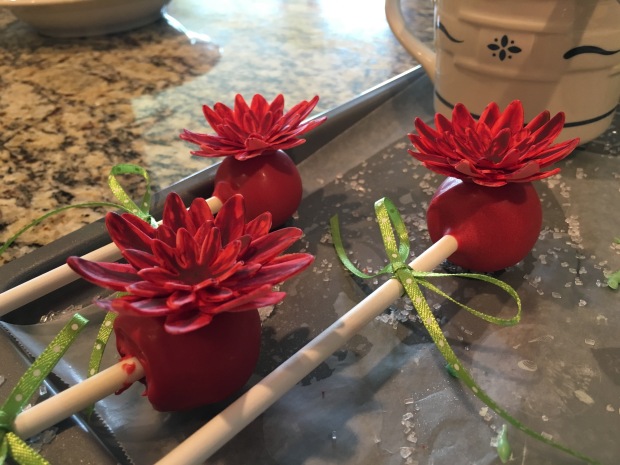
When my sister asked for treats for a Parisian-themed bridal shower, I just knew what would happen. And, exactly like usual, it happened.

My sister threw the most beautiful, coordinated shower ever. She has such an eye for design, color, and beauty, and so as with all her events, it was perfect.

She asked for a ruffle cake so I gave it a go- I’ve never tried one before- and I’ve decided that I can’t get enough of these ruffles! It’s a fairly easy process, as well. I used the method demonstrated here. black white pink ruffle cake

Look at this gorgeous table setting!!

black white pink bridal shower

black white stripe cake shower

A Parisian party wouldn’t be complete without some Eiffel Tower cookies, right? I purchased this stencil on Etsy, only to realize my airbrush machine wasn’t working properly. I had to go to plan C (plan B didn’t work, either) which was to brush luster dust over the stencil and onto the hardened pink icing. Much less labor-intensive than drawing each Eiffel Tower, but not as clean a result as an airbrush would have made. Next on my list, fix the airbrush…eiffel tower party favor cookies

pink fondant ruffle cake

Here are some other photos of the shower, in case you need some inspiration from the next generation’s Martha Stewart!

IMG_8400IMG_8401

A Willy Wonka Cake Made of Pure Imagination

Last fall, I entered a cake in the America’s Baking and Sweets competition. The theme was “Charlie and the Chocolate Factory.” After wracking my brain trying to think of an interesting design that showcased multiple materials and skills, I settled on what I hoped to be an award-winning sketch:

willy wonka cake sketch I wanted the cake to seem as if this magical, chocolatey world was literally gushing to life, straight from the book’s text. As if the reader were imagining it true.

A metal support screwed into a wooden base, with a wooden circle on top of which the two circular tiers would balance.

In the end, the cake looked pretty close to the sketch. And it turned out to be an award-winning sketch, after all- my fondant Wonka took home the top prize in the Theme Cake division. Yahoo!!

The first thing I needed to do was find the appropriate passage in the book- the part where he describes the rivers of cascading sweetness. (Ok, I’m getting hungry writing this post!) I typed the passage, printed it out, and cut each word out so I could place them on the cake evenly. I used a food-dye marker to hand-write the words, and then drew the illustrations and painted them with food coloring mixed with extract. Ta-da! My favorite part of this cake, the book! ❤

charlie chocolate factory willy wonka book cake Next came Wonka’s face. While looking at a cartoon of him, I hand-drew the face and then cut out the various shades. Then, using fondant I had already mixed those colors, I rolled it out, placed the “puzzle piece” on top, and cut out the fondant piece. One by one, I cut out the pieces and placed them together until it looked like the devious chocolatier.

step by step willy wonka face made of fondantNext it was time for the goose that lays the golden eggs. I made wings and a body out of gum paste and let them dry for several days. Once they were completely hardened, I stuck the wings inside the body and began layering wafer paper feathers. I cut out tiny triangles, and, beginning from the tail section, laid them on, leaving the end of each feather un-glued. Once the feathers were complete, I ran a damp paintbrush over the feathers so they would curl up a little bit.

wafer paper swan goose cake Layering on the green-dyed wafer paper:

willy wonka cake wafer paper grass willy wonka cakeAnd the final product! Wonka in all his glory!

willy wonka cake close up willy wonka cake goose egg mushrooms willy wonka cake What movie can you think of that would make an interesting cake? Let me know in the comments below!

Painting on Cookies: 6 four-inch Portraits

Ok, the cat is out of the bag. I like art. So when I hosted a painting party on New Year’s, I couldn’t help but bring some cookie treats. The people attending the party had each chosen an artist and I used some of their choices to help decide which paintings to put on the cookies. I also included an icing version of the artist’s actual signature.

All cookies were decorated with royal icing and/or painted with gel food coloring. The one below, for example, was done using a pointed tool dipped in icing and then dabbed onto the cookie. All I can say is, thank goodness this cookie is only 4 inches, because… I did not like this particular step. how to paint cookies lichtenstein Next on my purchase list: a rectangular cookie cutter. I don’t own one, so I used a tupperware to cut the cookies out. And how awful it looks! Bumpy and uneven edges. One would think that I would have just used a knife, for pete’s sake. Alas. So here are some pretty paintings on really awfully-cut cookies.

cookie painting daliIMG_0510(Sorry about Leonardo’s photoshopped leaf, but this is a G-rated blog, people!)

cookie painting vermeer pearl earringcookie painting lichtensteincookie painting frida kahlo cookie painting warholIf you’re as interested as I am in the fusion of sweets and art, you can find my other art-cakes at the following links:
Renaissance: Michelangelo with modeling chocolate
Renaissance: da Vinci with food coloring
Impressionism: Monet with Nerds candy
Impressionism: Monet with royal icing
Impressionism: Cezanne with apple peels
Post-Impressionism: Van Gogh with buttercream
Cubism: Picasso with fondant
Photography: Adams with chocolate shavings
Surrealism: Dalí with gum paste and food coloring

Flowerpot Cake Pops

I have a conundrum. I can’t decide how I feel about cake pops. They are cute, but they are painstaking work for very little gustatory satisfaction.

red flowers on cake pops in flower pots
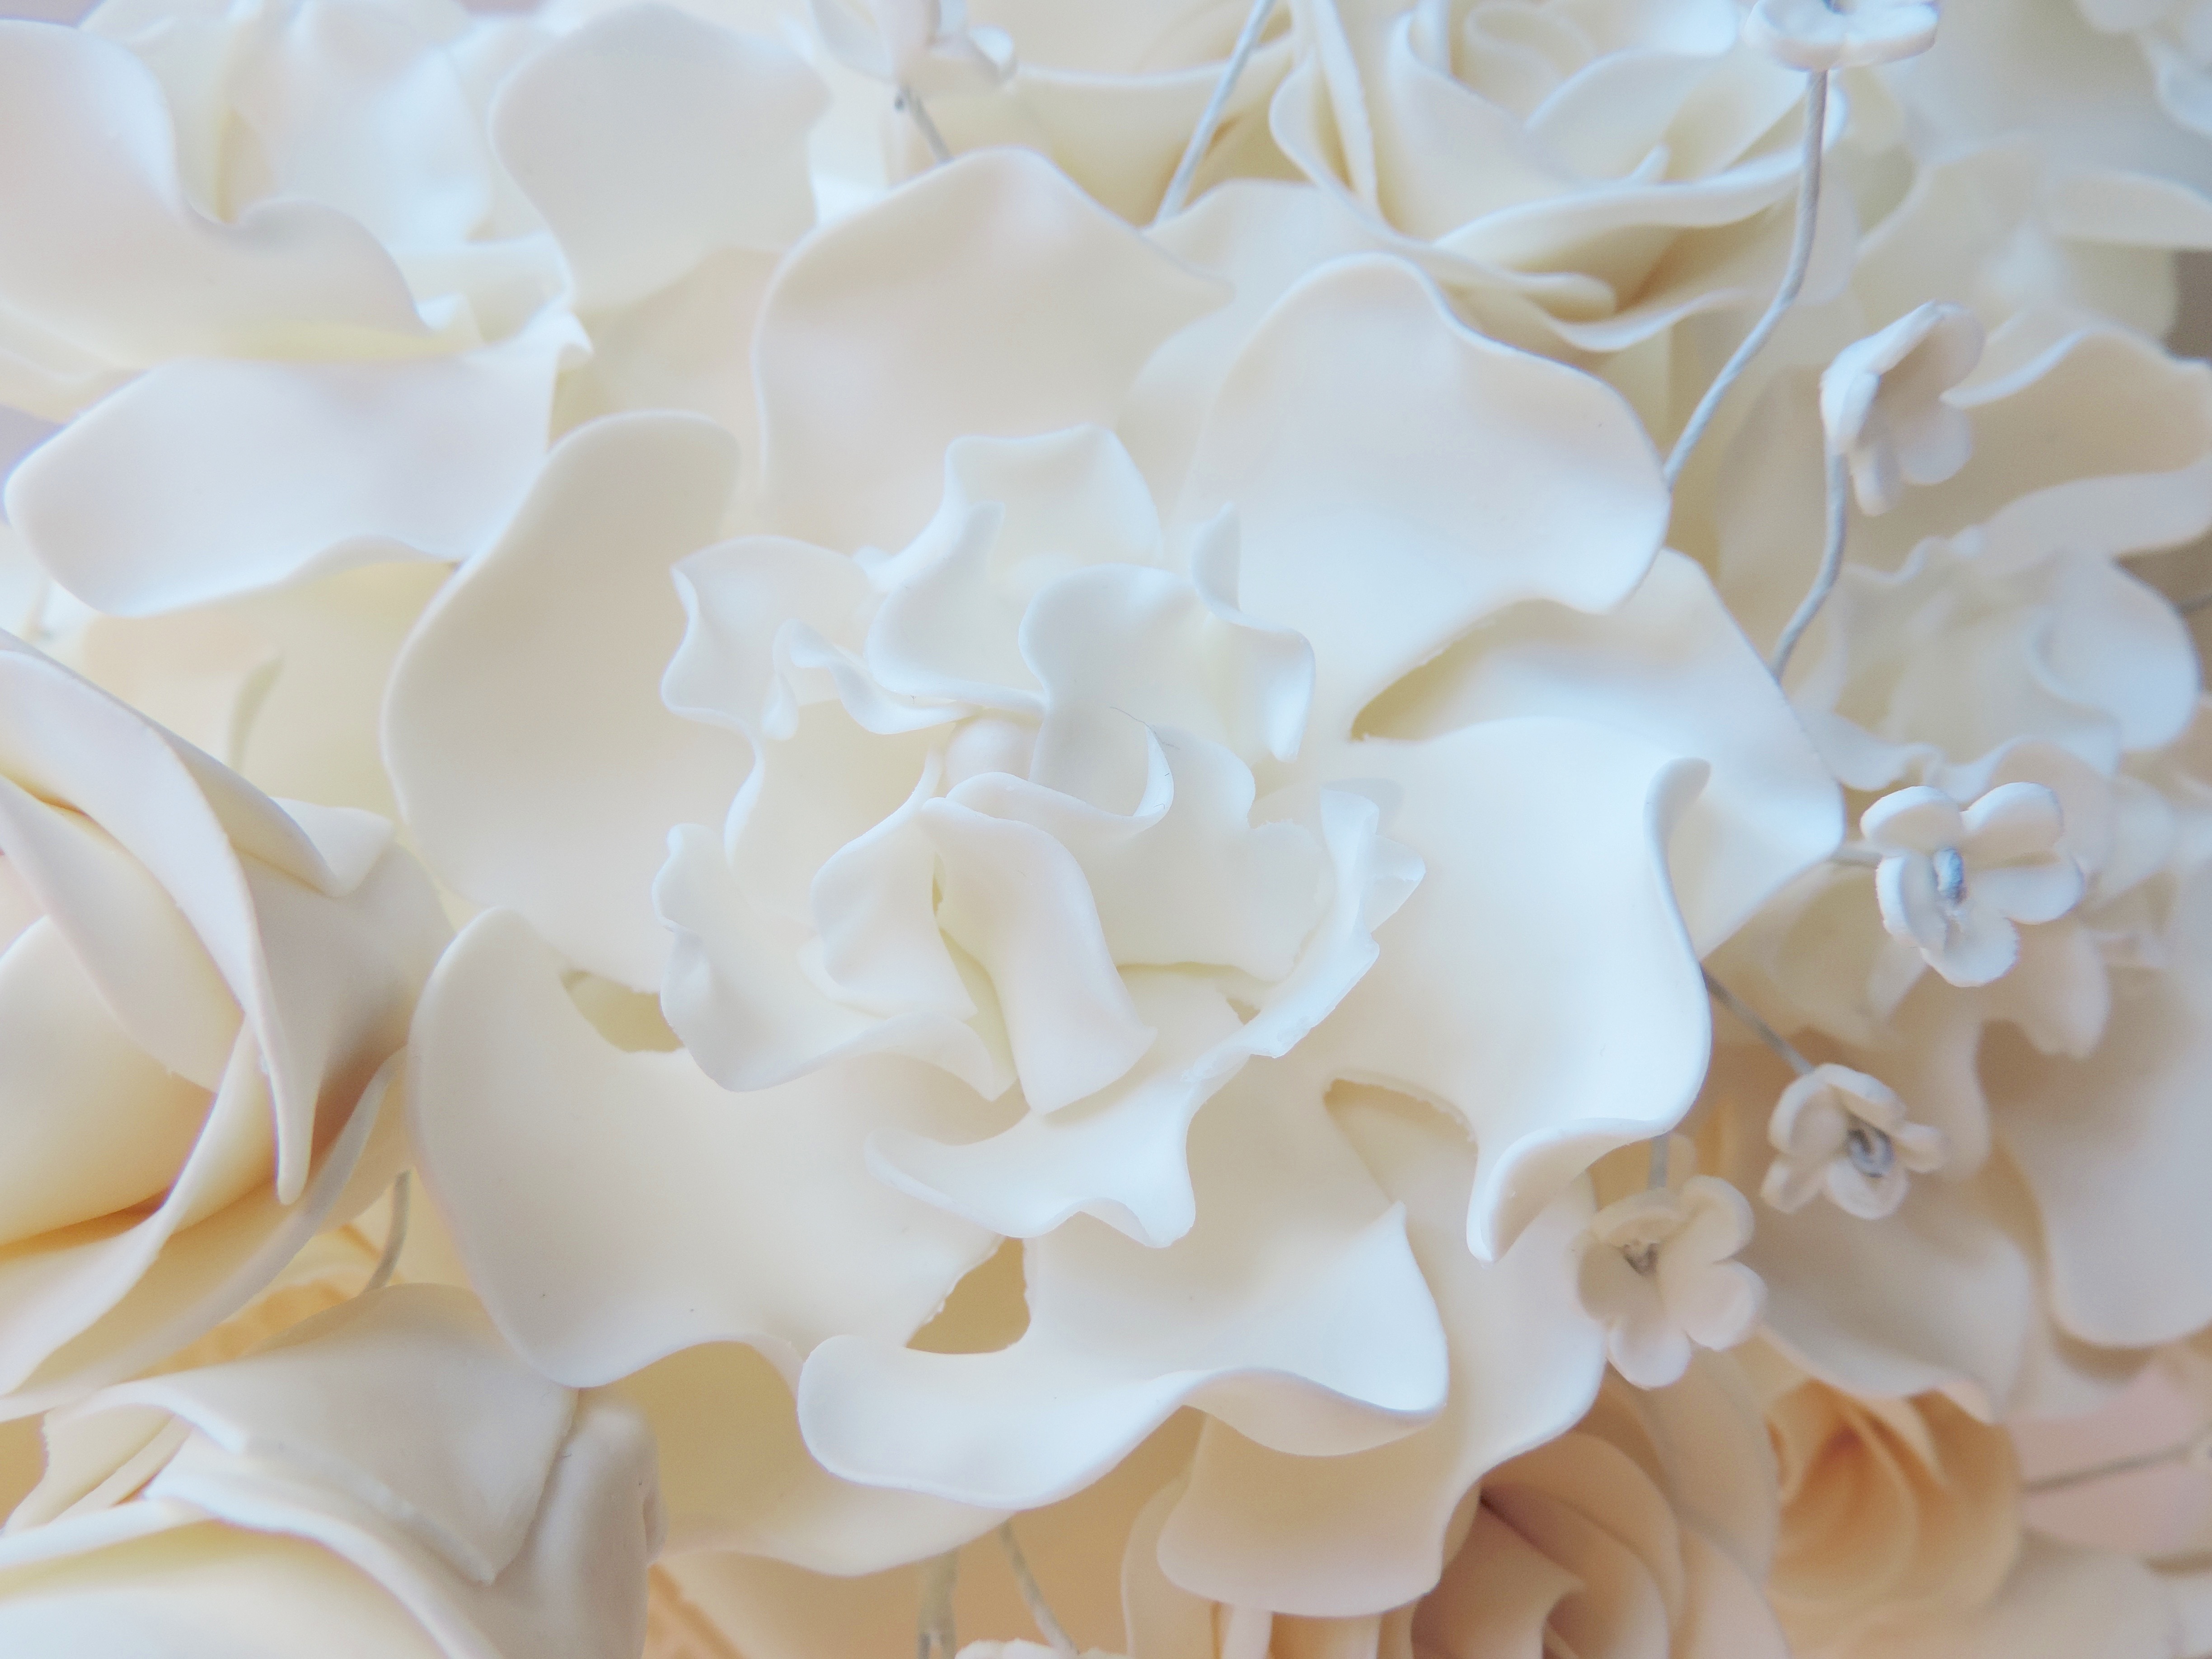
With leftover cake scraps, as well as leftover pink gum paste, I decided to try some cake pops that might look like flowers. Using a flower cutter, I punched out a few sizes of flowers, and once hardened, I painted them with food coloring mixed with vanilla extract. (For a more in-depth explanation of how to actually make the cake pop, click here for Chicago Cubs cake pops, here for roses, or here for Easter eggs.)

painting red gum paste flowers

Once the flowers were painted and the pops were ready, I used a little bit of melted candy melts to stick them together.

adding gum paste flowers to cake popsflowers on cake pops from side

Put a little styrofoam circle in the bottom of a planter, surround with some decorative grass, and stick in your cake pop. Ta-da!

cake pops with flowers

They might look like flowers from the front, but the cake pops are definitely hiding back there! 🙂

red flowers on cake pops from side

Cute, right? I can just imagine them as decorations at a garden party, or favors at a bridal shower, with the colors, of course, customized to the event.

But again, it’s just… they’re, like, two bites. Honestly. All that work for two bites.

BUT THEY’RE SO CUTE!

Let me know what you think in the comments. Yay or nay to the pop?

red flowers on cake pops


Chicago Cubs Cake Pops!

As I sit here begrudgingly watching the Sharks and Penguins play rather than my beloved Blackhawks, I can take solace in the fact that hey, the Cubs are currently 39-15! That’s pretty good, right?!

Making cake pops is easy. Seriously. Especially this kind where the pop is on the bottom of the stick. Here is a very easy recipe for success:

STEP 1: Mix together some old cake scraps (or a fresh cake, whatever!) with some store-bought frosting. Mix until it holds together. (One box of cake will need approximately a half to two thirds a can of frosting, I think. You don’t want to add too much because then it’s just goopy.)

STEP 2: Form balls and place in freezer for a few minutes to firm up.

STEP 3: Melt some candy melts, dip a stick in the candy melts, and insert into the cake pop. Place back into the fridge to keep firm.

how to make cake pops STEP 4: Decorate! For the baseballs, I dipped the cake pops in white candy melts and let them harden. (It only takes a few minutes in the fridge.) Then, using a sharp metal tool, I literally drew on the baseball stitching lines. The only annoying thing is keeping the candy melts warm- I took repeated trips to the microwave.

IMG_7625cubs baseball cake popsFor the Cubs logo, I used a little blue fondant to make the circle, and I drew on the red with the candy melts.

cubs baseball cake pops close up Final step: Tie with a cute bow!

blue bow on cake pops Version 2 close up cubs baseball cake pop

Boot Camp Cake for a Hero’s Send-off

Recently, I was asked to do a cake for a young man going off to boot camp. And while I always try to please customers, I especially wanted this one to be perfect. It seemed like my tiny little way to say thank you.

boot camp cake fondant modeling chocolate boots 2

I wanted to make the boots look as real as possible, so I elected to make them out of modeling chocolate rather than actual cake. (Had they been entirely cake, the cake would have gone stale before I had time to finish all the detail work. Making them out of chocolate ensured I could work on them at night after work over the span of a few days.) And seeing how they are life-size boots, I decided to have the center be styrofoam so that they were lighter, since I knew I was planning on putting the boots on top of a cake.

how to make modeling chocolate bootsTo make the camouflage fondant, I colored chunks of fondant various shades of green and brown. I rolled them into small balls and then placed them close together. (It looks like this would be a fast process, but placing them together was a bit like a puzzle. Of course, you wouldn’t want to place to of the same color directly next to each other. Otherwise you don’t get the camo effect.)

Once the balls were placed, I rolled them out with a rolling pin. Voila…. camouflage fondant!

making camouflage fondant for boot camp cake

Lastly, I added the details. An American flag draped near the boots, and “Semper Fi” written on the side. For that I cut the yellow letters with an exacto knife and then laid them on red fondant and then cut around the words. Ta-da!

semper fi fondant cake

So thank you, Christopher, and everyone else. Thank you for your sacrifices in order that the rest of us may live freely. boot camp cake fondant modeling chocolate boots

Carving a Police Car Cake

In honor of National Police Week, I decided to make a police car cake and bring it to our local station. And though it ended up looking like something out of a 1950s gangster movie, I would imagine they ate it anyways. 🙂 So after a bit of research, which involved a short-lived numbskull idea to go to the police station and take photographs of their cars (I can imagine the headlines: “Local teacher arrested for suspicious behavior in police station parking lot”), I decided on a design and set to work.

STEP 1: Begin with a ridiculously thick pound cake batter. There are FOURTEEN EGGS in these two pans. I mean….is that even legal? The comments on the recipe I used here said the cake was delicious, but I guess the yolk’s on me if this cake isn’t egg-xactly everything it’s cracked up to be.

(Sorry. I’ll stop.)
(And yes, the cake was egg-shell-ent.)

pound cake batter

STEP 2: Once the cakes are cooked, layer ’em up and start to carve! Be careful, because you can’t ever put cake back on. (Lesson learned the hard way.)

carving a police car cake STEP 3: Frost!police car cake carving with frosting STEP 4: Add the fondant details…

fondant details of police car cake STEP 5: Deliver to the police station in honor of National Police Week. Thank you for all that you do!

police car cake in parking lot police car cake