“Do or do not. There is no try.”
I recently watched these movies for the first time (I know, I know) as part of a year-long project. (I turned 30 this year and made a goal to have 30 new experiences during my 30th year!) Since I’d never seen any of the Star Wars movies, I decided it was high time! And who better to share it with than my dad, the Ultimate Fan? (We once went to a Star Wars concert and there were Stormtroopers milling about. My dad insisted on waiting in line to take a photo with them. There he stood in the long line, the oldest person by at least 40 years… but you’ve gotta admire his tenacity!)
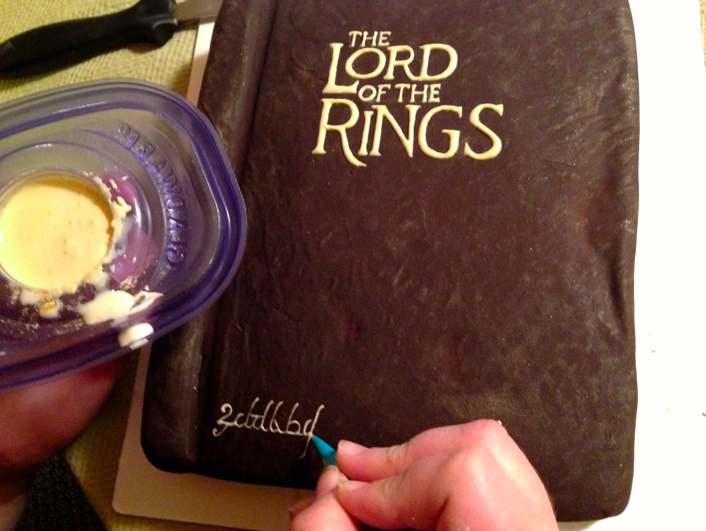
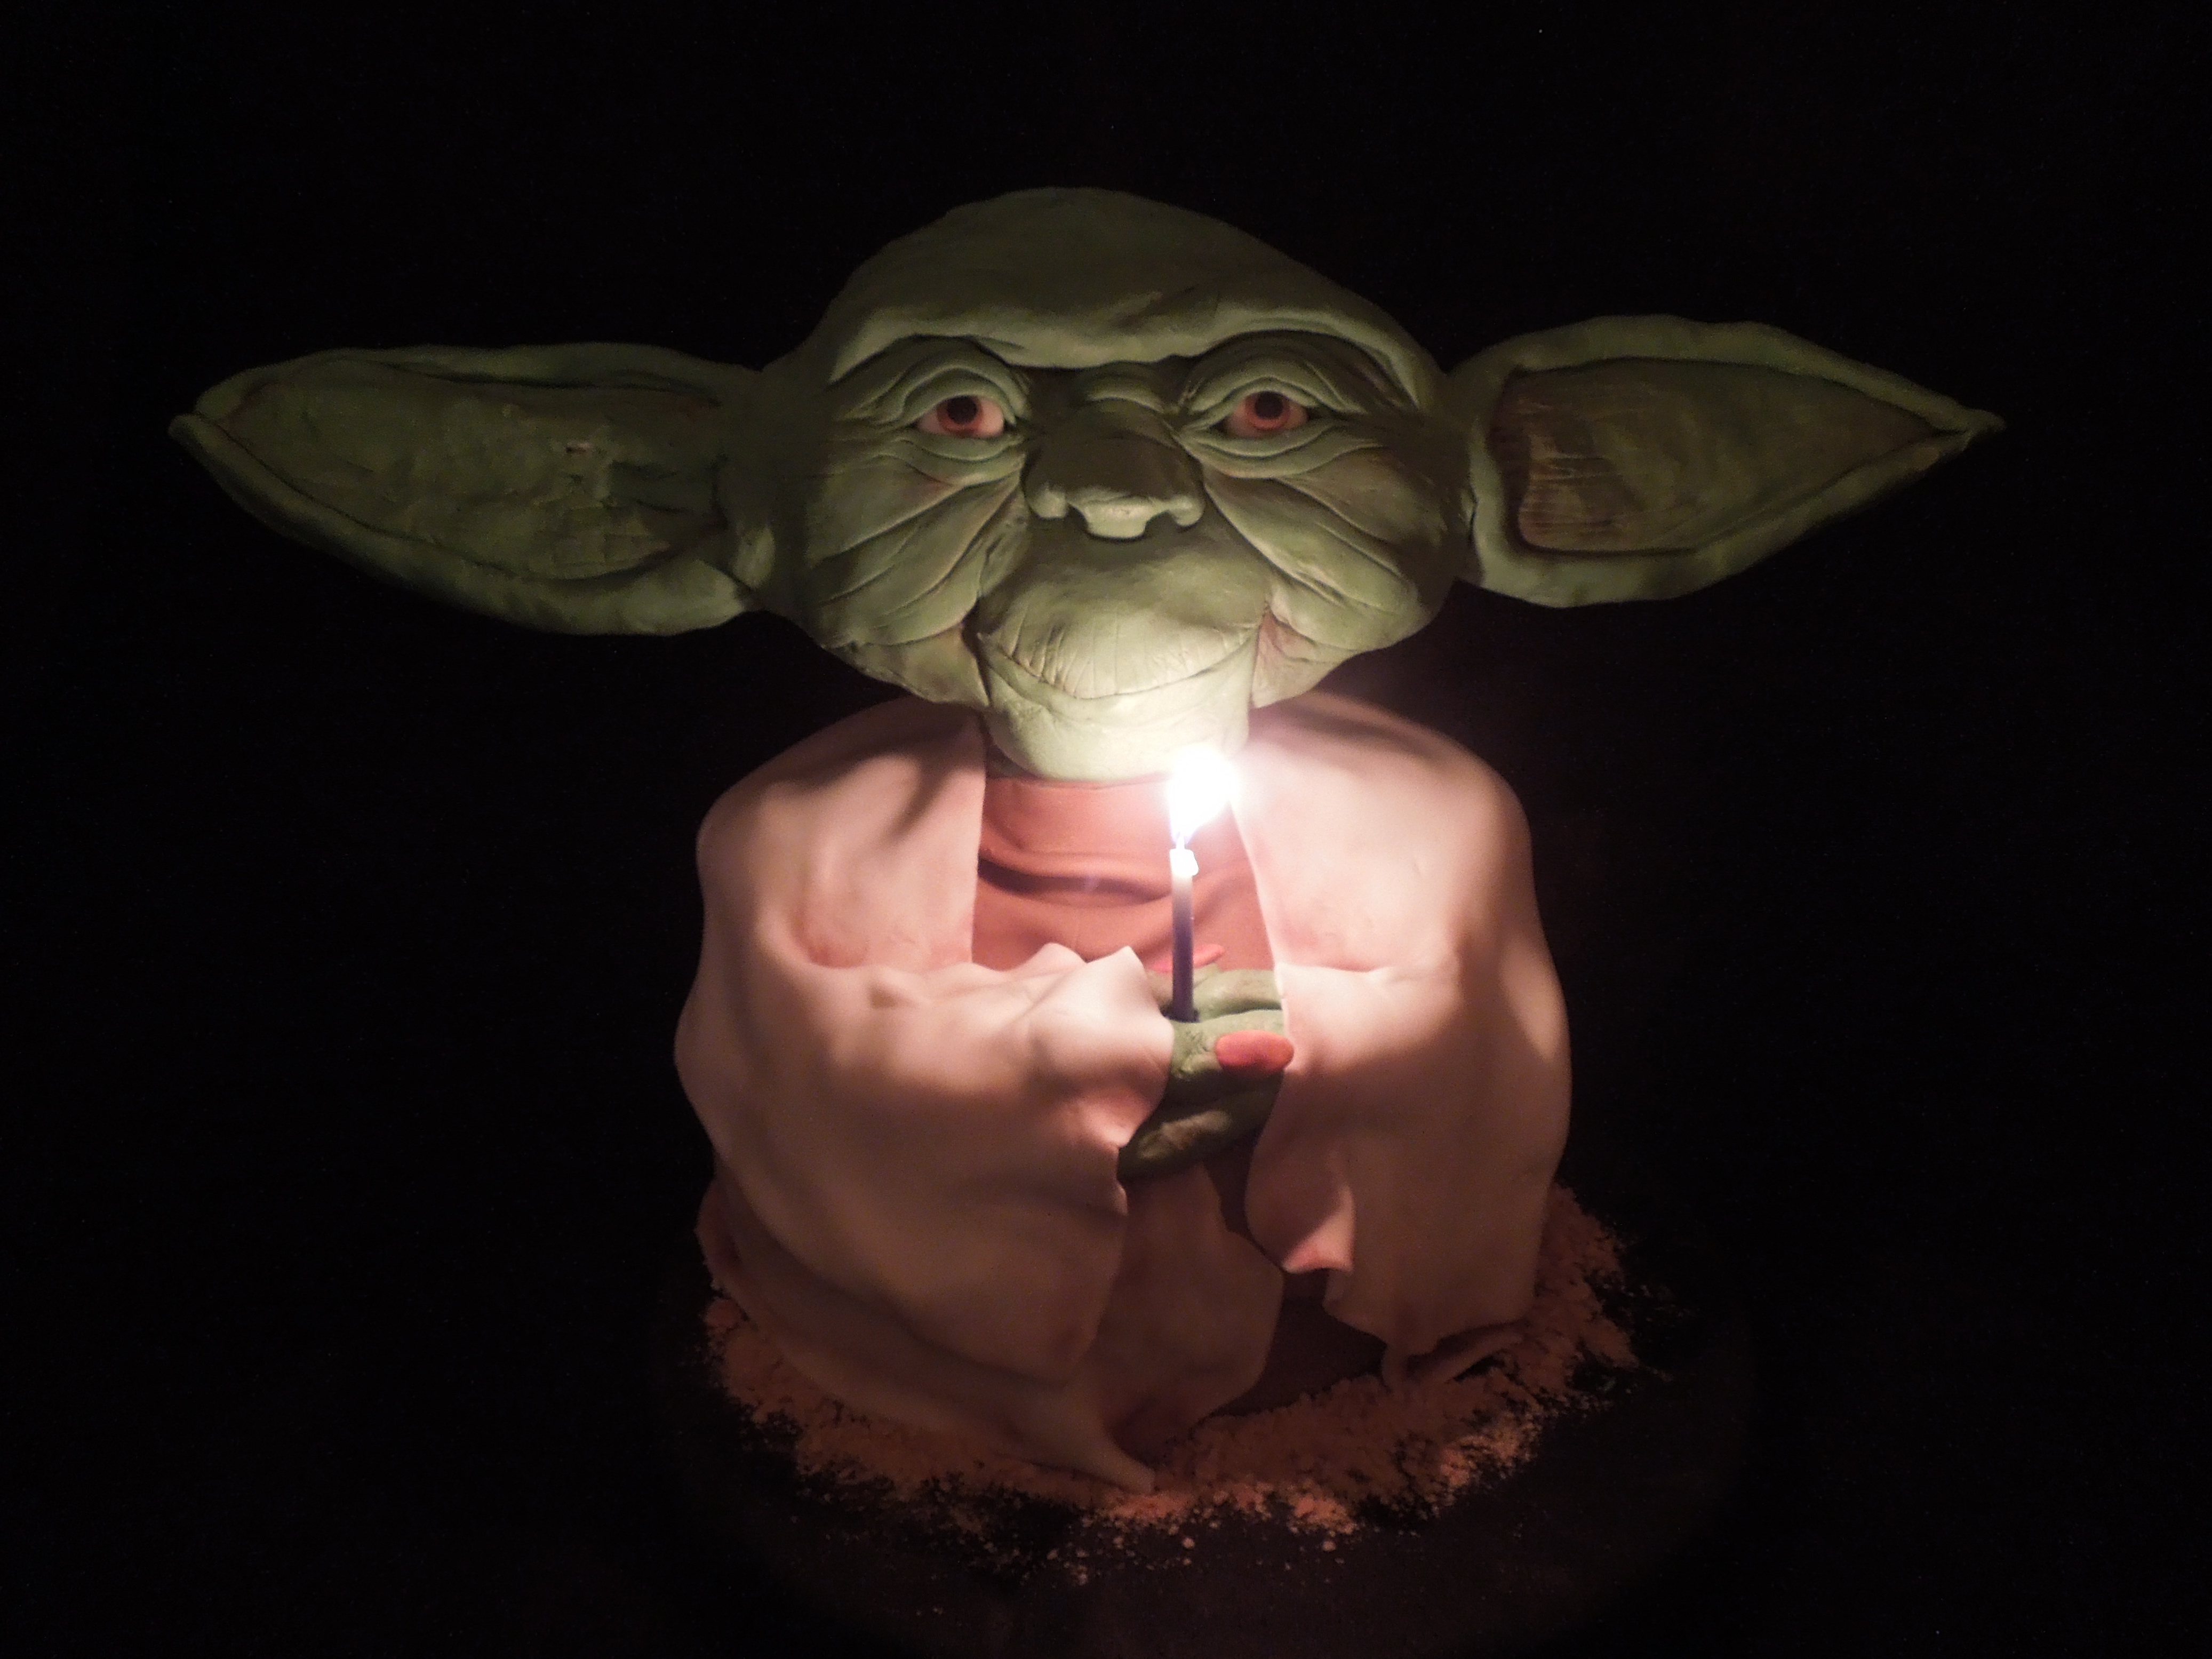
Anyways, of the entire series, the line that stuck with me the most was that one: “Do or do not. There is no try.” When it came time for my dad’s birthday, it was pretty clear that Yoda was the man on the menu!
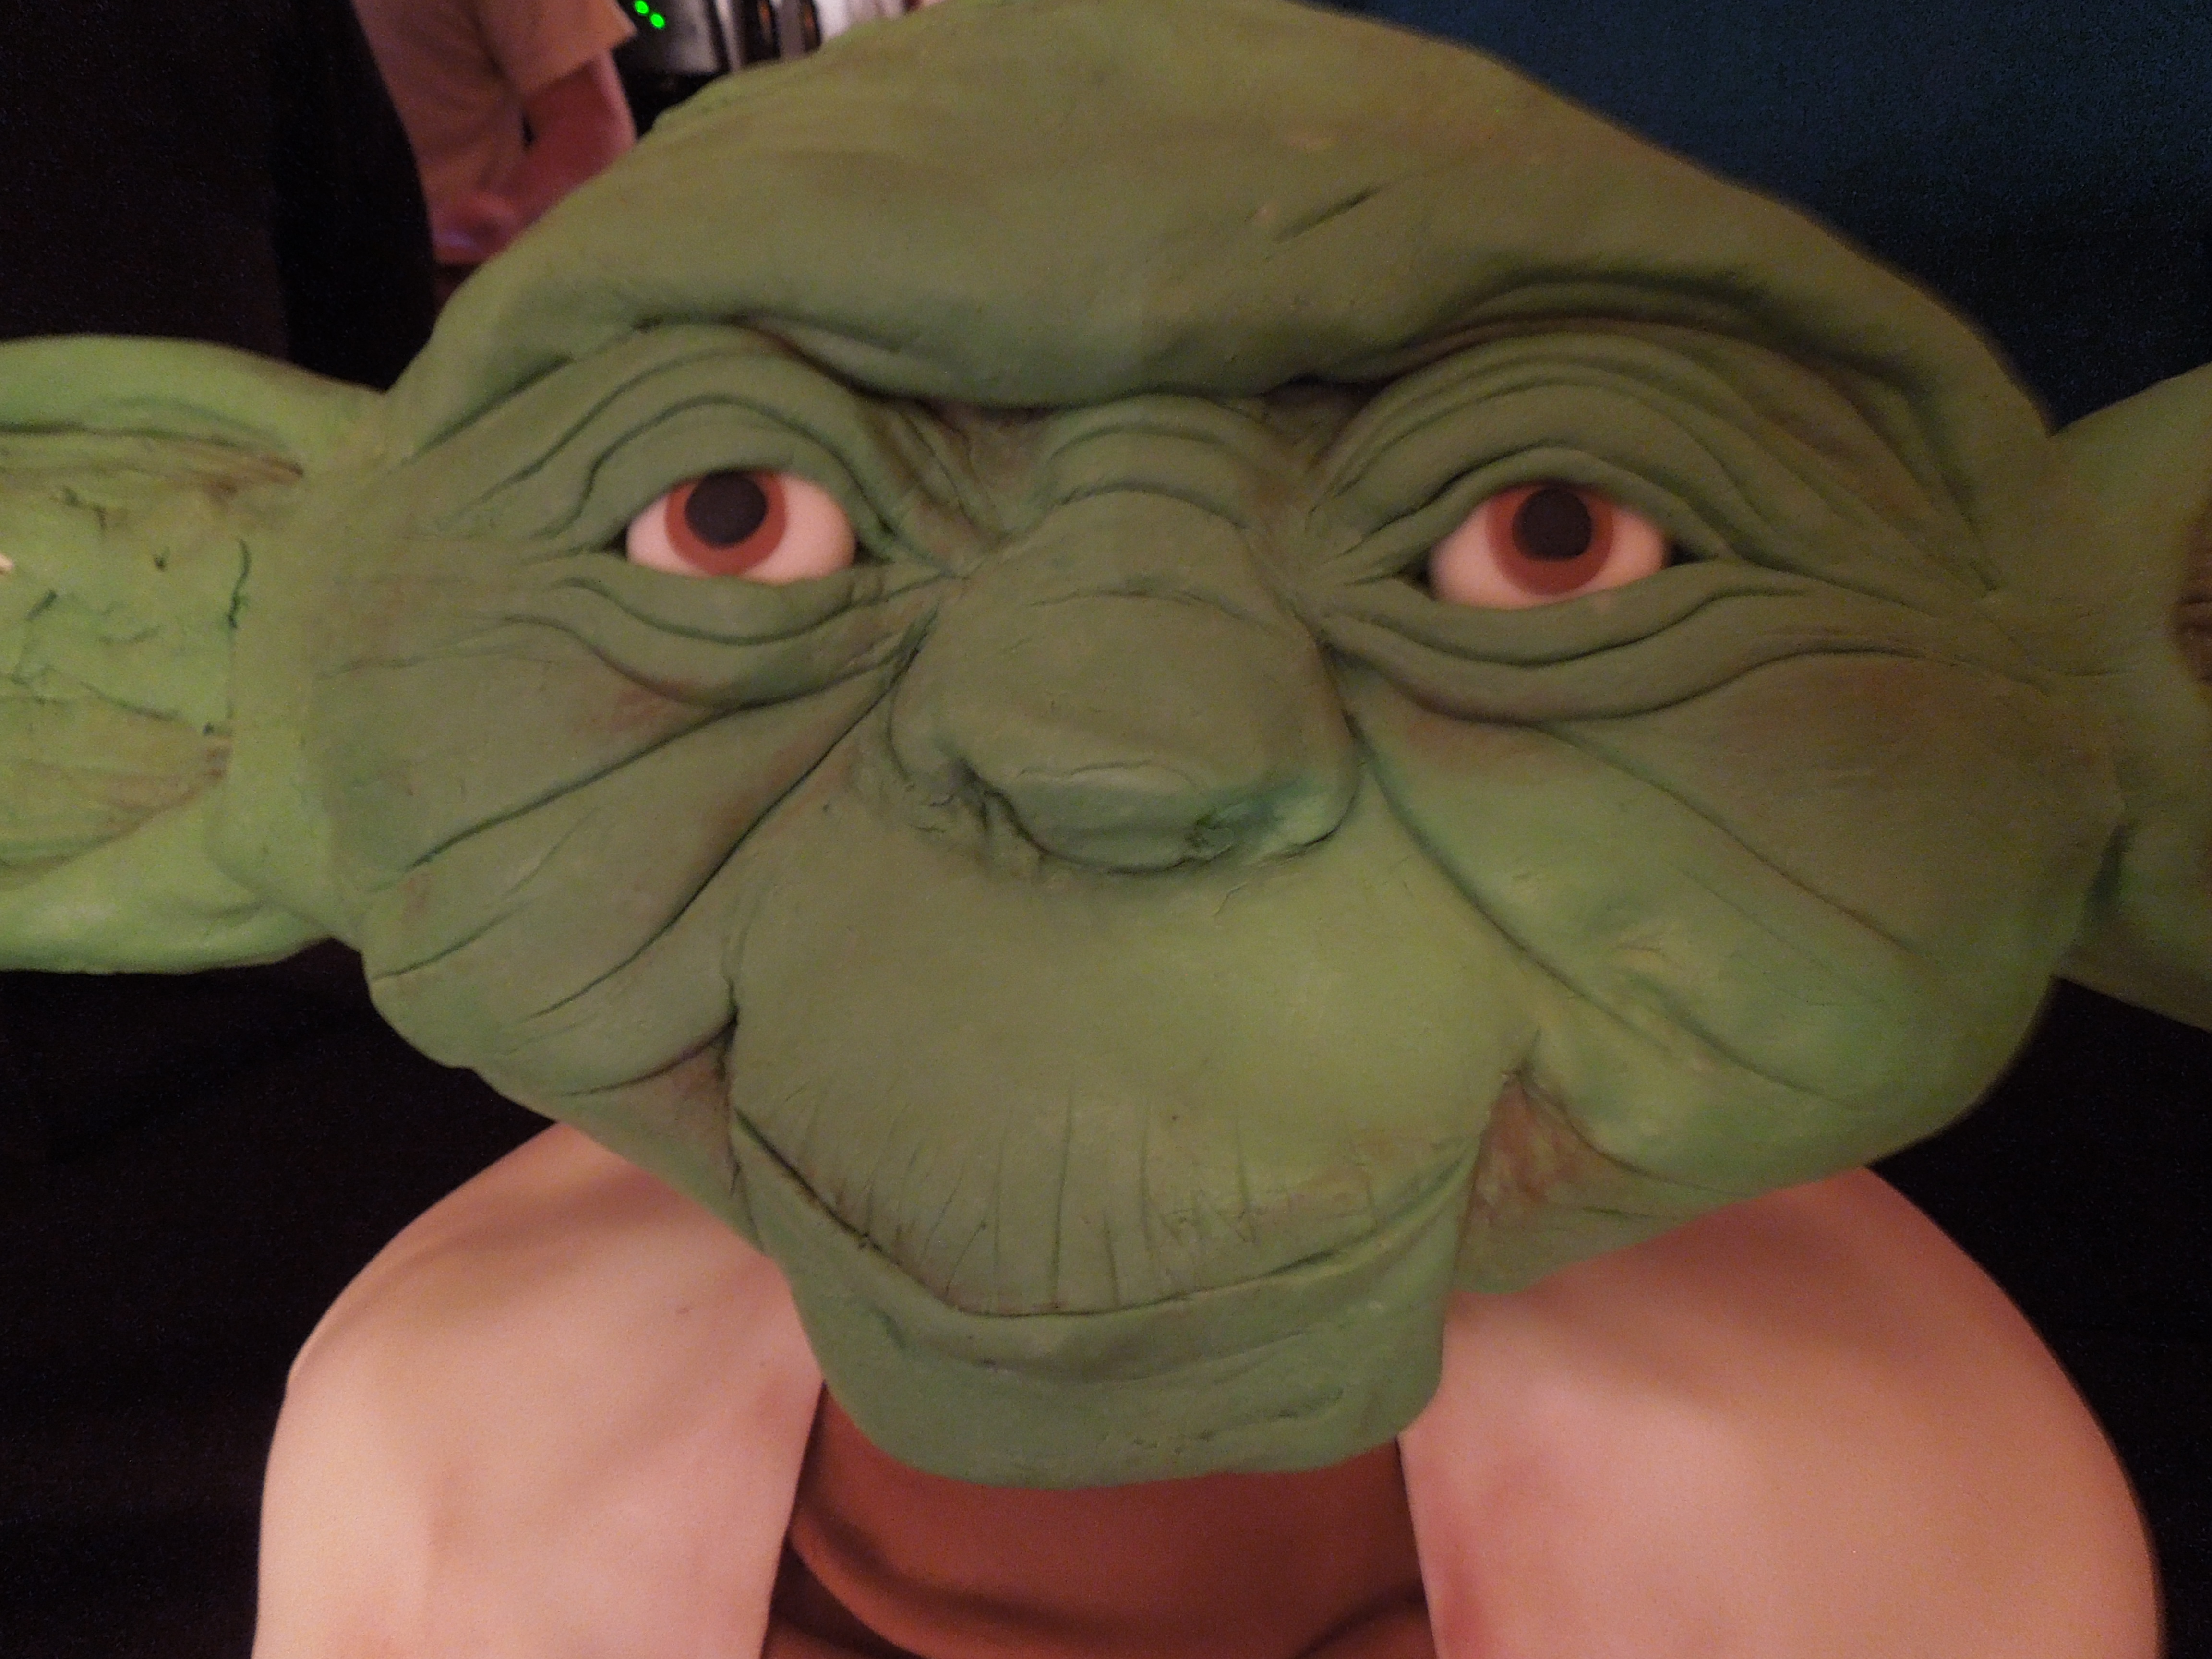
This was my first experience using modeling chocolate, and let me enlighten you on its many wonders! I’ve used fondant a bit, but with fondant, it’s basically impossible to work out seams. With modeling chocolate, you can stick on another piece and blend the two together so it is seamless. This works perfectly for creating Yoda’s face. Take a look below at the process! Simply start by covering a piece of styrofoam, and then add on from there. Use pointed tools to create wrinkles and other texture. (His face became flattened, a condition from which he never recovered, in between the fifth and sixth pictures, when I accidentally set him down face-first.) 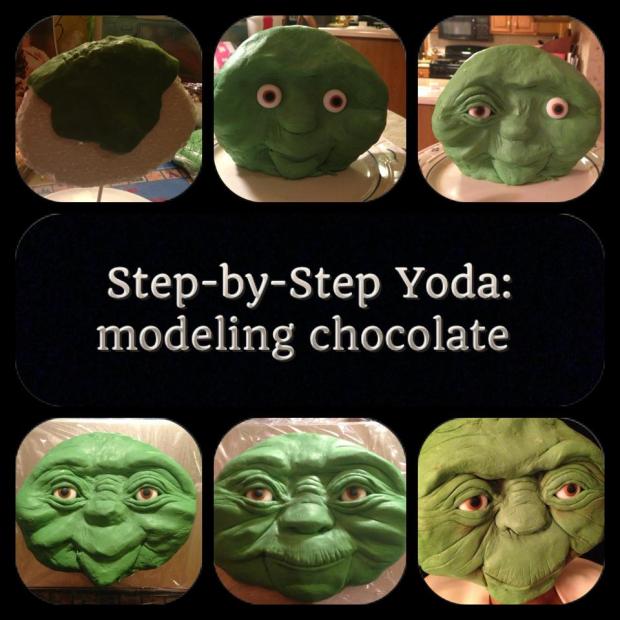
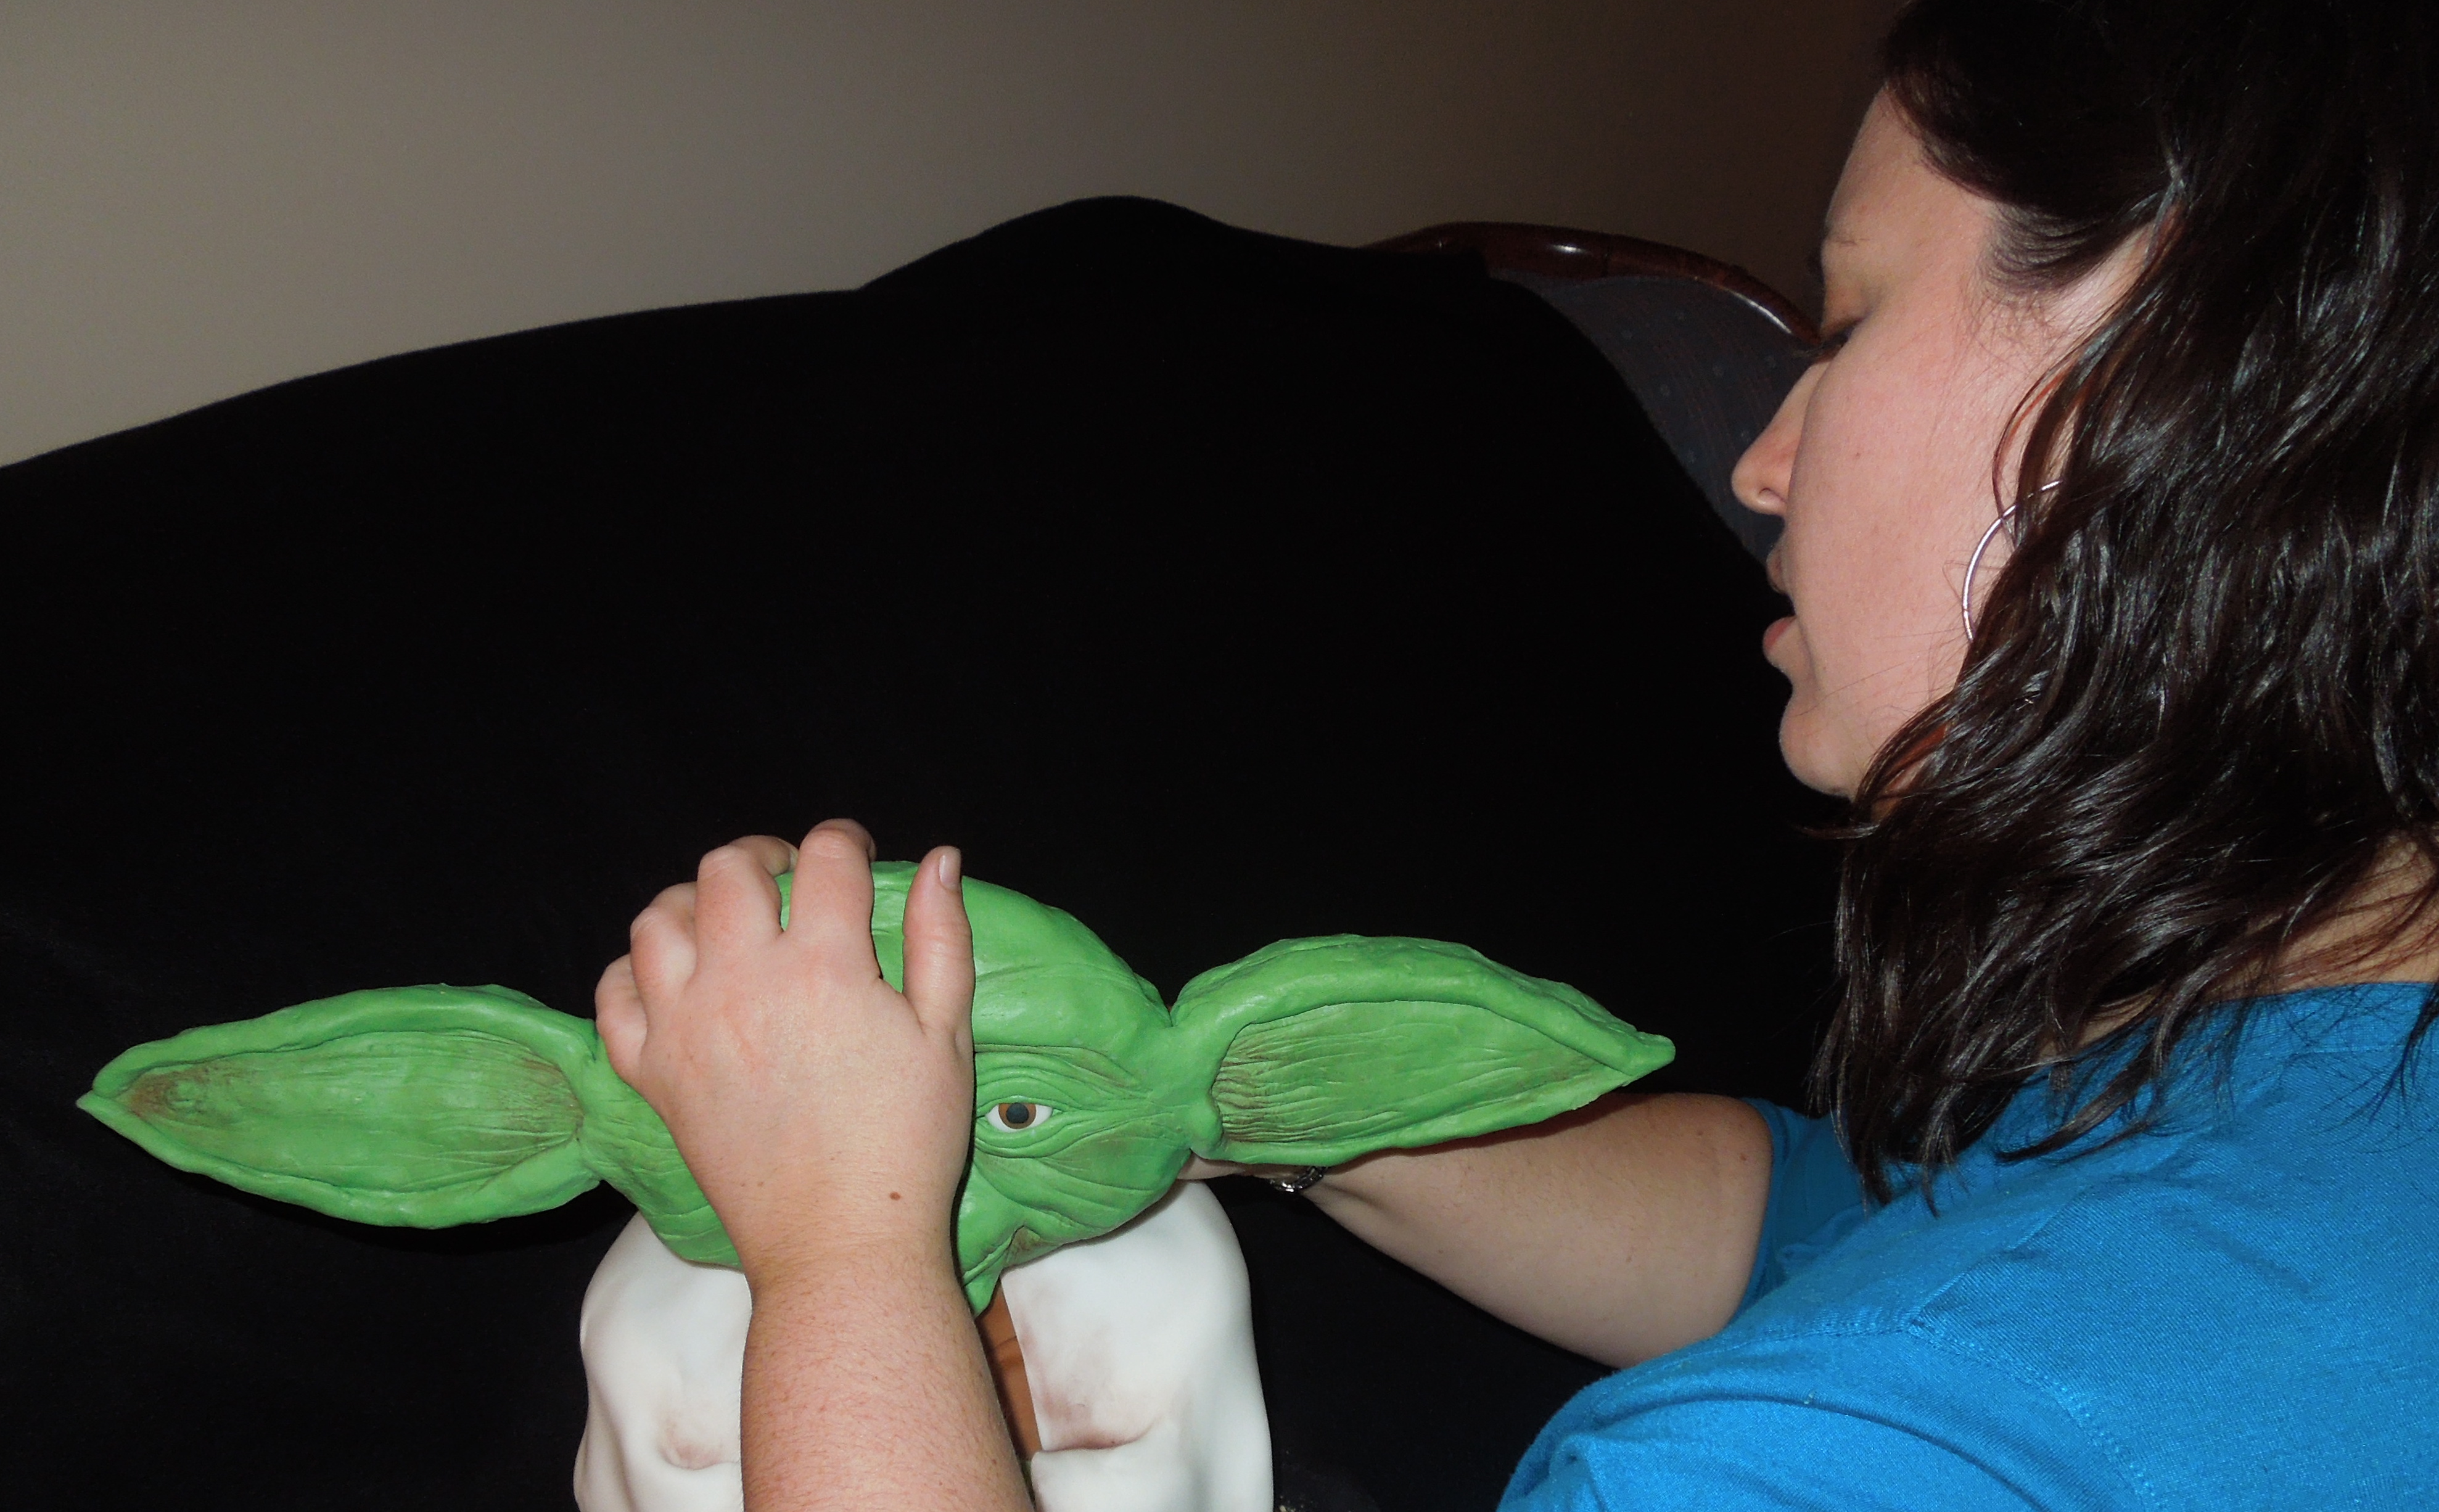
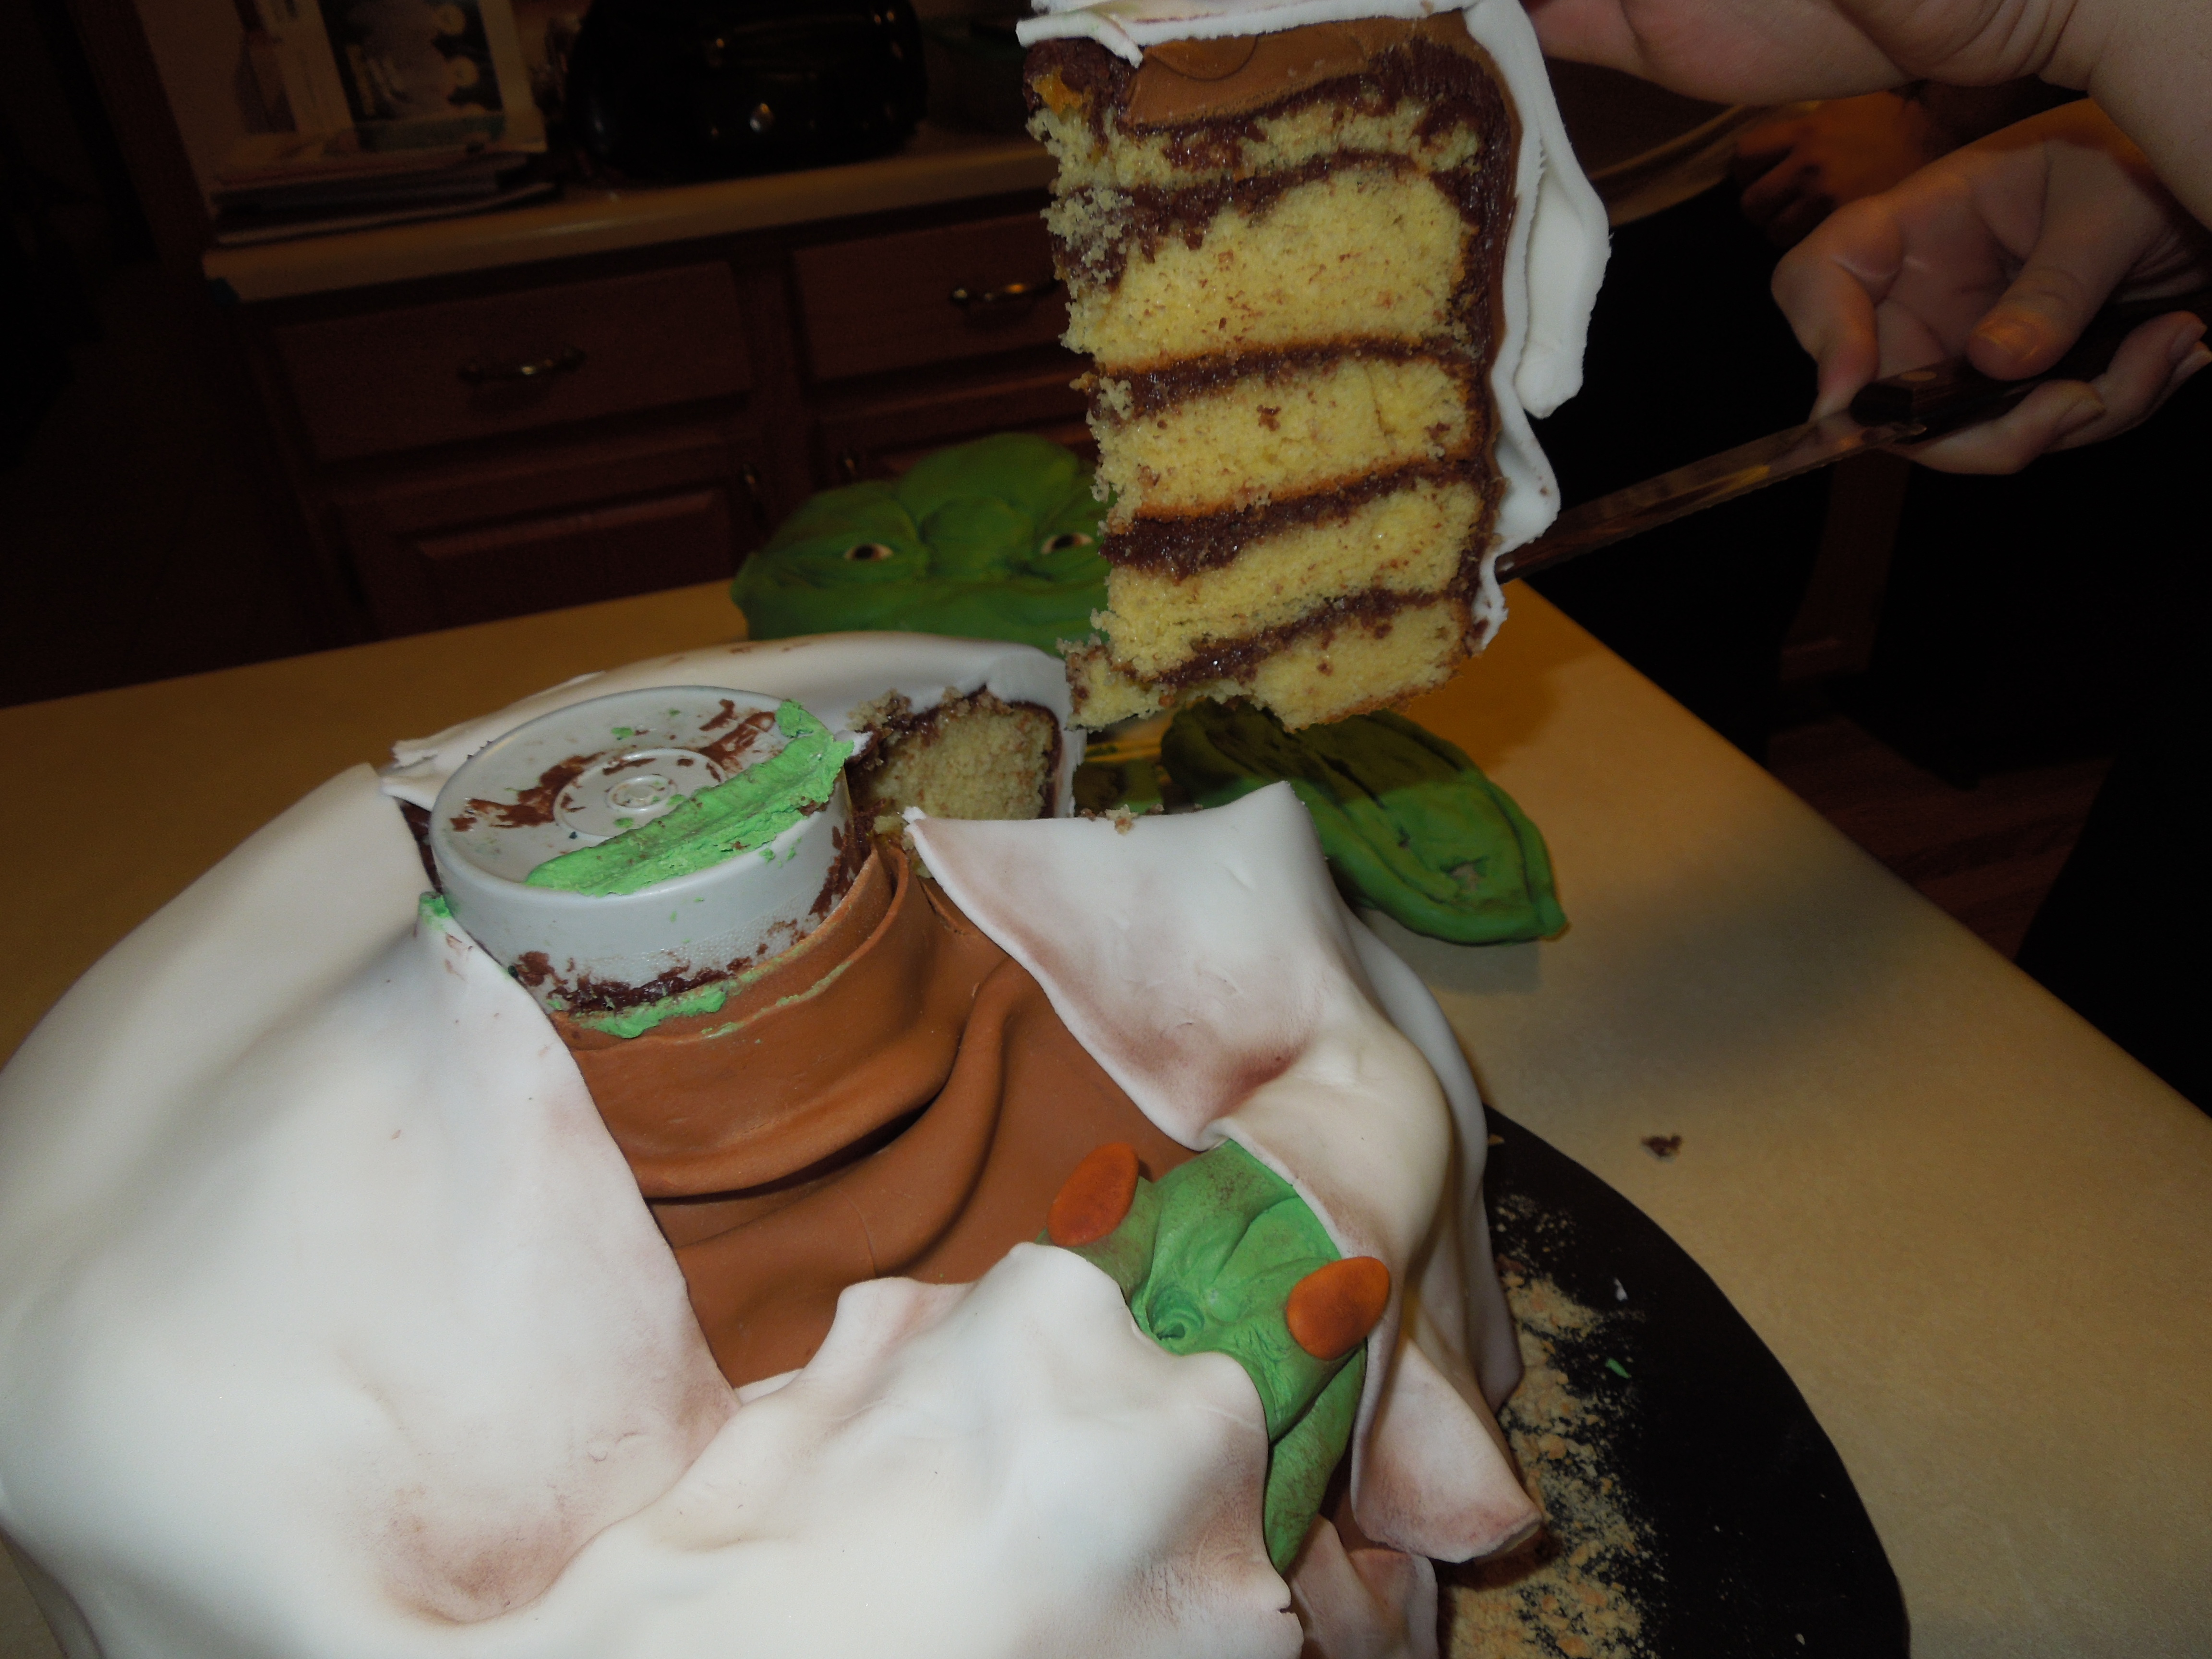
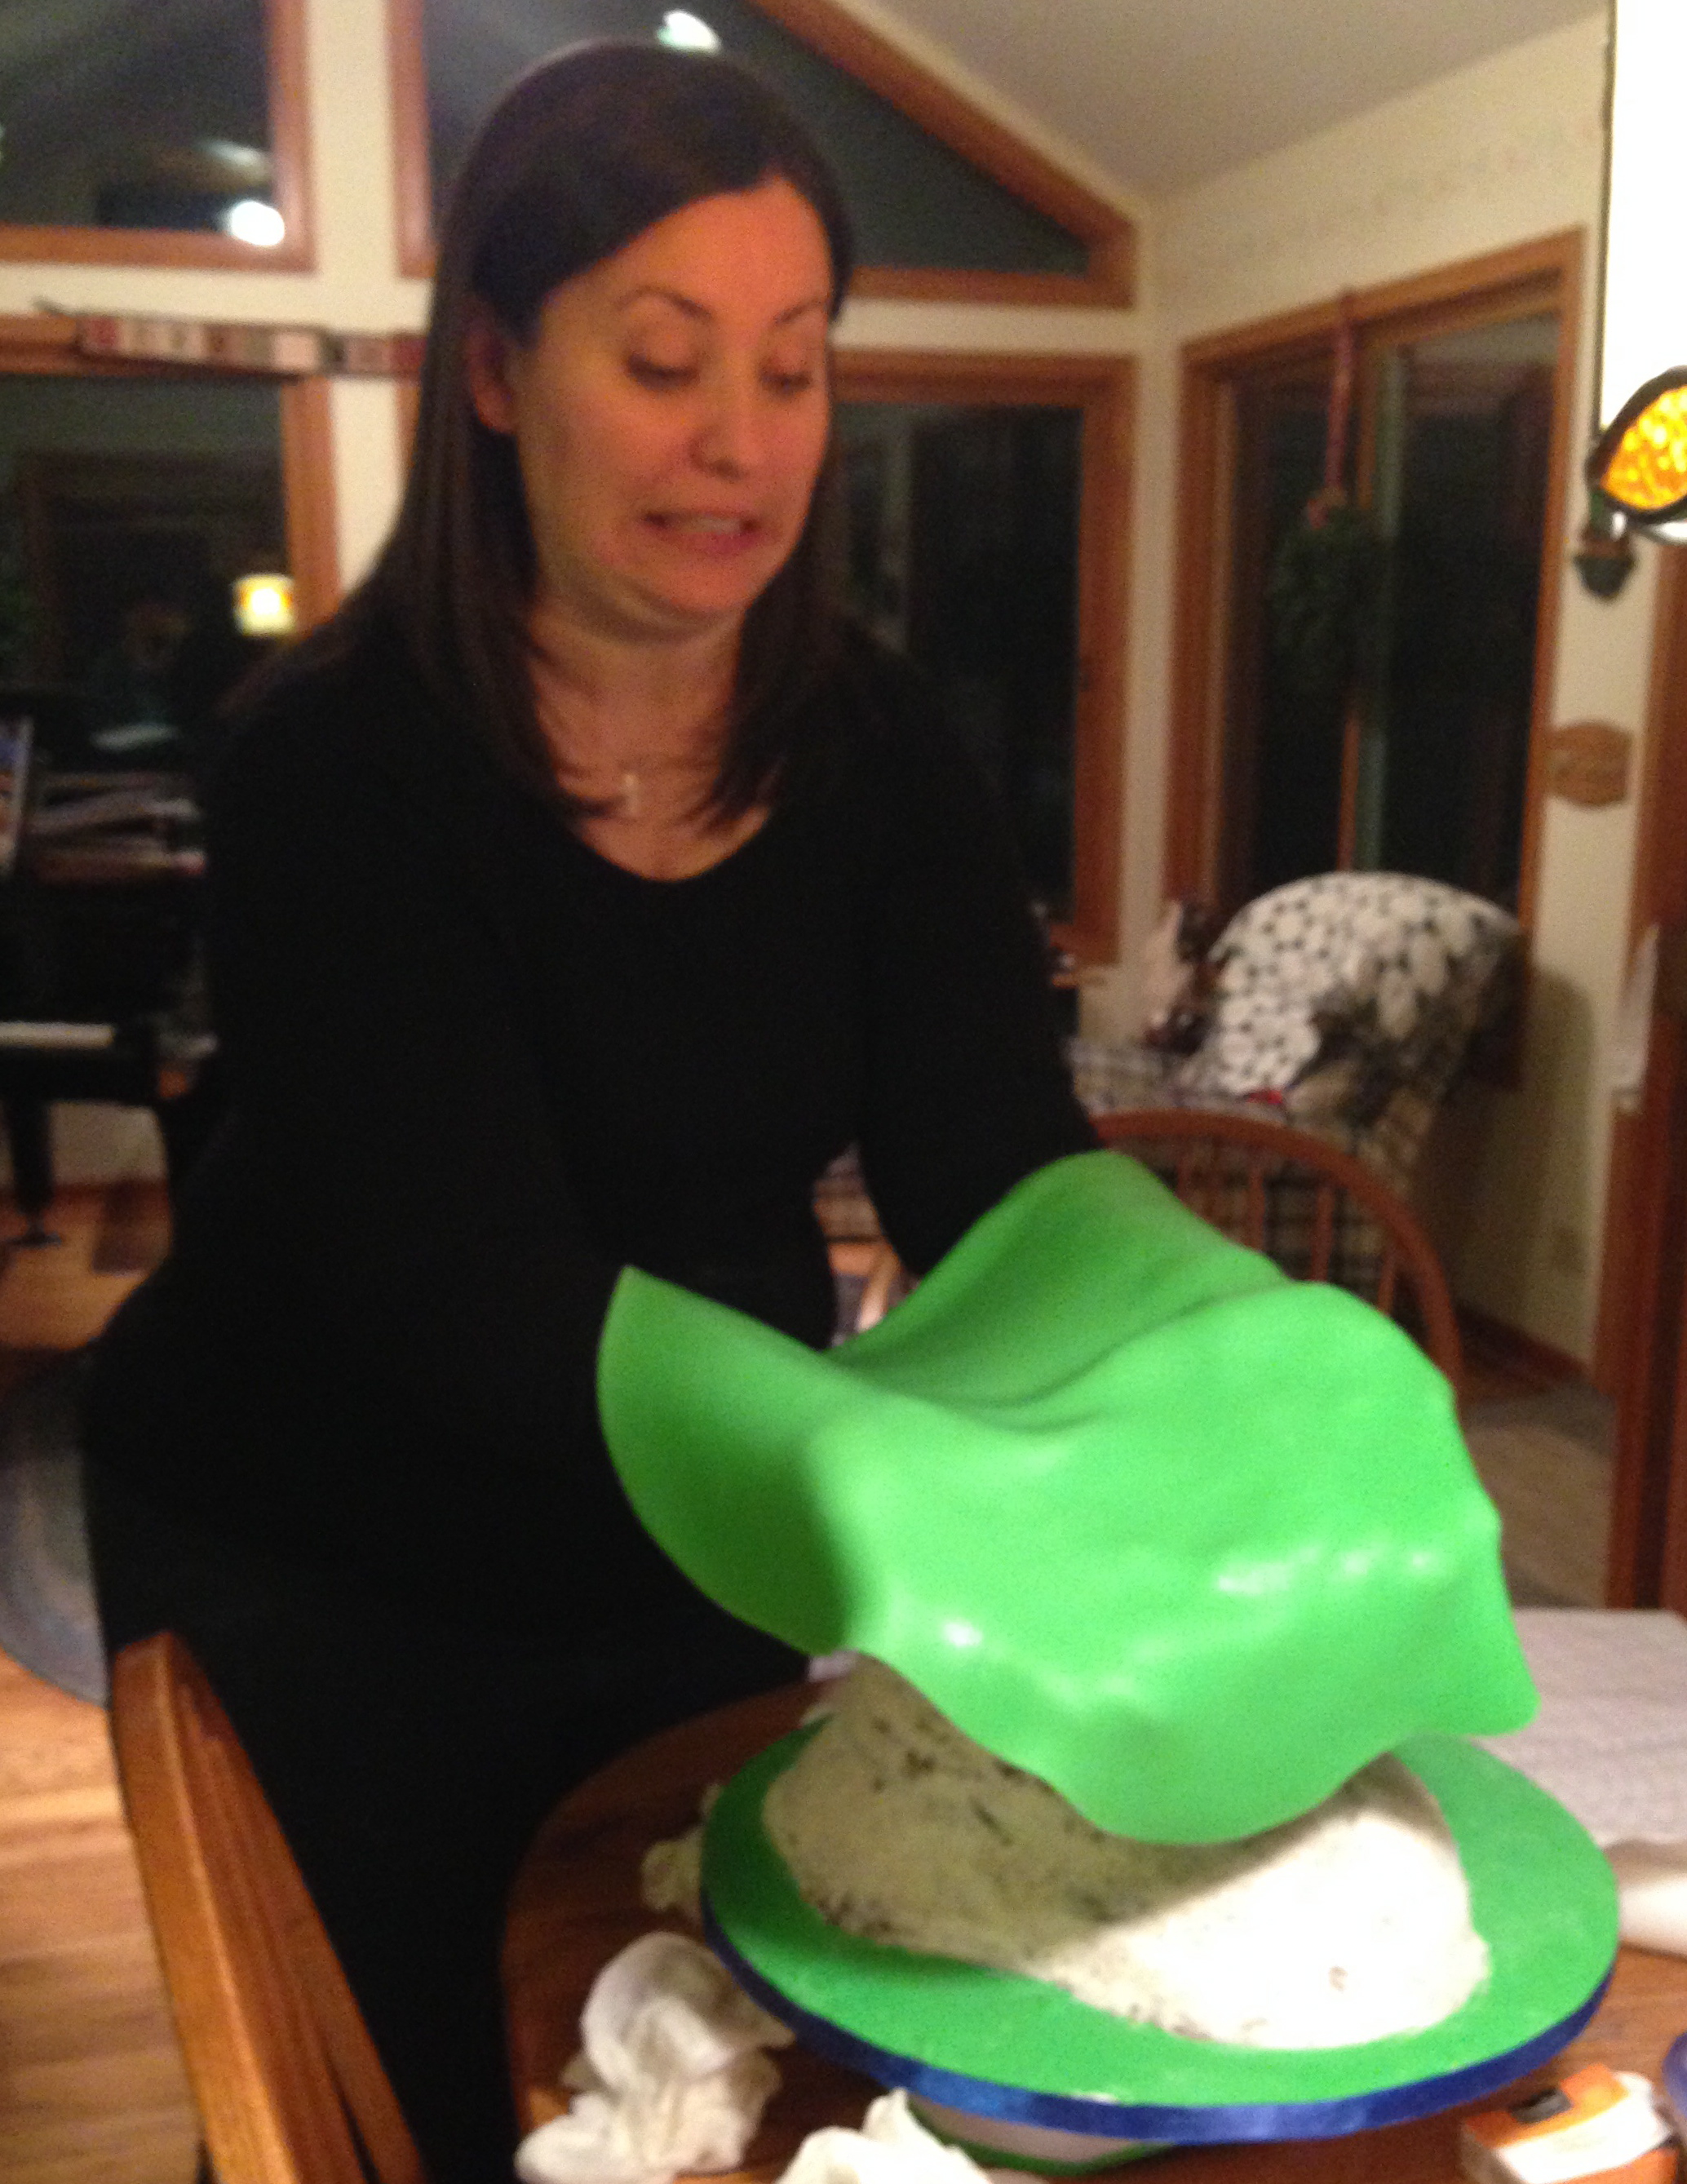
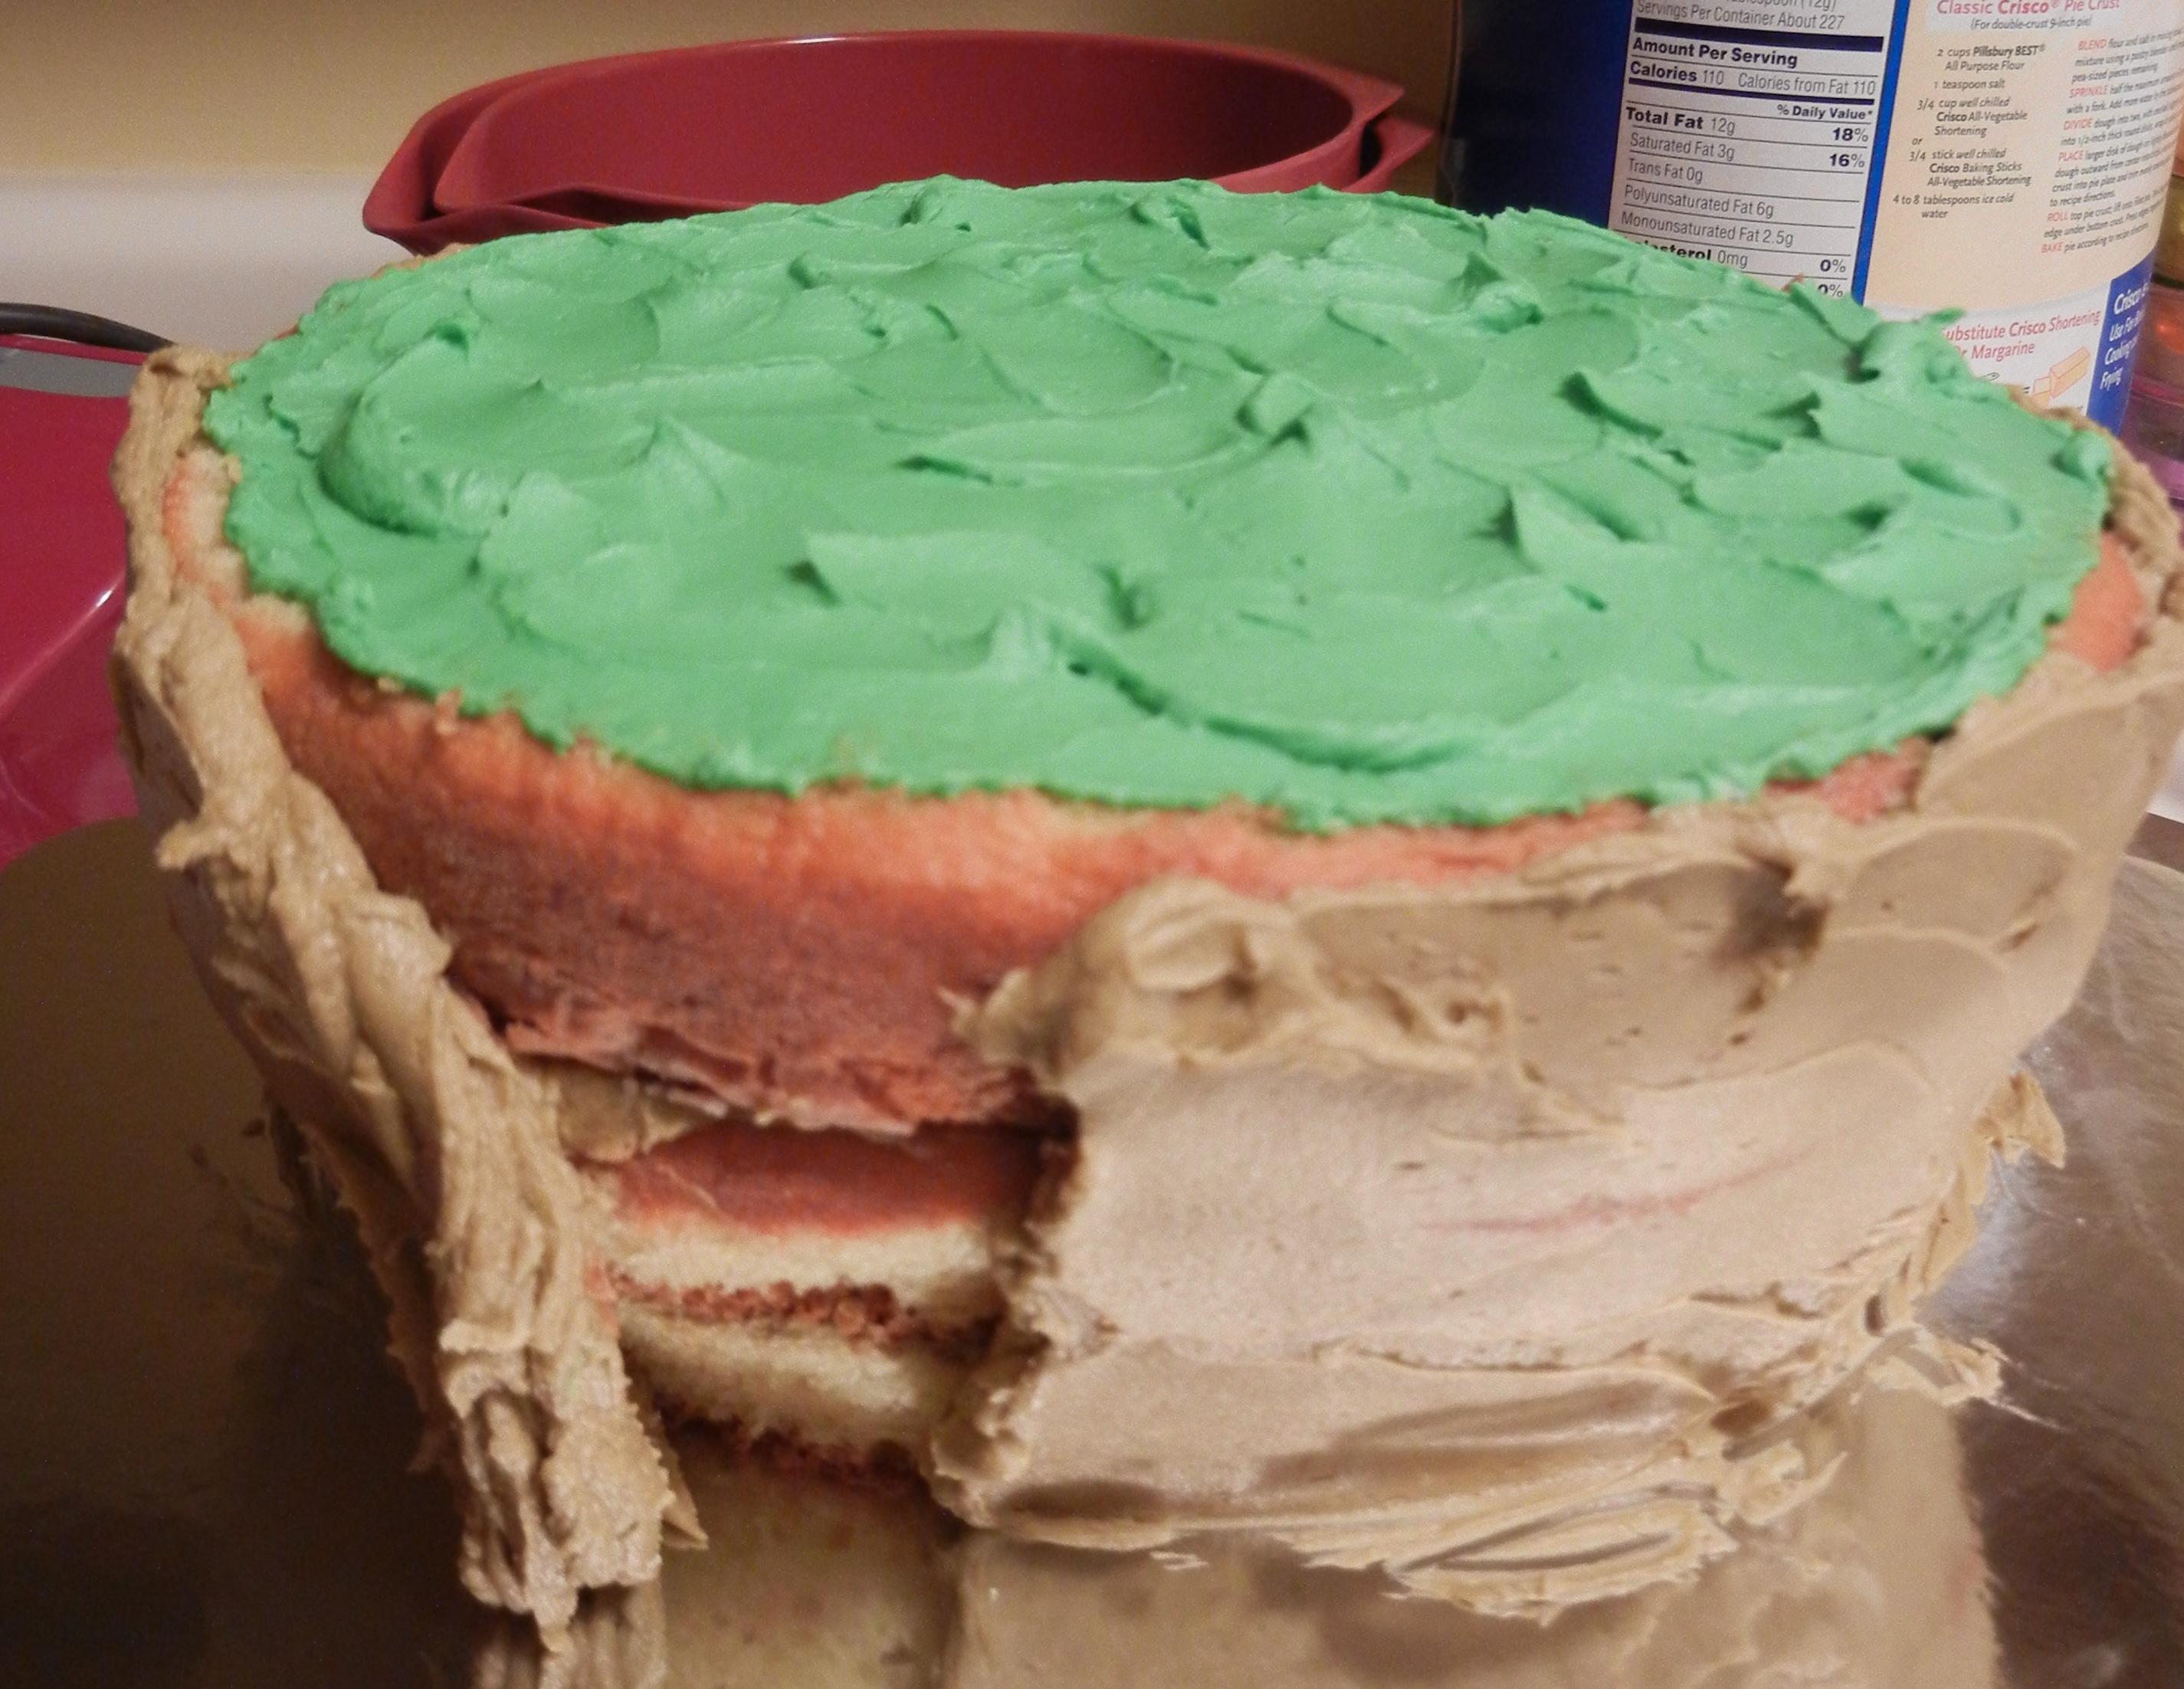
 Once the face was finished, it was time to stick it on the body. I had created the body out of a stack of round cakes, with a cup shoved down the center. Let me be the first to inform you to NEVER DO THIS. I had failed to foresee the need for Yoda’s head to need to be on a strong pillar of some sort, something I could stick into the cake. So instead, I was stuck trying to balance it on the cup. Bad plan! Bad plan!
Before I finalized the cup-balancing-situation, I did some last-minute touch-ups, which included my sticking a pole up Yoda’s nose.  That part was more fun than I care to admit. 🙂
Oh! The ears! I hate them! They are made of rice krispies and are waaay too thick. I wish I had had the foresight to use gum paste, but by the time I thought of it, it was too late. So instead, I used two blobs of rice krispie treats and formed them into that shape. Cover them with fondant, add some texture and highlighting colors, and put a little candy stick in the end, and there you have it. I just think that they are so thick (especially from this angle here on the left). If I do this cake again, I will create gum paste ears in advance!


Thanks for reading! Do you have any tricks or tips that would have solved some of my conundrums? How about your favorite line from Star Wars? 🙂

 What does a cake decorator do when asked to bring something to share for “Salad Day” at work? Oh yeah. This is my kind of salad. 🙂
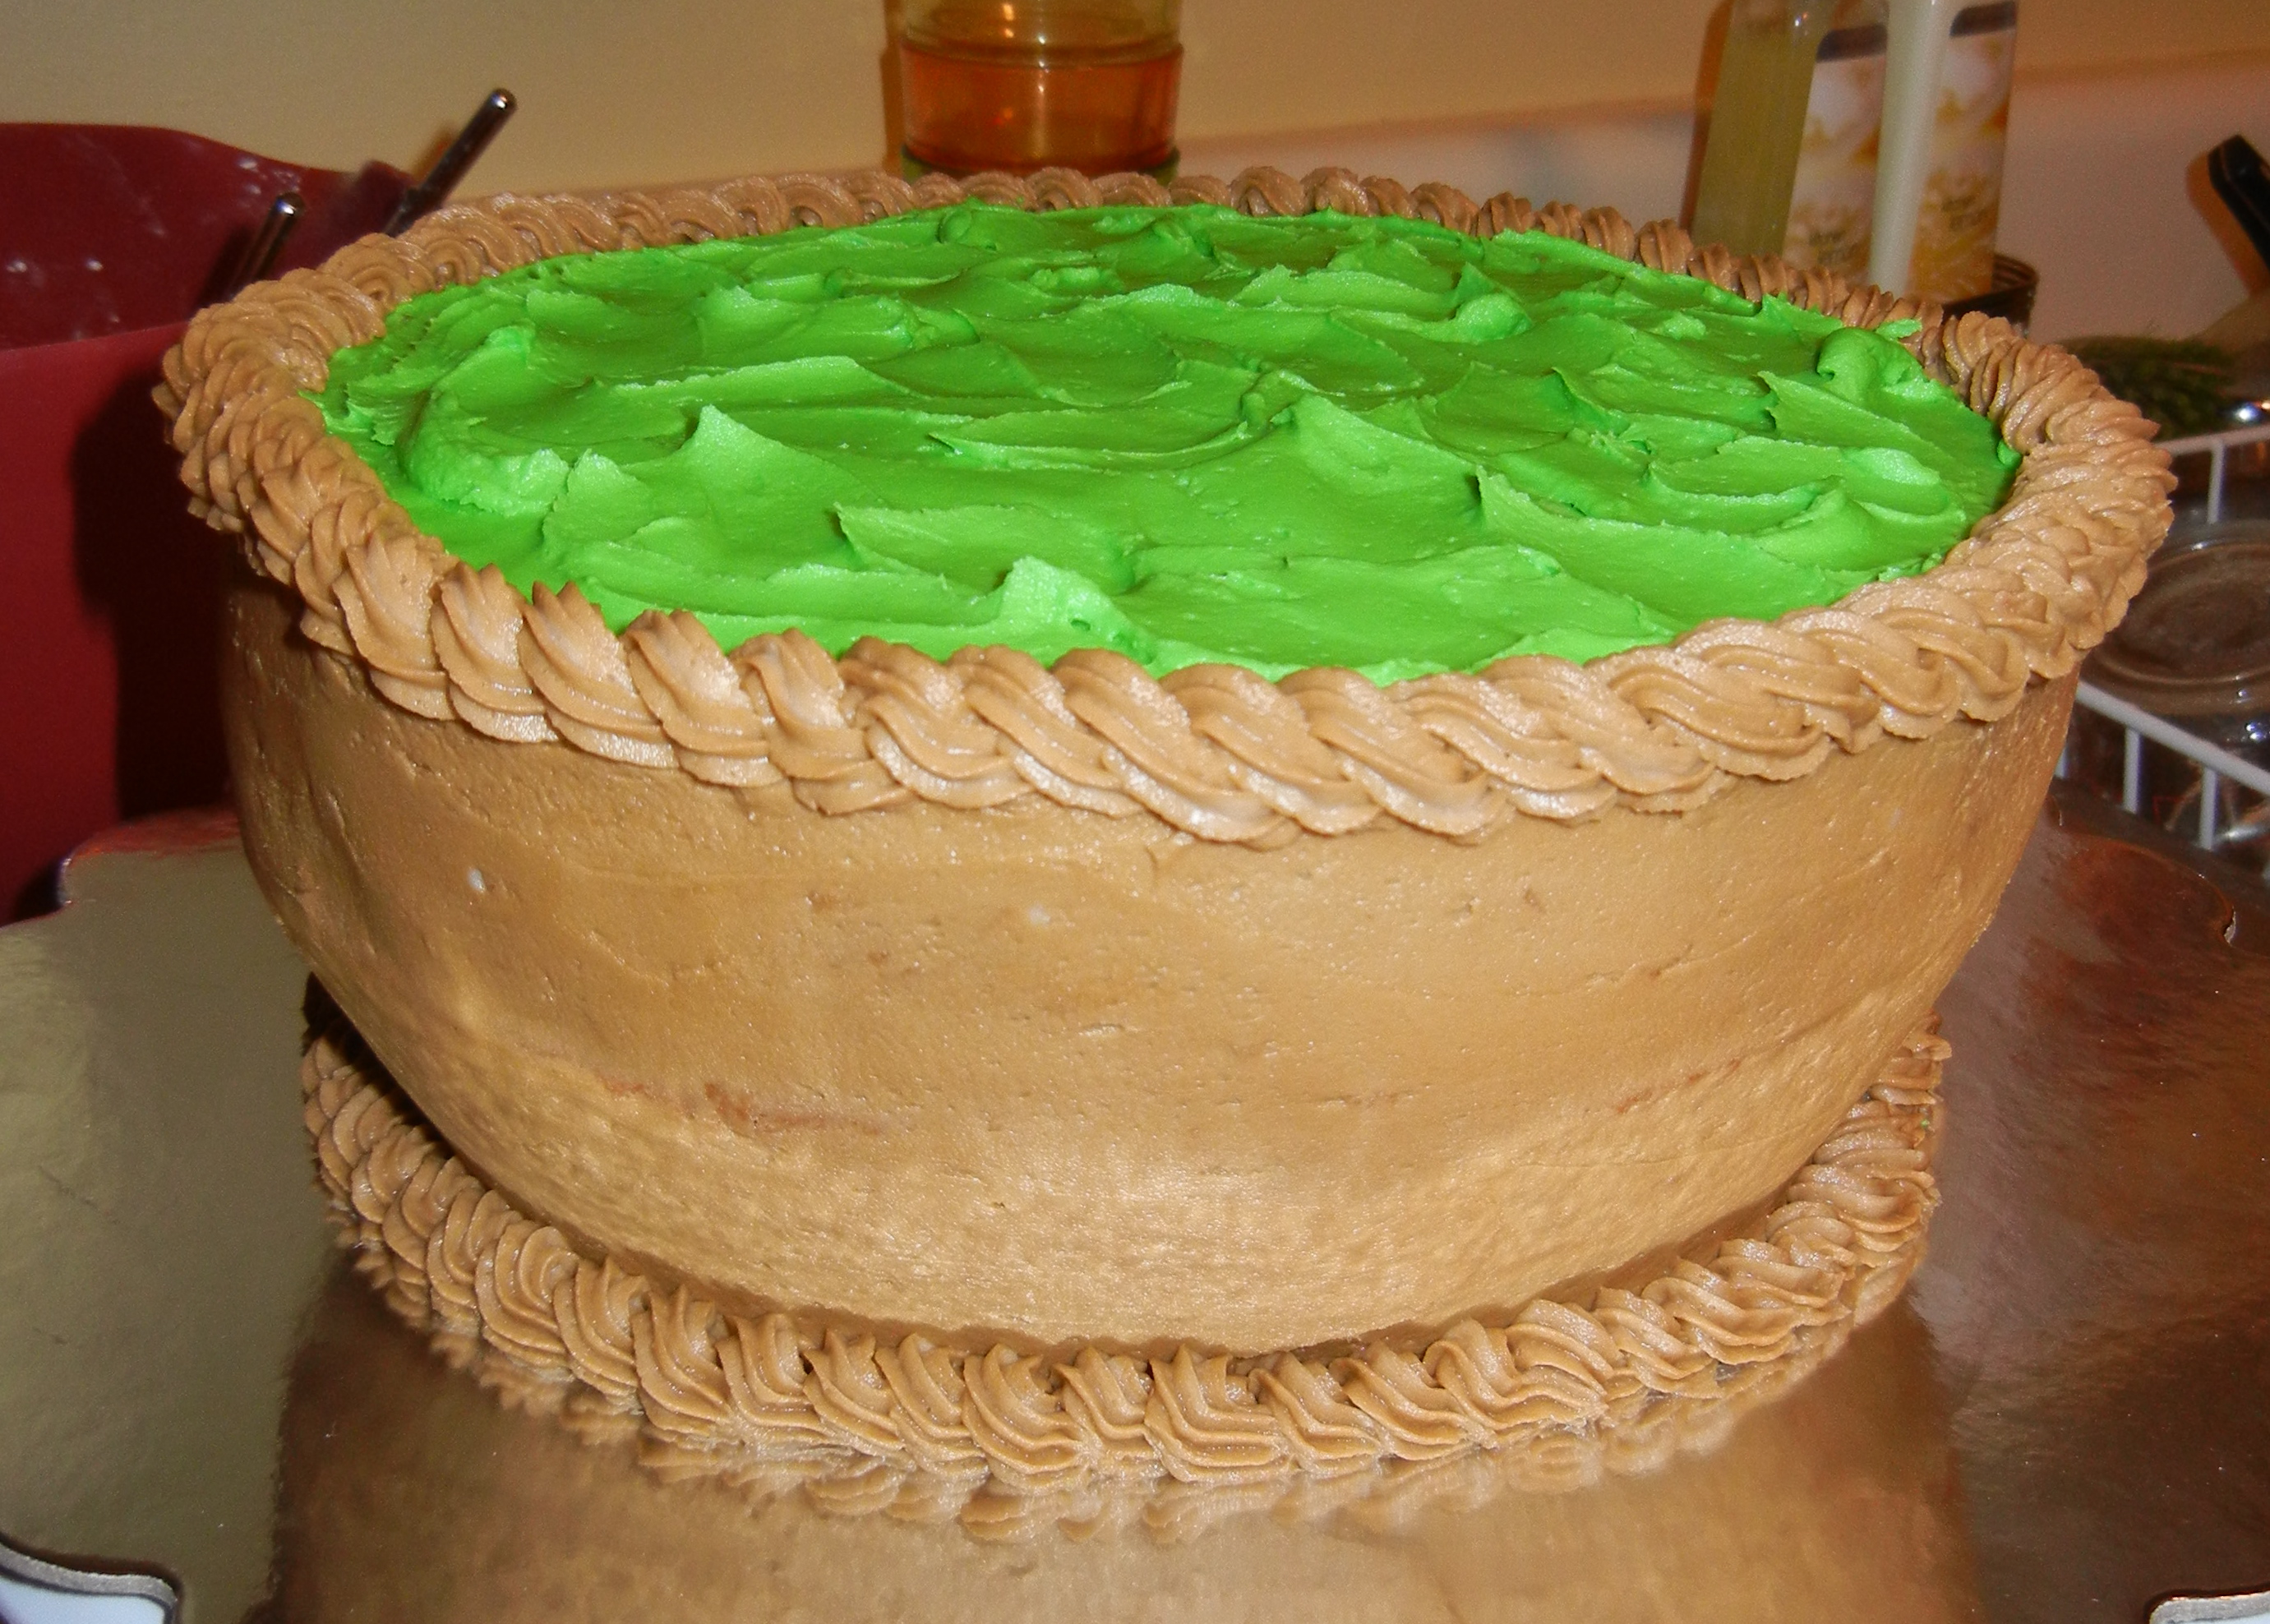 it’s good if these are done a bit hastily. No two lettuce leaves are unique, right? 🙂