(Literally) My Family Tree

fondant and real grandparents

When the time came to create a cake for my grandparents’ birthdays, I struggled to come up with an idea. What does one make for the perfect couple? The man who is so fiercely dedicated to protecting the marginalized of our society, giving a voice to those who have none? Who has shown his children and grandchildren the very definition of love with the way that he adores his wife? The woman who leads the conga line across the stage at the restaurant when our family’s “song” comes on, who demonstrates her pride in her family with unabashed delight? Who- literally- will seek out the people on the fringes, so that they experience, even if for a moment, the feeling of belonging and inclusion? The couple who cares for each other before they care for themselves, and who have demonstrated how to live out a faith-filled life that is brimming with love?

With these thoughts swirling through my head, I rejected idea after idea. Nothing seemed good enough for them. And suddenly, my sister said, “The family tree!” Now, everyone knows that I am spending much of my free time conducting family research, but I hadn’t thought of actually bringing that to life in edible form. After a discussion at dinner on Sunday, it was decided: I would attempt to recreate a family tree. Grandparents at the bottom, with the families sprouting off on the branches. What better to way to honor them than by bringing their “legacy” to life, in fondant form?

Though our history has been traced back until the 1700s in rural Ireland, out of necessity due to both time constraints and cake design requirements, I narrowed down the branches to include only my immediate family. This Irish blood is what accounts for the ghostly skin and the dark hair… And the fact that one in three people in the family are named Mary. (Ok, I’m just kidding about that.) But in all seriousness, due to Irish traditions, names tended to stay within the family. For example, in one strand of our tree: There is a Robert who has a sister Mary and a sister Margaret. Robert marries a Margaret (who has a sister Mary). Robert’s mother’s name is Mary, whose mother’s name is Margaret, who’s grandmother’s name is Mary. Add in an aunt Margaret, a great-aunt Margaret, two great-aunt Mary’s, a great-grandma Margaret, and a great-great-grandma Mary, and then remember: this is just ONE strand. On the other side- completely unrelated- the Margarets begin anew.

photo 1With the exception of one cousin, who has a name that says it all, really- Margaret Mary- the naming tradition has fallen by the wayside with the past few generations. (While it is nice to keep family traditions, it HAS been nice to get to know the other 19 letters in the alphabet!)

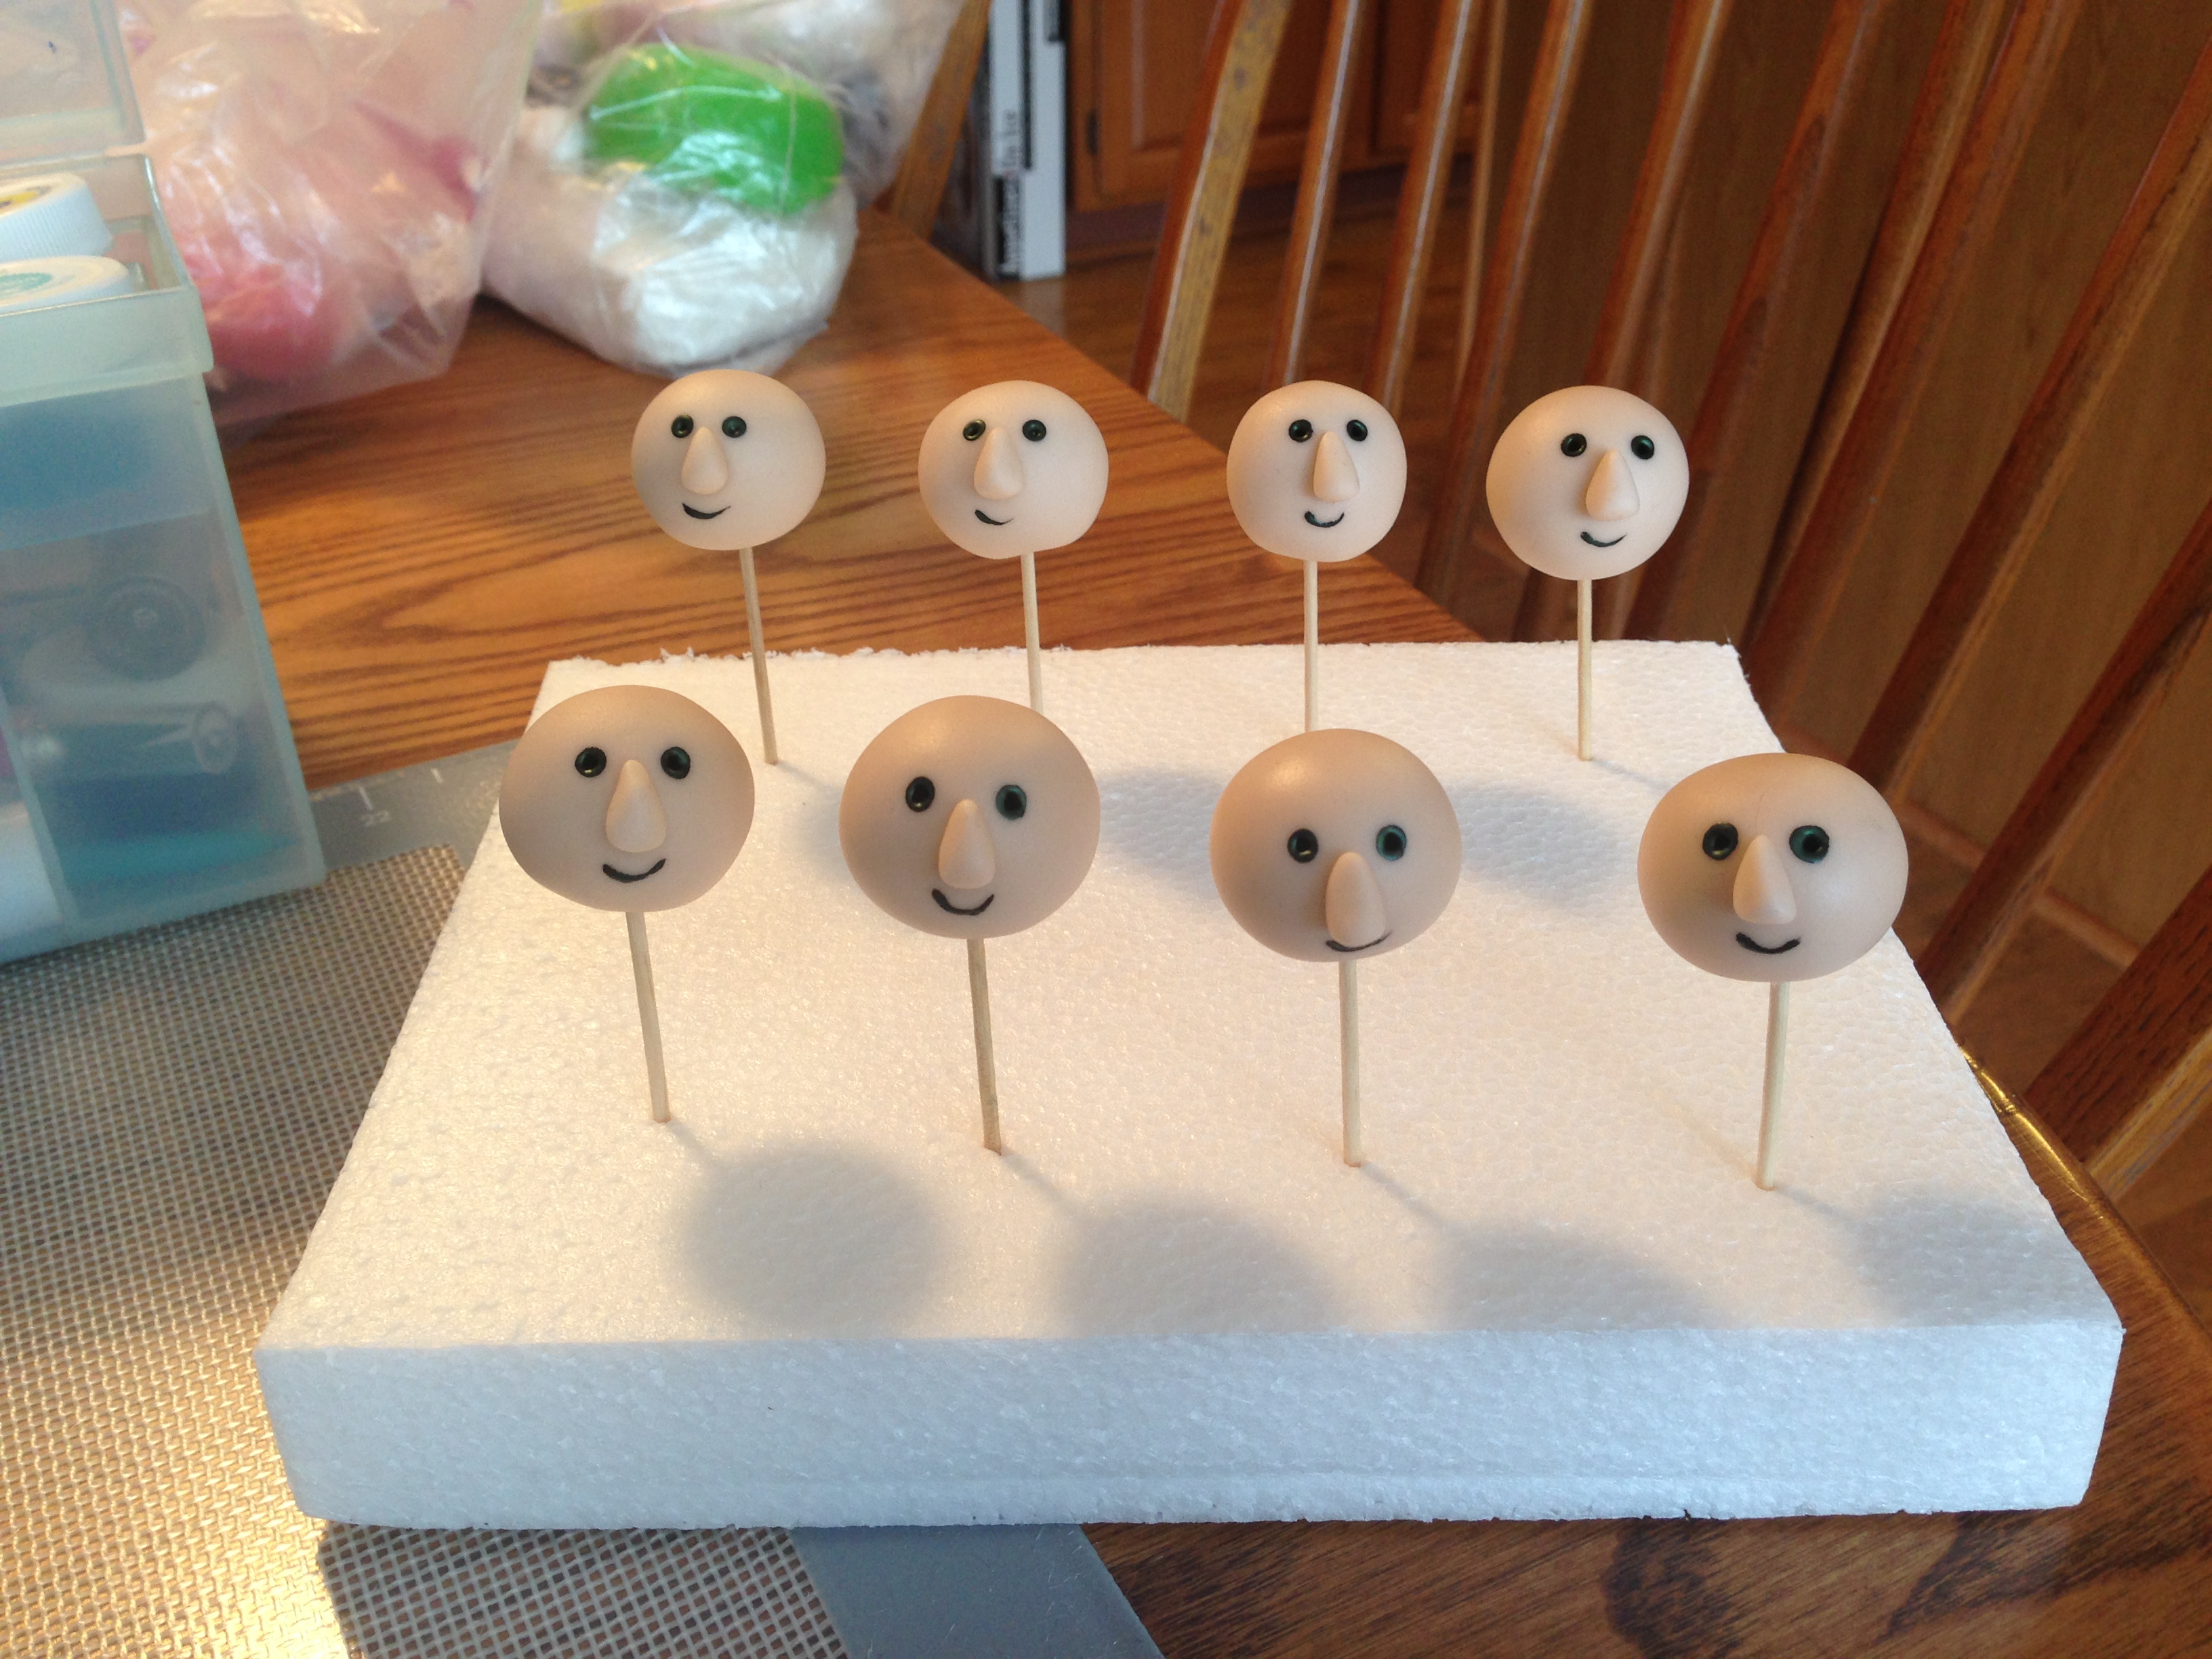
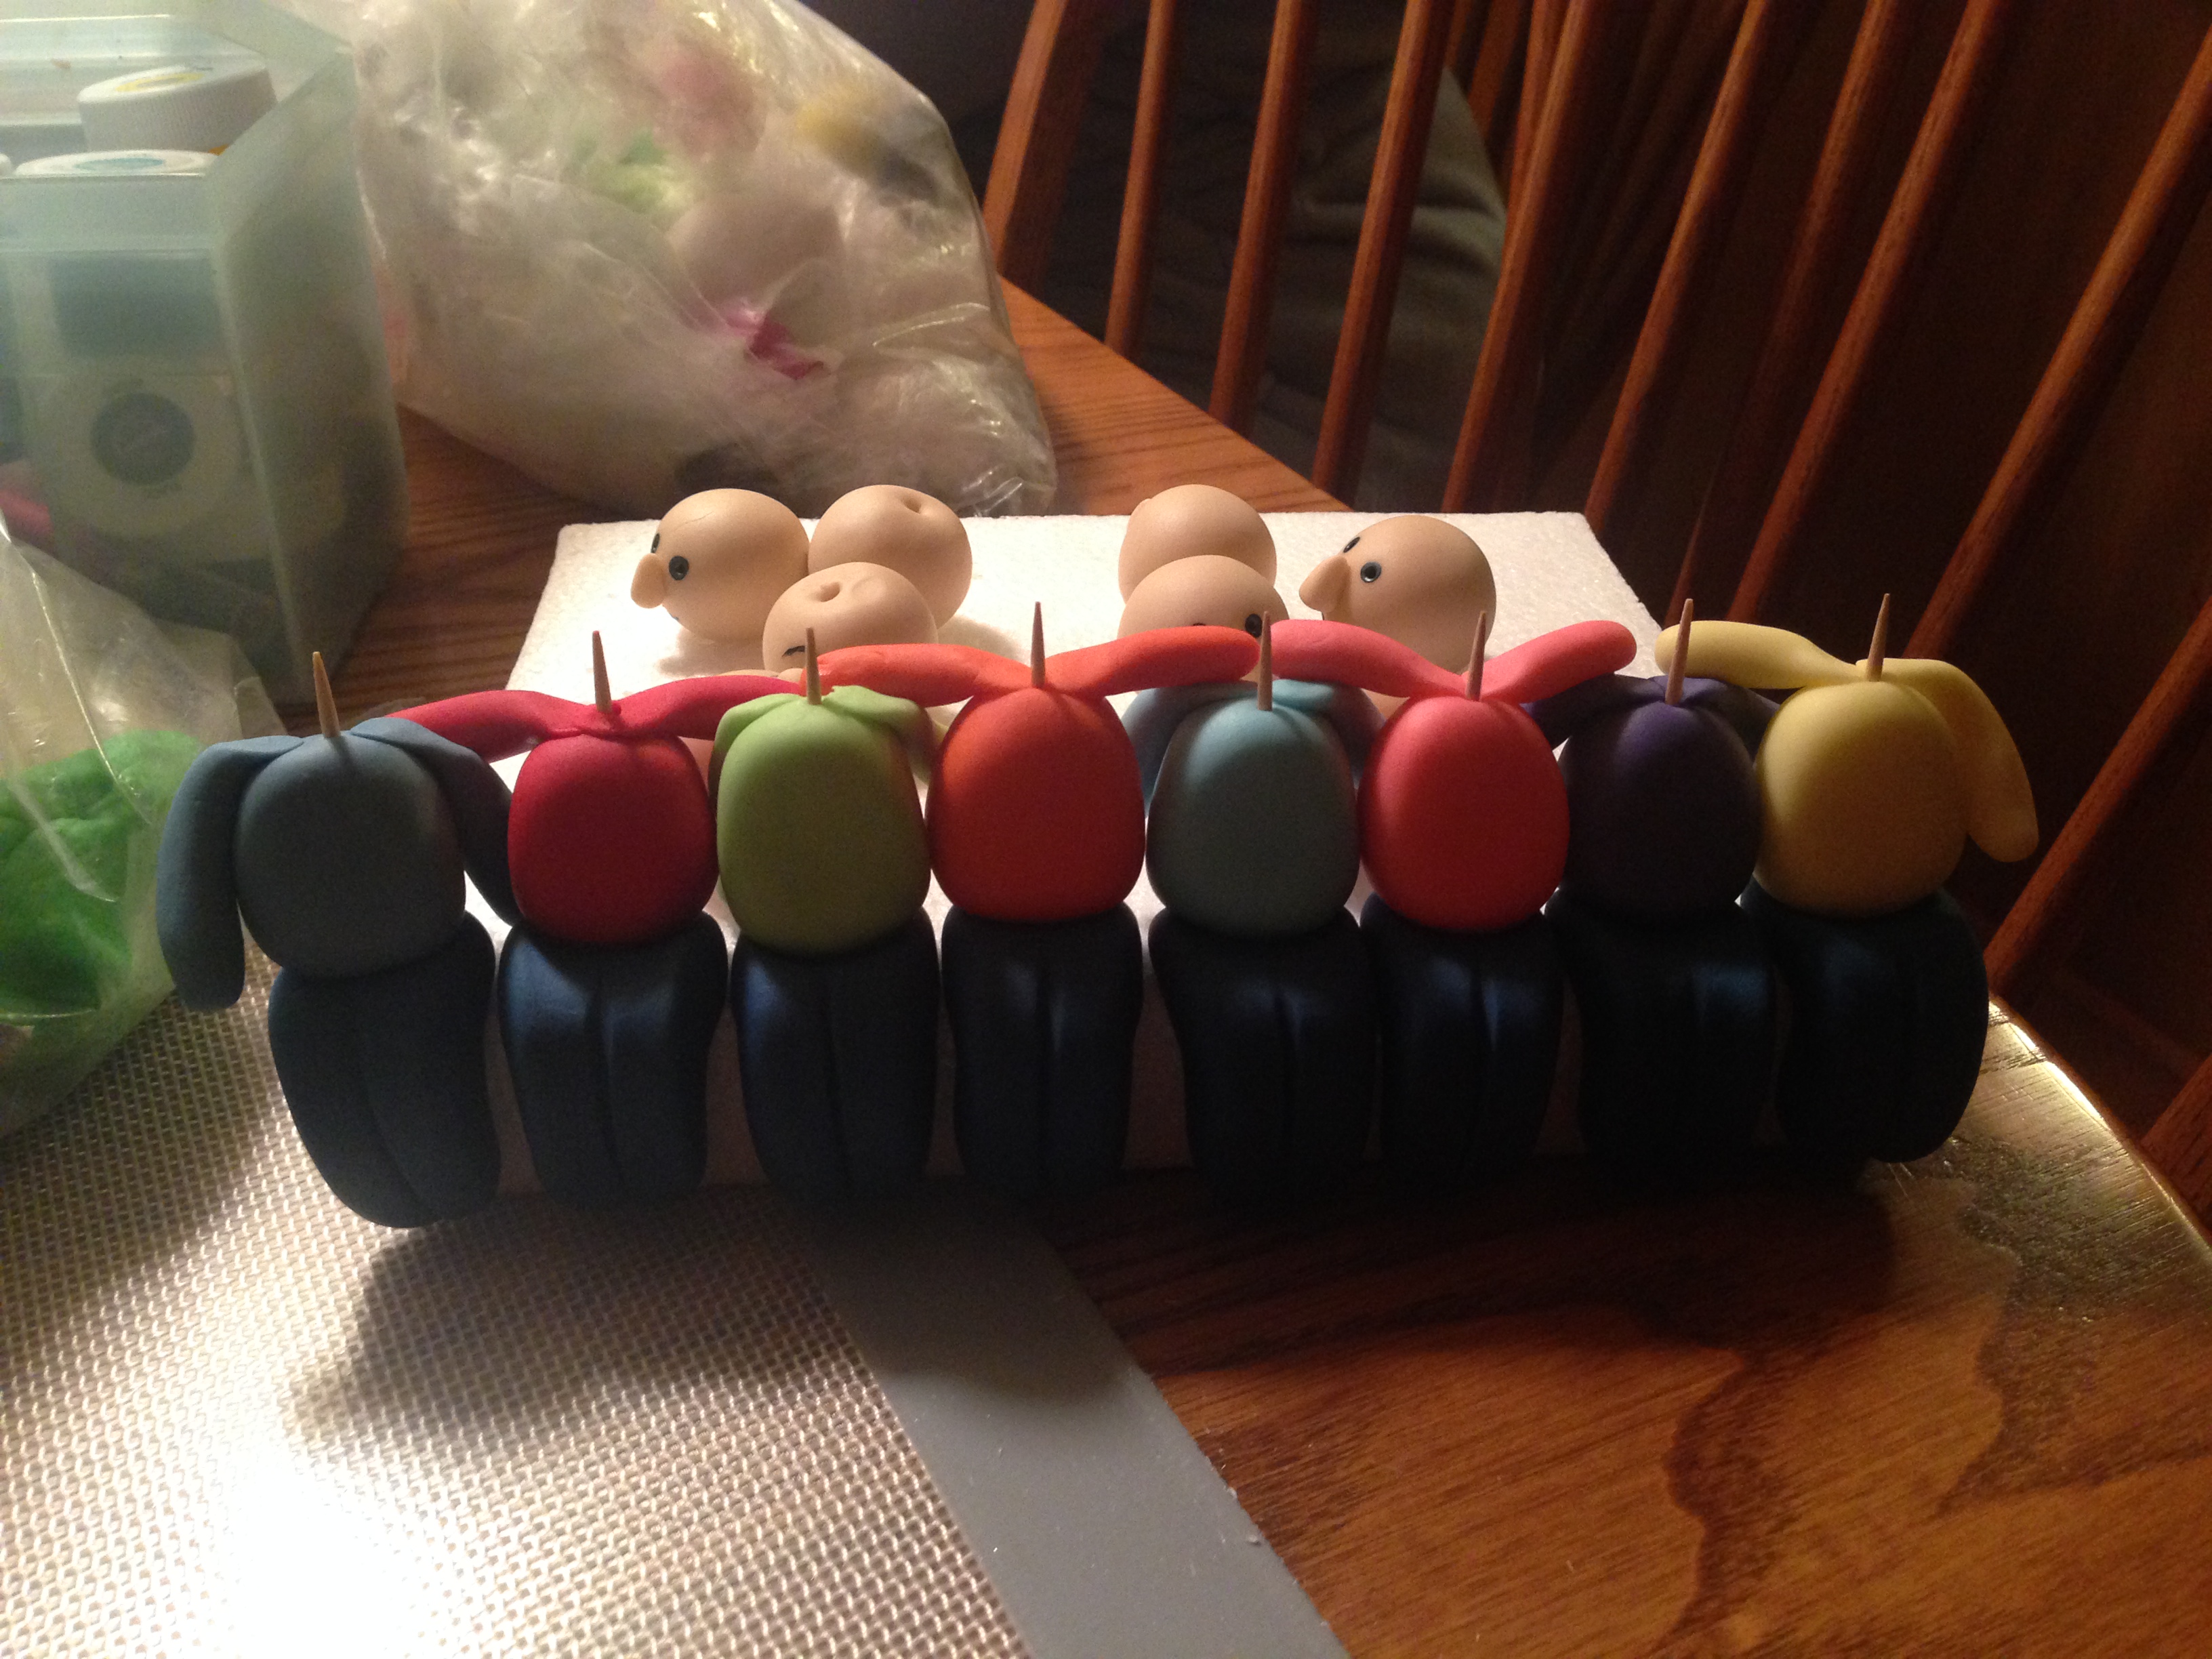
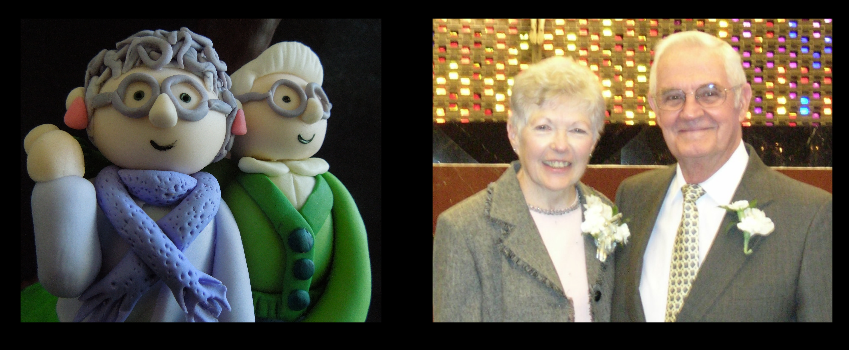
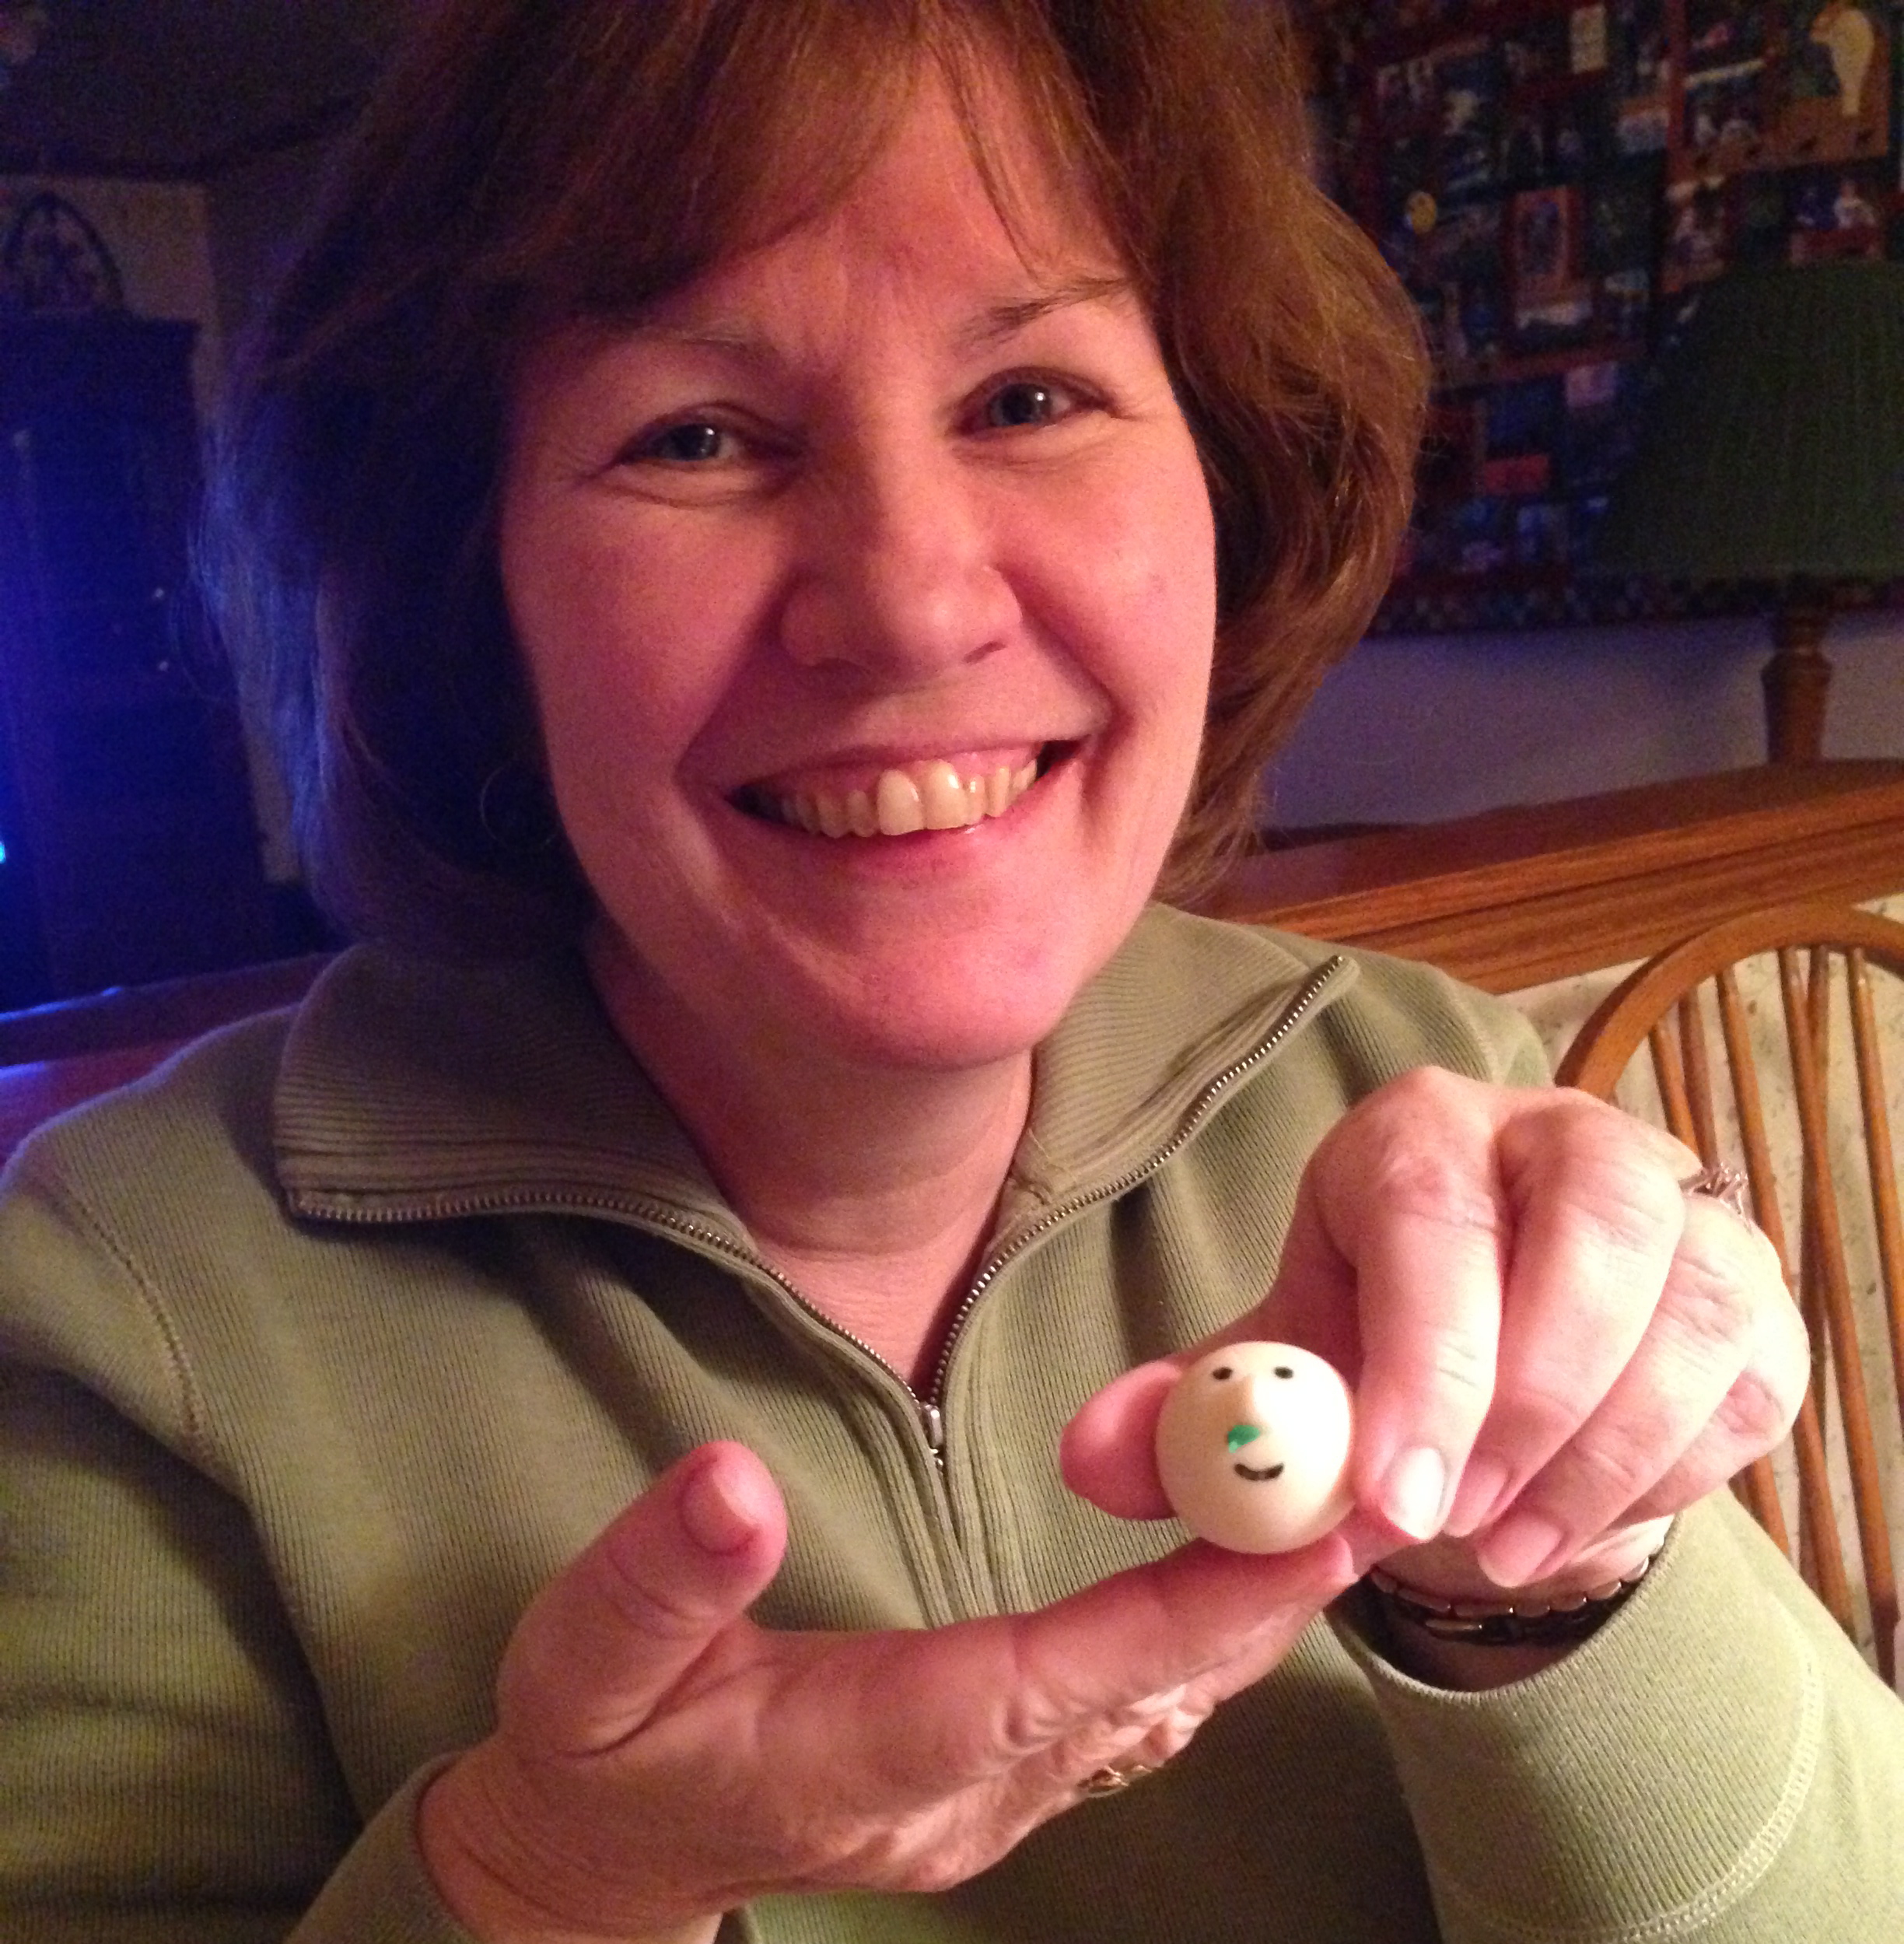
Ok, back to the cake! Counting up the relatives, we discovered we needed 25 heads. I asked/begged my mother and aunt to help in this endeavor, promising them that “fondant is really fun!” Luckily, these two women are great sports and we really did have fun making heads, noses, eyes and mouths. (And this aunt isn’t even a part of that particular tree! Do you see what I mean? I have the best relatives all around!)

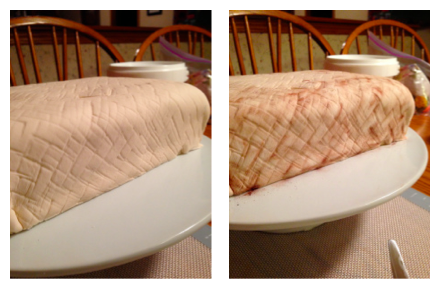
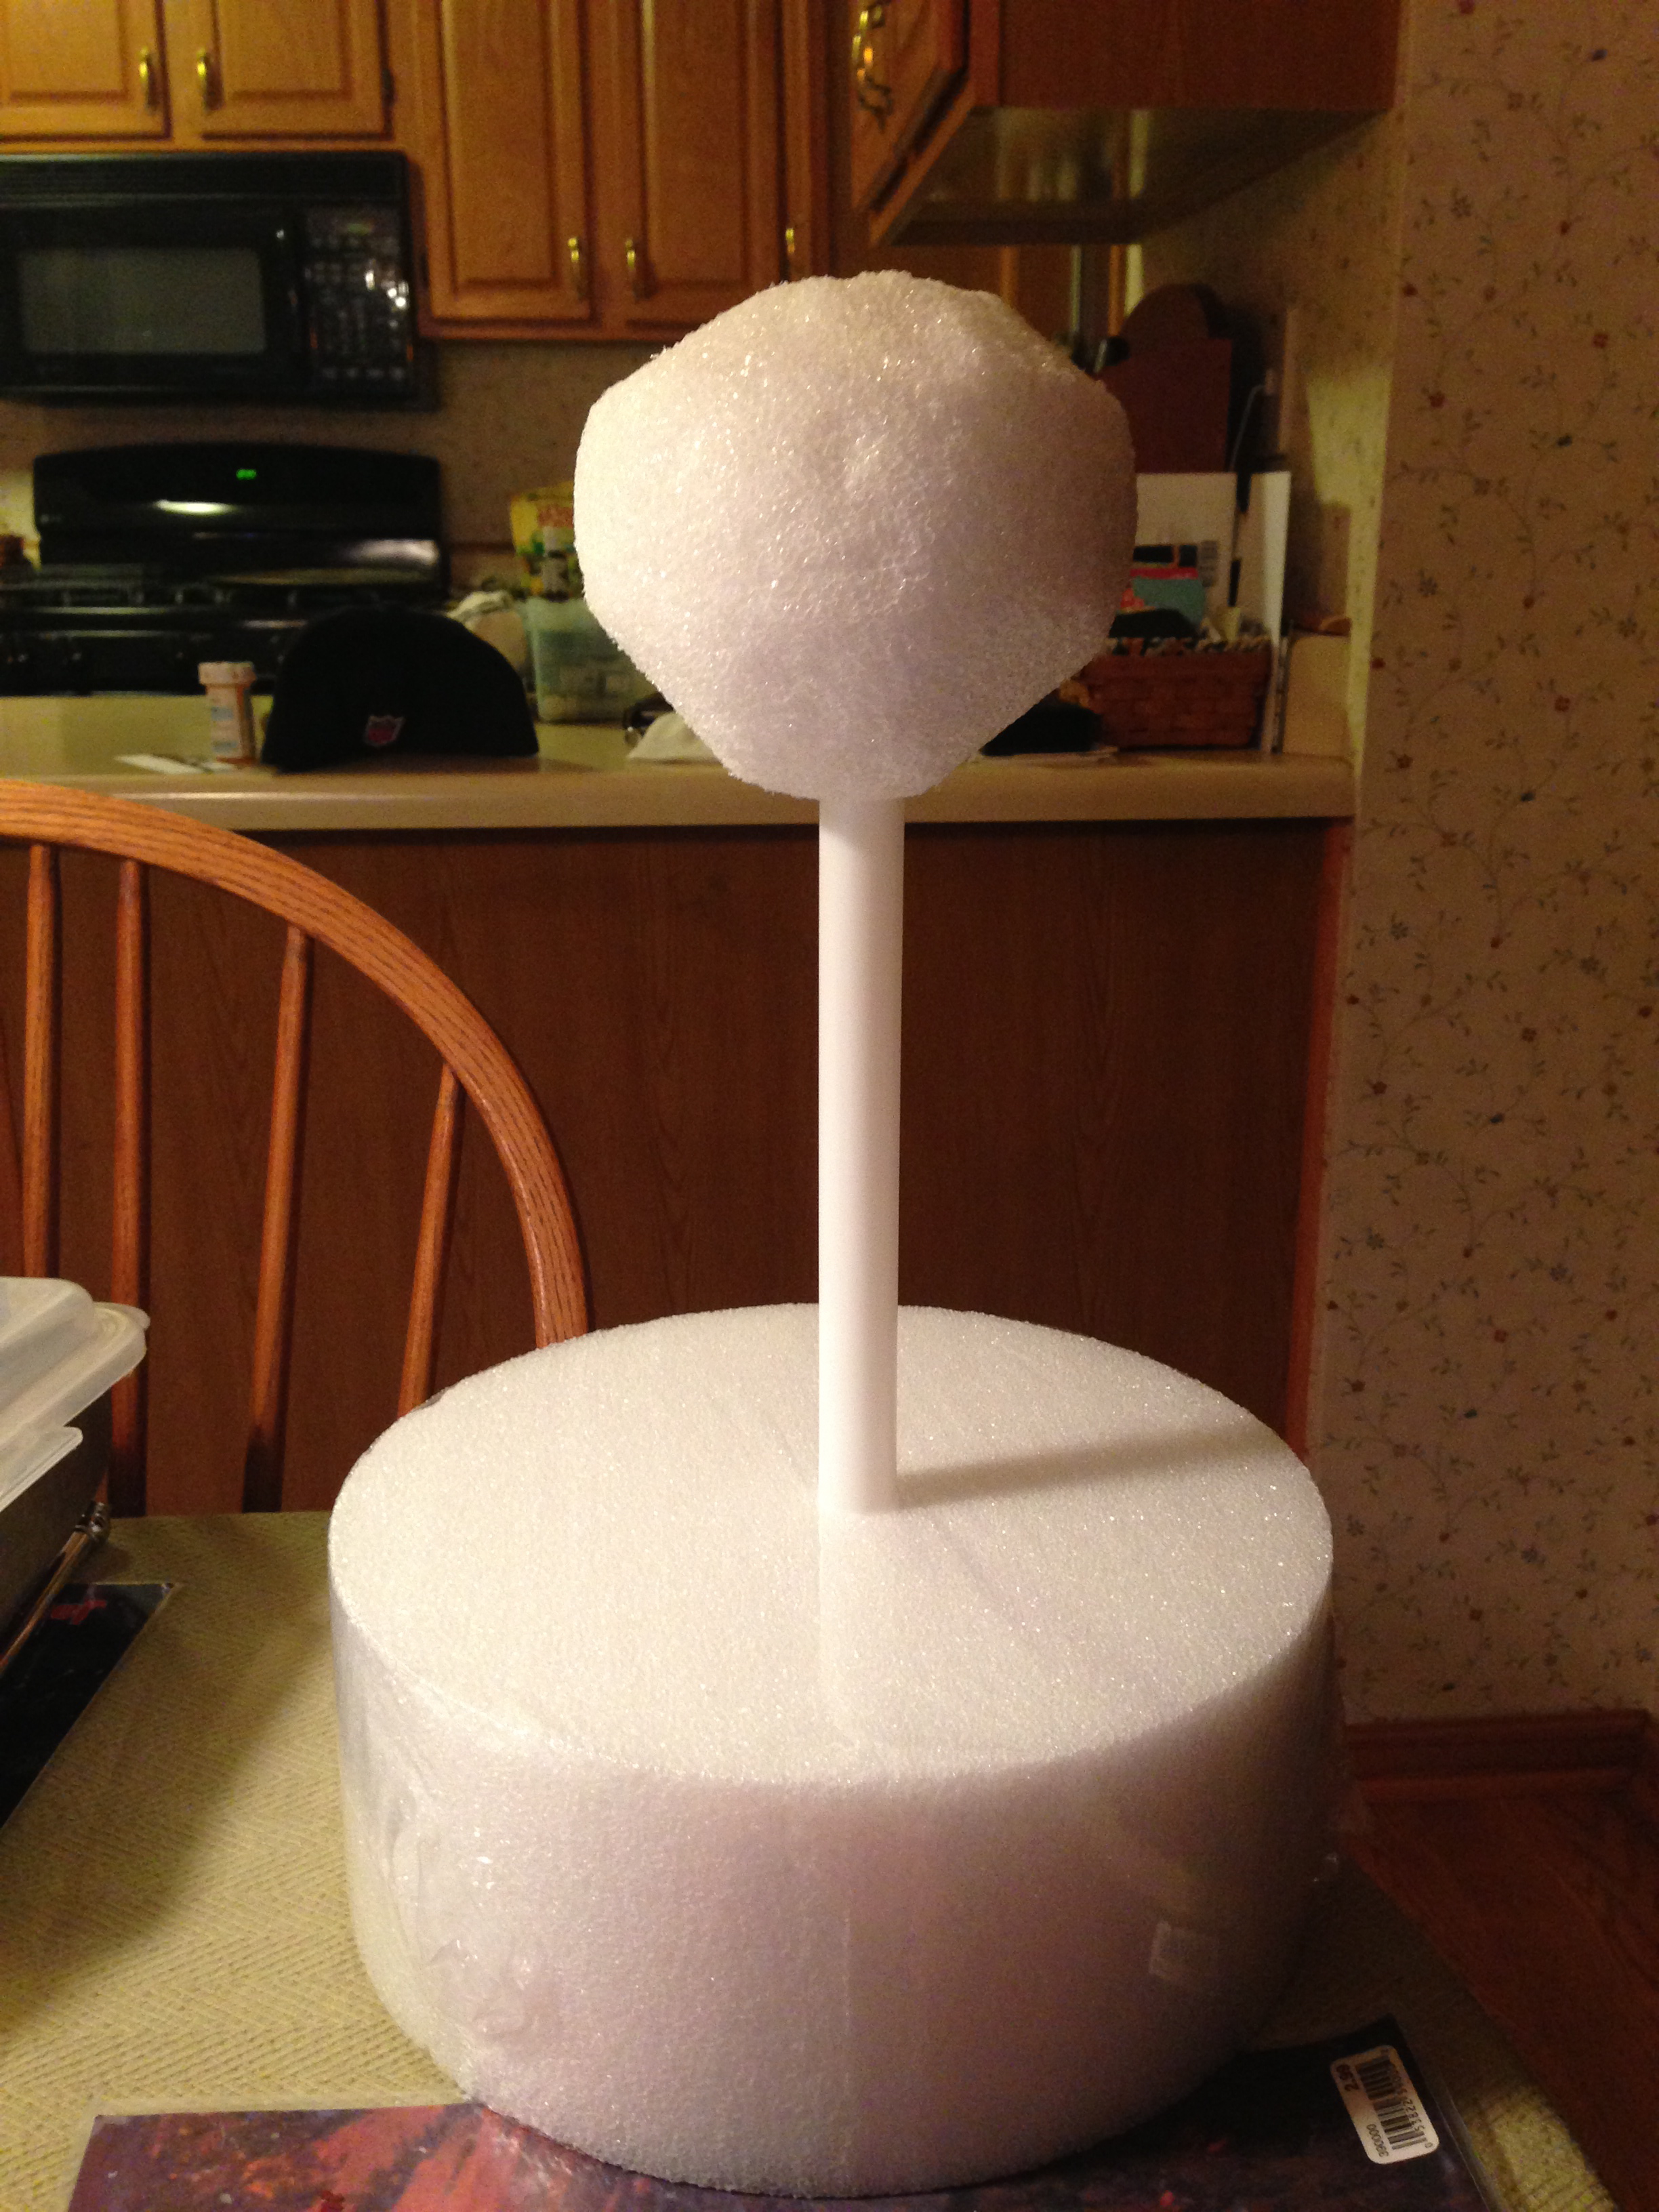
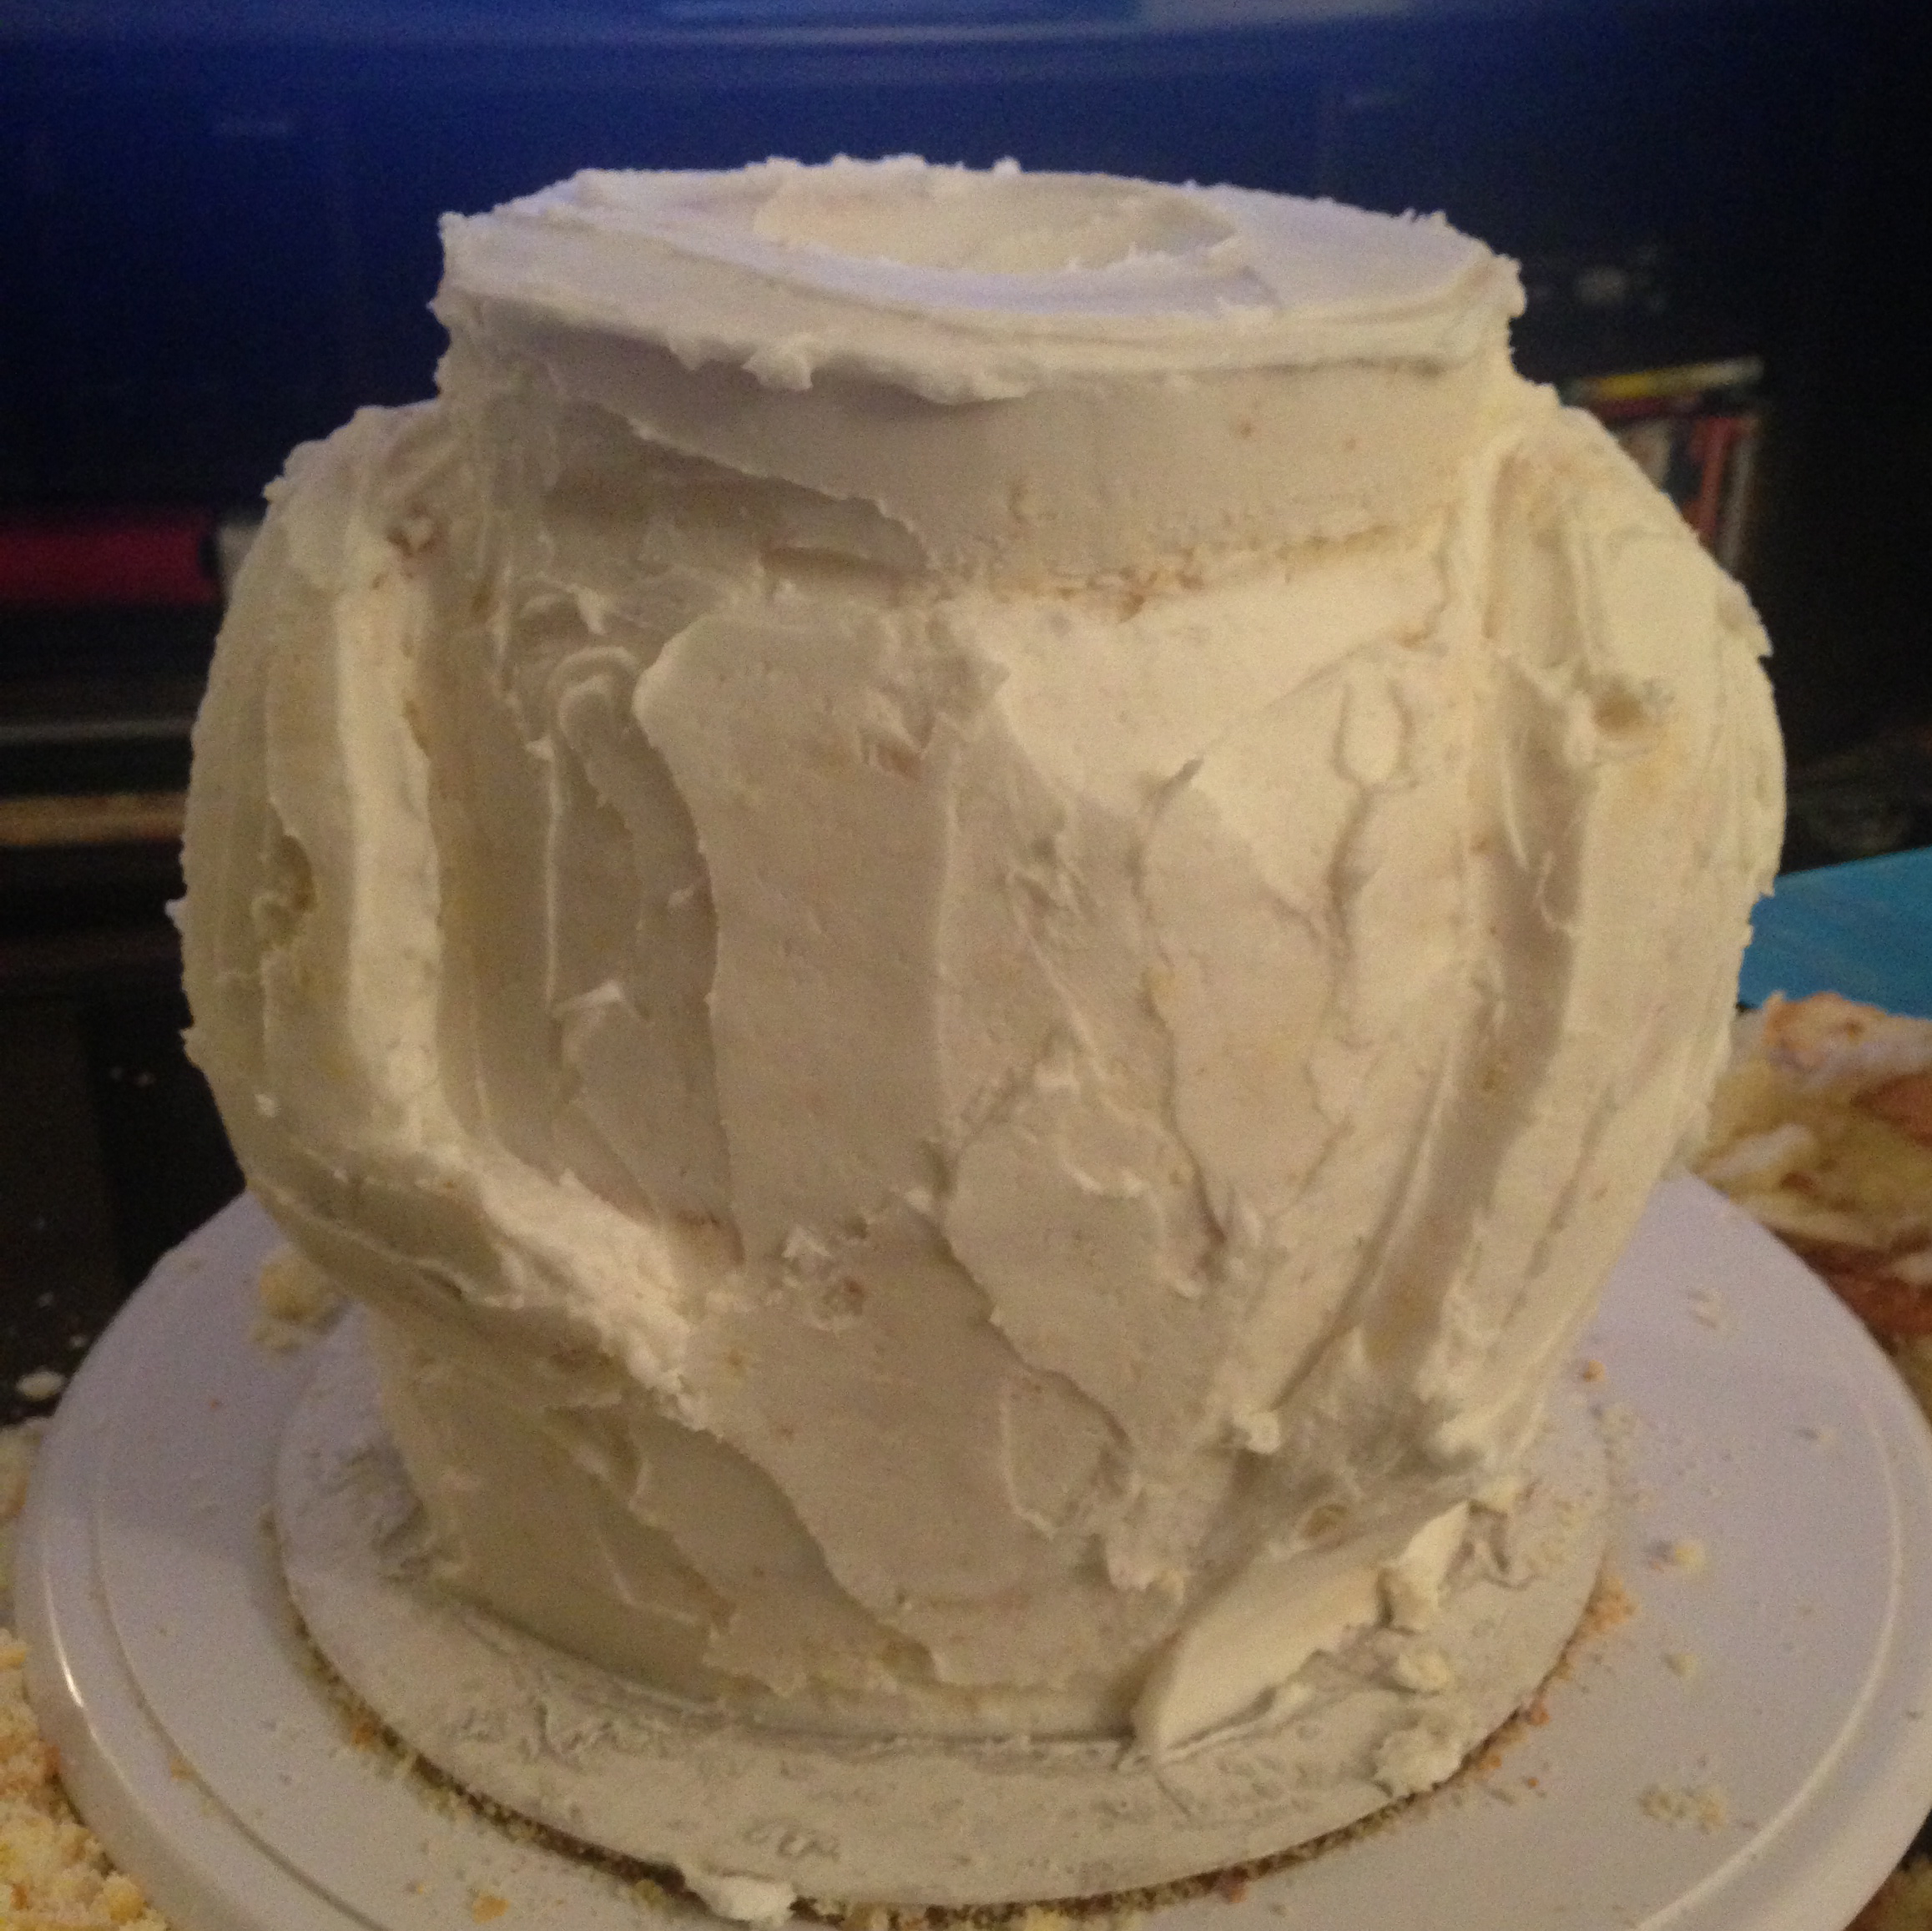
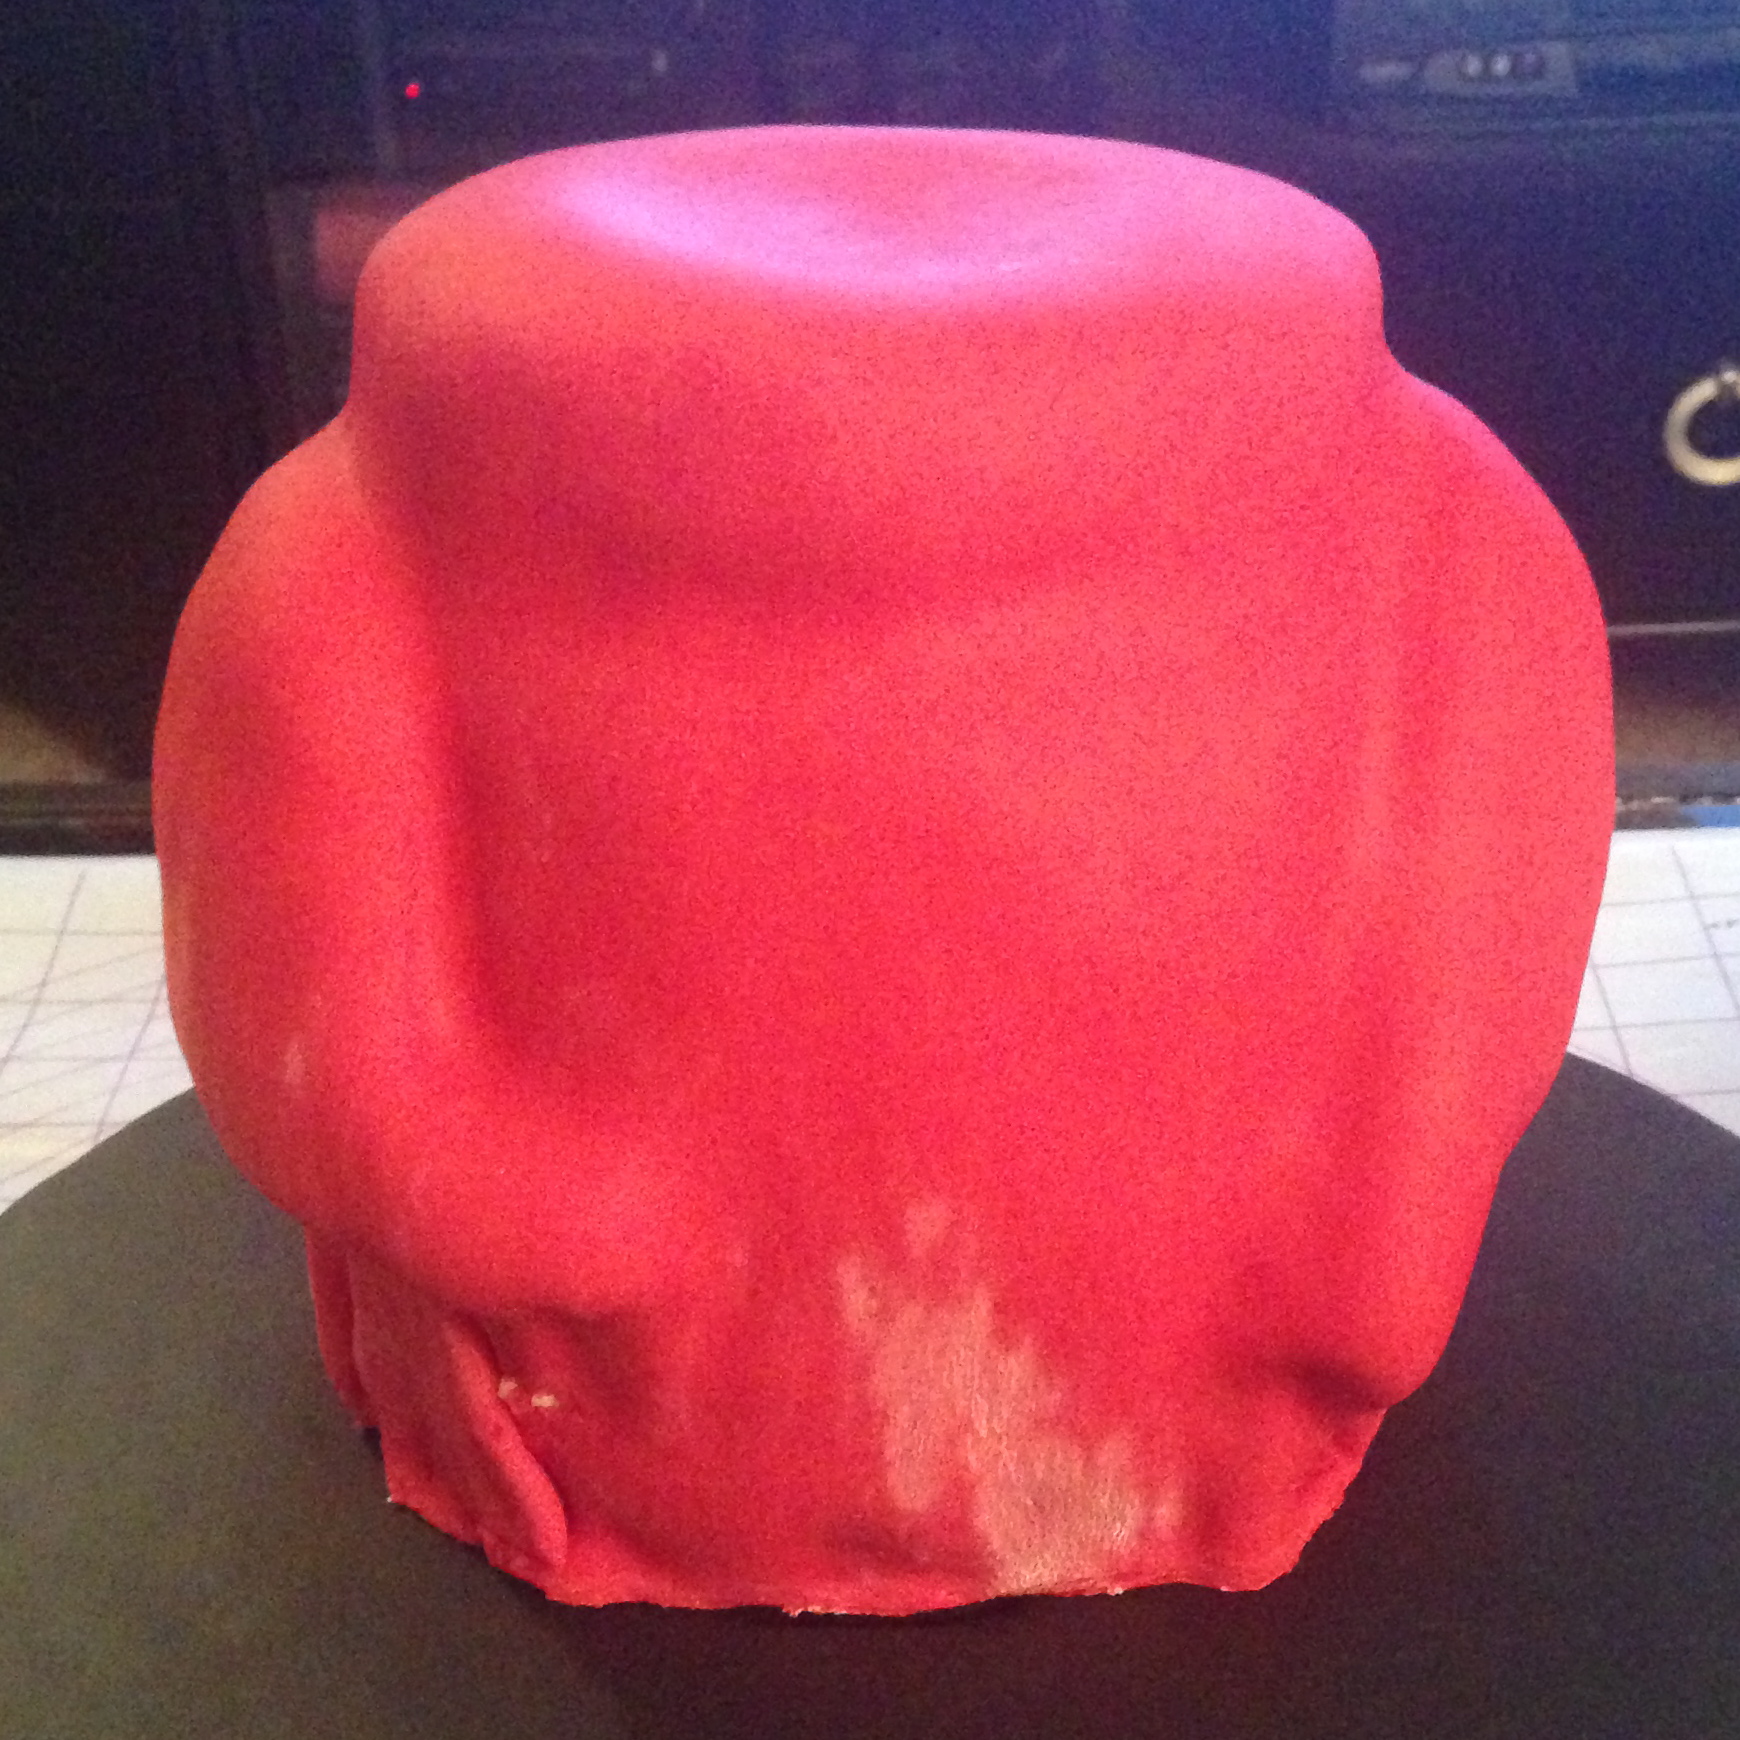
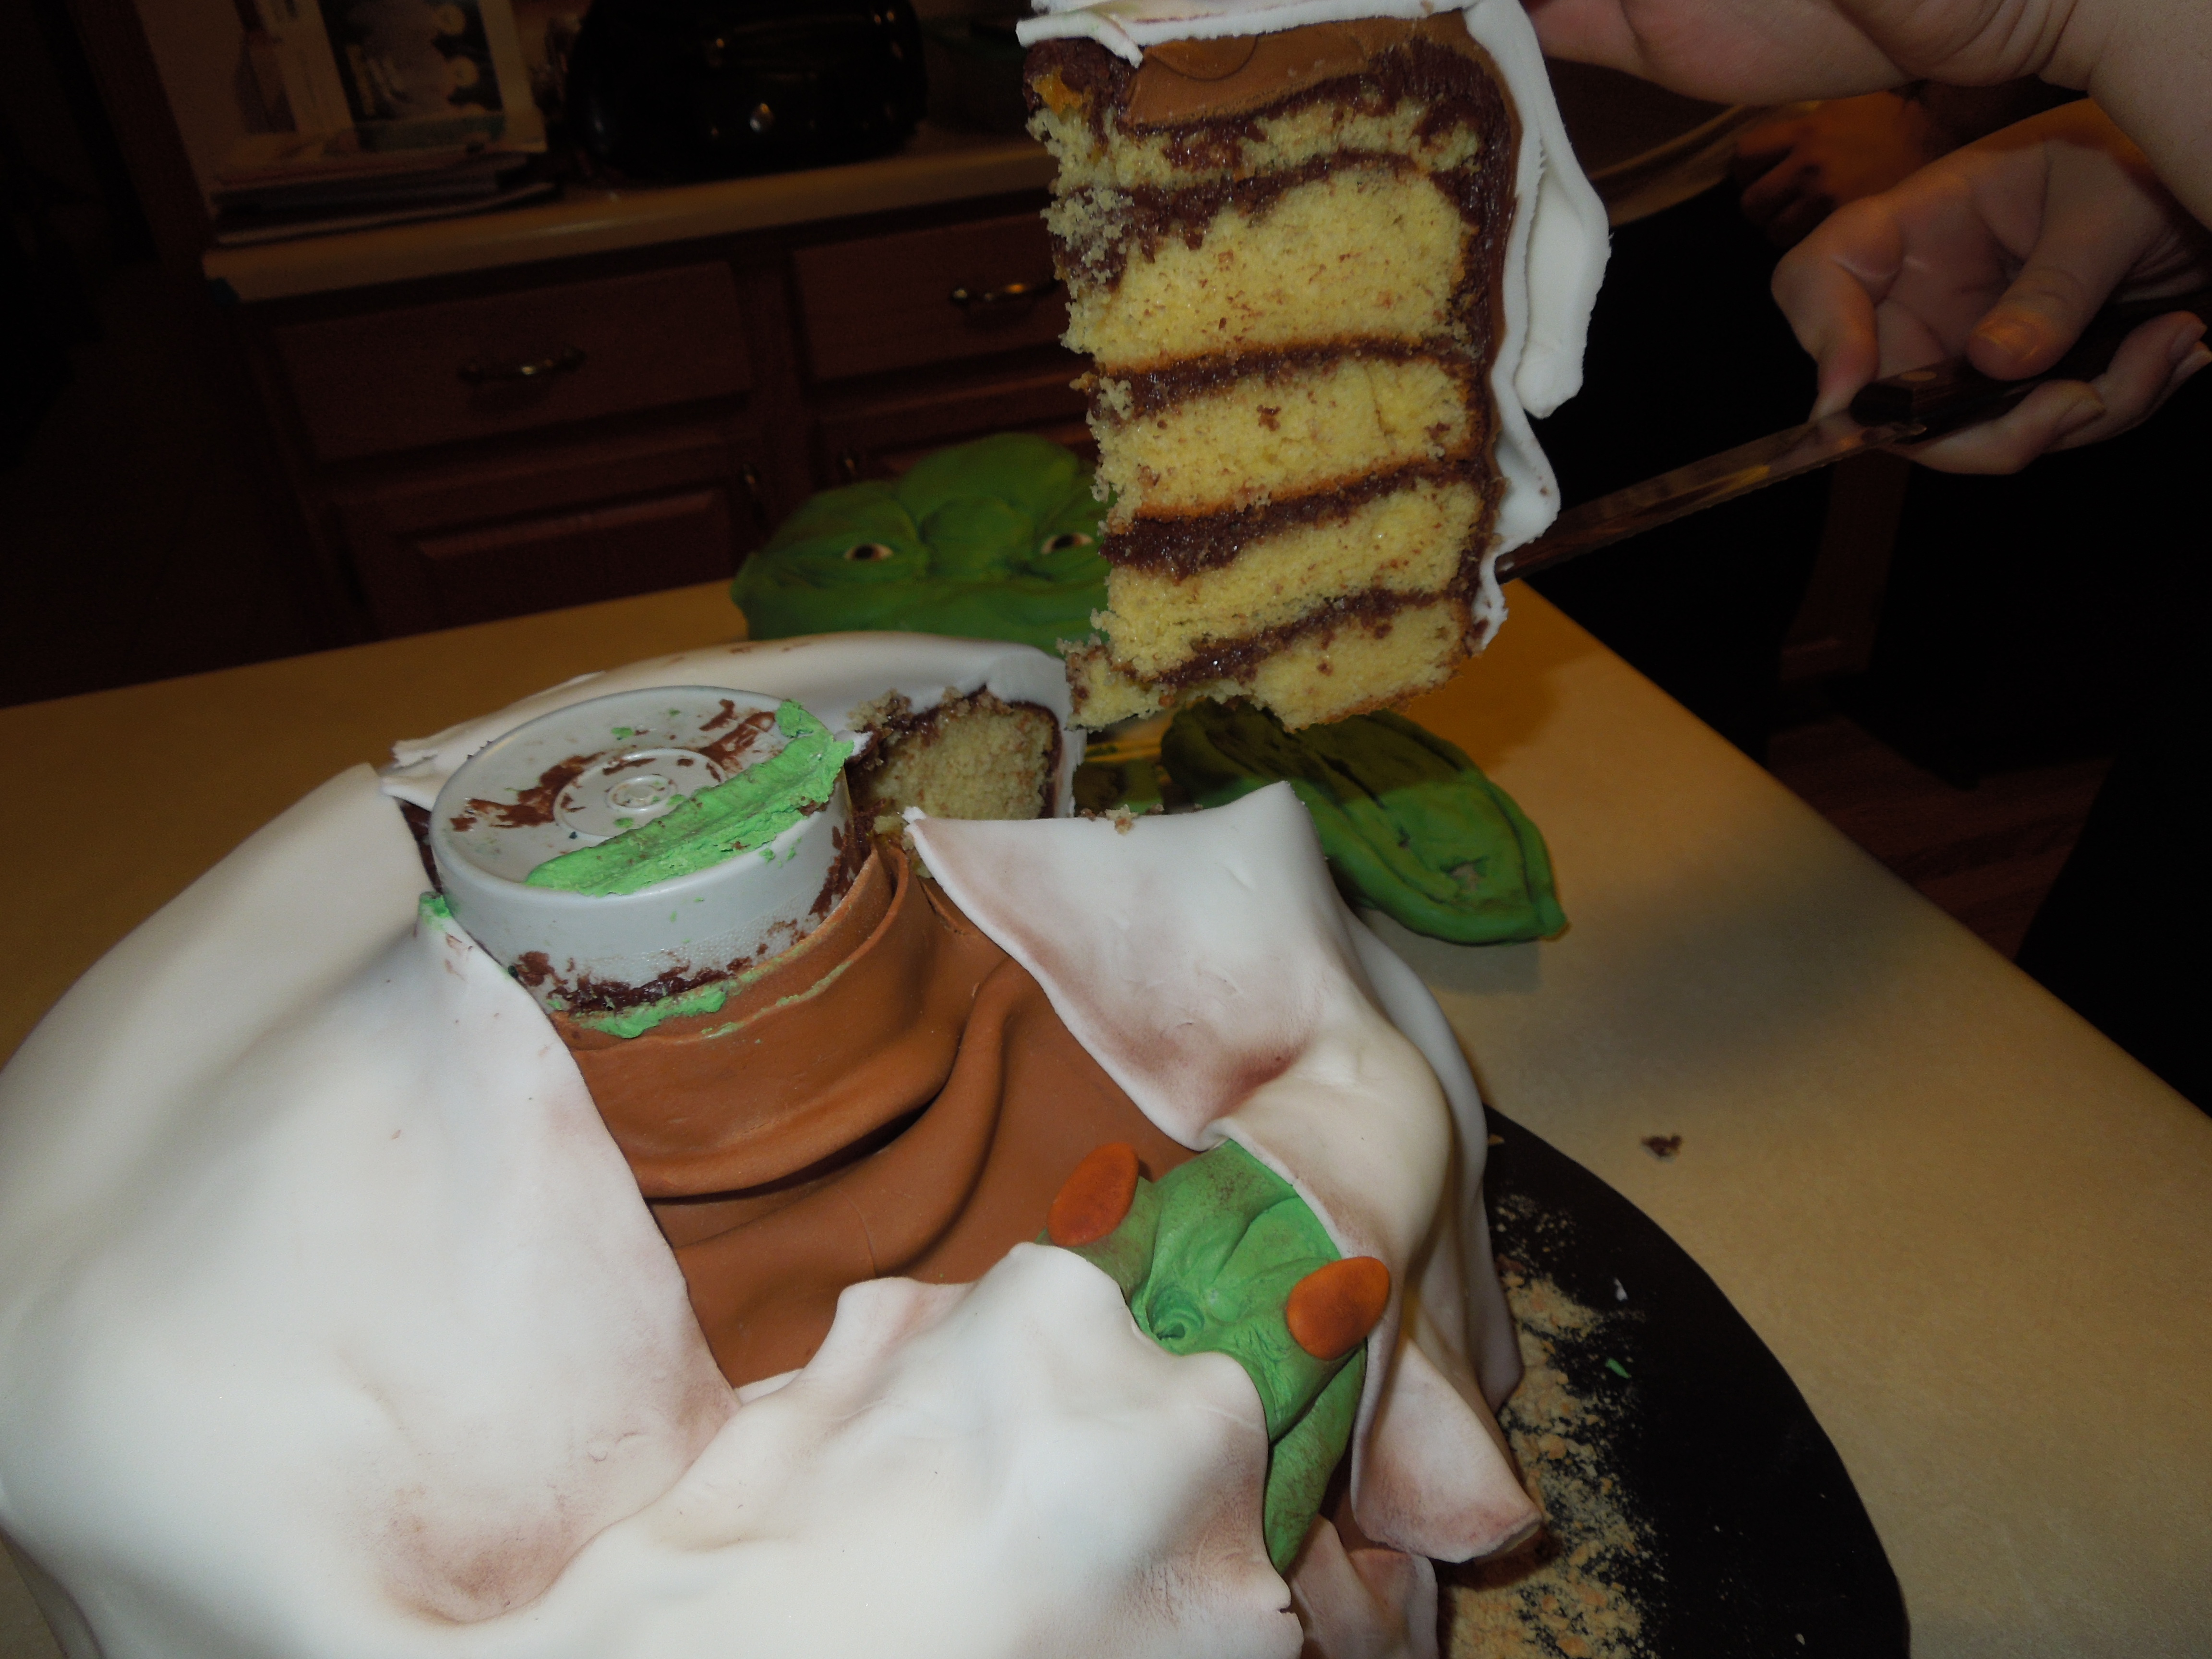
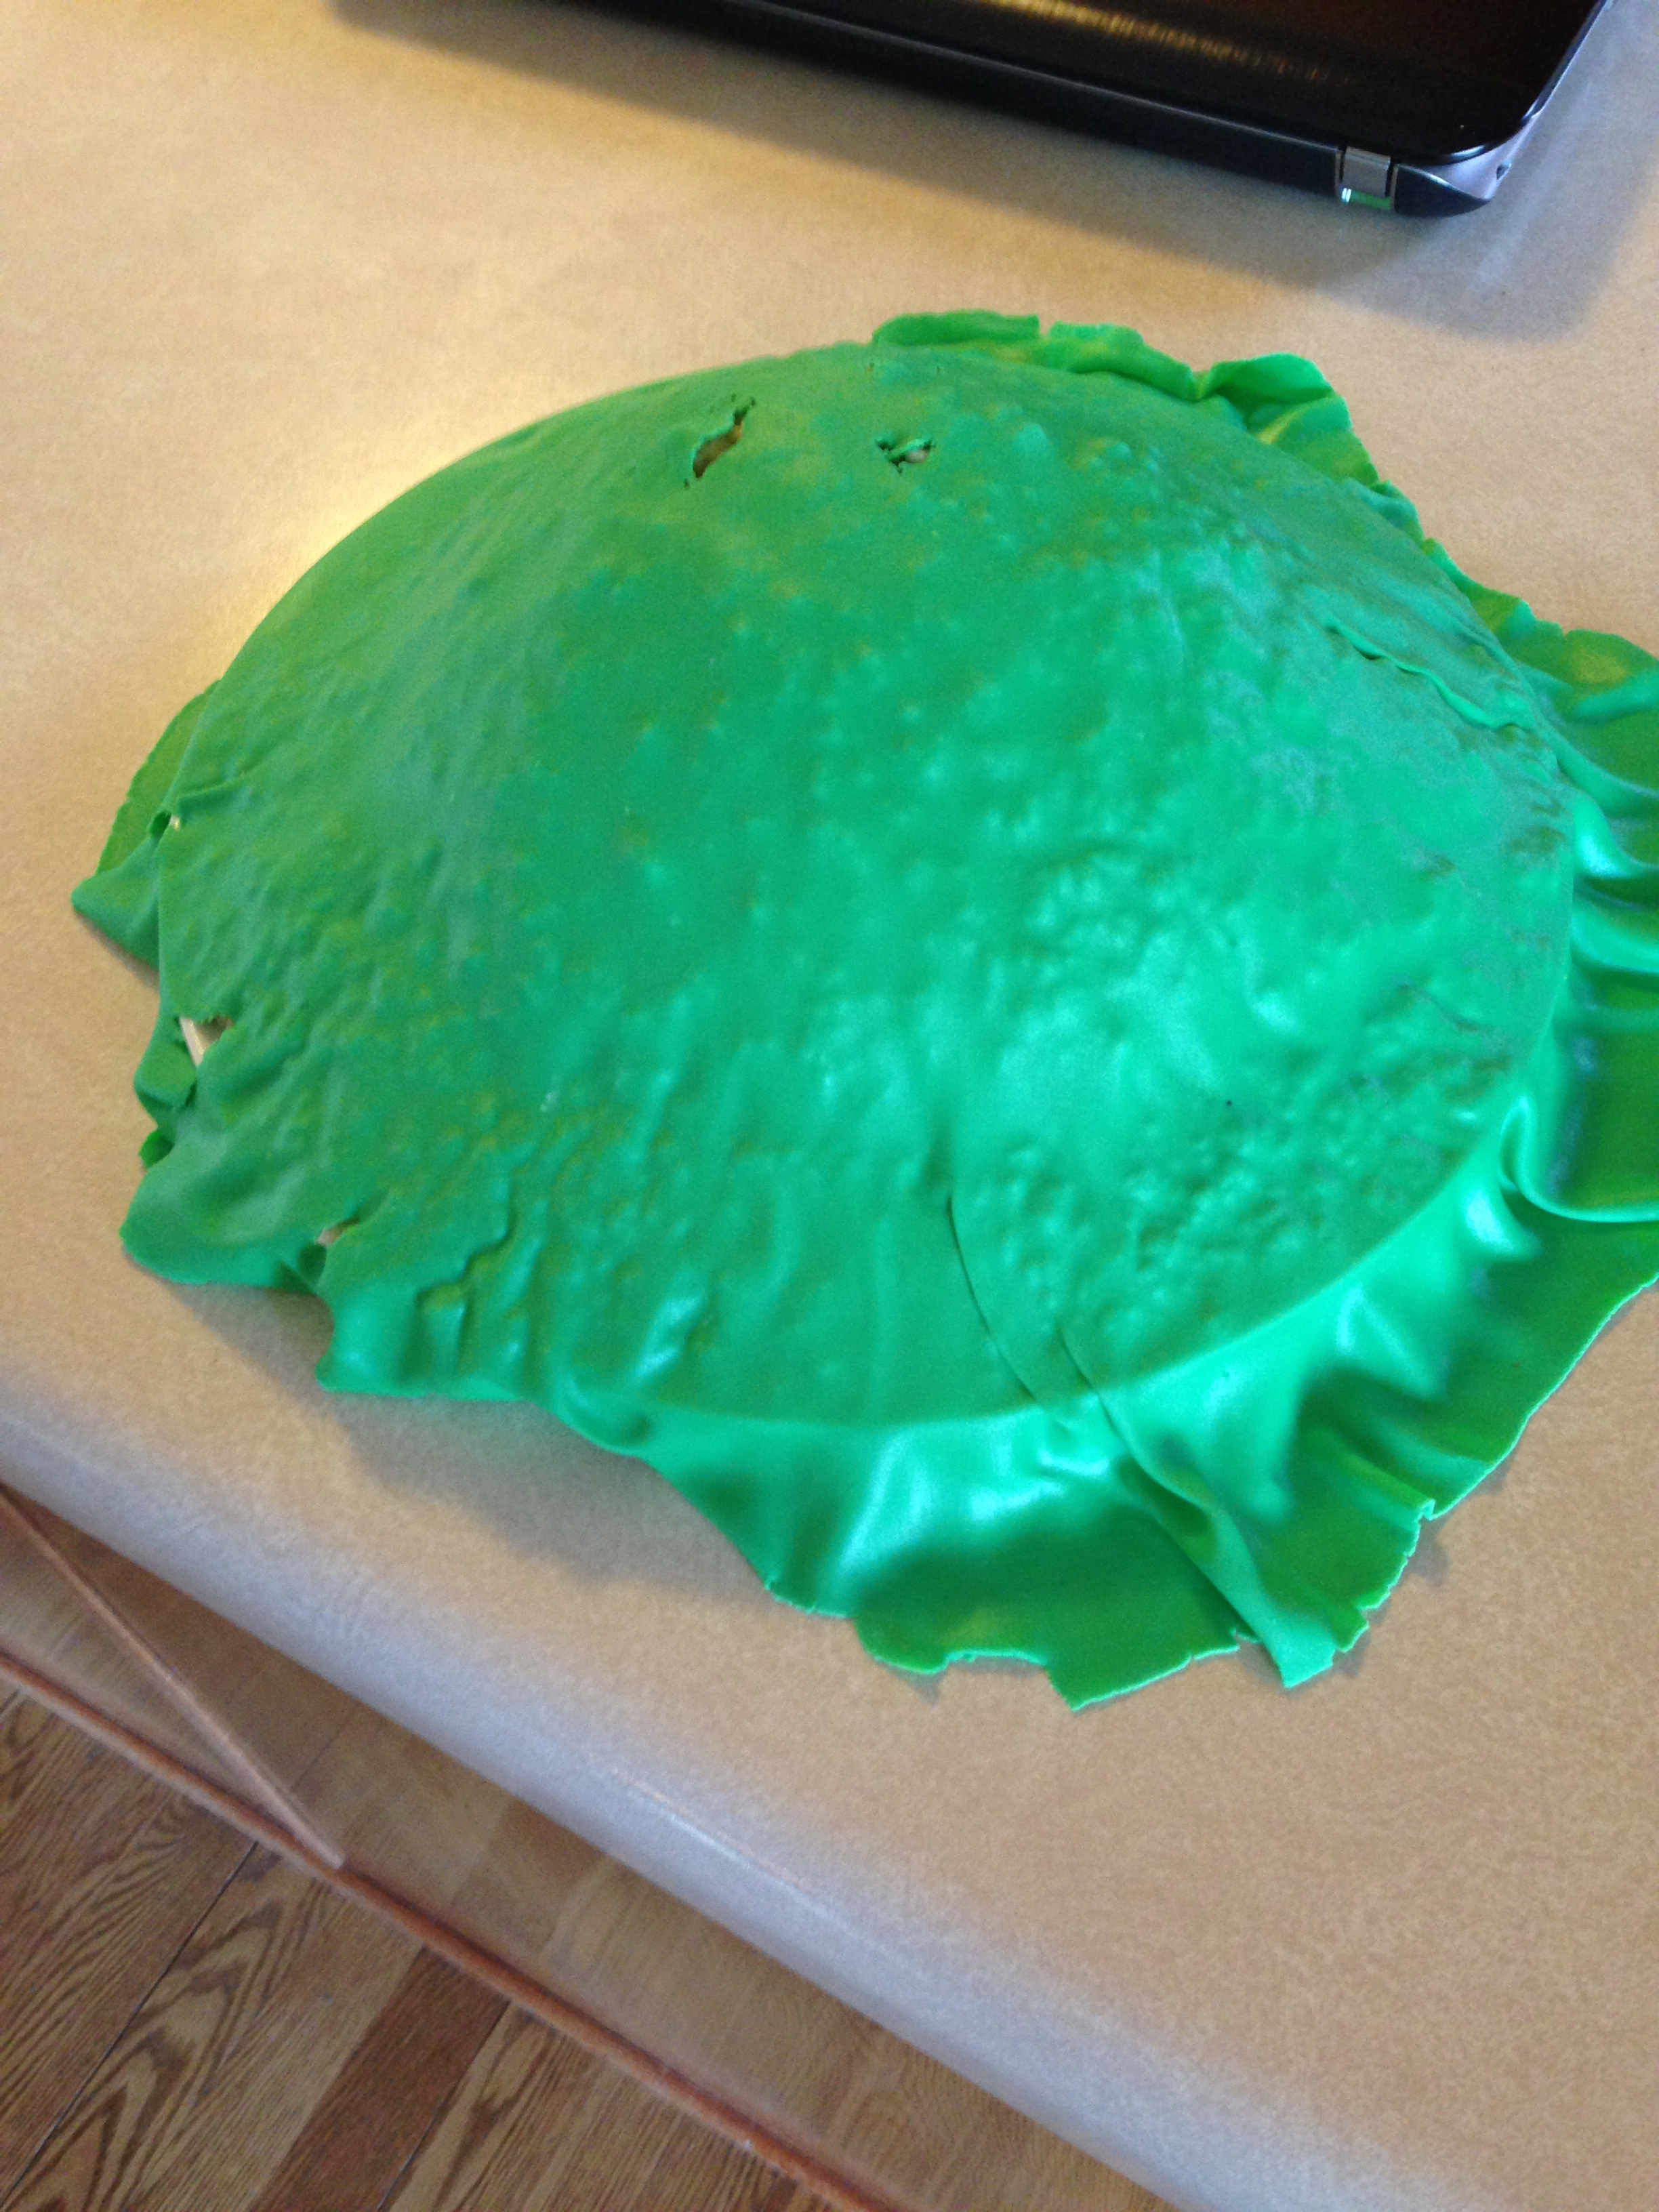
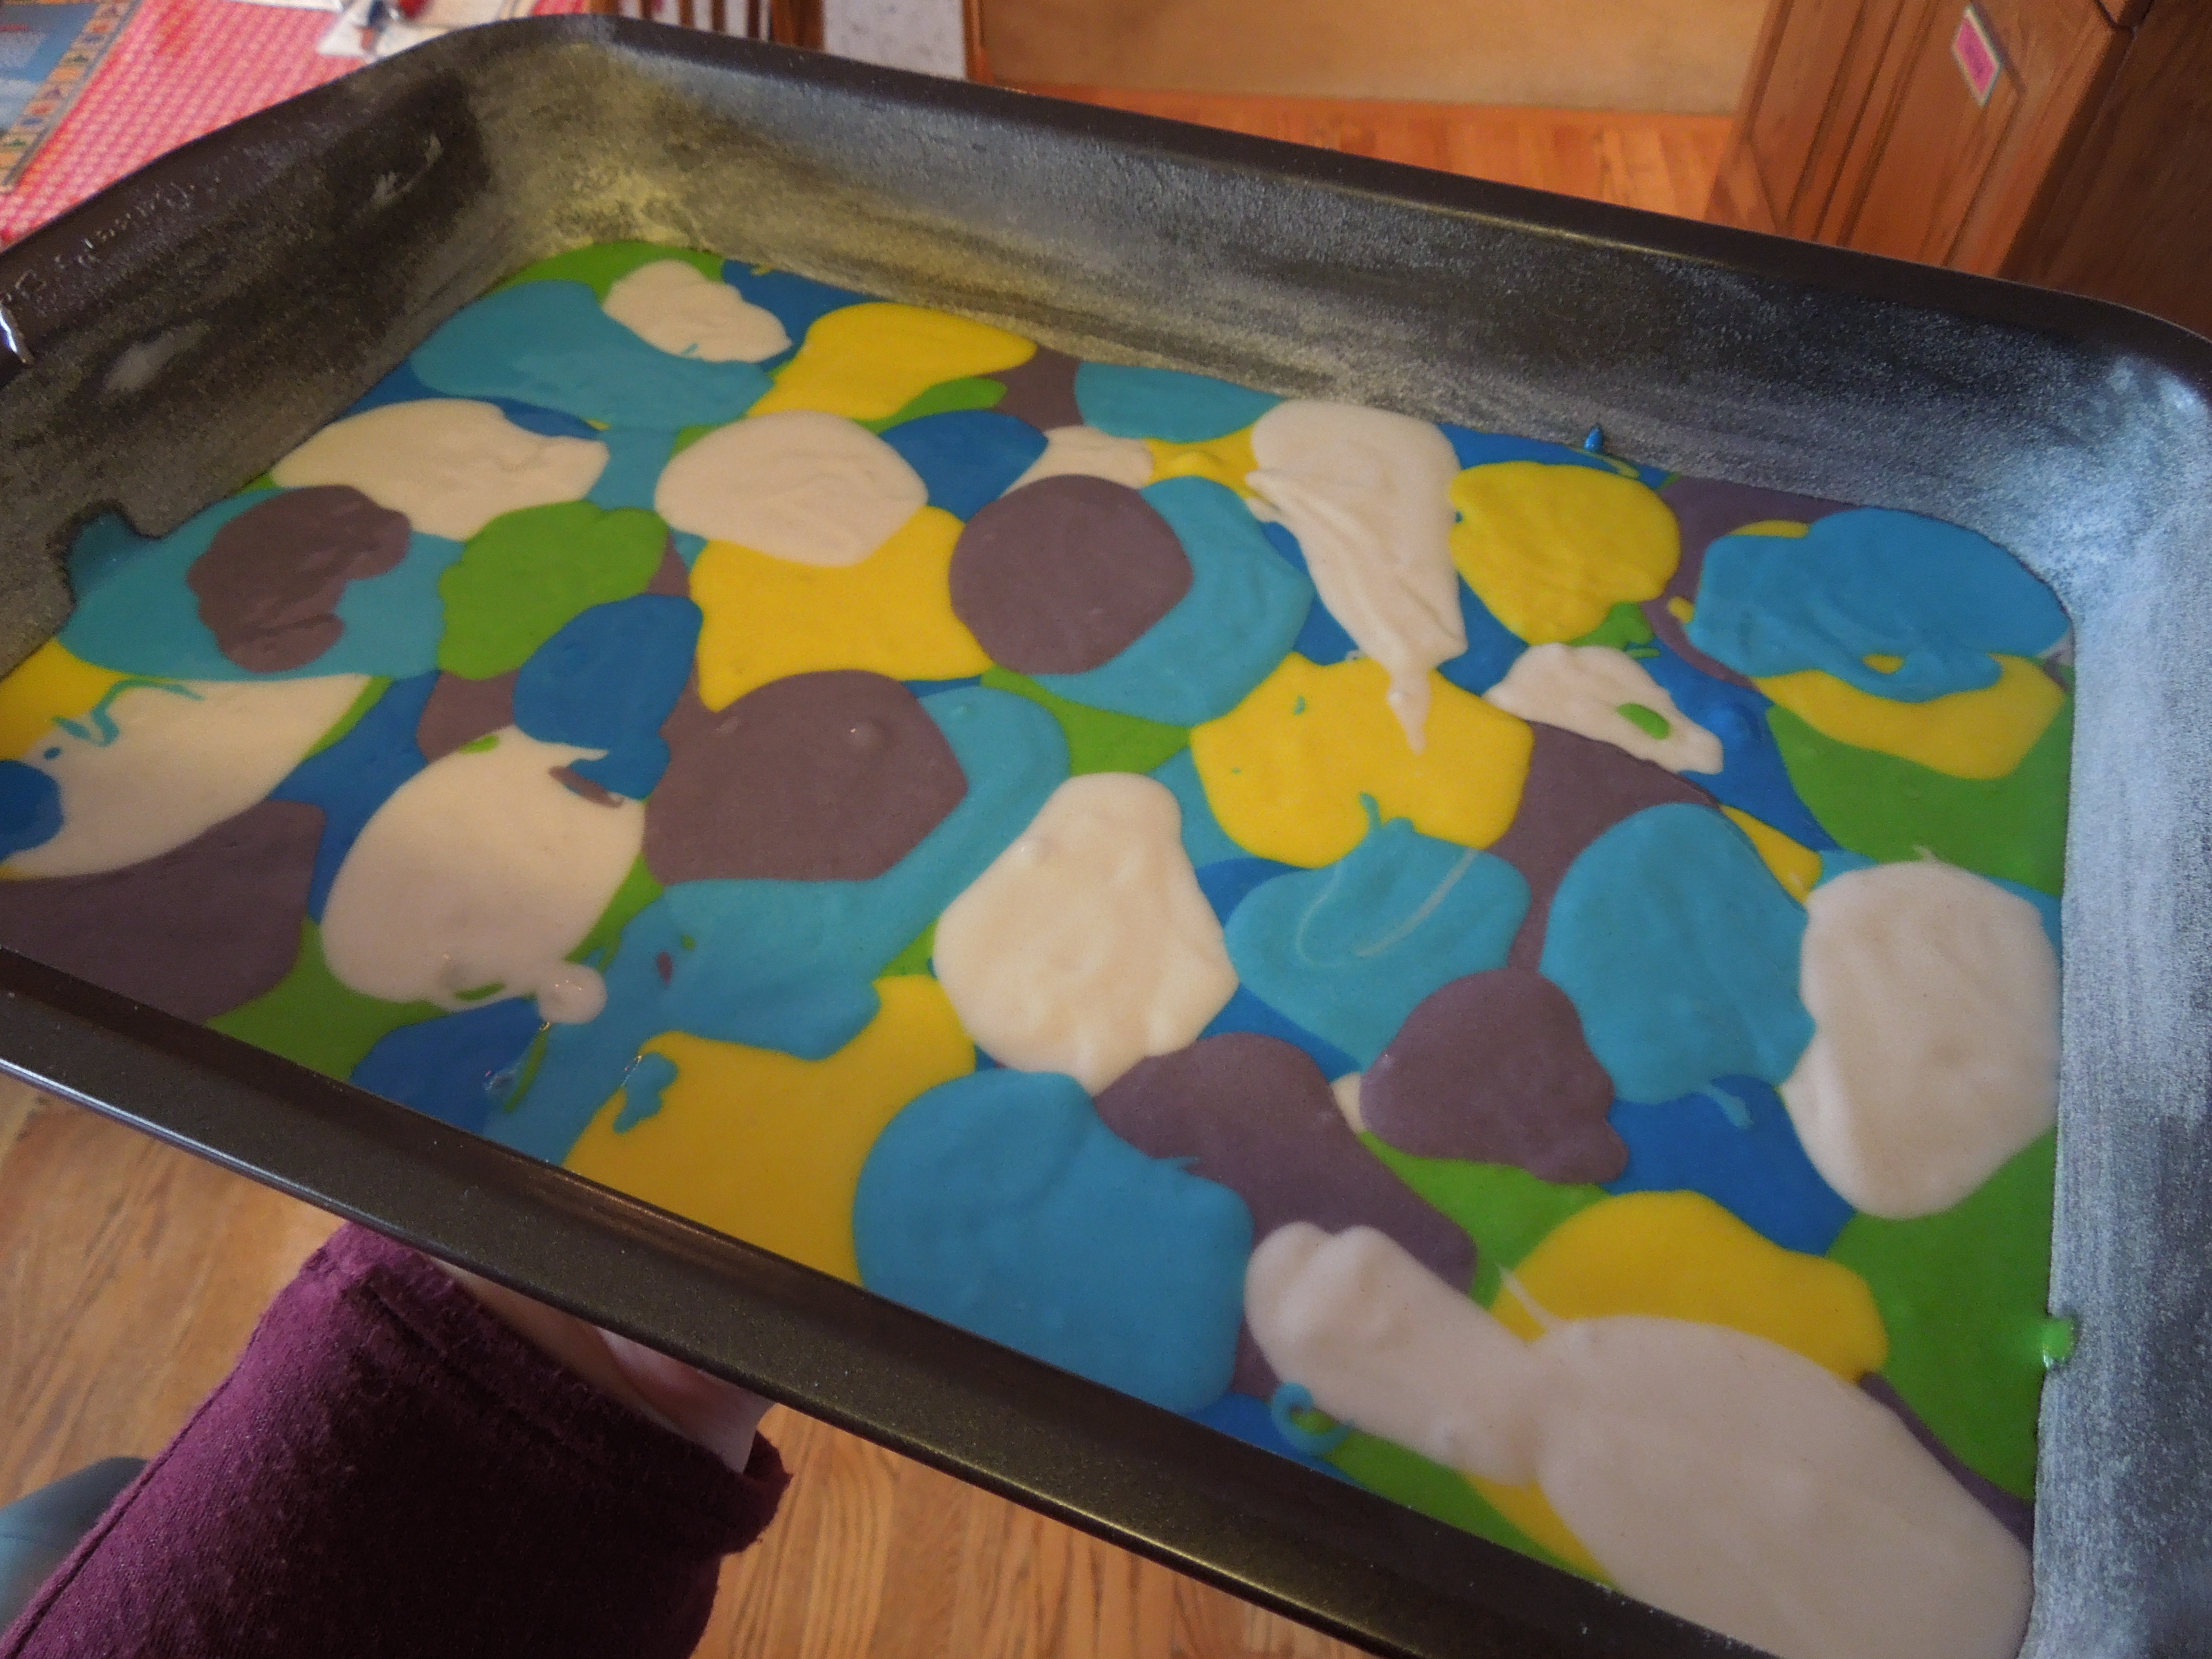
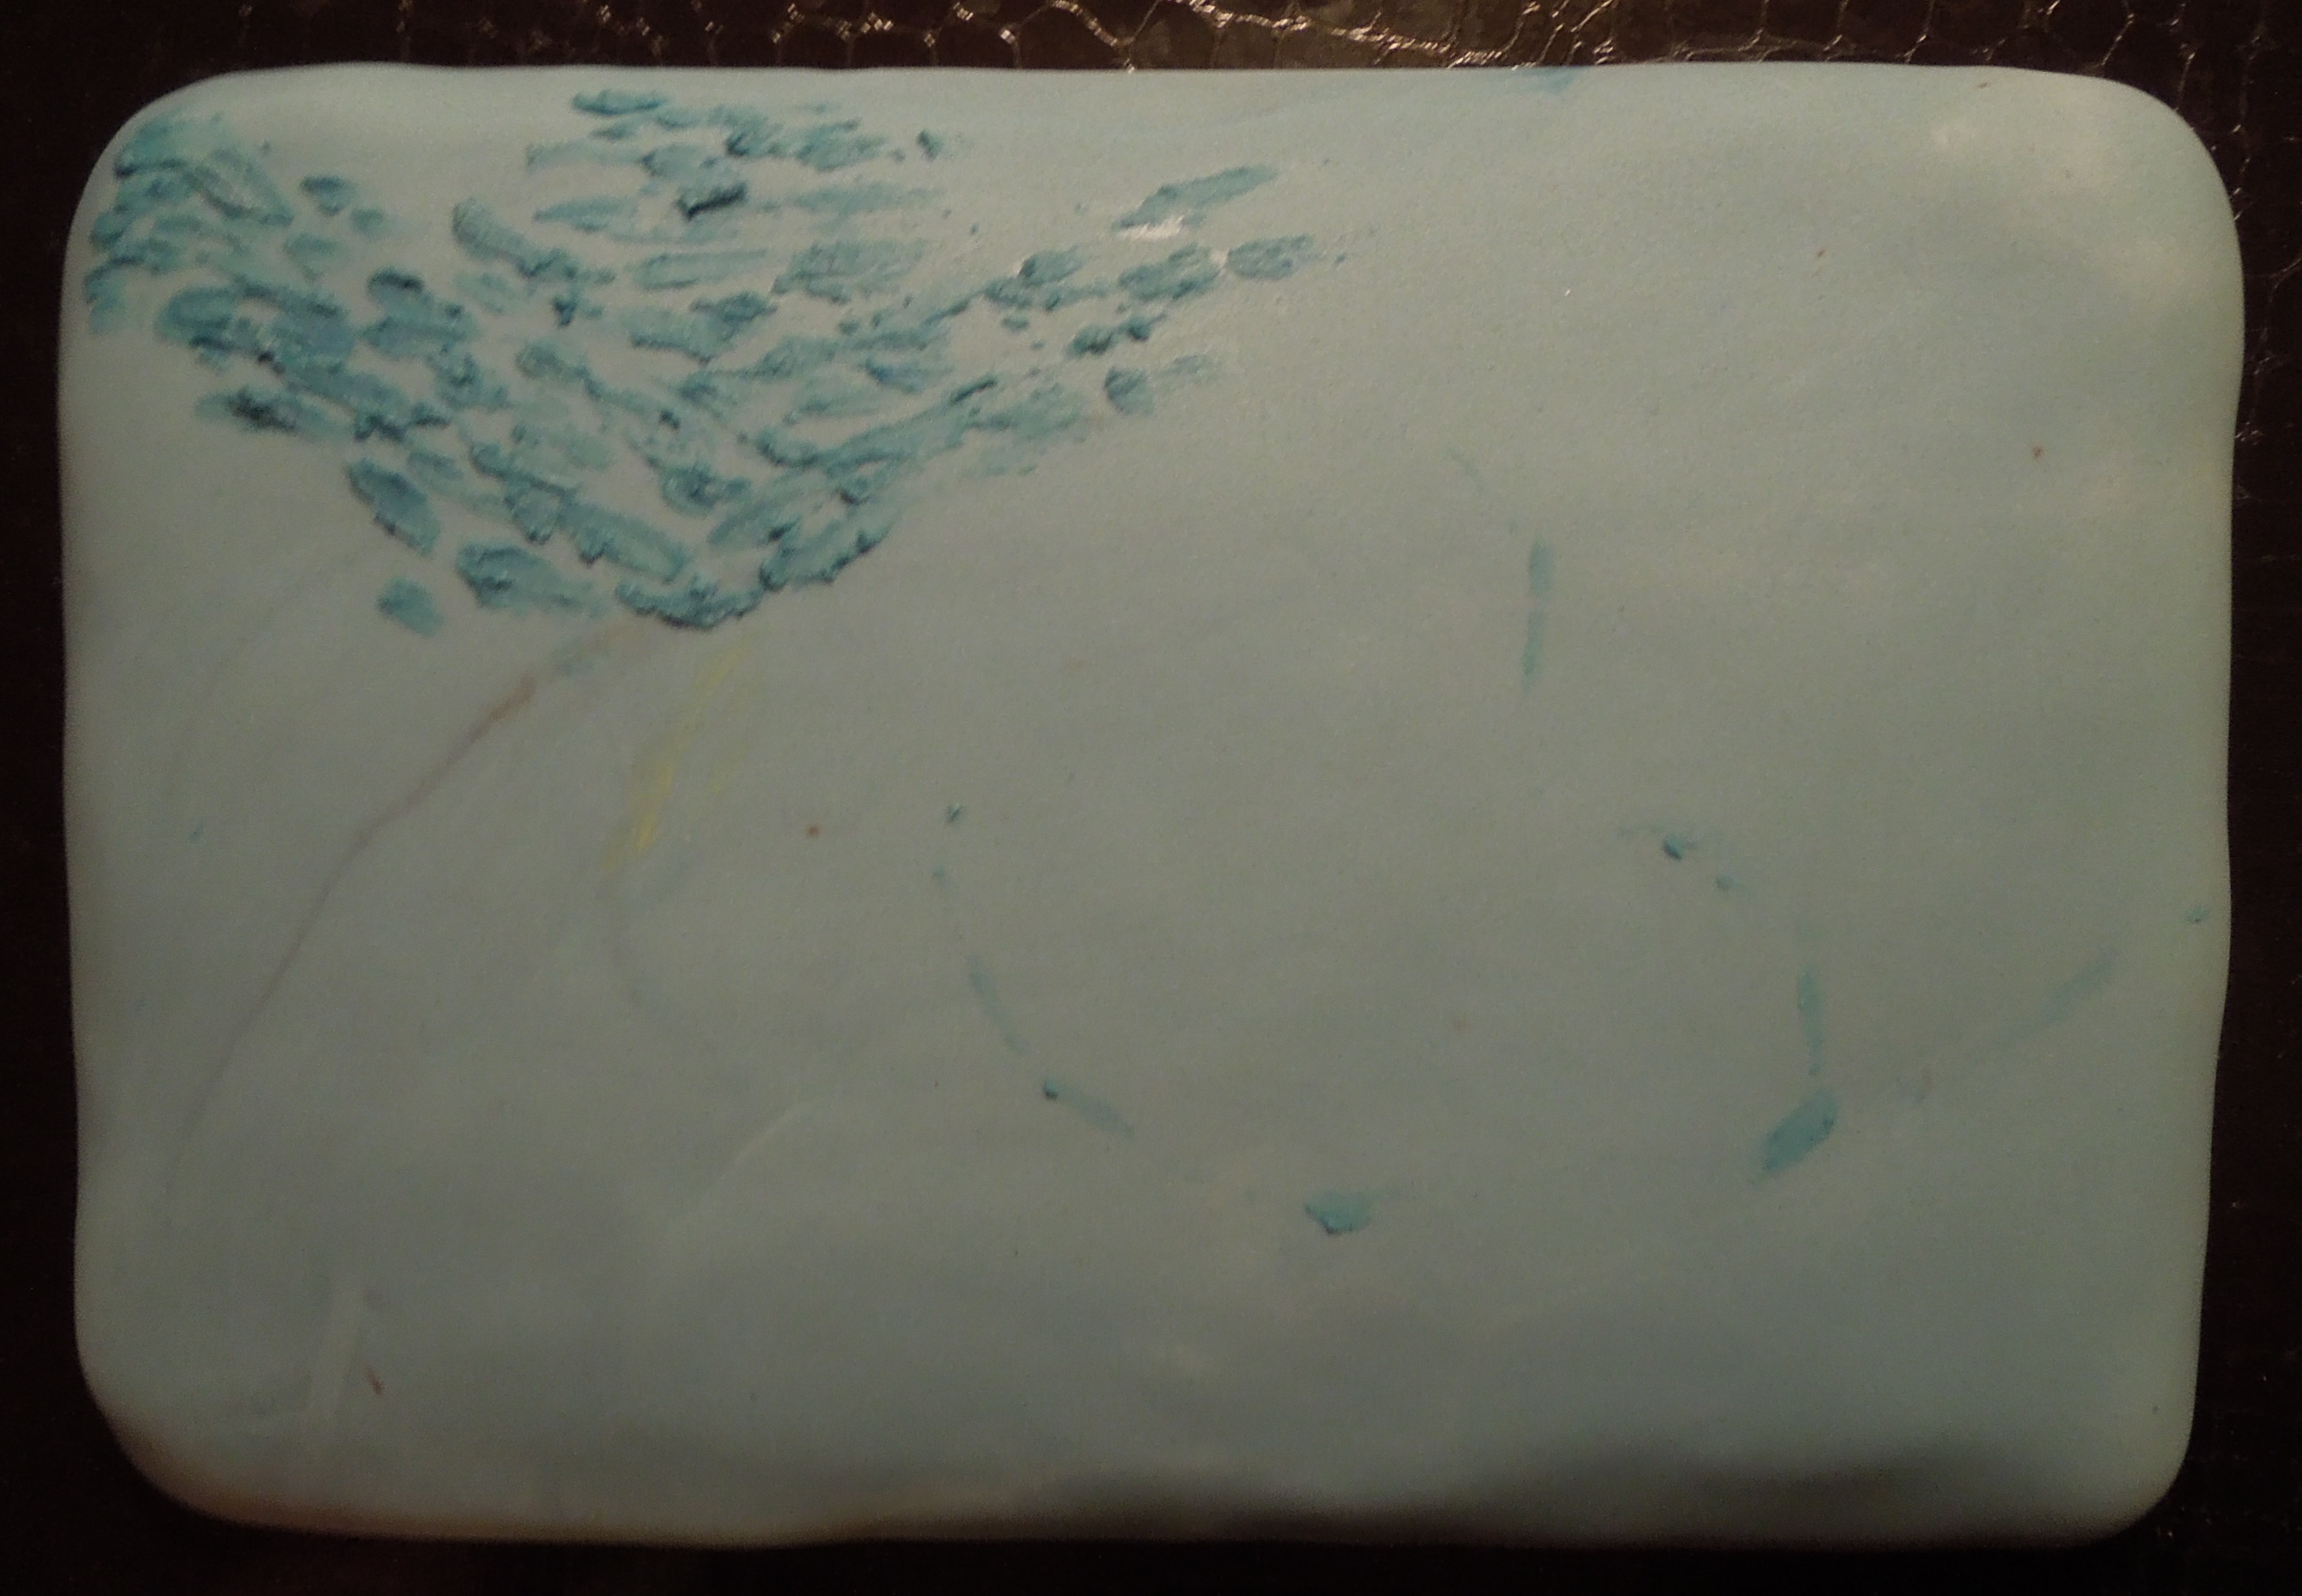
Next, we created a base for the tree. This tree was going to be very heavy, so we decided to use rice krispie treats instead of cake! Cover the base in fondant, and trim off excess fondant:

photo 3 photo 4 photo 11

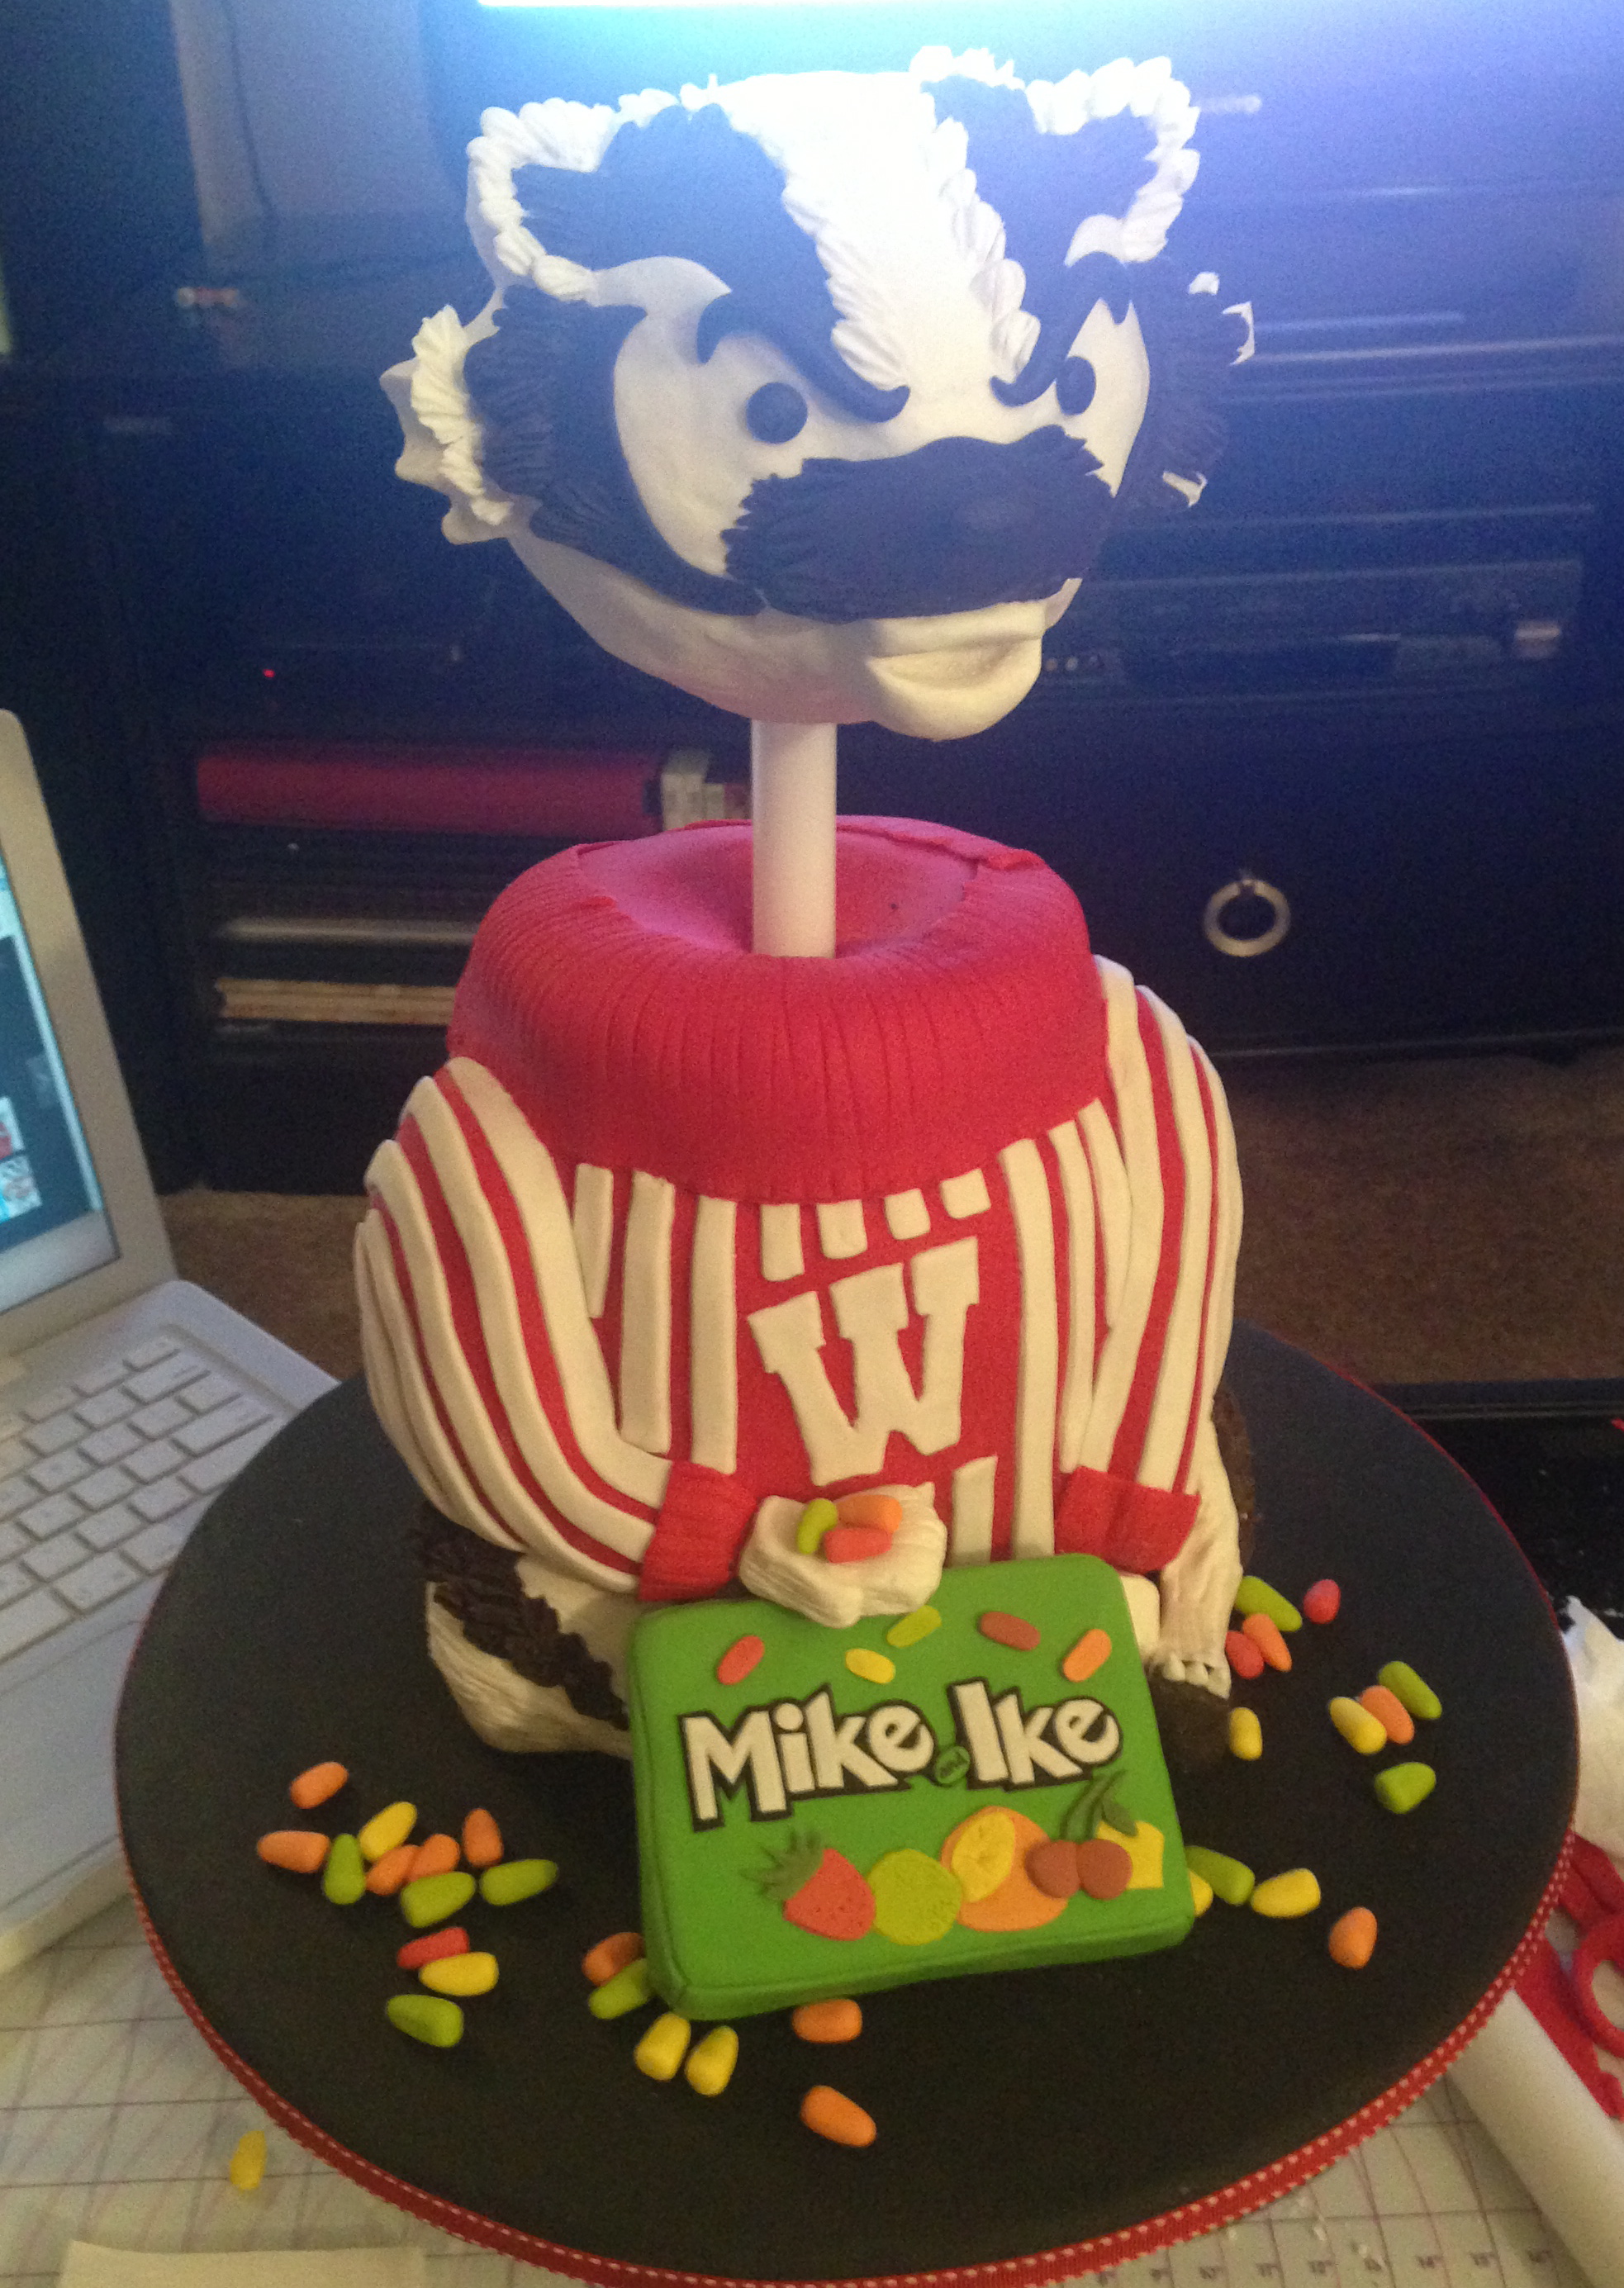
Next, create the tree. I used a large plastic cylinder, stuffed it with modeling chocolate, and then stuck in some metal decorative pieces I found at a craft store. I then duct-taped these sticks together because I was afraid the addition of the heads would cause them to shift around a lot.

photo 22 photo 33 photo 44

Once the branches were secure, I added the heads (in family groups). The heads had hardened with a small bit of wire inside, and I wrapped the other end around the “branch” and secured it with floral tape. Then the entire branch was covered with modeling chocolate.

DSCN0049    DSCN0051

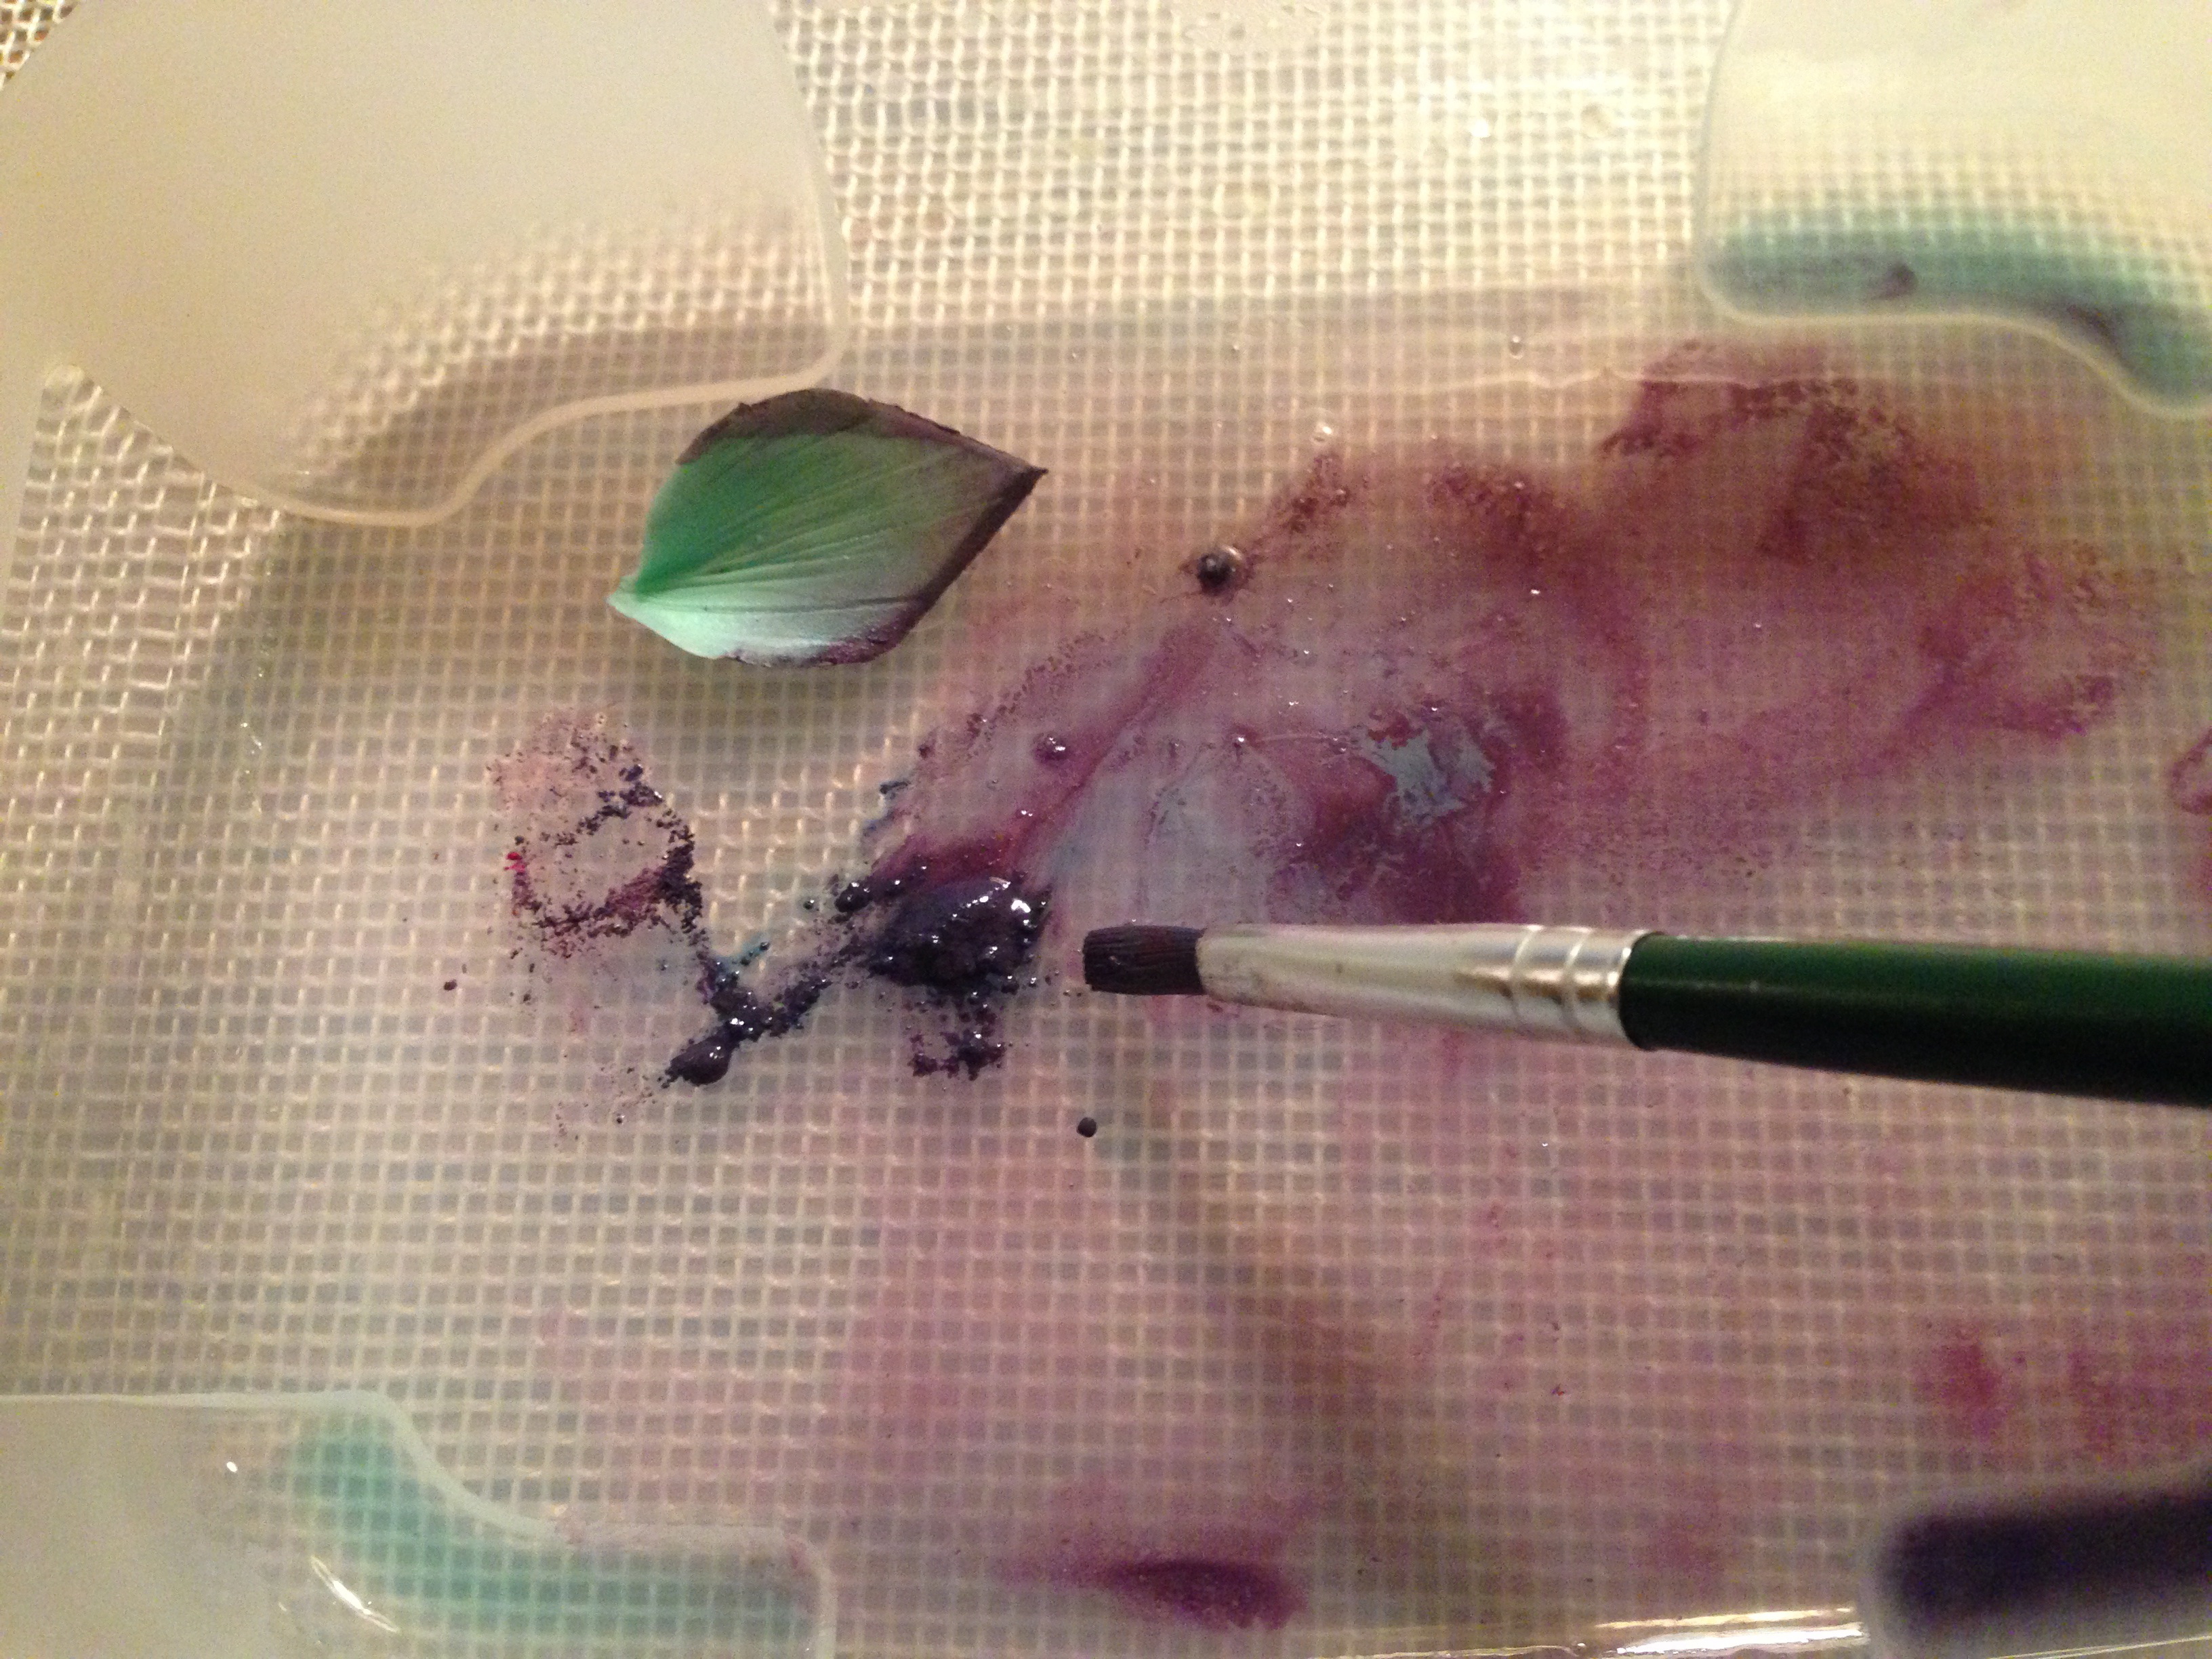
The entire project ended up taking a ridiculous amount of time – my lovely mother was roped into work with me literally all day. She was a hard worker that completed all the hard or boring jobs like making leaves (yawn), softening the modeling chocolate (ouch!), and everything else that I could bark out at her.

photo(33)
Not only is she a hard worker, but she’s got a sense of humor!

Normally, I spend a lot of time thinking about the cake recipient while I’m decorating, but boy, in this case- wow! It was like a trip down memory lane!

photo 55Later that evening, we had a birthday party and presented them with the cake. As always, it was a very enjoyable evening and I was reminded about how blessed I am to have this life, these perfect relatives. And as I was thinking about what to put in this blog post, an unfortunate quote came to mind: “Every family has a weird relative. If yours doesn’t… it’s you.”

:/


Painting with Buttercream

Kathryn Favorite Things(1990:)
“What is your favorite subject?” – Art.
“What is one thing you know a lot about?” – Art.
“What is one thing you are really good at?” – Drawing.
“What is one thing you’d change about school?” – Have art every day.

Out of the mouths of babes, as the saying goes- these are the real answers of an 8-year-old Kathryn. My mother, the family’s Keeper of the Memories, saved my “All About Me” worksheets from second grade, and one thing was abundantly clear: I loved art class! (Notice that there is no mention of math. :/ )

(Side note!! If you zoom in on this worksheet, I just realized you can see that my (fabulous) choice of “stretchy black pants” was actually covering a previously erased answer, “School U-” I’m gonna guess that was going to say, “School Uniform.” Nice to know I was already a full-blown nerd at age eight. The only person alive who liked Catholic school uniforms.)

Anyways: crayons, colored pencils, paint, play dough- you name it, I played with it. My mom even kept some of my first drawings, as you can see below! Though missing some important features (like bodies), the most notable thing of all was included: my dad’s fantastic mustache.

kathryn old drawingsFast forward a few years: the love of art has remained the same, and the drawing capability has marginally improved (I’ve started to include arms and legs in my figure drawings). A few weeks ago, I saw a photo of Van Gogh’s famous painting, “The Starry Night.” It occurred to me that this was the perfect opportunity to “paint” a cake using buttercream! Though making cakes is a huge creative outlet, I’ve been missing real art- drawing, painting, and the like. Painting a cake seemed a like a bit of a compromise, and this art style seemed perfect since it uses dabs rather than blended strokes.

First thing’s first: the cake! I wanted the “dab” effect to run throughout the cake, rather than just on the surface, so I purchased a Duff tie-dye mix. The mix comes with lots of colors, but I didn’t use the reds (since there are no reds or oranges in the Van Gogh).

DSCN9901 DSCN9902

Attention: This next part was great fun! 🙂 I used a spoon and dropped the colors in the pan in a random and assorted manner. I had to fight an extremely intense urge to run a toothpick through it all and create The Greatest Swirl Ever– but I was afraid the colors might run together.

Duff cake mix before baking

And the cooked result- how cool is that?! cooked Duff cake mix 

Though unusual to first cover the cake in fondant, and THEN buttercream, I wanted to have a smooth surface to “paint” on. So: on went blue buttercream, and then fondant. Man, that is a lumpy fondant job- I really stink at covering with fondant. I have watched just about every youtube help video out there, and I still have a hard time. Luckily in this case, the frosting totally covered up the lumpiness- but still. A skill to practice. :/

DSCN9911

The next step was to create a color palette. Simply tint the buttercream various colors!

color palatteThe photos below show the painting progress, step by step. (Hey! Did someone say “Step by Step?” As in, my favorite song from second grade, as listed on the worksheet above? Check out the music video here! An unusual soundtrack to listen to while contemplating a buttercream Van Gogh, that is true. Perhaps you’d rather listen to this beautiful performance of “Vincent,” performed by Josh Groban.)

DSCN9917 

As you can see, I very faintly sketched out the major portions of the painting- mainly the large swirl and the beginning of the hill.

DSCN9918 DSCN9919 DSCN9921 DSCN9923 DSCN9924 DSCN9927

The final step – just for fun- was to lay a picture frame around the cake and create the illusion that it was hanging on the wall. I laid out a white tablecloth, taped a string to the back of the frame, and stuck a pin in the tablecloth- as if the frame were really hanging on the wall.

Van Gogh starry night painting cakeClick here to watch a 3-minute timelapse of a different time I painted this cake!

Now for the fun part! As you can imagine, I was DYING to cut into this cake! I really wanted to see if the layering would come out- and wow, did it ever! This Duff cake mix is an amazing product. Check out some close-ups below!

duff cake mix van gogh cake 2

duff cake mix van gogh cake close up of van gogh cake
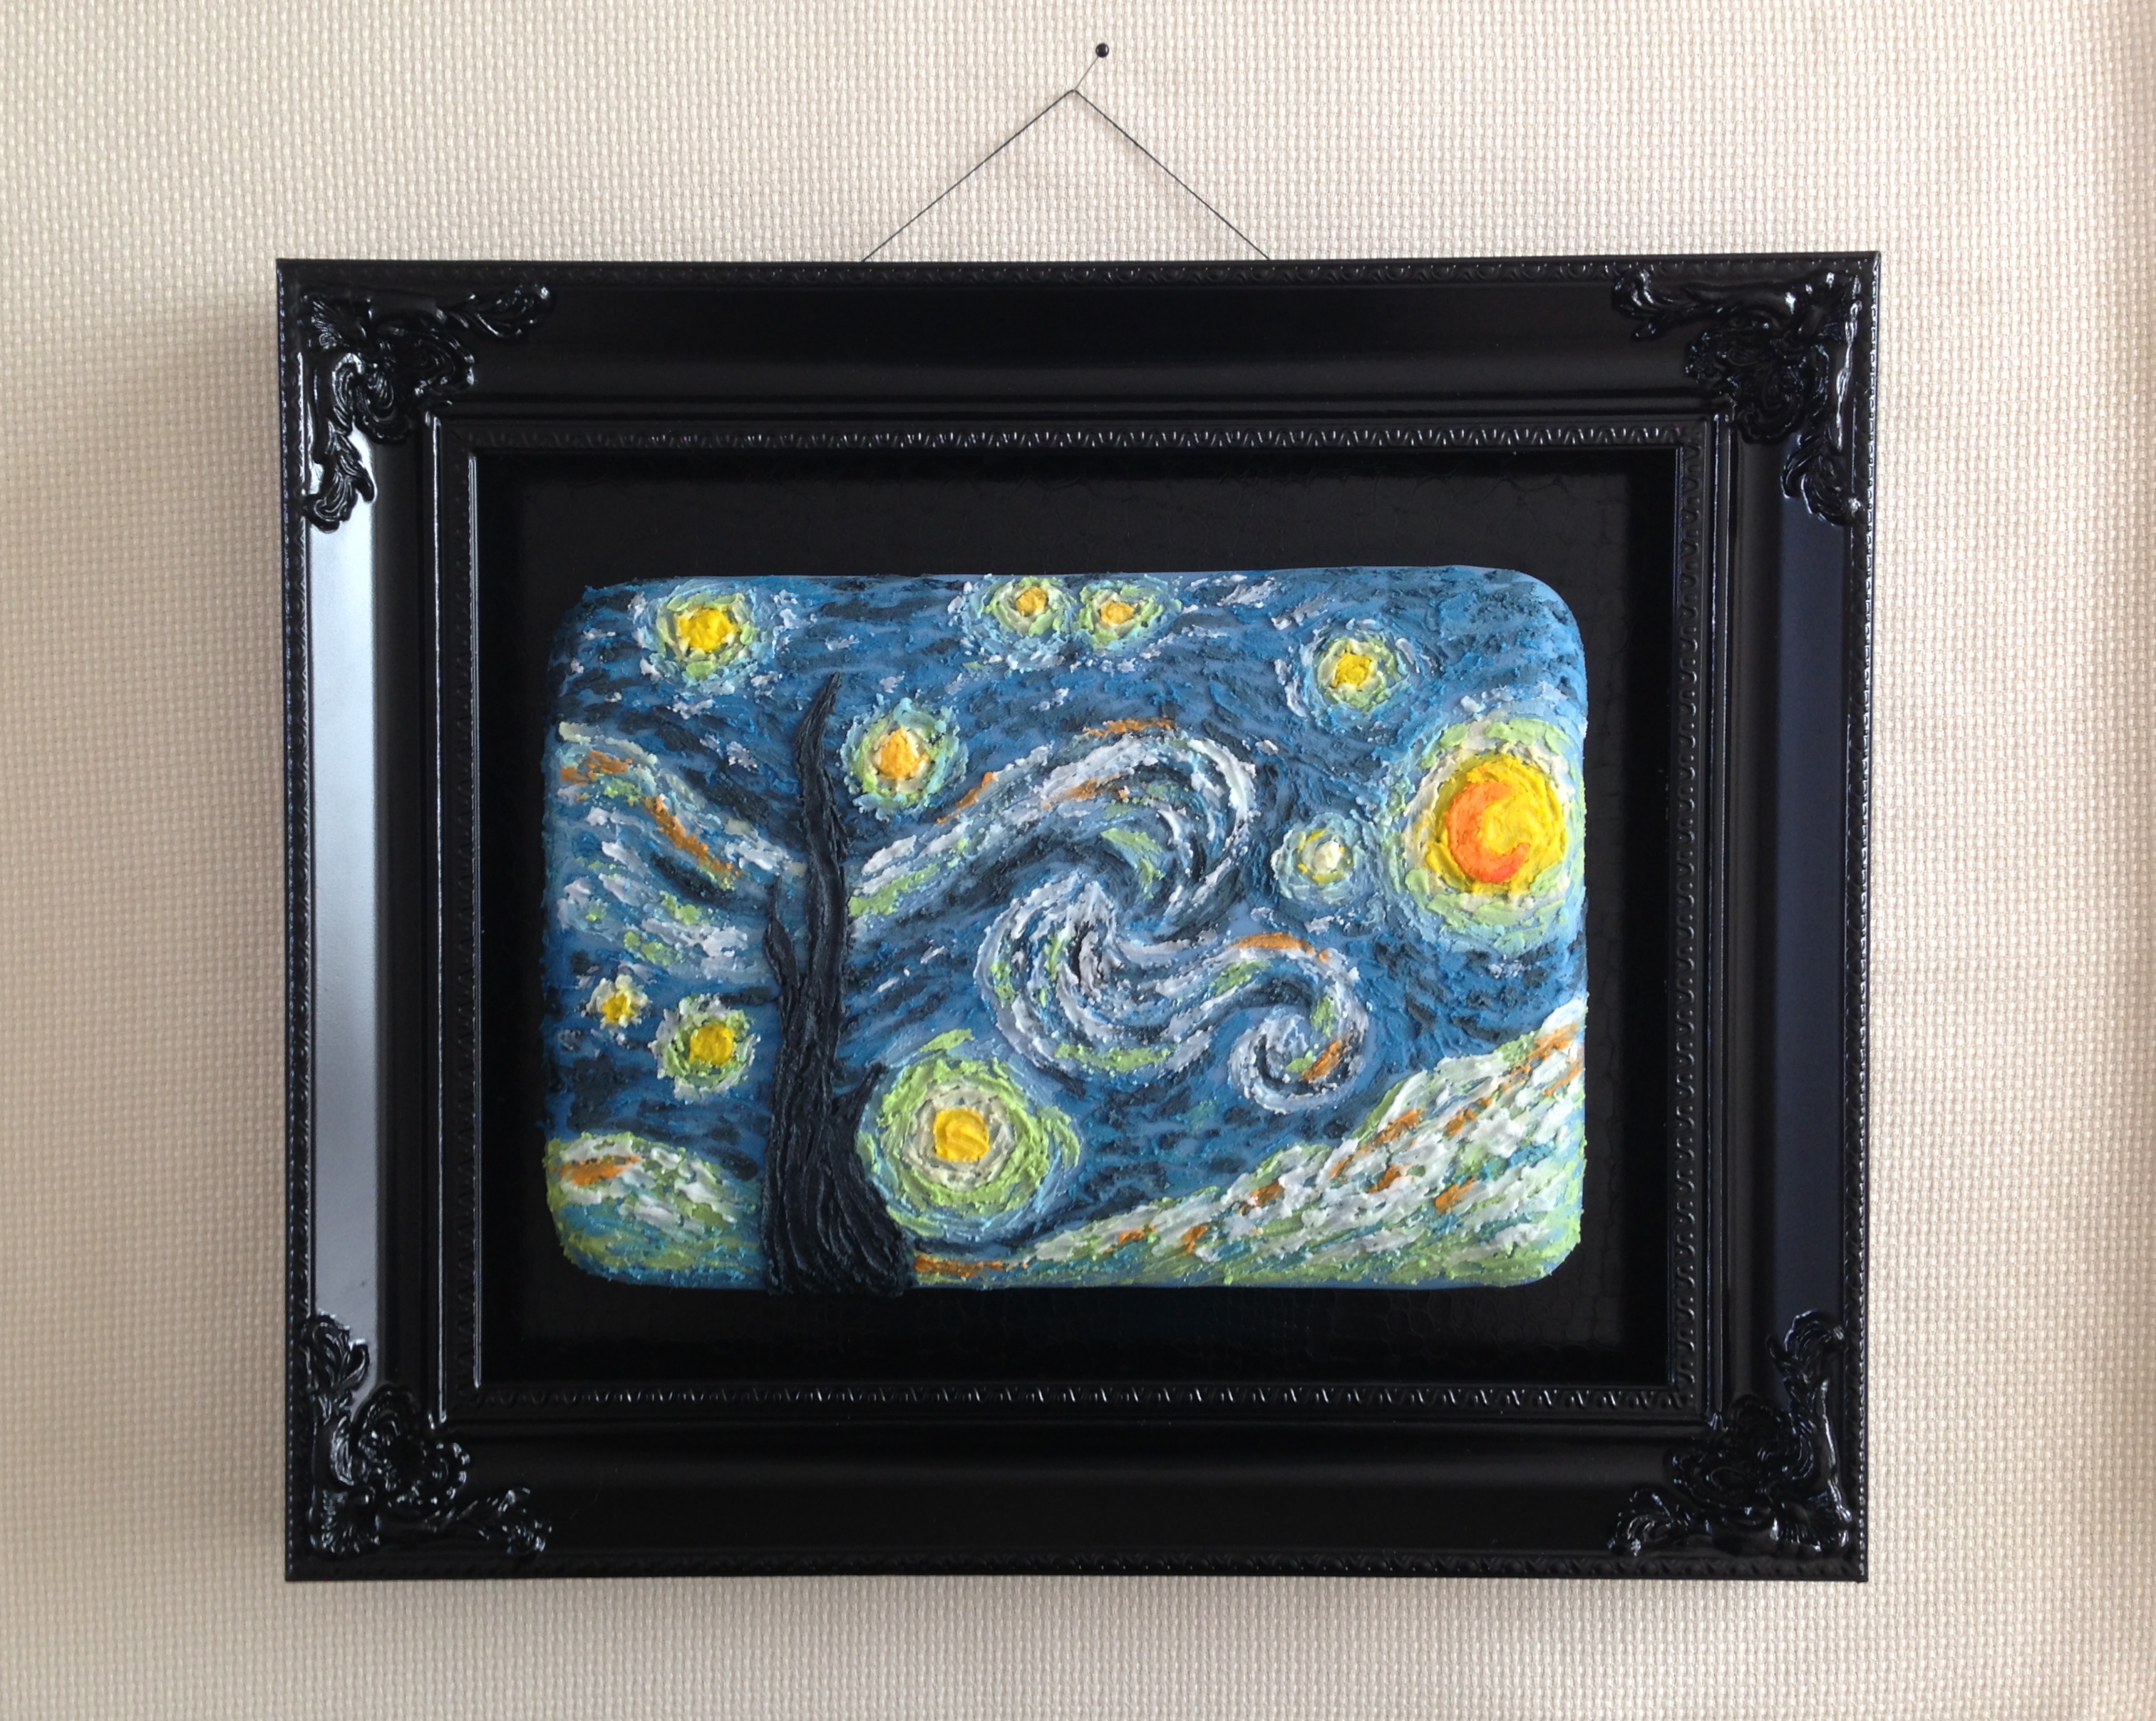
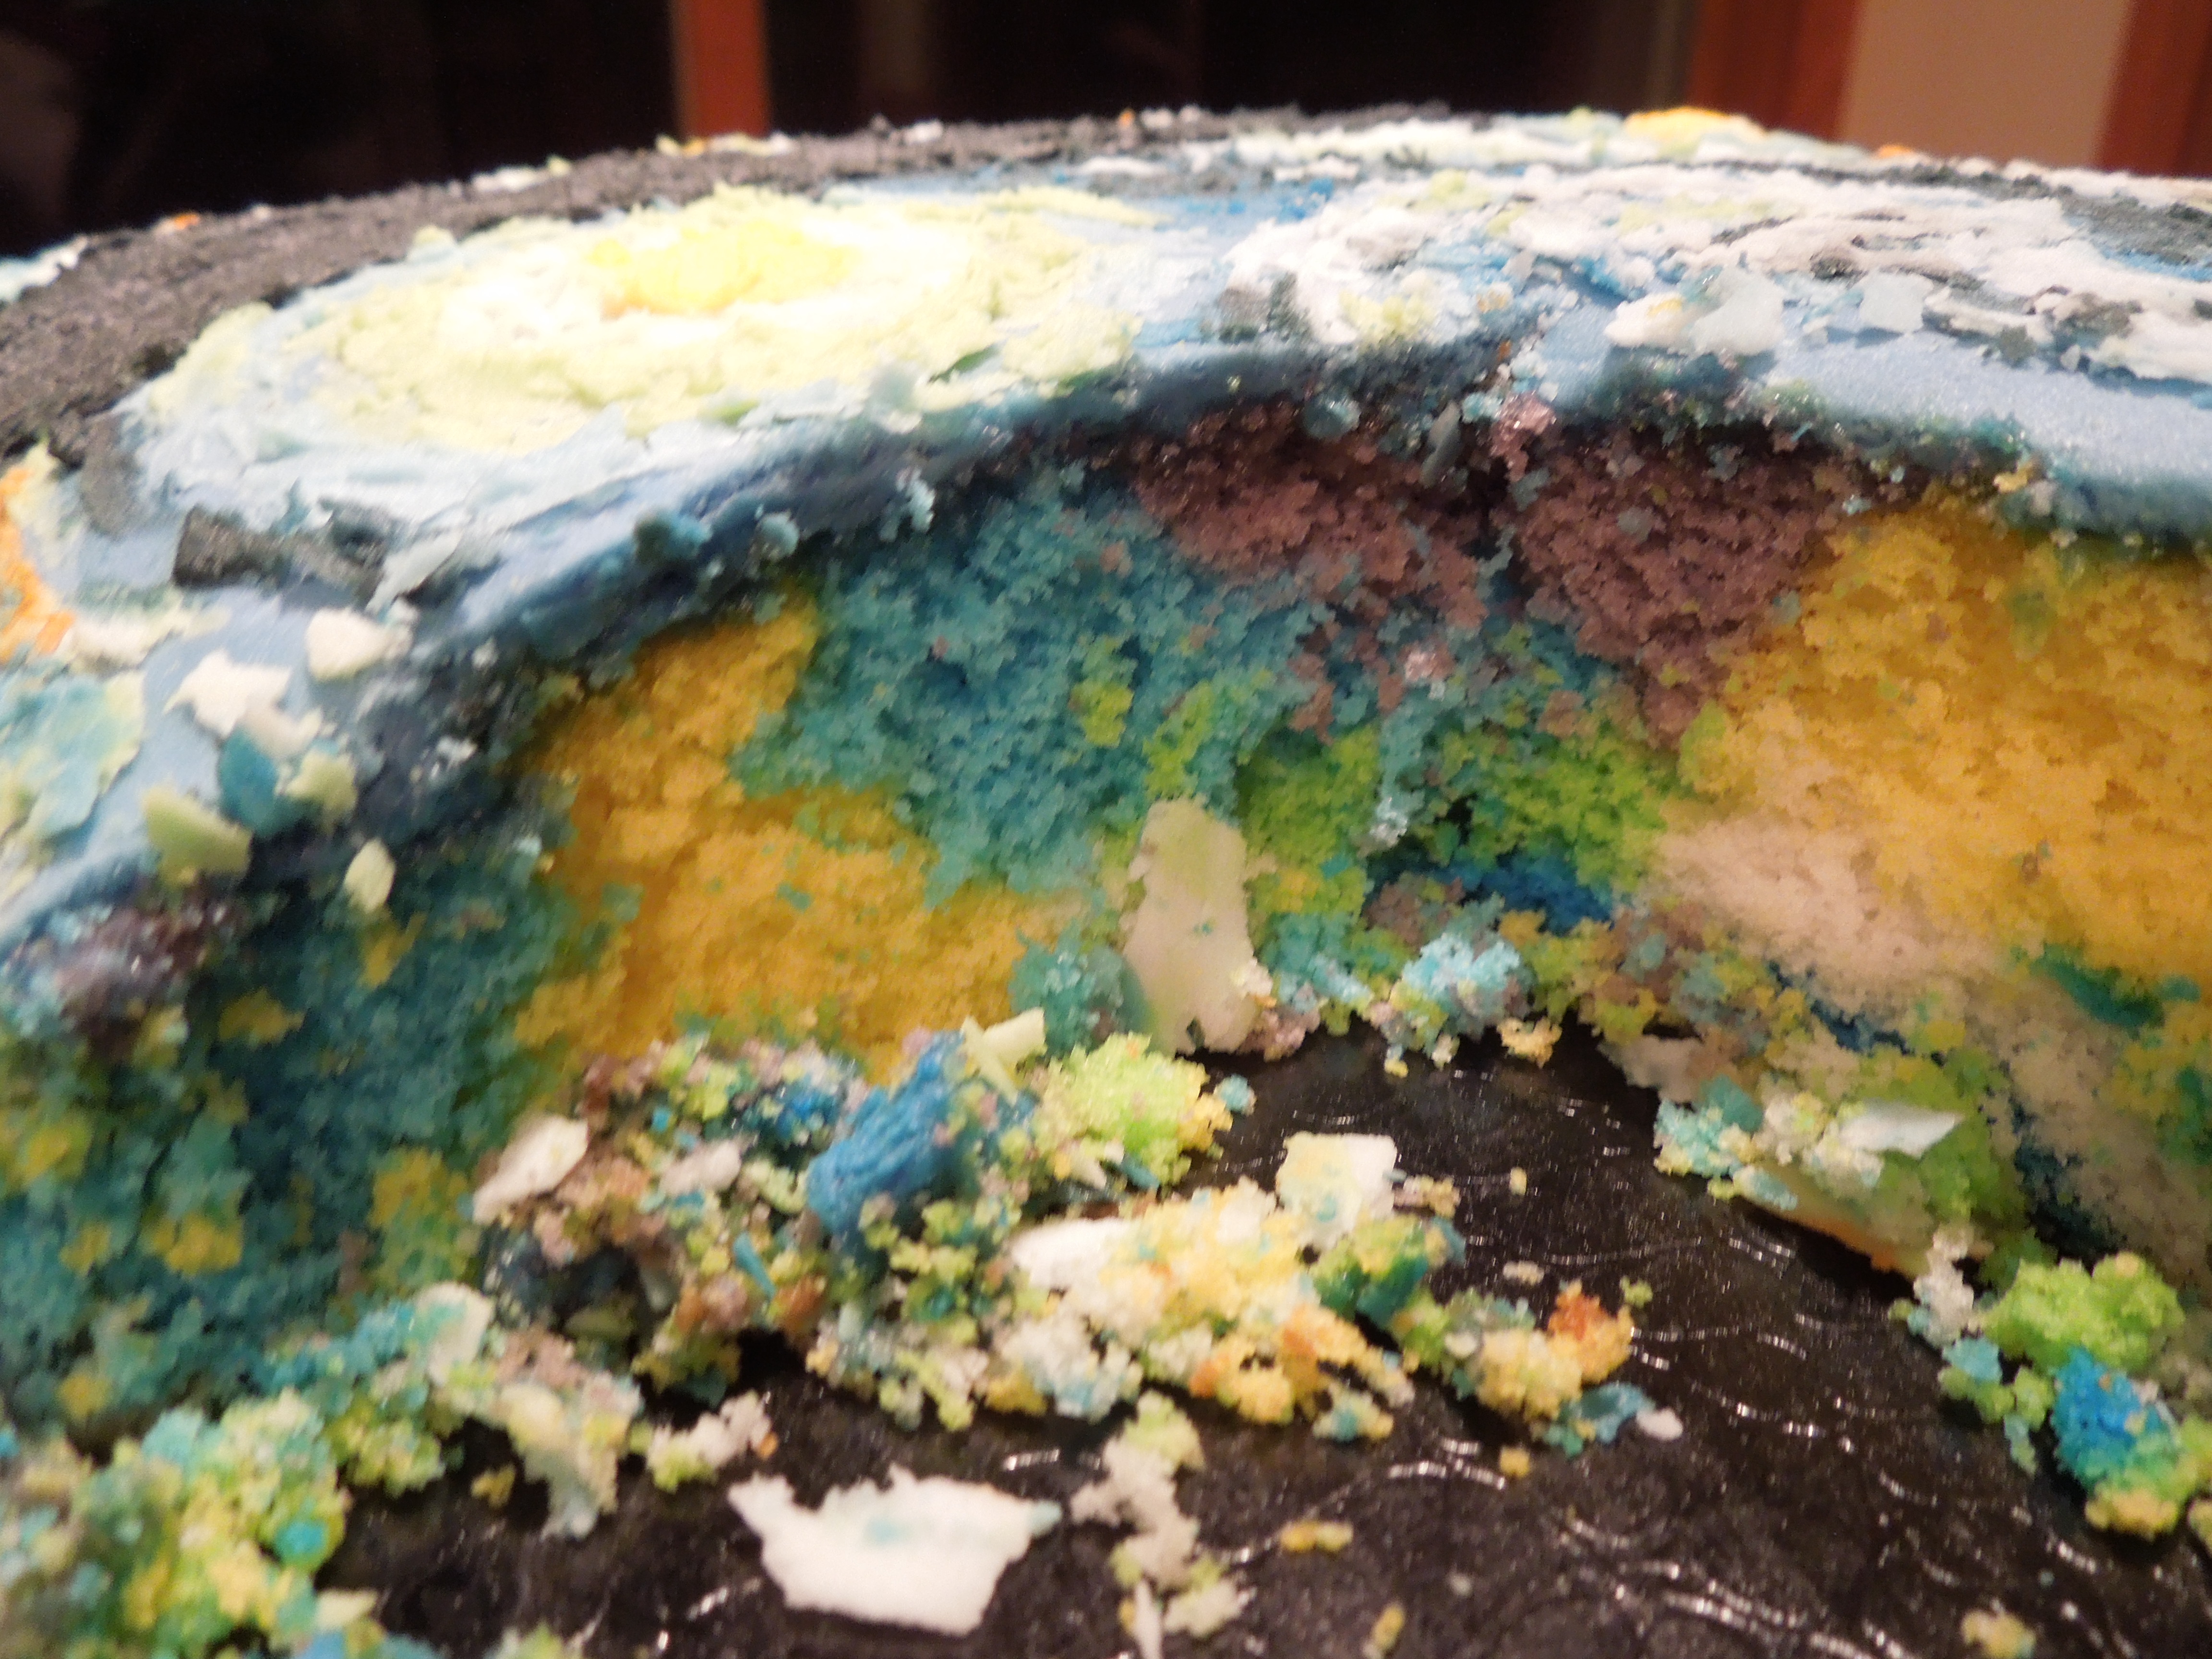
I had a lot of fun working on this cake. If you could recreate one work of art using a different medium, which would you choose?

(Next up for me is “La Sagrada Familia” – a cathedral in Barcelona (architect: Gaudí) – I want to build it with sand! 🙂 ) la sagrada familia

Deja vu: Polar Vortex, Take 2!

Cracked sugar

It seems like only yesterday when the weather was so bad that work was cancelled, roads were closed, and people around the midwest ventured outside to throw boiling water into the air.

…Oh, wait, it was practically yesterday. This is a winter for the record books, that’s for sure!

Never mind, it was Monday and I was again gifted with an entirely free day! Time to make a cake! Like the weather radar map cake from last Polar Vortex, I decided to stick with the wintry theme. I have to credit the almighty Ace of Cakes, a show that I only started watching within the past year, for inspiring this idea of “water.” Yes, the episodes are now only on at 3am, but thanks to the wonders of my DVR, I can watch entirely new (to me) episodes at any time!

Last week, I had seen an episode where the cake artists created a pool of water using cooked sugar. It hardened clear and shiny and really looked like water! I started to think to myself that maybe I could cook sugar and pour it really thin, and then crack it once it was hardened and maybe it would look like ice! With this thought in mind, I began the arduous process of trying to find the proper recipe and tools for this project. I read many web pages and watched many youtube videos on how to cook sugar. I learned that:
1. The type of technique I was trying to do was called “pulling sugar.”
2. Pulling sugar is dangerous without the proper tools and training.

And so, armed with neither the tools nor the training, I set to work. I decided to use this recipe, even though it meant I needed to do a little math since I don’t really know what a gram is exactly, and I don’t have a device that measures ounces. (And when I say I did math, what I mean is that I opened an app on my phone.) Here is the photographic journey of the sugar, water, corn syrup, and cream of tartar (“Yes, it’s different than tartar sauce, Kath,” promised my mom).

IMG_2788 IMG_2789 IMG_2790 IMG_2791 IMG_2792 IMG_2795

After following the recipe exactly, I came to a problem. The thermometer would not go up! Every recipe and youtube video said the temperature needed to be 305-315 degrees, but mine seemed stuck around 250. So I turned up the fire a LITTLE bit. And suddenly, disaster. My beautiful, clear liquid was instantly yellow.

IMG_2803Well, this will definitely not work. I wanted a white cake to appear to be on a melting pile of ice. This cake would look like a pile of icicles sitting in a puddle of dog urine.

But since I had the substance all cooked, my mom suggested I try and color it just to see how it worked. I dabbed a little red food gel into the center and set about slowly folding the sugar on itself. It really is a fascinating substance! I had learned from thIMG_2806e various videos that one should slowly roll up the edges (it’s reeeeally hot so you must be careful!!) and eventually it will form one large ball that can be pulled and molded into flowers or other decorations. One is supposed to have a marble slab under the baking mat (hm, fresh out of marble slabs… how about some of my mom’s extra batting material?) and one is supposed to wear gloves, both for physical protection and also to protect against fingerprints in the finished product. (Don’t have those either.)

I rolled and pulled and rolled and pulled until I eventually had a pile of orange-y sugar. That, there, is the world’s largest lollipop! And a message of warning to anyone else who tries this and turns up the stove too fast.

IMG_2808

Alright, one store trip later and home with enough sugar to sweeten a swimming pool of iced tea, I tried again. As before, the thermometer did not climb. Either I have a bad thermometer, or I am very impatient. In any case, I vowed not to repeat the past, and so I just decided to pour it out at a temperature of 242 degrees. I knew that wasn’t hot enough, but I didn’t know what else to do!

IMG_2810

This time, the sugar did not harden. Of course. It got quite hard, but not completely, like the other had. My brain began to churn out ideas and I decided that I could still attempt to make the cake. I would just display it on the baking mat! Unconventional, but it worked well enough for the photo!

IMG_2820

I took the top, flat part of a tv tray, covered it with white rags, and set the baking mat on that. This way, I figured, I would move it around and take it outside for my photo op.

Meanwhile, my third batch of sugar was hardening on pans. Again, they wouldn’t harden completely, so I stuck them outside for a few minutes. Then I dropped the pan on the concrete stoop, and the sugar shattered! This made a satisfyingly loud crash. IMG_2816Perfect! I took those jagged pieces and began putting them into the frosted cake, piece by piece.

IMG_2822

Once all the pieces were stuck in the cake, I took the whole thing with me and went outside. I piled actual snow around the cake, which might look pretty, but really was there because I needed to cover up the words on my baking mat. :/

DSCN9886

Here’s a version in the bright, clear sun:

IMG_2827

And in the shadow:

IMG_2825

Um Yah Yah!

Here’s a question: What is the only college fight song in 3/4 time?

And here’s the more important question: What is the only college nerdy enough to notice that theirs is the only fight song in 3/4 time?

Thaaaaat’s right, folks, St. Olaf College! (And I say “nerdy” with only the utmost love and affection, for I myself was a music major.) Home of the melody that, rather than pump up athletes before the Big Game, suggests they grab the nearest opponent and go a-waltzin’ through the meadow.

The words don’t necessarily add any coherence to its puzzling status as a fight song. Here, for example, is the refrain:

Um yah yah! Um yah yah!
Um yah yah yah!

I don’t actually know what it means. But no matter! Comprehension takes a backseat when one is given such a bouncy and pleasing melody. (And just for your information, the text of the verse does make rather more sense.) For those of you unfamiliar with this toe-tapping tune, here is a clip (http://www.youtube.com/watch?v=g87707-_Asc, published on YouTube by St. Olaf) that perfectly illustrates the college’s character. As the video’s description states, the college was in the midst of moving things around, and all the pianos ended up temporarily in the recital hall. Naturally, the piano students and faculty wanted to see what they sounded like all played together, and what follows is the unrehearsed result, with “Um Yah Yah!” making an appearance at minute 1:59:

And THAT is why I love St. Olaf.

I was not only lucky enough to attend this incredible college, but I made some lifelong friends in the process. We met the first day of freshman year, lived together every year after that, and have managed (despite living states apart) to get together at every Christmas and every summer since graduation (with a healthy amount of weddings and baby showers sprinkled in between). At our most recent Christmas gathering, I decided to attempt recreating one of the traditional “St. Olaf scenes:” sitting on the sign at the college’s entrance.

I created little fondant people modeled after each of my friends. First comes the head:

IMG_2700  IMG_2702
Next comes the body. Torso first, then the jeans:

IMG_2703

After the bodies were all made, I stuck a toothpick through the whole thing- jeans, torso, arms, and head- in the hopes it would provide structure and stability:

 IMG_2704 

On come the heads! This is the fun part- individually styling everyone’s hair. 🙂 For the curly girls, it seemed to work better if there was a base (like a helmet) and that way, if there was a part of the head not covered by the curls, the bald skull wouldn’t show through. You can see the “helmet” on the blonde below:

IMG_2706

Final additions: give each girl something related to one of her majors. (It was necessary in order to easily tell everyone apart- let’s face it, fondant people all look the same.) From left to right: Greek text for the Classics major, novel for the English major (there are some little white things under the book that I took out later- they were there holding up the book so it would dry upright as if she was reading it), stethoscope for the premed major, laptop for the English major, paperwork for the social work major, apple for the education major, baton for the music major, and a Bible for the religion major.

Ole girls

The next step was to create the sign. I just covered a piece of styrofoam with buttercream and then black fondant, and piped the letters with royal icing. Let this dry for a few days and it’s ready to stick on the final cake! Final step- create the actual cake. I used a brick mat to create the brick effect, and then added a little luster dust to create some dimension on the bricks:

cake base bricks

Final version! (I made the sign as it stands currently. Since our graduation, they changed it– I’m guessing they made it curved so that people would stop sitting on it. 🙂 )

Oles with sign

“If you have two friends in your lifetime, you’re lucky. If you have one good friend, you’re more than lucky.”
– S.E. Hinton

It looks like I’m seven times lucky!

Read sign and cake sign

Orchids in the Snow

orchid1

Like most Midwesterners, I spent the majority of the past week inside bundled in scarves and slippers. (Aside from a brief sojourn to the front lawn for photography purposes.)

I decided to make use of the time and create this cake because, well, I have to be honest: my advisor/manager, aka my brother, has informed me that my twitter page is bordering on ridiculous. (https://twitter.com/MelodiaCakes) After spending half an hour showing me “good” twitter pages, he has advised me to make a cake that incorporated the same colors as my website, and this cake would serve as the background for the twitter page.

orchid2With this in mind, I set to work creating some nice gum paste flowers to sit atop the cake. Here are the steps I used:

1. Color gum paste and cut petals to desired shape. Drape petals over things to get a shape that suggests movement and fluidity.

2. Use a knife or other straight edge to texturize the petal.

3. Use luster dust to add color to the edges of the petals. (first, use a paintbrush to dust on the dry luster dust. Then, mix a little lemon extract with some luster dust. The more lemon extract you have, the lighter the color will be. More luster dust = more color.)

        orchid5orchid4

Once the leaves are dry (gum paste dries quickly!), attach wires to the backsides. I let these dry overnight. In the morning, I wound all the petals together with floral tape and they evolved into pseudo-orchids!

       DSCN9359

DSCN9350

And now, a preview of my next post: “What? You Don’t Iron Outside in -50°?”

orchidsnow6_2

Bucky Badger in Pound Cake Form!

Several months ago, a friend asked me to do a groom’s cake for her daughter’s wedding. “You can do a 3D Bucky holding some Mike and Ikes, right? Great. Thanks!” She promised to send more info and then waved and went on her way.

And I stood there, frozen, with my mouth gaping. No, I do not know how to carve cakes. No, I’ve never had a cake at a public event. And no, I do not like to disappoint people, especially on their wedding day!

But then there’s that little spark inside that pushes me to try something new. “If she thinks I can do it, maybe I can,” the little spark told me. So with much trepidation (and a pep talk from friends), I nervously assented to her request.

So began the research necessary for a carved cake. What type of cake works the best? And frosting? Fondant? How do you transport it? Does it need to be kept cold? How do you attach the head? What’s the best material for making the head? How about my head? Will I lose it during this process?

Armed with google and a determined spirit, I created the following calendar:

  • Two months before: answer the above questions
  • One month before: sketch cake design and figure out dimensions
  • Three weeks before: finalize cake design and purchase materialsStyrofoam head  and base
  • Two weeks before: begin working on the head
  • One week before: bake and freeze the cake
  • 3-5 days before: create gum paste extras
  • 2 days before: make the cake board, thaw the cake
  • 1 day before: assemble (and pray. Lots.)

Here’s how everything went down:

STEP 1: THE HEAD

I decided to use a styrofoam base to carve the head. (Are you supposed to do that? I have no idea!) I purchased some cake pillars from a local craft store that I think are meant to help stabilize cake layers, and I shoved one of the pillars into the head and stuck the other in a large styrofoam dummy cake as the base.

After the base was formed, I began to coat the styrofoam with modeling chocolate. I’ve used modeling chocolate twice before and, let me tell you, something went awry this time. It still made a beautiful finish and was easy to work with once it was kneaded, but I think I can safely say that I gave myself tendinitis just from this one afternoon. I “knead” to learn how to do this better. Haha. 🙂 After approximately 3 hours of kneading (I wish I were joking), most of the modeling chocolate was ready to go.

The photo below shows the modeling chocolate before and after. (The “before” is the crumbly-looking block and the “after” are warm and malleable logs:) modeling chocolate before and afterWith a pile of ready-to-use modeling chocolate by my side, I commenced Head Construction. The photos below show the progress: Bucky Badger head how to

STEP 2: MIKE AND IKE BOXES
For the candy boxes, I used a piece of styrofoam and covered it in fondant. That didn’t work one bit. So I coated it in frosting, then fondant, which worked a little- but the box was lumpy and weird. So I left it as is, waited a day, and then covered the fondant with a thick-ish layer of gum paste, which I managed to sort-of flatten with the rolling pin so it was a smooth surface. That seemed to work okay, but I am certainly not that happy with the result. I cut out little pieces of colored gum paste to form the fruits, candies, and words on the box (I cut the white letters out first, and then laid them on the black and carved around them) and stuck them on with some gum glue adhesive. Next step: let the whole thing dry for a few days, and voila!
(Oh- I only wanted one box for the final cake, but I made two, just in case. Believe me- make an extra copy of all your embellishments.)
Mike and Ike fondant boxes

STEP 3: THE BODY
I have no idea what I’m doing! I don’t even know what a badger is, really! And how do you carve arms on an animal- it’s not like cake can just withstand the powers of gravity without something supporting it, right?! So I decided to just make his arms close to his body and hope for the best. What follows is a series of in-progress photos. My badger ended up short and morbidly obese. :/

Bucky Badger cake in progress When carving the body, repeat after me: “Little cuts. Little cuts. Little cuts.” Once you cut out the cake, it cannot be put back. Carving this body took me two hours, but I’m not sorry! The result was a coffee table that looks like this:
Bucky crumbs

STEP 4: COVERING THE BODY
The final steps went extremely fast. Cover the carved cake in buttercream… and then fondant… and then embellish it:
Bucky Buttercream  Bucky fondant  Bucky embellishment

STEP 5: ADD THE HEAD
Self explanatory! 🙂
(The only thing I would suggest is this: see how Bucky wears a turtleneck? You’ll want to make sure that you carve a little dip into the top layer of cake- where the neck is- otherwise he’ll end up looking more like a giraffe than anything else.)
Adding Bucky's head

STEP 6: SIT BACK AND ENJOY!

Bucky Badger cake

I have to tell you a true story. I almost sliced off his arm. No joke! I was catching up on Season 3 of Downton Abbey and had just finished (or so I thought!) the last episode, so I went back to the carving. And suddenly, out of nowhere, it happened. WHAT?!?! I won’t spoil it for any of you, but if you’ve seen it, you can appreciate how Bucky almost became an amputee.

Thanks for checking out this post. As you can see, I still have much to learn. How do you carve cakes? Do you find pound cake to be the best? Do you have a modeling chocolate recipe or technique that does not cause immediate arthritis? 🙂

Salad Cake

DSCN8981 What does a cake decorator do when asked to bring something to share for “Salad Day” at work? Oh yeah. This is my kind of salad. 🙂

The first step in this cake is to make all of the veggies and lettuce leaves. This takes a while but is very relaxing and fun to do while watching a movie, for example. 🙂 It is imperative that these are made at least a week in advance, otherwise they won’t be dry in time.

I like the leaves to have a little dimension and movement. Therefore, rather than cutting them out of fondant and laying them down flat, I crumpled up wax paper and put the lettuce leaves all over that. This part actually goes pretty quickly- take it from me! I am an extremely fastidious person (that’s the nice way of putting it!) but DSCN8983it’s good if these are done a bit hastily. No two lettuce leaves are unique, right? 🙂

Once you’re ready to put it all together, it’s a cinch! This cake came together in less than an hour! Just stack a few rounds together, carve the bottom in a little (so that it looks like a bowl), and put on the frosting! Smooth the sides (I wanted to add a basket weave, but I didn’t have time) and then add a border on the top and bottom of the bowl.

Once you’ve added the border, it is super simple. Throw on the veggies and you’re good to go! DSCN8993

Lord of the Rings book

LOTR letteringI took a class from Michelle Bommarito (from “Sugar Rush” on the Food Network) on how to create a cake that looked like an antique book! She taught the book construction; the subject matter was entirely my choice. 🙂

The book is simply cake covered in buttercream and fondant. I dusted the cover with gold luster dust to give it an old-fashioned finish. The lettering was definitely the trickiest part! I used royal icing because I wanted a smooth and glossy finish. But I didn’t want it to be thick- I needed a super fine point! So, as if I were a calligrapher from the 1700s, I sat and dipped my pointed stick into the royal icing. Bit by bit, the letters came together! Here are some photos of the finished product:

DSCN0117

Here’s a close-up of J.R.R. Tolkien’s monogram. You can see all the initials of his name. I love it!DSCN0122

I couldn’t resist adding Gollum to at least one photo. 🙂
DSCN0126

Yoda birthday cake

“Do or do not. There is no try.”

I recently watched these movies for the first time (I know, I know) as part of a year-long project. (I turned 30 this year and made a goal to have 30 new experiences during my 30th year!) Since I’d never seen any of the Star Wars movies, I decided it was high time! And who better to share it with than my dad, the Ultimate Fan? (We once went to a Star Wars concert and there were Stormtroopers milling about. My dad insisted on waiting in line to take a photo with them. There he stood in the long line, the oldest person by at least 40 years… but you’ve gotta admire his tenacity!)

Anyways, of the entire series, the line that stuck with me the most was that one: “Do or do not. There is no try.” When it came time for my dad’s birthday, it was pretty clear that Yoda was the man on the menu!

This was my first experience using modeling chocolate, and let me enlighten you on its many wonders! I’ve used fondant a bit, but with fondant, it’s basically impossible to work out seams. With modeling chocolate, you can stick on another piece and blend the two together so it is seamless. This works perfectly for creating Yoda’s face. Take a look below at the process! Simply start by covering a piece of styrofoam, and then add on from there. Use pointed tools to create wrinkles and other texture. (His face became flattened, a condition from which he never recovered, in between the fifth and sixth pictures, when I accidentally set him down face-first.) yoda 3fixing yoda cake Once the face was finished, it was time to stick it on the body. I had created the body out of a stack of round cakes, with a cup shoved down the center. Let me be the first to inform you to NEVER DO THIS. I had failed to foresee the need for Yoda’s head to need to be on a strong pillar of some sort, something I could stick into the cake. So instead, I was stuck trying to balance it on the cup. Bad plan! Bad plan!

Before I finalized the cup-balancing-situation, I did some last-minute touch-ups, which included my sticking a pole up Yoda’s nose. DSCN0091That part was more fun than I care to admit. 🙂

Oh! The ears! I hate them! They are made of rice krispies and are waaay too thick. I wish I had had the foresight to use gum paste, but by the time I thought of it, it was too late. So instead, I used two blobs of rice krispie treats and formed them into that shape. Cover them with fondant, add some texture and highlighting colors, and put a little candy stick in the end, and there you have it. I just think that they are so thick (especially from this angle here on the left). If I do this cake again, I will create gum paste ears in advance!

Yoda birthday cakeYoda cake inside Yoda cake face

Thanks for reading! Do you have any tricks or tips that would have solved some of my conundrums? How about your favorite line from Star Wars? 🙂

Biking up the hill

I created a bike rider cake for a friend who is into cyclocross. This provided me with #1, the opportunity to learn what that is, and #2, create the world’s cutest little fondant biker man!! Isn’t he adorable?!

fondant biker from front   fondant biker from back

I baked a few rounds of chocolate cake, stacked two together, and then proceeded to cut and stack the rest. Then came the crumb coat, and, can I just say… this was the crumbiest of all crumb coats! The chocolate cake I used was so moist and fresh that it was literally impossible for me to make a clean coat. In fact, in the photo below, it looks like cookies and cream frosting! biker cake hill  biker cake hill with frosting   biker cake covering with fondant

Then came the time to lay the fondant. I absolutely stink at covering cakes with fondant. I would love to practice or something, but it is way too expensive. So I just always roll it out and hope for the best! In this particular case, it didn’t really matter, because it was supposed to be textured anyways. But still. I wish I could be better.

Once the fondant was laid down, it was time to create the path. I painted a bit of piping gel up the hill and sprinkled graham cracker crumbs over the top. Ta-da!

biker cake adding path

biker cake