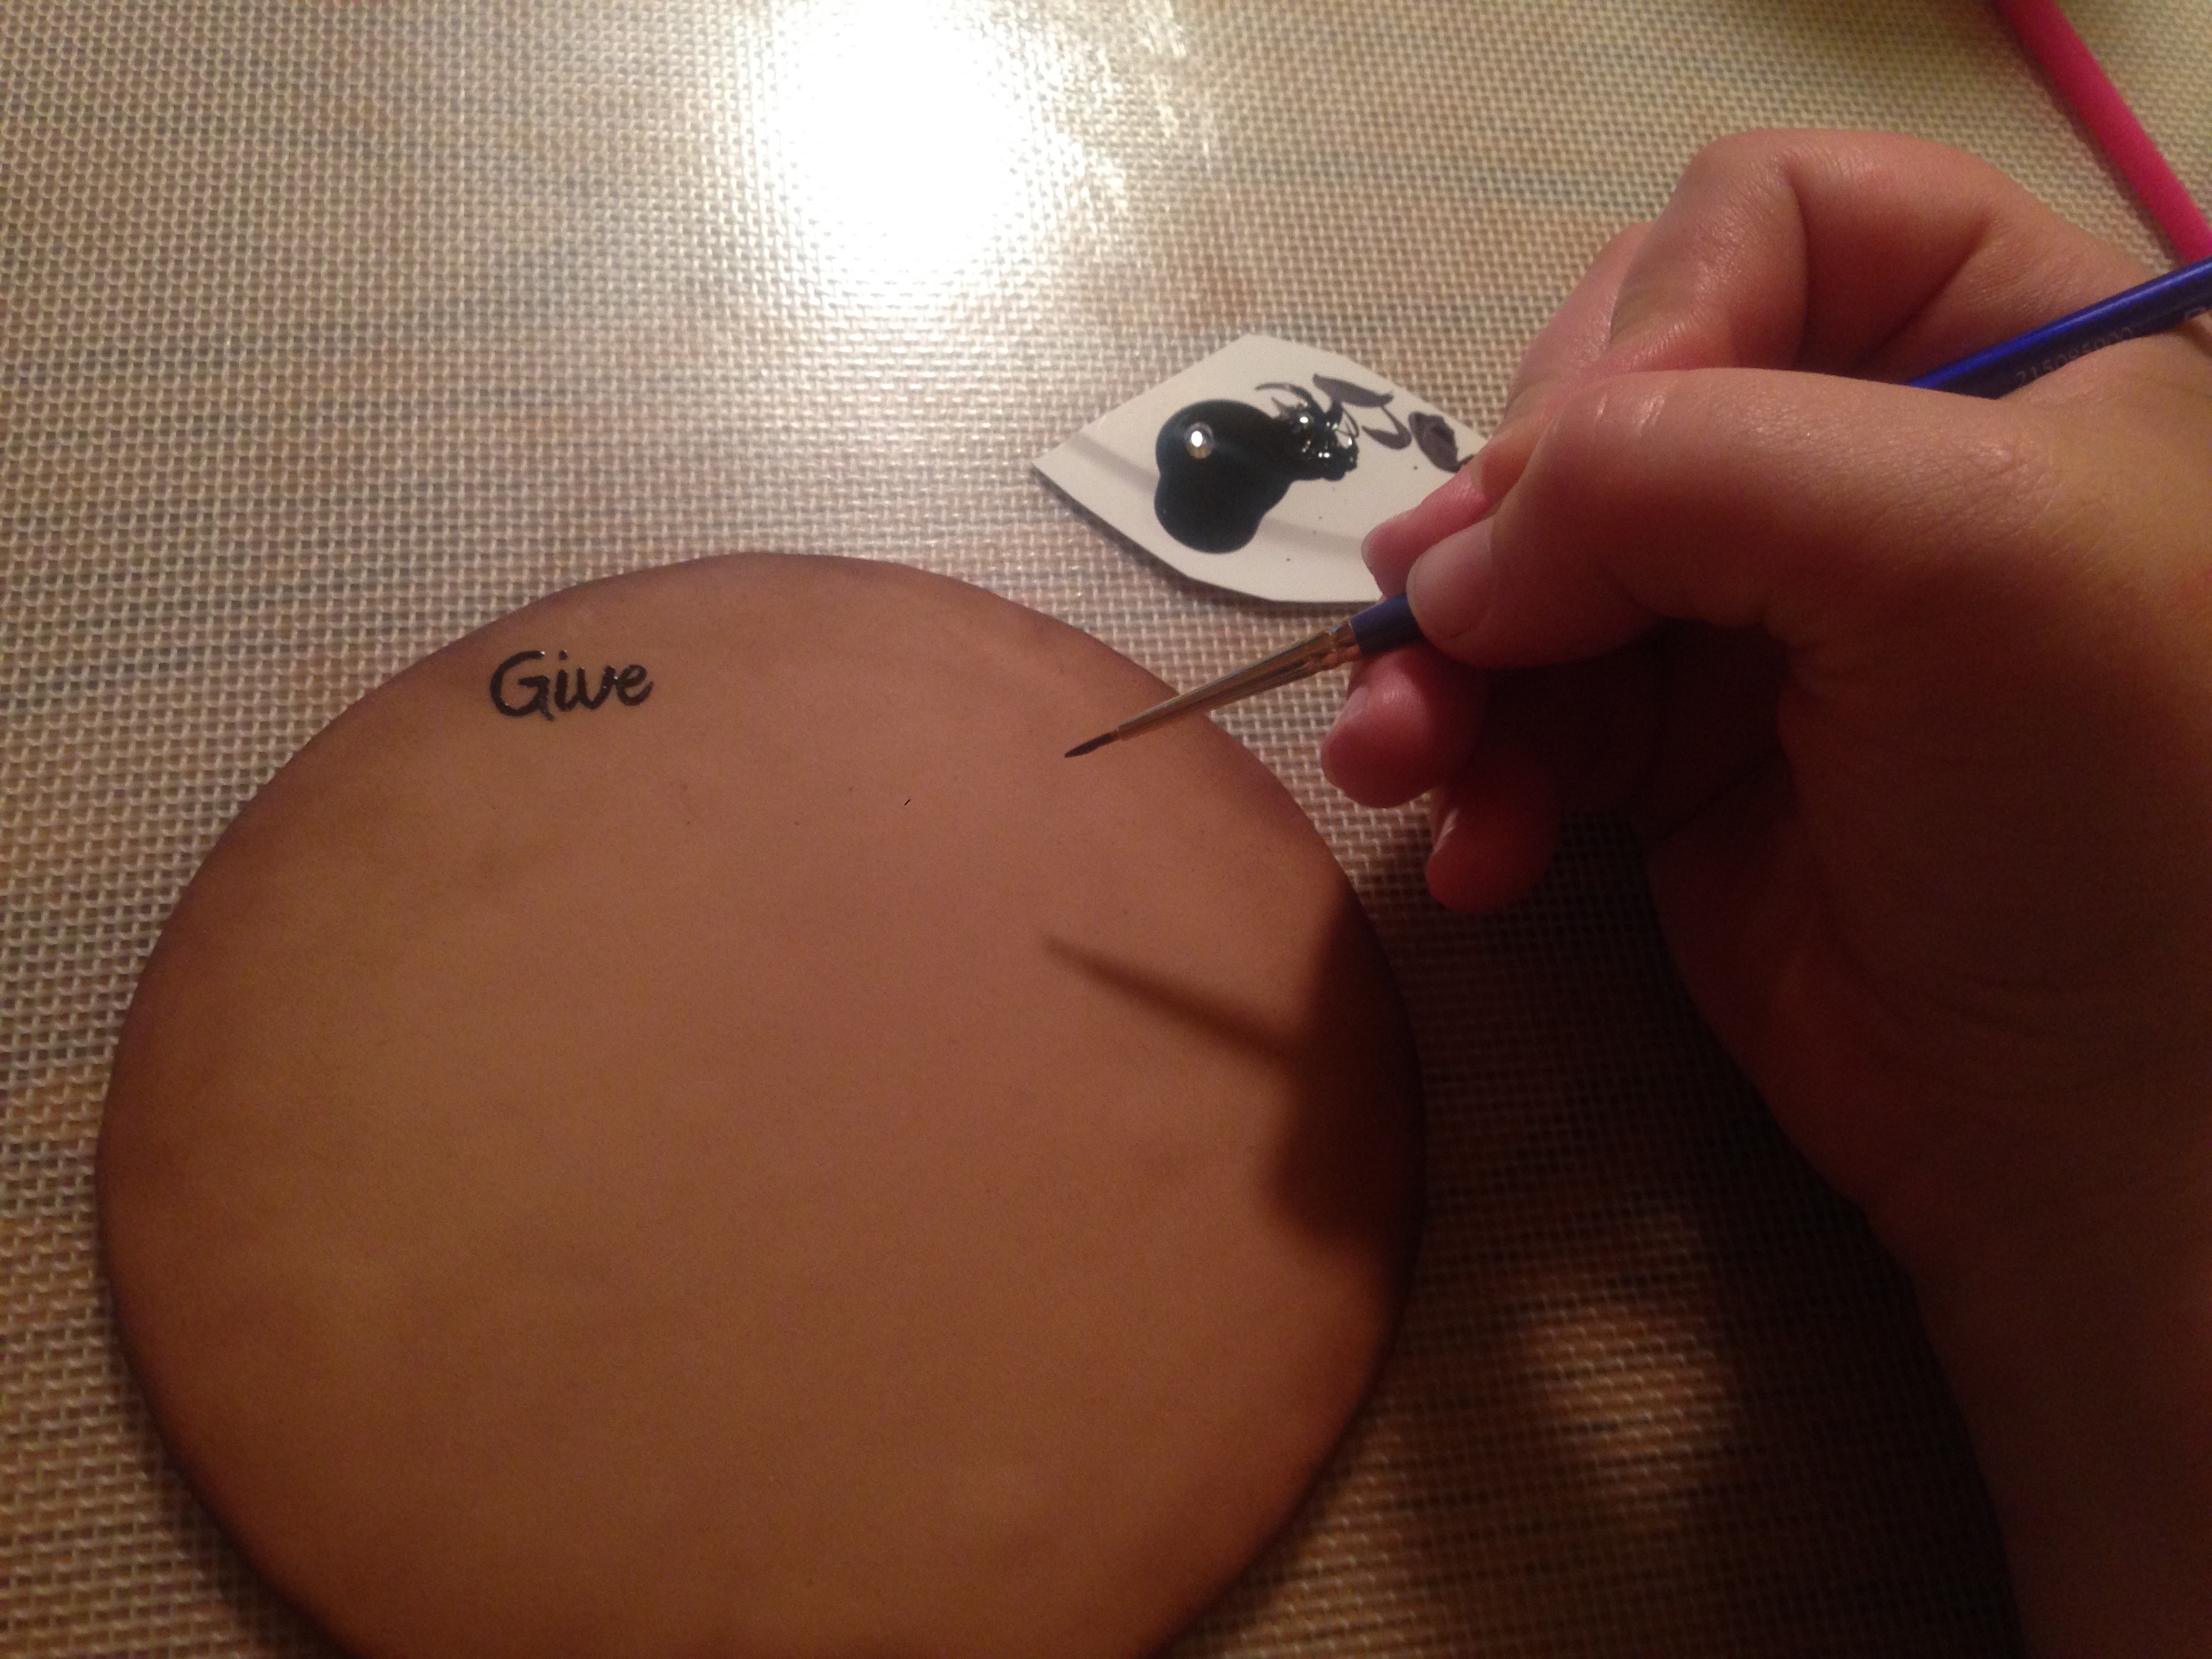
“Baseball is the only major team sport in America with no game clock.”
And therein lies the problem.
I’m not trying to say one sport is better and more exciting than the other, but I would like to point out that when friends and I went out so we could watch both the Cubs and the Blackhawks play at the same time, the first pitch was a full 45 minutes before puck drop. And when the hockey game ended, I glanced at the baseball TV and THEY WERE STILL IN THE 8TH INNING.
However, hundreds of thousands of rabidly loyal Chicago fans cannot all be wrong, can they? There MUST be something as interesting and exciting in this game as there is in other sports. So with a completely open mind*, I sat myself down to figure out what I was missing.
(* When I say “completely open mind,” I mean it. The first thing I learned was that baseball players have to both throw/catch AND hit. Don’t ask me why they don’t specialize the way that every other sport does- I don’t make the rules. If I made the rules, there would be a play clock, and every inning resulting in a lead would be celebrated with a round of hugs and then a musical dance number.)
So after watching with nary a scrap of prior knowledge in my brain, I feel comfortable explaining the game to any other newbies out there. May I present to you:
*******
Baseball for Dummies, written by an Actual Dummy
In baseball, there are two opposing teams who have lots and lots of players. They only let a few of them play each night though. The backups are allowed to practice during the game in what they call a “bullpen.” (It hasn’t got anything to do with bulls.)
Play begins when one team spreads out across the field and the opposing team takes turns trying to hit the ball. The batters have to always go in the same line order. The last person in line, which in my elementary school is called the “caboose,” is called the “cleanup” person. I don’t exactly know what they clean, but as a teacher and a former Girl Scout, I’m sure I approve of it.
Once the batter has stepped up to the plate and has assumed his “bend your knees and stick your backside out” position, the pitcher is now in control. He stands on his spot (“mound”) for anywhere between 10 seconds to approximately 24 minutes. During this contemplative time, he fondles the ball over and over, visually inspects it, and will draw in the dirt with his shoe. He may repeatedly tug on his uniform or tap his glove to his chest in an interesting display of superstitious obsessive compulsion. Much of his time is spent cradling the ball to his chest while he gazes longingly in the general direction of home plate.
At some indeterminate point in time, his still body suddenly flings itself into motion, sending the ball hurdling and his muscles contorting in an inhuman manner. The goal is to throw the ball so that it lands inside the small box on the television screen. (There are discrepancies as to the accuracy of this box, especially according to angry fans on Twitter.)
Meanwhile, the catcher squats behind the batter and appears to scratch himself repeatedly. Further inspection indicates that the catcher is performing a form of sign language. This is most likely directed towards the pitcher, perhaps something like, “Make sure you throw it inside the little box on the TV this time, moron!”
Should the batter accidentally hit the ball off to the side-ish, there is no need to retrieve it. The official has a literally endless supply of baseballs stuffed somewhere inside his outfit. After every wayward hit, he hands a new ball to the catcher, who does a short inspection and then throws it to the pitcher. According to my calculations, this means the official has approximately 93,000 baseballs stashed in his pants.
The pitcher can throw the ball a variety of ways, most commonly a “fastball” or a “breaking ball.” These throws all look identical to the average human eye. Sometimes they throw it on purpose to the side in order to “intentionally walk” the batter. (Don’t ask me why, my interest in this only goes so far.) You can tell they’re throwing it to the side on purpose because the catcher hops like a froggy several feet to his right, and the ball is not even CLOSE to landing inside the TV box.
Should a batter hit the ball far enough and not have it caught out of mid-air, he is now eligible to participate in an interesting phenomenon called “stealing.” This sounds bad but it is actually legal. Basically, as soon as the pitcher turns his attention back towards home plate, sometimes the guy on first base decides to make a run for second. This is dangerous because if the pitcher turns around and sees you stealing, he can throw it to his friend on the base and then you are out. The result is that while the pitcher is engaging in his extensive pre-pitch regimen, every so often his head whips around and he glares at the other guy, his eyes threatening, “Don’t even THINK about it, mister!” I always picture a mother and child making dinner:
Mother, chopping veggies: “No, you may NOT have a cookie, it’s almost dinner.”
Child, whining: “But I’m HUUUUNgry!”
Mother furiously chopping: “I said NO cookies!”
Child, suddenly silent, creeps towards pantry.
Mother whips around angrily as child hastily retreats back to counter. She gives him the evil eye.
Mother turns back to the veggies.
Mother suddenly whips around again, “I KNOW you’re thinking about it. Don’t even.”
Now each time a player hits the ball, the announcers talk a great deal about something called “RBIs.” They literally talk about this at least once every three minutes. With this frequency, I imagine this stat to be of great importance. As I watched, I devised all sorts of possible meanings for the acronym, which I won’t list here, except for the most likely one: Really Big Innings (that’s the one I mostly think it is).
Announcer 1: “Well, Jimbo, that’s ninety seven RBIs for Petey already, and we’re only in the second inning.
Announcer 2: “Boy oh boy, is Petey good or what! He’s on pace to have a league-high fifty-seven thousand RBIs. Pretty good for a rookie, wouldn’t you say?”
During the 7th inning, they let someone come to the microphone to sing, “Take Me Out to the Ballgame.” This person is generally a famous Chicagoan and is specifically chosen for his or her lack of musical ability. Anyone capable of staying in one key and maintaining the tempo set by the organist is immediately disqualified from participating. The organist automatically gets an additional $20,000 every time he accompanies someone during this song because that is how difficult, and ultimately, demeaning, it is to play with these well-meaning but unqualified dolts.
The game is usually over in 9 innings. Actually, if you’re lucky, they only have to play 8.5 innings. (It’s got a little something to do with home/away team scores and a lotta something to do with math of some kind.) However if you’re very, very unlucky, there will be a tie after 9 innings and in that case, the game could potentially go on for days. (A quick internet search just informed me that the record is 25 innings between the White Sox and the Brewers, which I can only imagine took at least a week to complete.)
*******
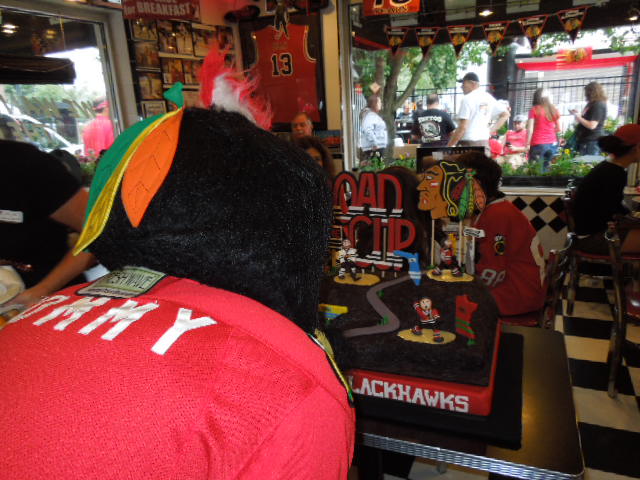
Cubs fever hit the Chicago social media scene hard this fall, and in an effort to do my part, I decided to make a cake (naturally). I am not a baseball fan (is it obvious?), but I am a fan of a happy Chicago, and this team seemed to bring people together, so I devised a gravity-defying design. There is a metal pole which screws into the base. A styrofoam rectangle, then a flat piece of cardboard, then some crumpled scratch paper, then a half-circle of styrofoam on top: The metal pole had a small plate that screwed on at the top. So the actual weight of the cake was resting on this metal plate, which is how it held up really sturdily.
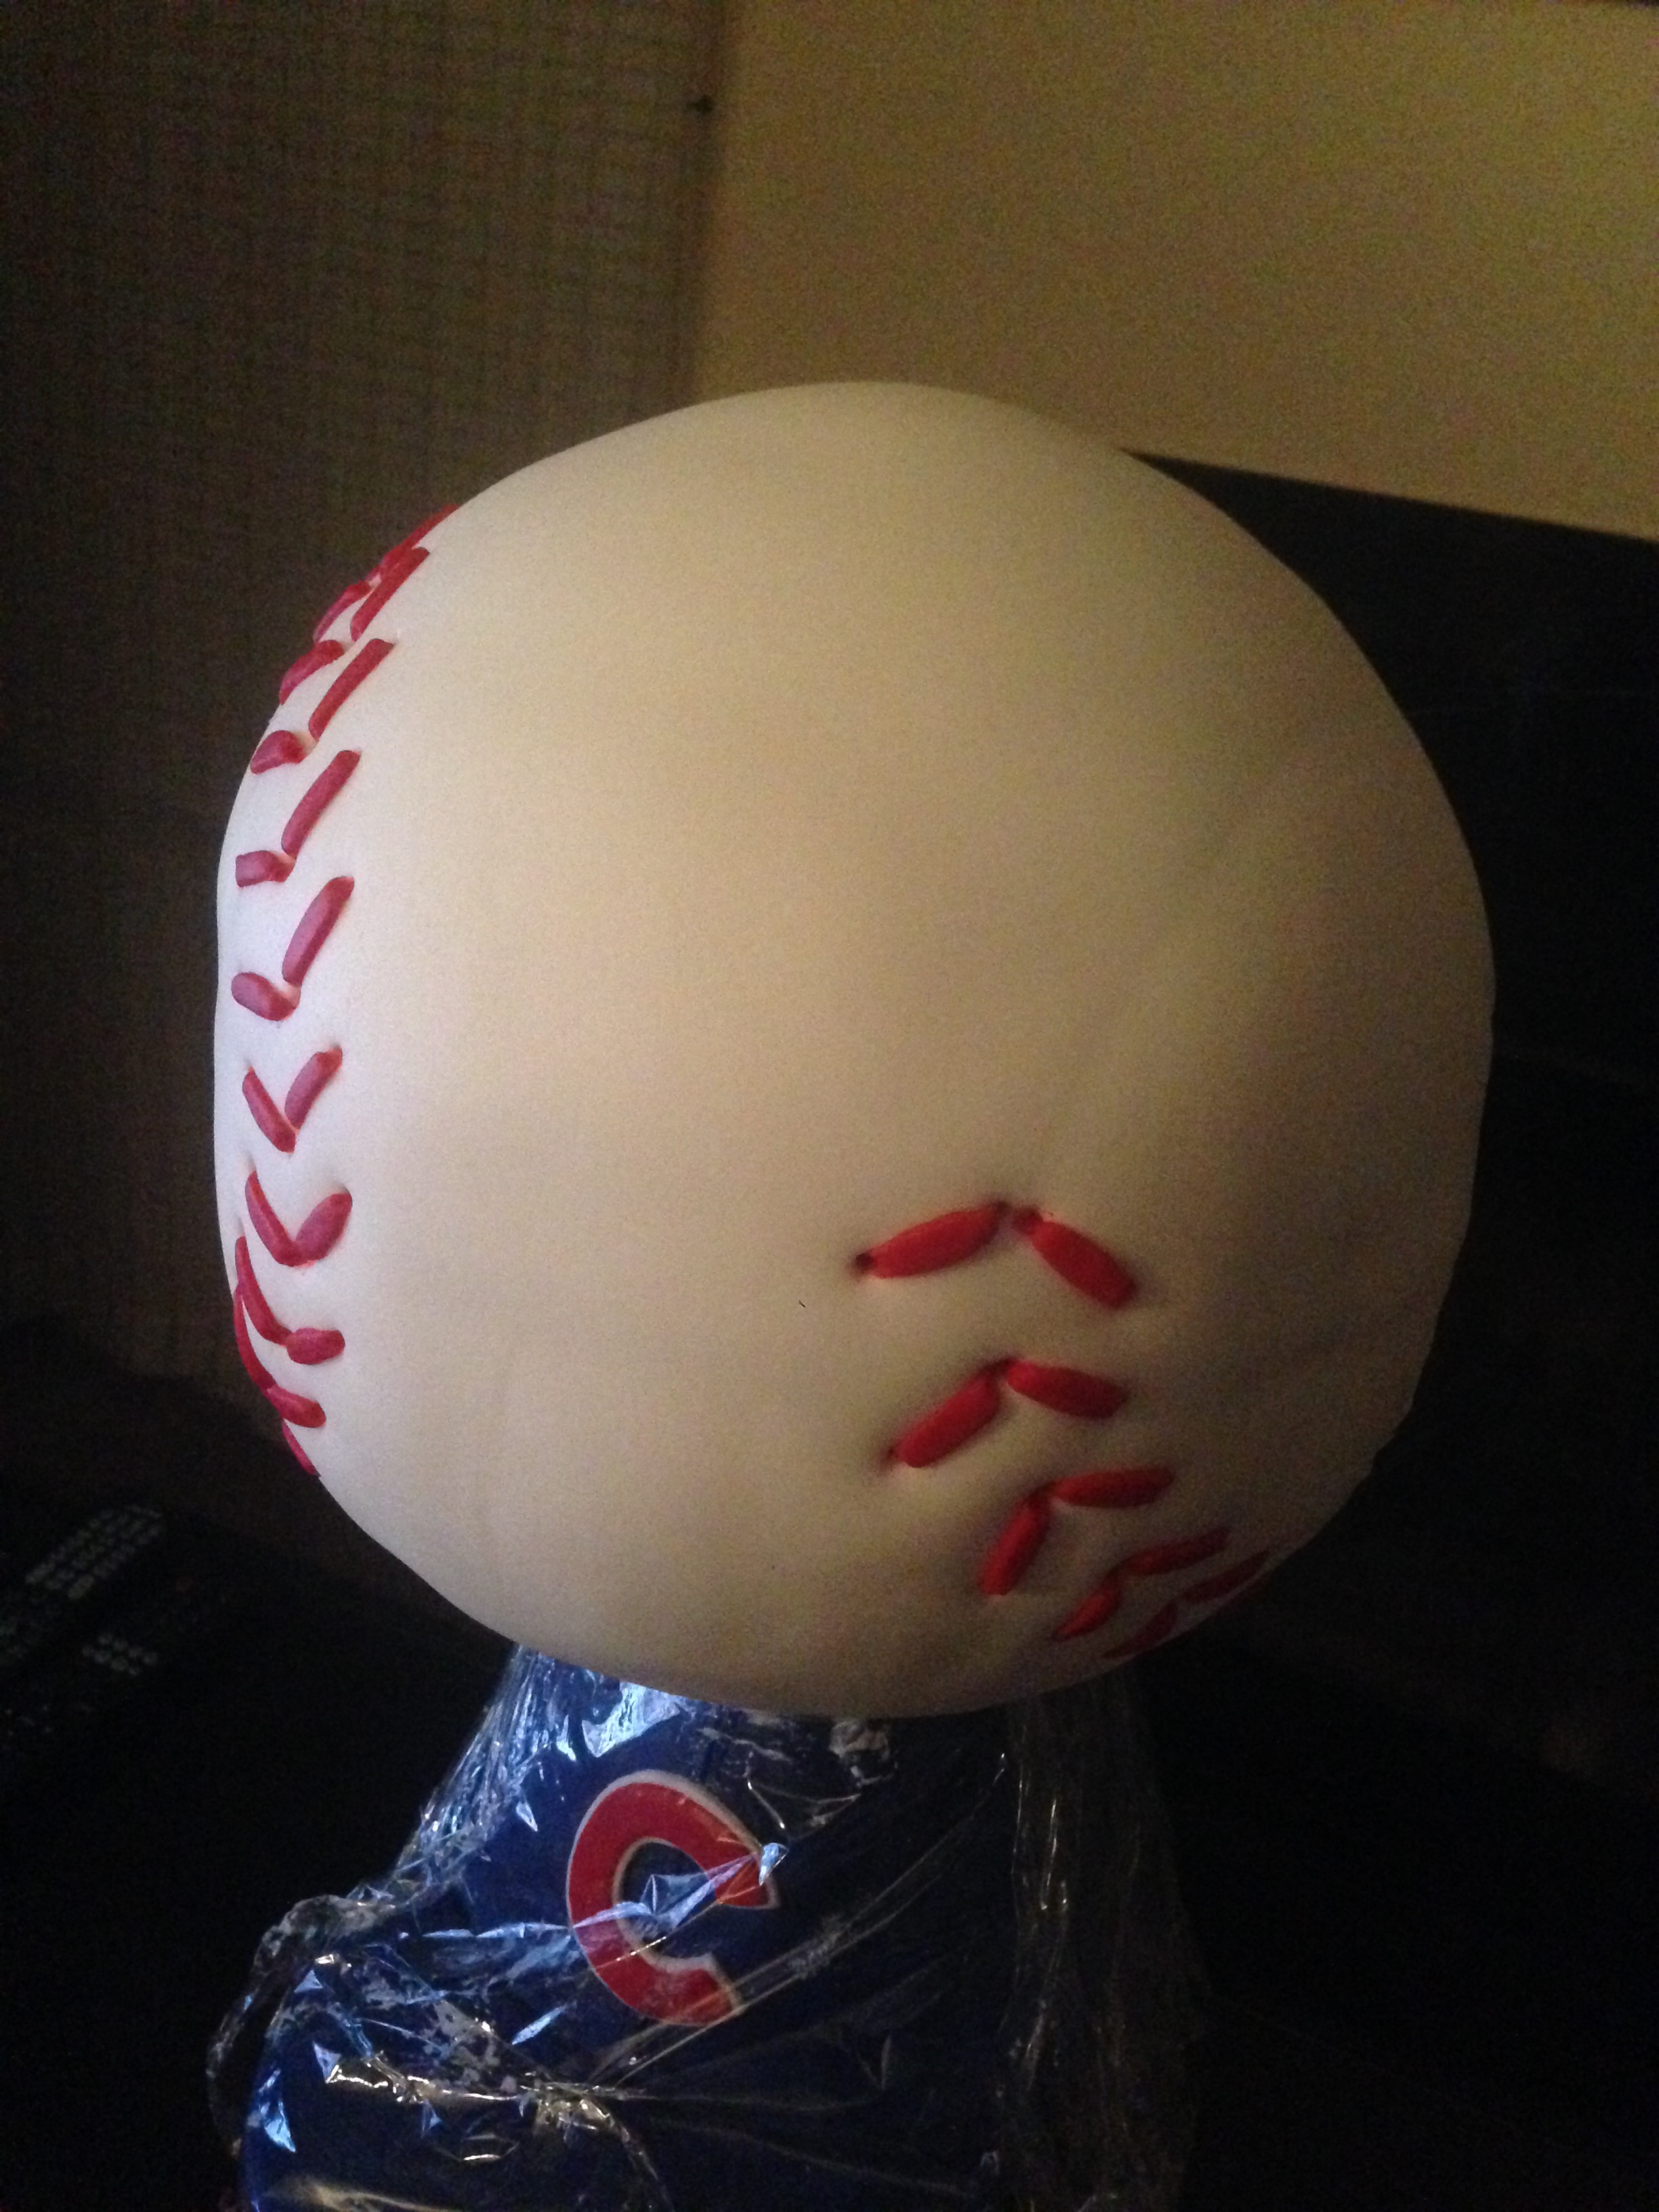
 I then placed a cardboard cake circle on top of that metal plate and layered my cakes atop it. I shaved them so they were rounded. Then cover the whole thing in frosting, including the styrofoam bottom half of the circle, and do the same with fondant, and viola! You have a ball shape that people cannot believe is cake!
 Once it’s covered in white fondant, take small strips of red fondant and lay them on like the stitch pattern. If you poke a little hole at both ends of the red strip, it looks more realistic, though of course this serves no real purpose cake-wise, as the red strips are attached with a bit of water.
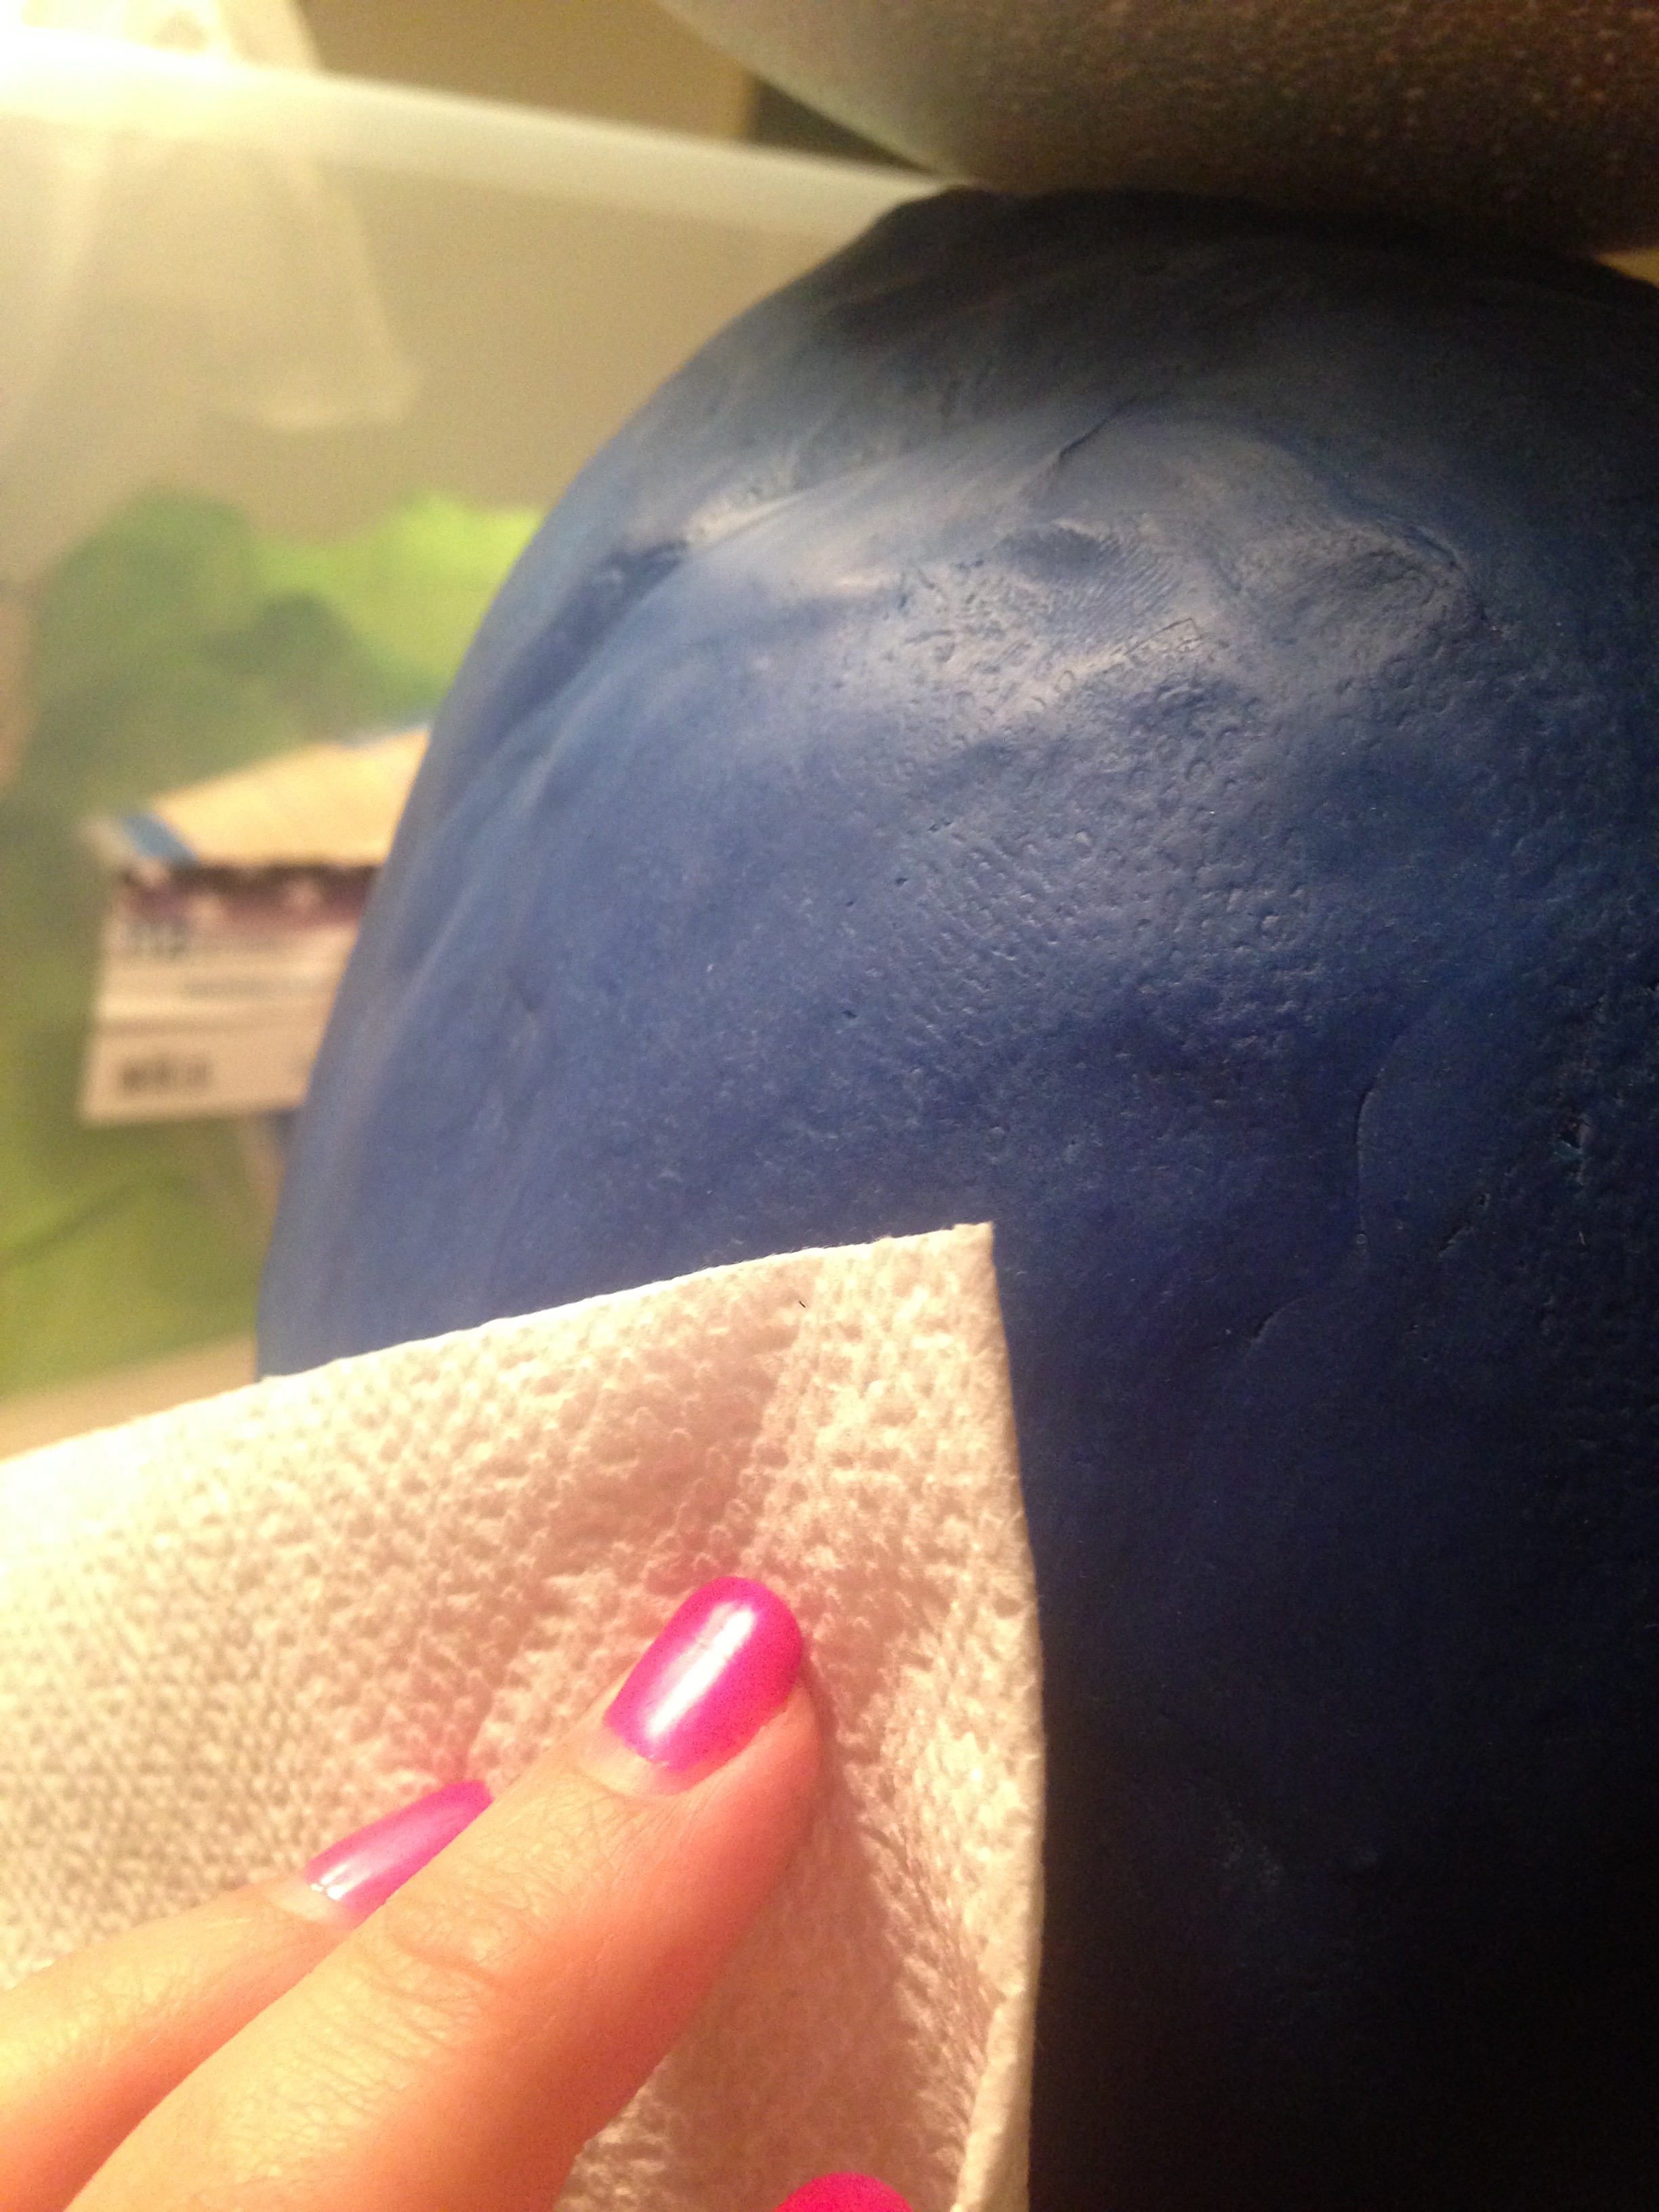
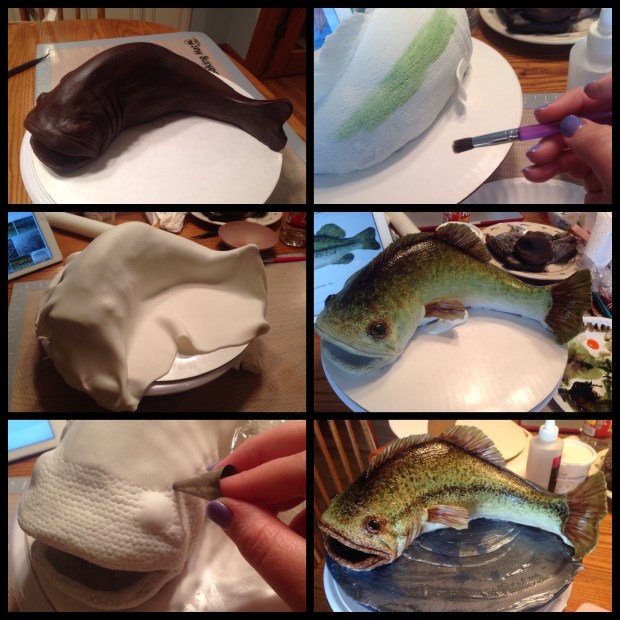
 The baseball hat is made entirely of modeling chocolate (just the “C” logo is fondant). I used a napkin to texturize the chocolate so it looked more like fabric.

Once the cake was finished, I very carefully put it in my car to take to work. Here is the snapchat evidence:

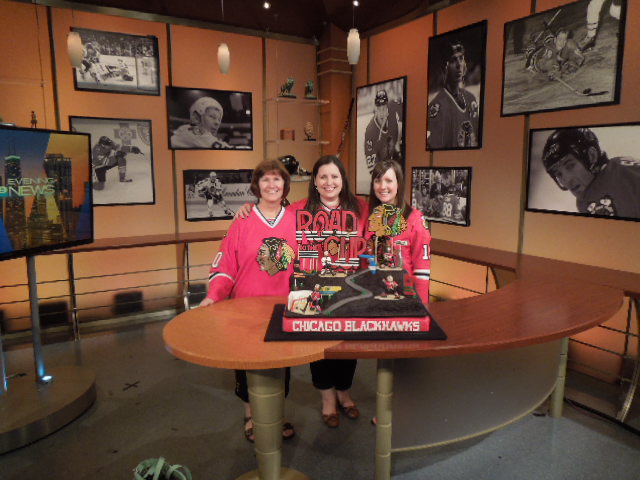
For a more beautiful photo, I carried the cake onto a local baseball diamond. I can only imagine what passersby were saying as I traipsed across the field at a rate of .05 mph, carrying the incredibly top-heavy cake across the uneven grass.
 Do you have a different idea for a sports-themed cake? I have never done a football or basketball cake before because I haven’t thought of a creative idea! Please help! 🙂


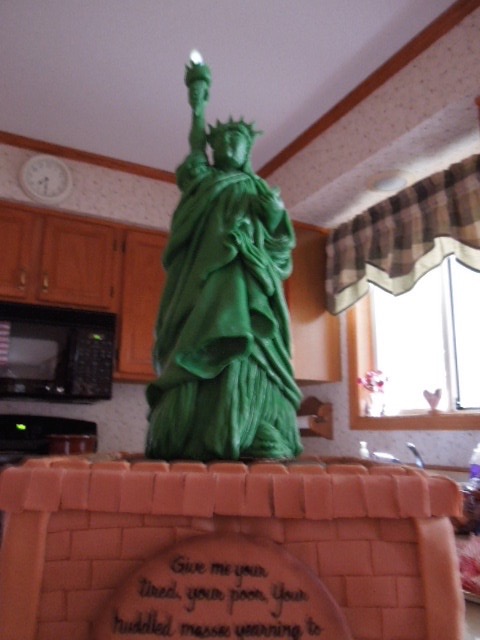
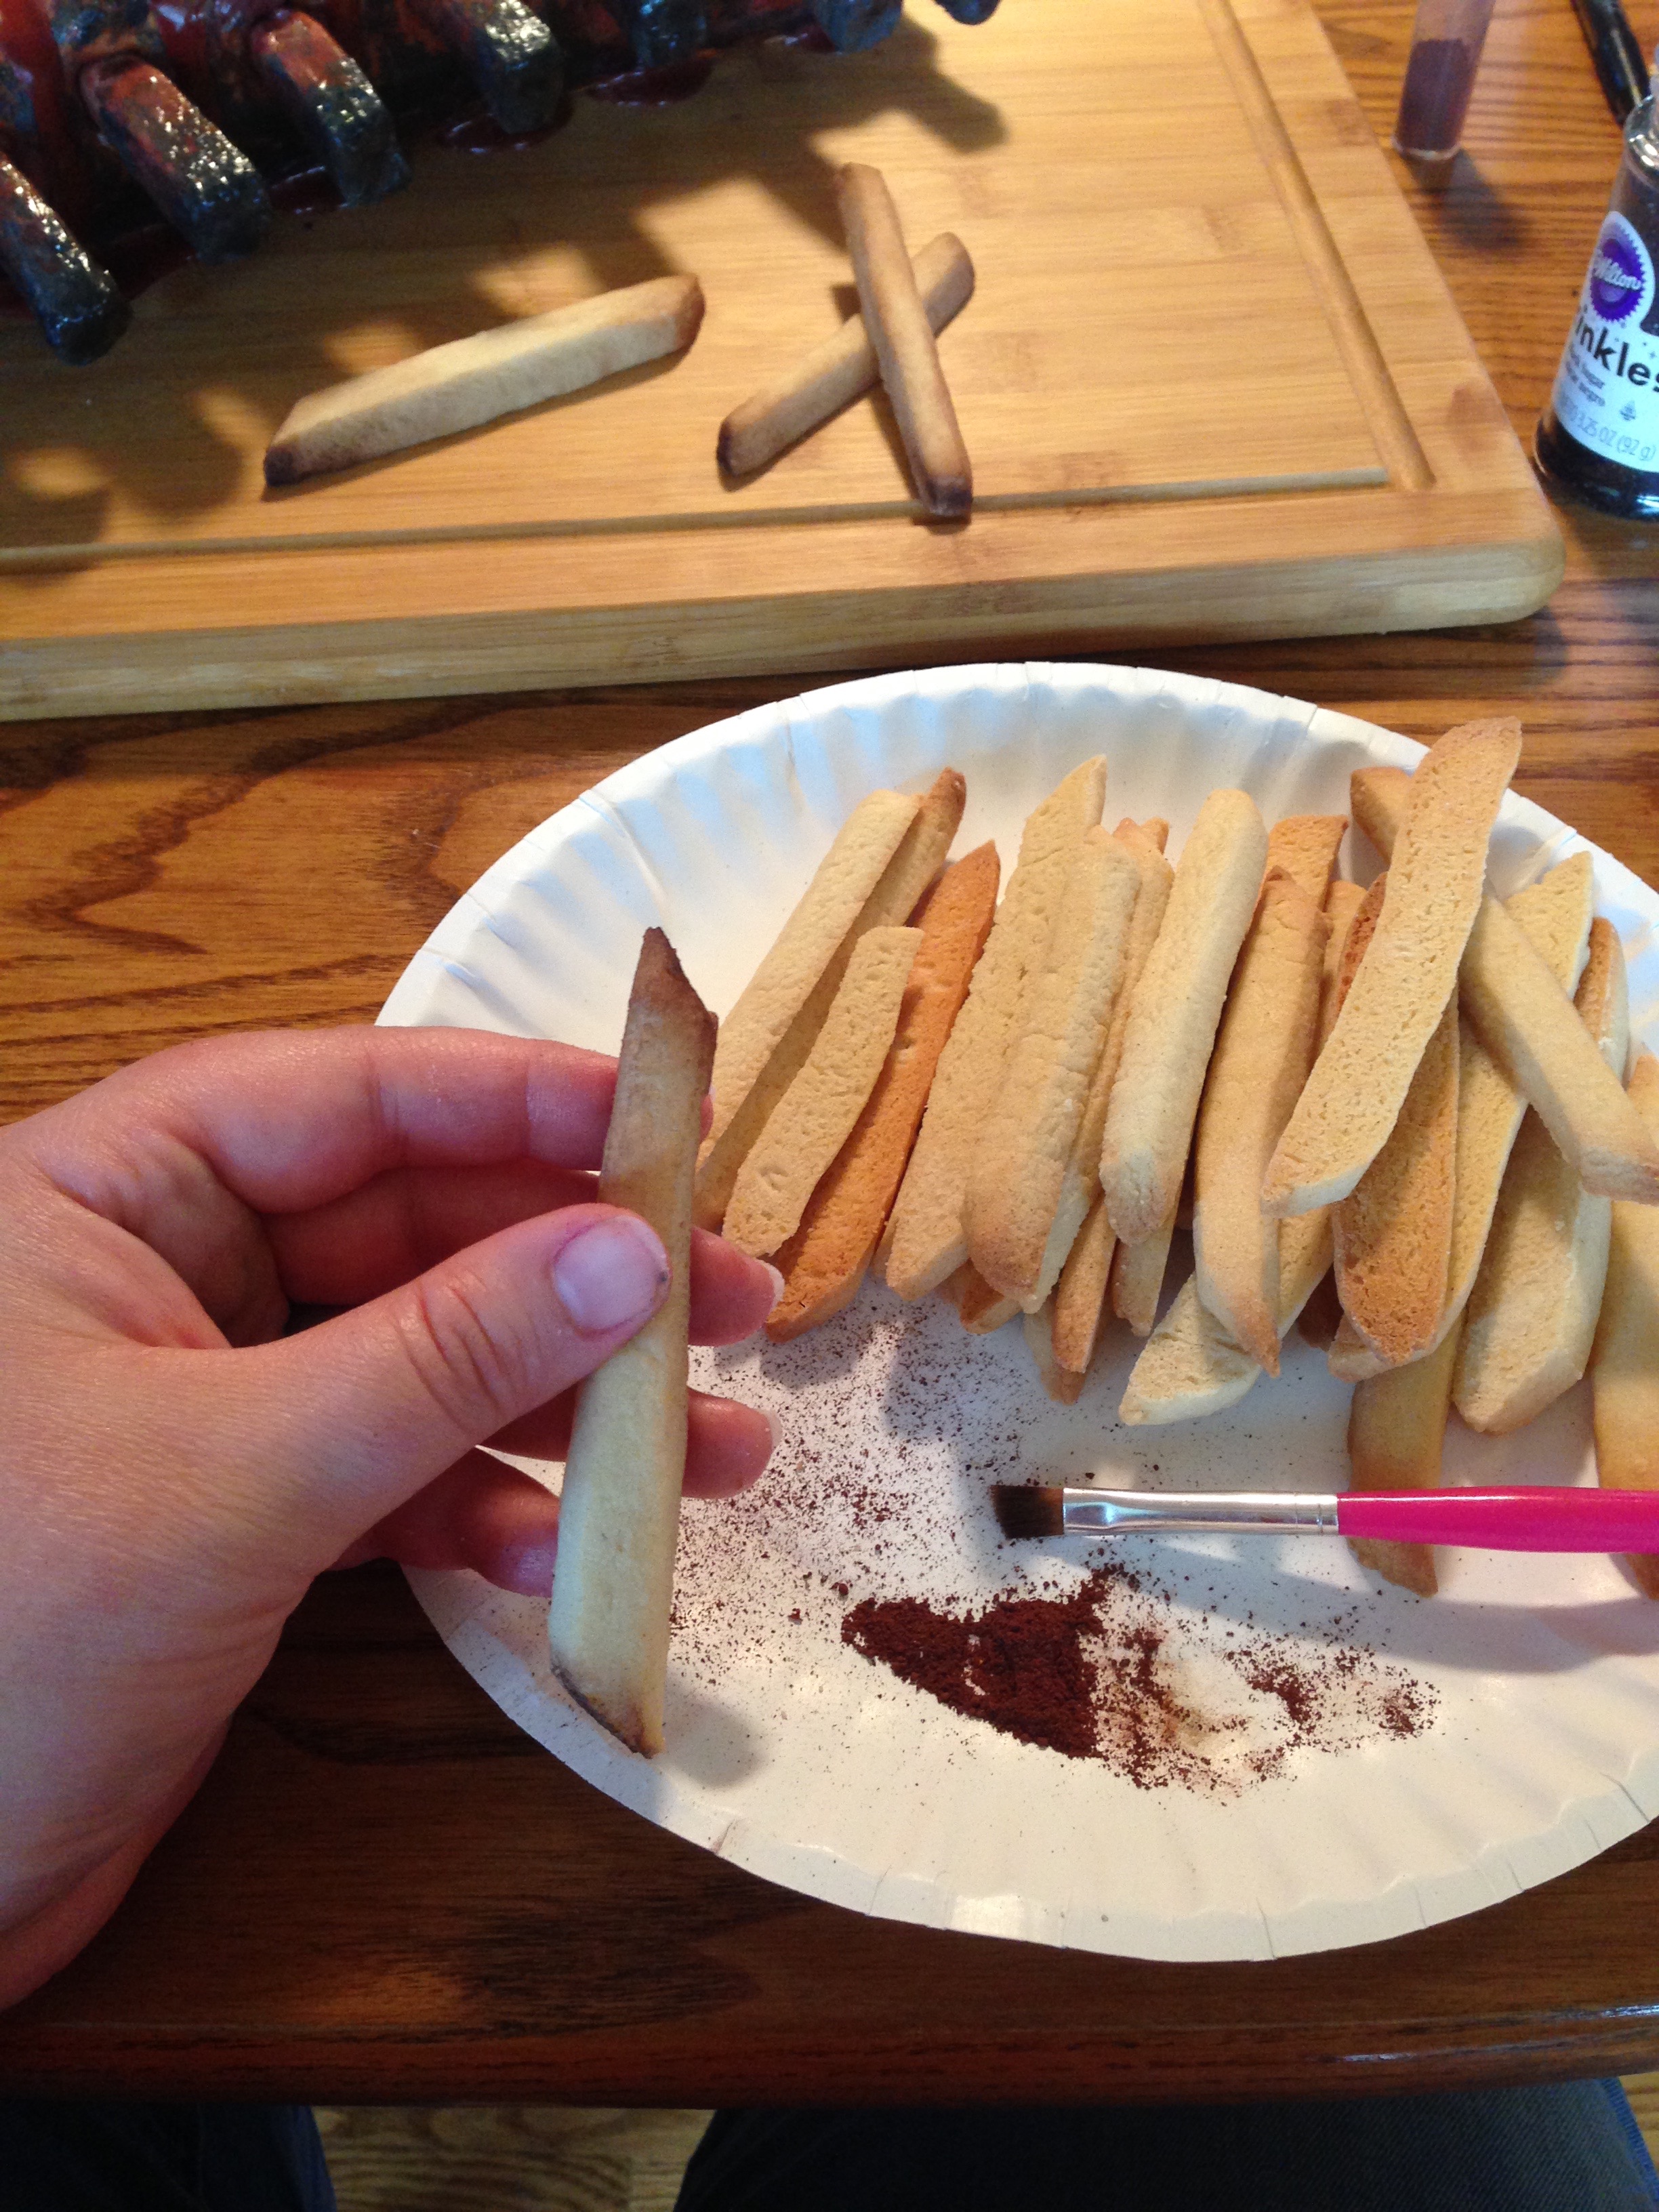
 To make the camouflage fondant, I colored chunks of fondant various shades of green and brown. I rolled them into small balls and then placed them close together. (It looks like this would be a fast process, but placing them together was a bit like a puzzle. Of course, you wouldn’t want to place to of the same color directly next to each other. Otherwise you don’t get the camo effect.)
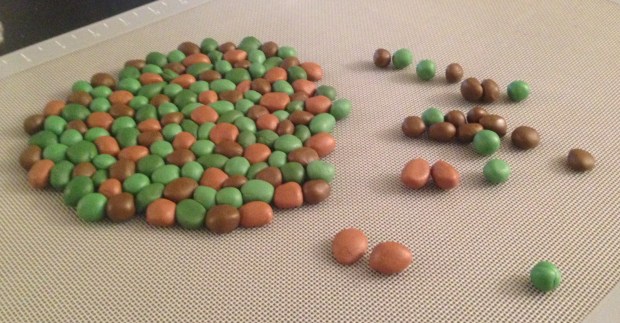


 What other things would you like to see made of modeling chocolate? Comment below!