

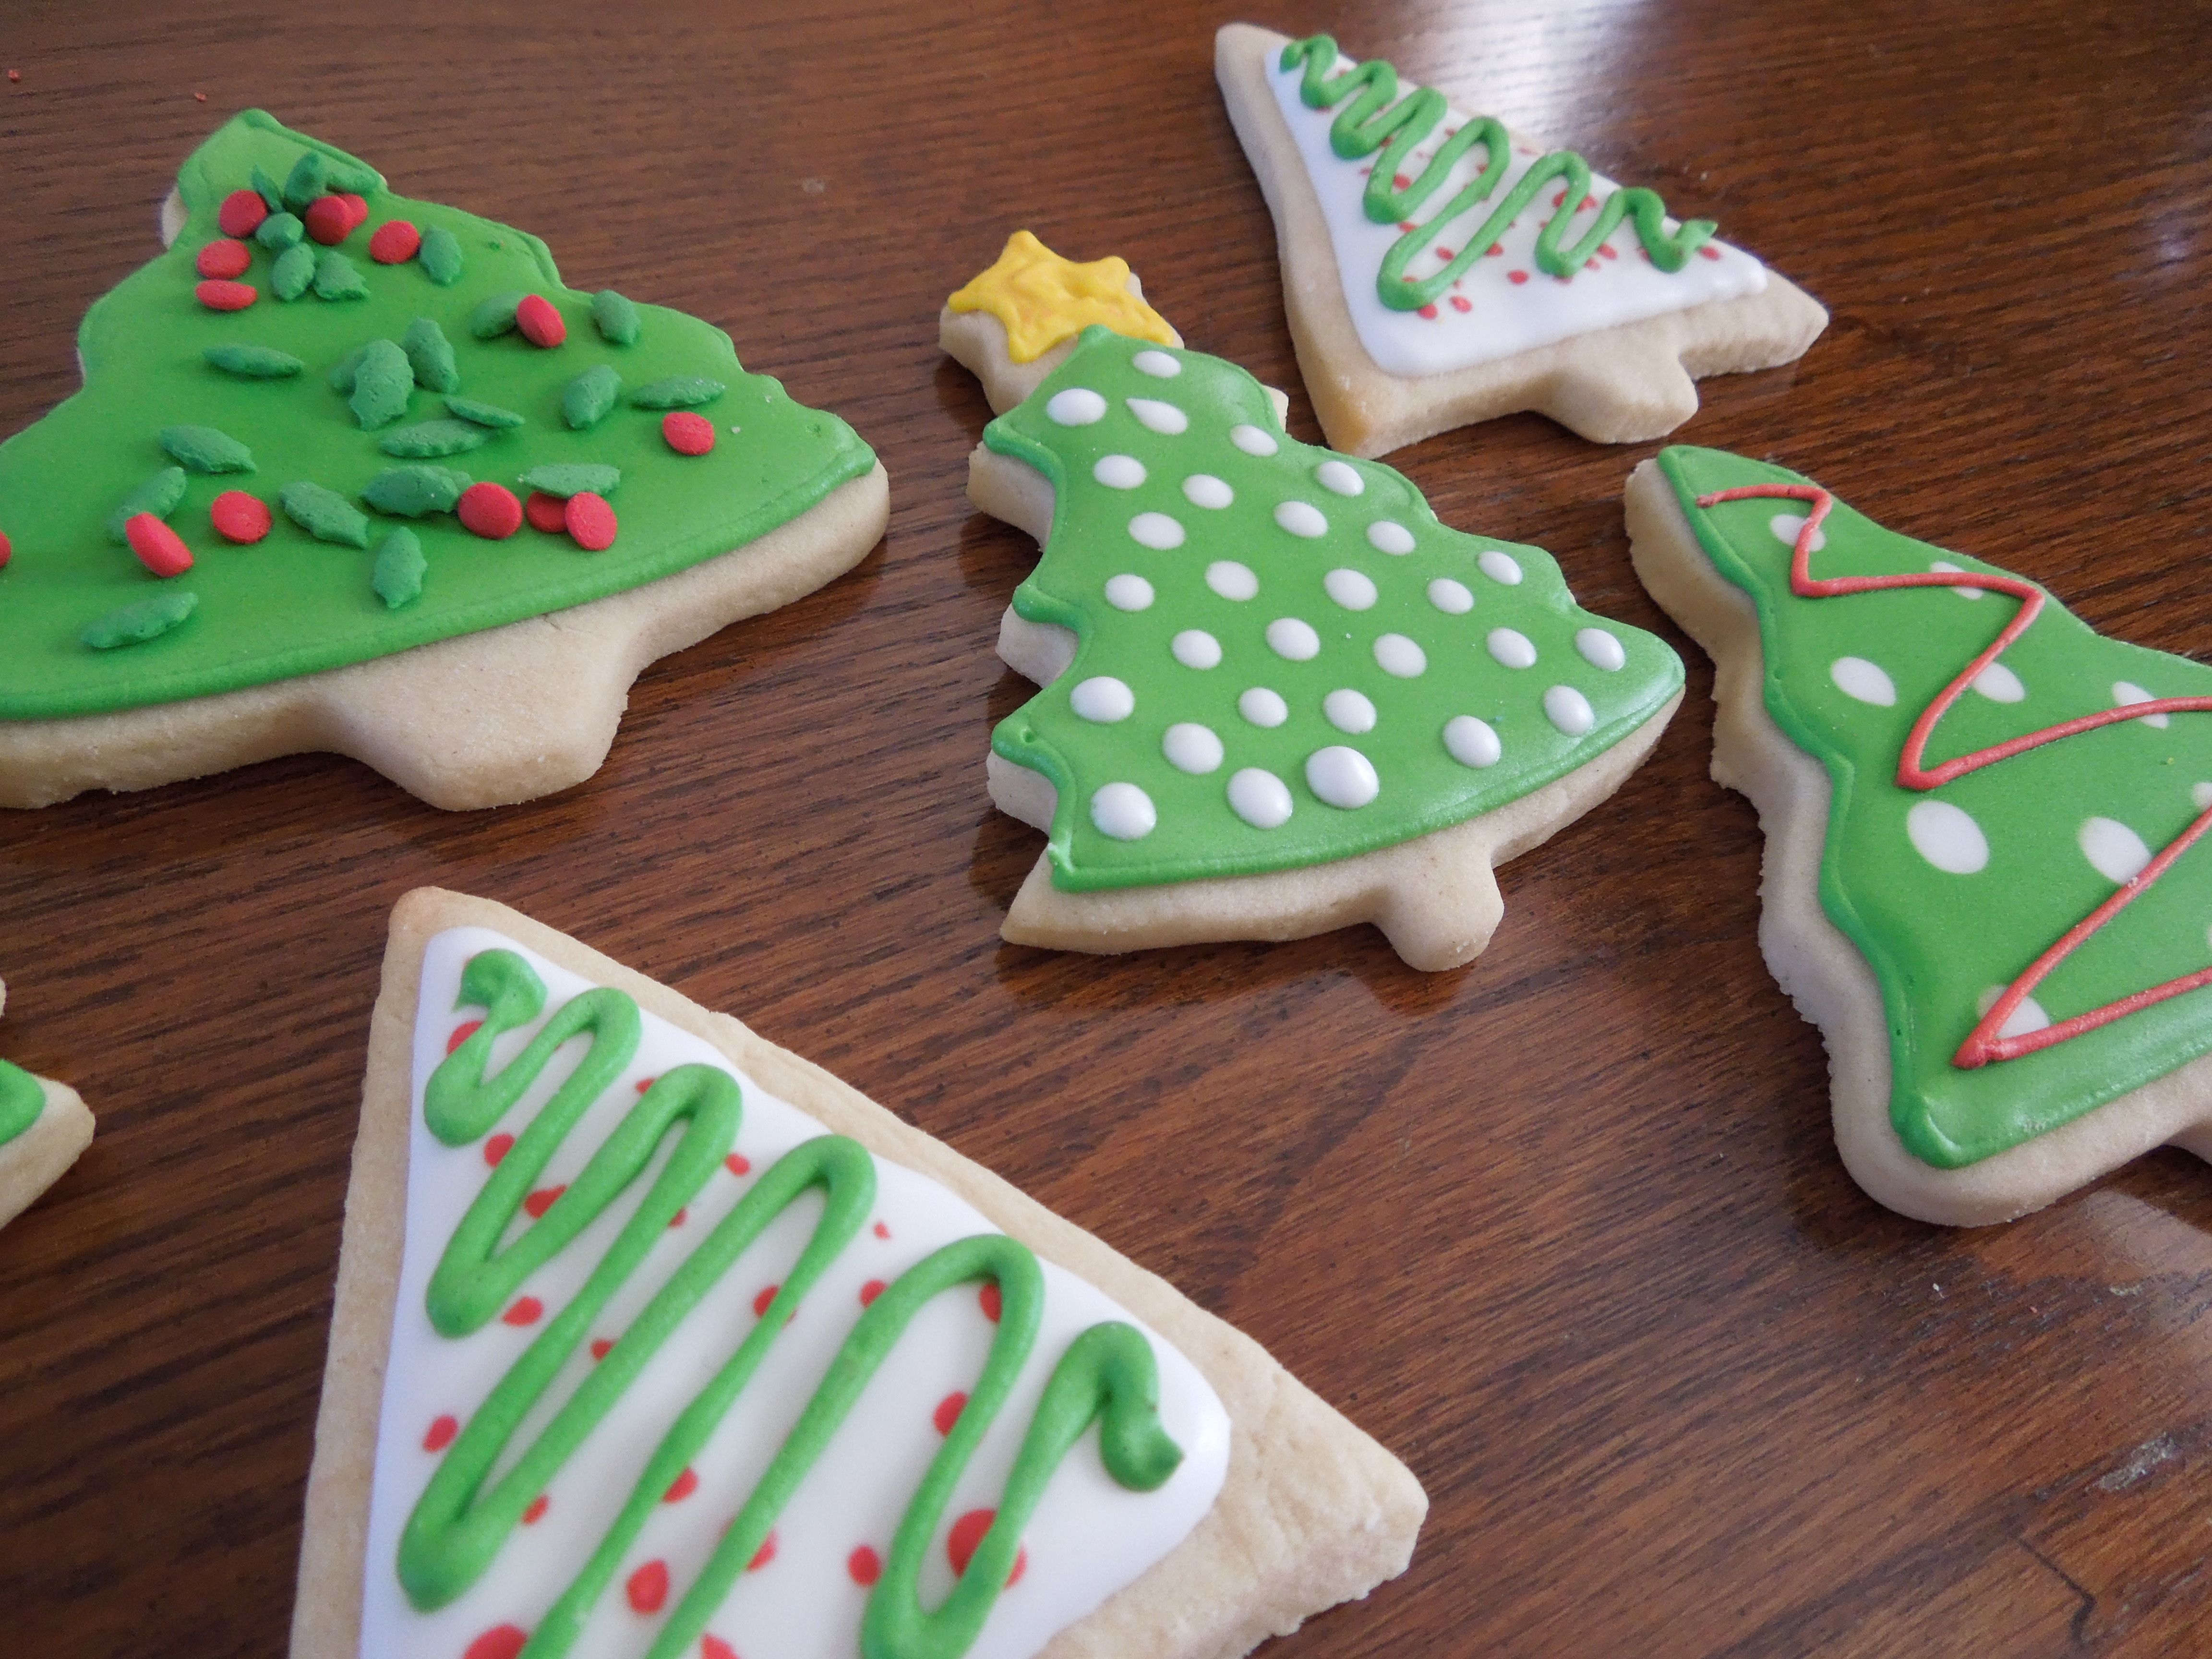
More Cookies!


 Finally: gum paste flowers!
I have been waiting and waiting until I could learn how to make these! I loved the first three cake-decorating courses, but I couldn’t WAIT for the last one! I just think these flowers look so realistic. Everything on the flowers is edible except for the wire stems and the stamens. Pretty neat!
The process of making the flowers is fairly time-consuming, but worth it, in my opinion! The more time you take on the flowers, the better they will look in the end. Spend the time to mix appropriate colors, roll the petals thin, and take care how you lay them out to dry. This will give them life and movement!
If you’re interested in learning how to make these flowers, check out a local craft store near you- they often offer beginning cake decorating classes.

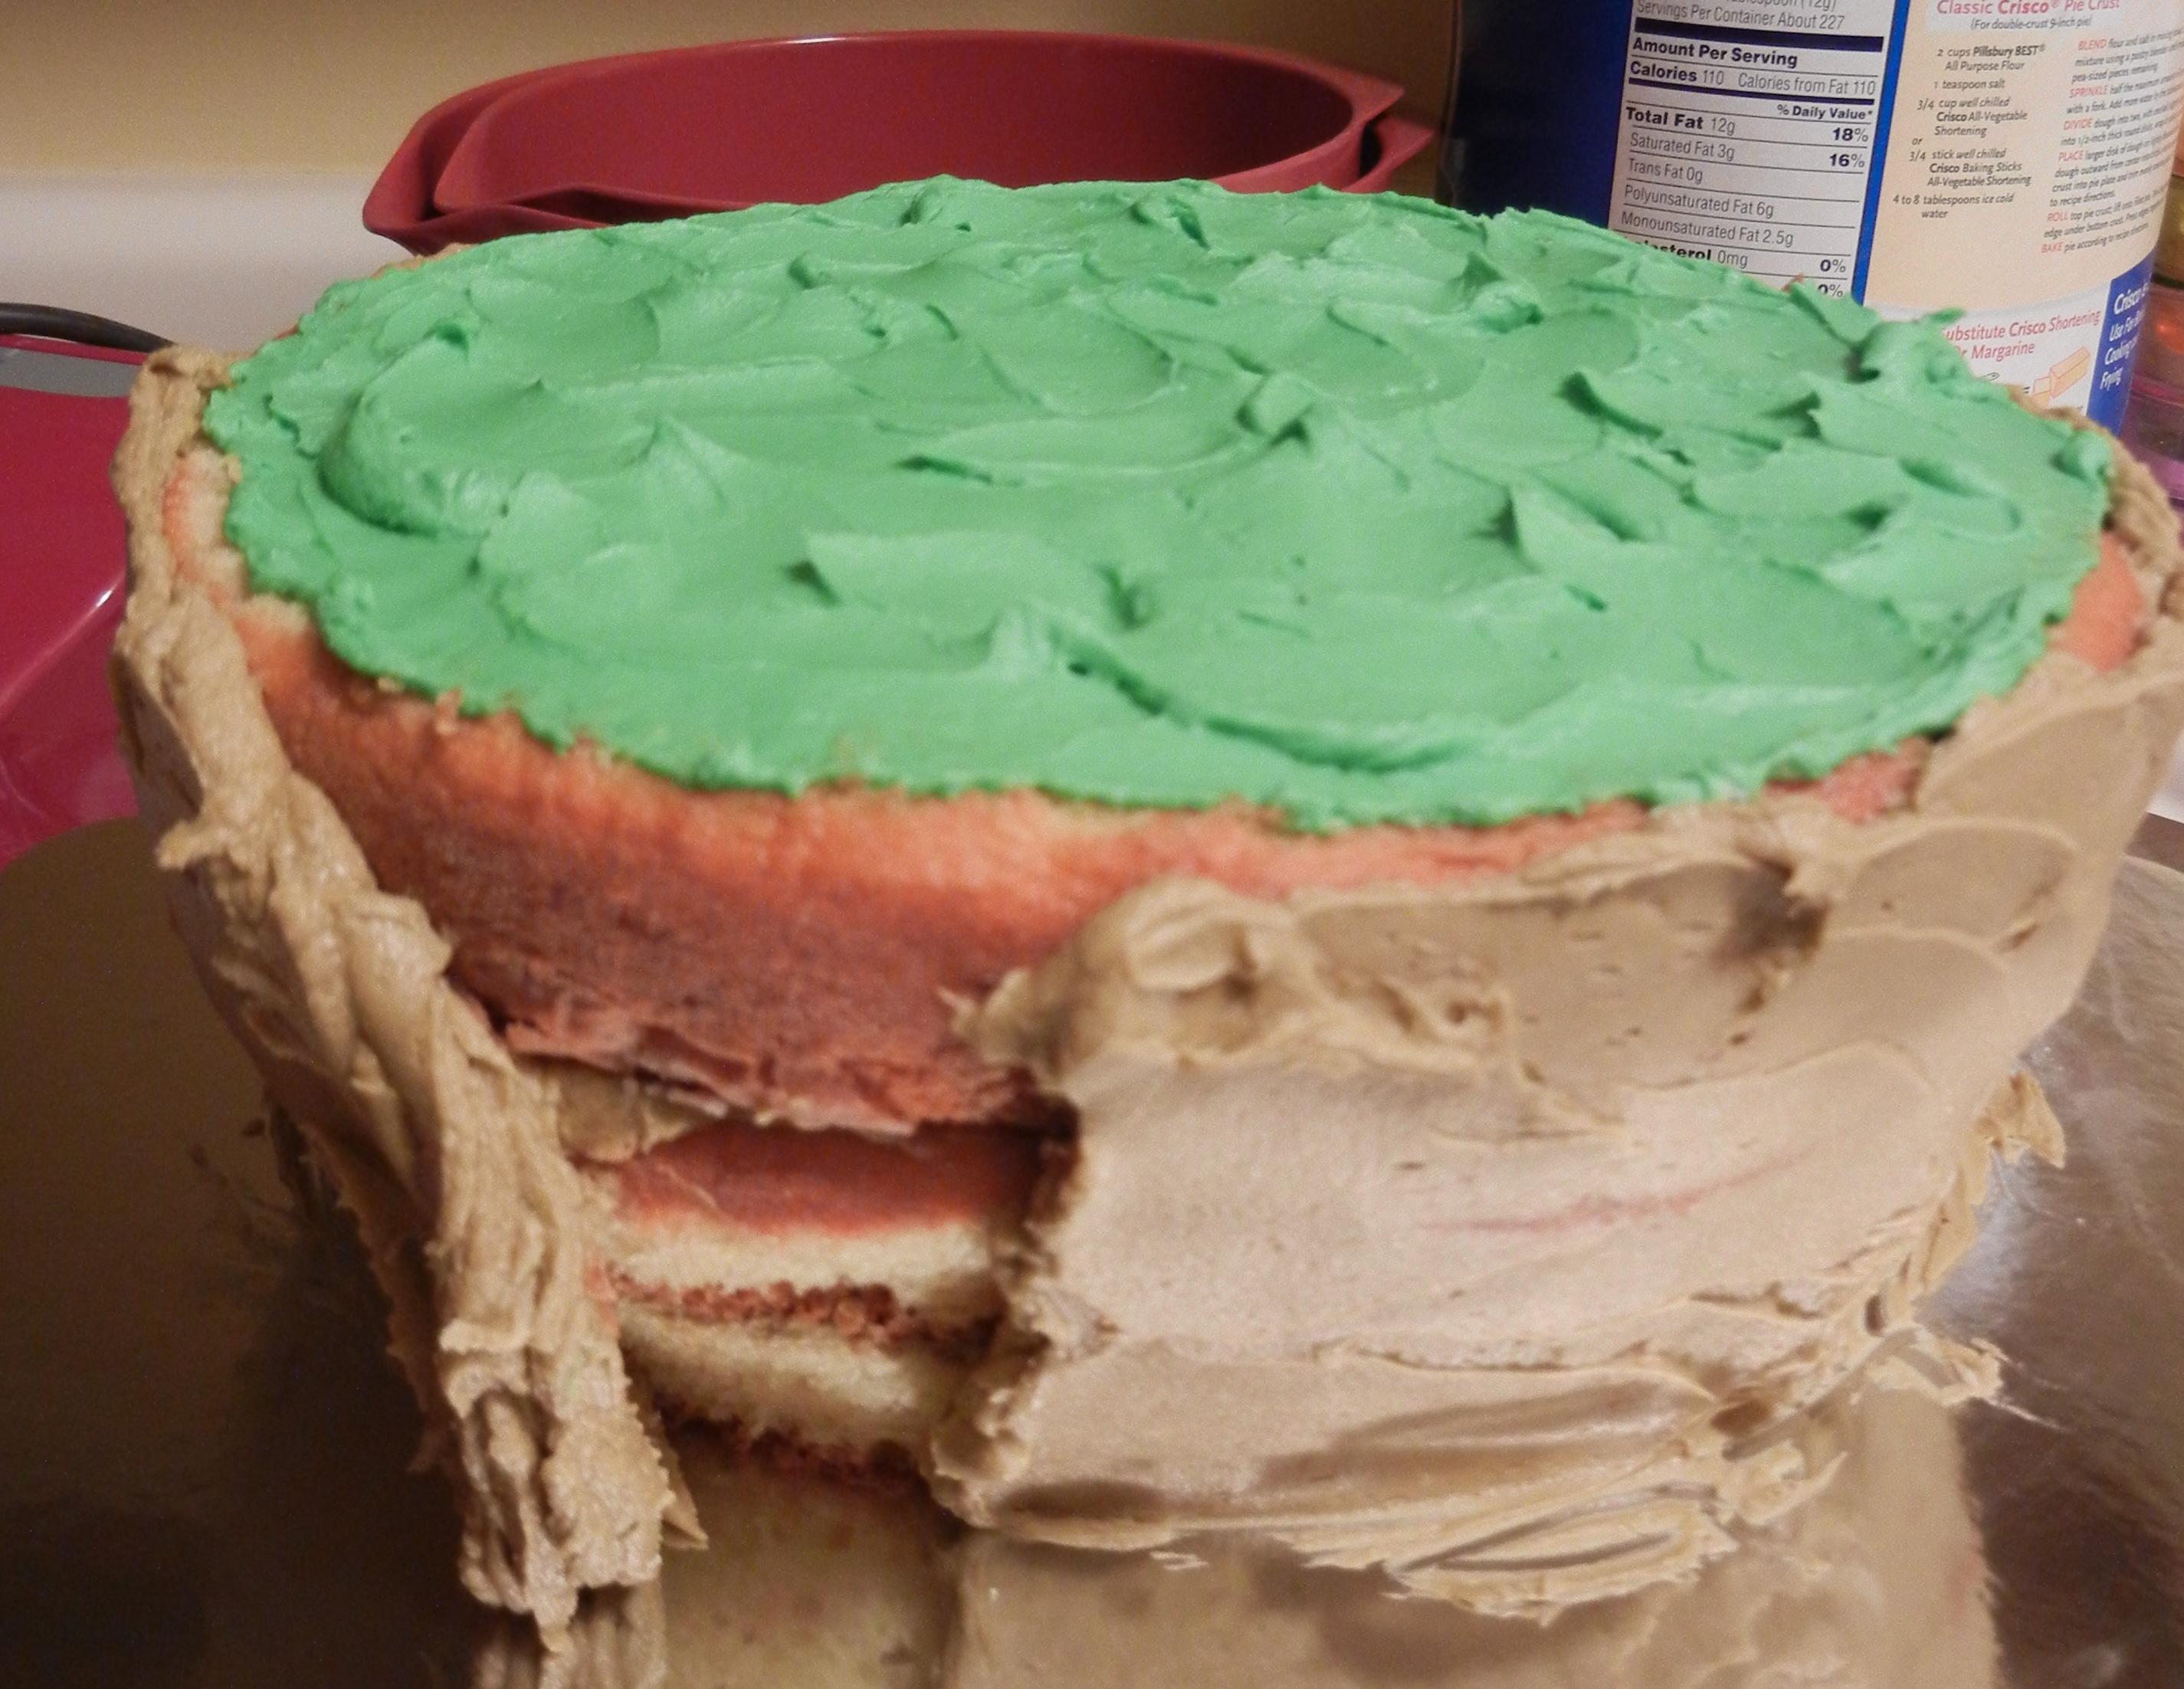
Now, the cake does look kinda cool– unless, of course, you see it from the backside… yikes.
*Must… improve… cake… design…*
Once I made the flowers, I didn’t really know what to do with them! We didn’t use them in a cake during my final course, so I didn’t exactly know how to use them. My instructor said that they sell tubes that you can insert into cakes and put the flowers into (presumably because the wiring and floral tape is not food safe). But since I was in an experimental and money-conscious mood, I decided to use straws. I have no idea if this is the right technique, but it seemed to work okay at that moment!
…But then you have a cake full of straws… right?


HELPFUL HINT: Use luster dust around the edges of the petals and leaves for a realistic look!
In this photo below, I used a mixture of orange fondant and gum paste to create the rose. Once the rose was dried (at least a day or two later!), I smudged some luster dust on my finger and dusted the edges to create some dimension.What a difference!

Thanks for reading! Do you have any advice about how to use gum paste flowers in an actual cake? Please leave a comment below if you can help! What am I missing? Or do cakes with flowers also come punctuated with holes? 🙂
For everything that looks nice and pretty on the cakes, I’ve done it wrong at least twice. ![]() And usually more than that. Disaster photos to come soon!
And usually more than that. Disaster photos to come soon!

 What does a cake decorator do when asked to bring something to share for “Salad Day” at work? Oh yeah. This is my kind of salad. 🙂
The first step in this cake is to make all of the veggies and lettuce leaves. This takes a while but is very relaxing and fun to do while watching a movie, for example. 🙂 It is imperative that these are made at least a week in advance, otherwise they won’t be dry in time.
I like the leaves to have a little dimension and movement. Therefore, rather than cutting them out of fondant and laying them down flat, I crumpled up wax paper and put the lettuce leaves all over that. This part actually goes pretty quickly- take it from me! I am an extremely fastidious person (that’s the nice way of putting it!) but 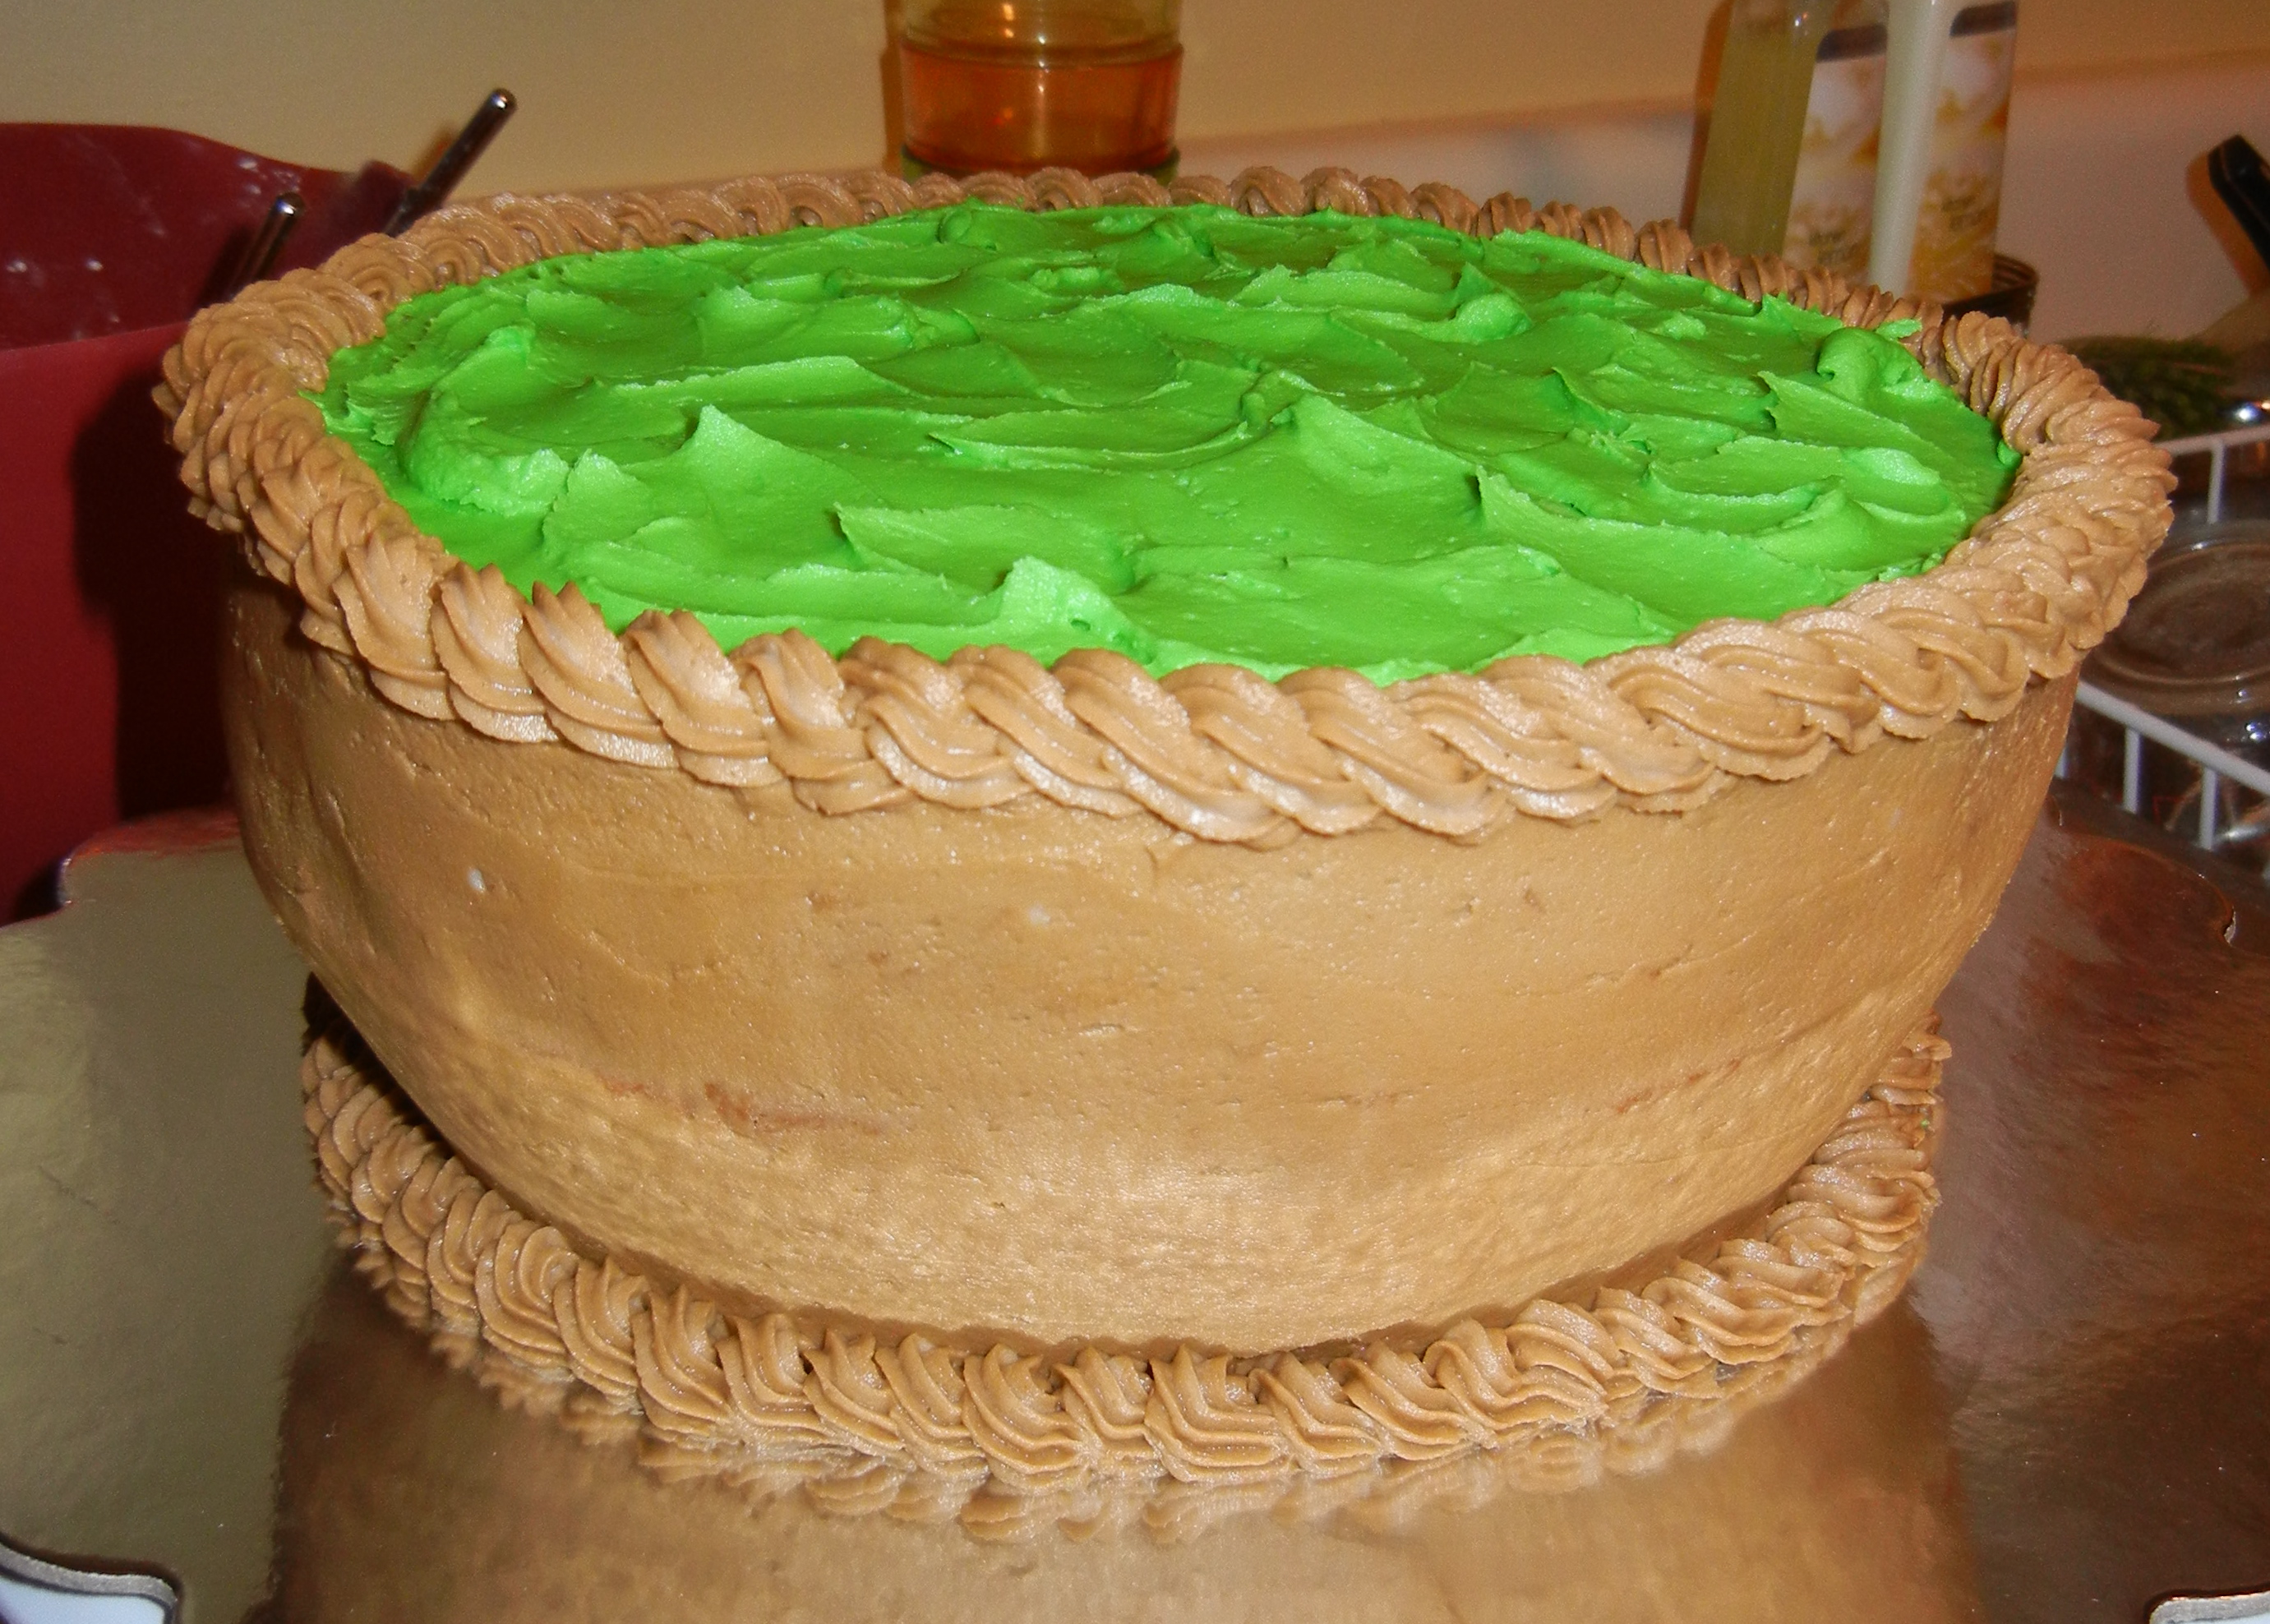 it’s good if these are done a bit hastily. No two lettuce leaves are unique, right? 🙂
Once you’re ready to put it all together, it’s a cinch! This cake came together in less than an hour! Just stack a few rounds together, carve the bottom in a little (so that it looks like a bowl), and put on the frosting! Smooth the sides (I wanted to add a basket weave, but I didn’t have time) and then add a border on the top and bottom of the bowl.
Once you’ve added the border, it is super simple. Throw on the veggies and you’re good to go! 

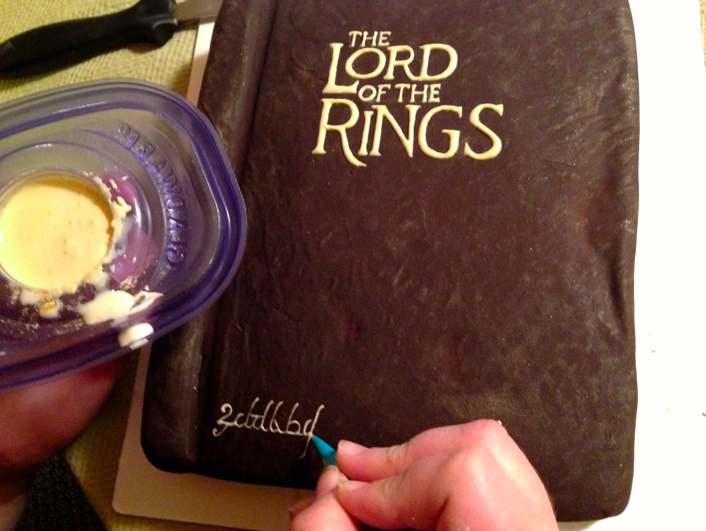 I took a class from Michelle Bommarito (from “Sugar Rush” on the Food Network) on how to create a cake that looked like an antique book! She taught the book construction; the subject matter was entirely my choice. 🙂
The book is simply cake covered in buttercream and fondant. I dusted the cover with gold luster dust to give it an old-fashioned finish. The lettering was definitely the trickiest part! I used royal icing because I wanted a smooth and glossy finish. But I didn’t want it to be thick- I needed a super fine point! So, as if I were a calligrapher from the 1700s, I sat and dipped my pointed stick into the royal icing. Bit by bit, the letters came together! Here are some photos of the finished product:

Here’s a close-up of J.R.R. Tolkien’s monogram. You can see all the initials of his name. I love it!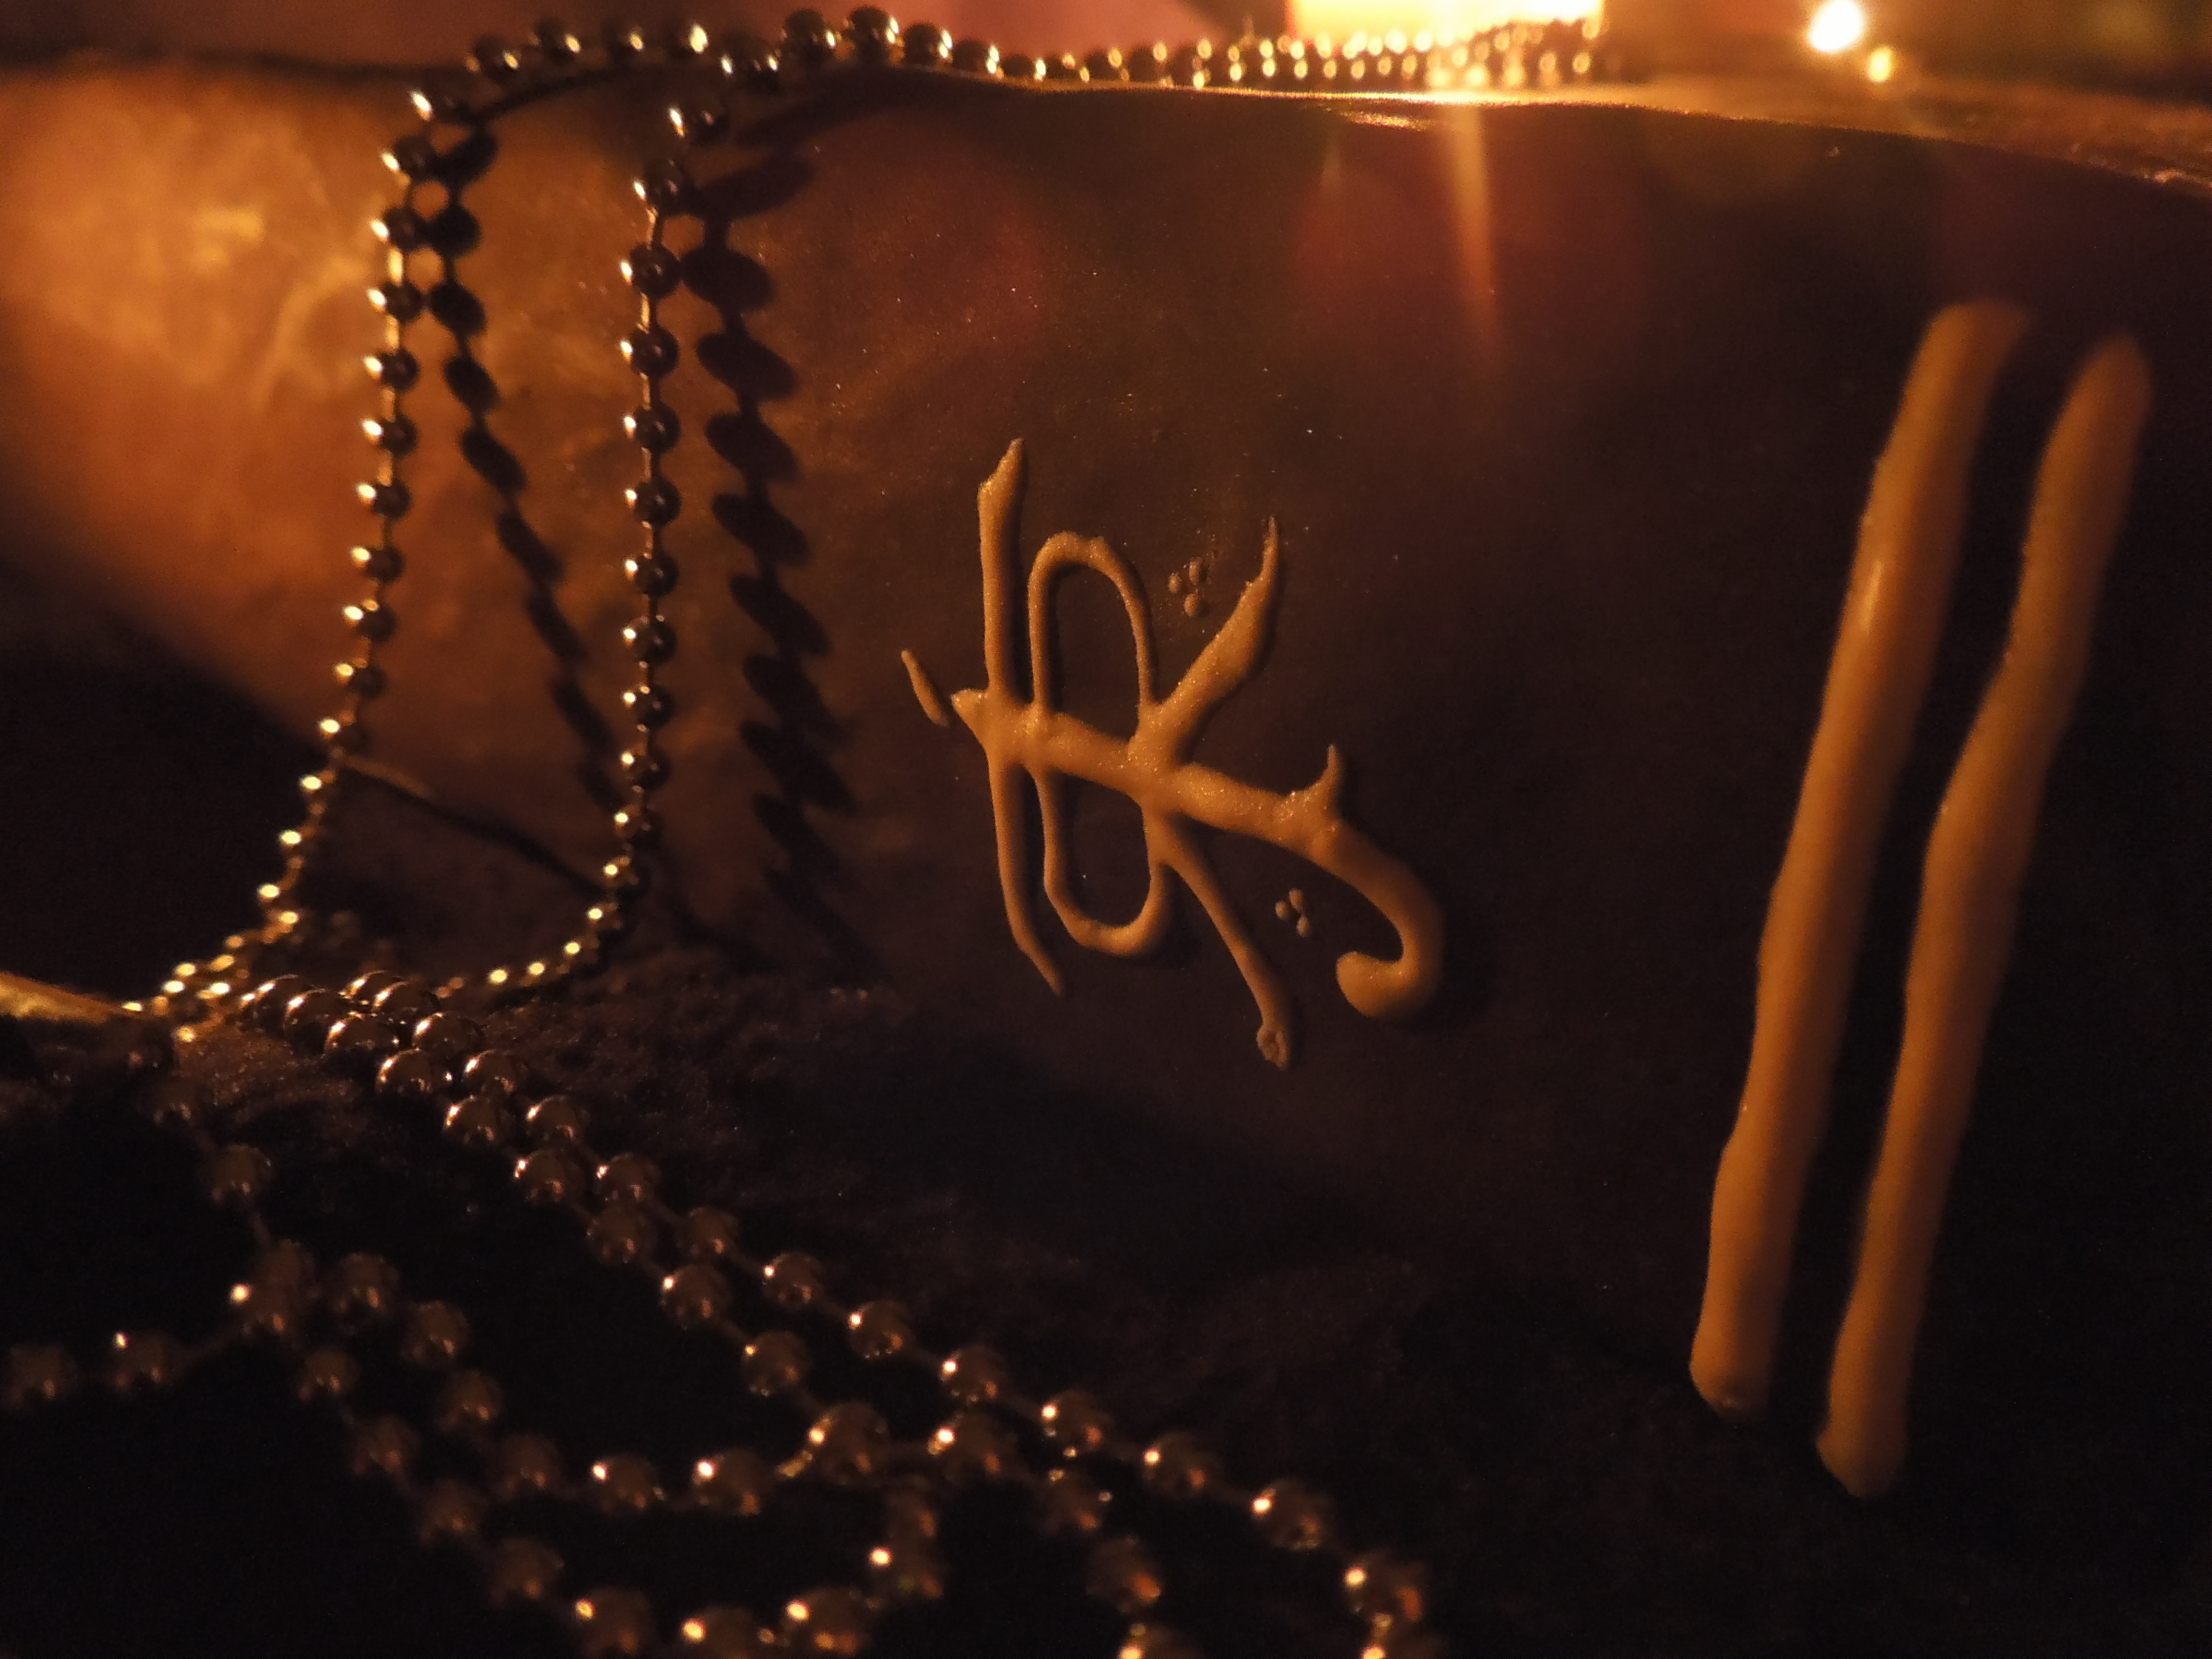
I couldn’t resist adding Gollum to at least one photo. 🙂


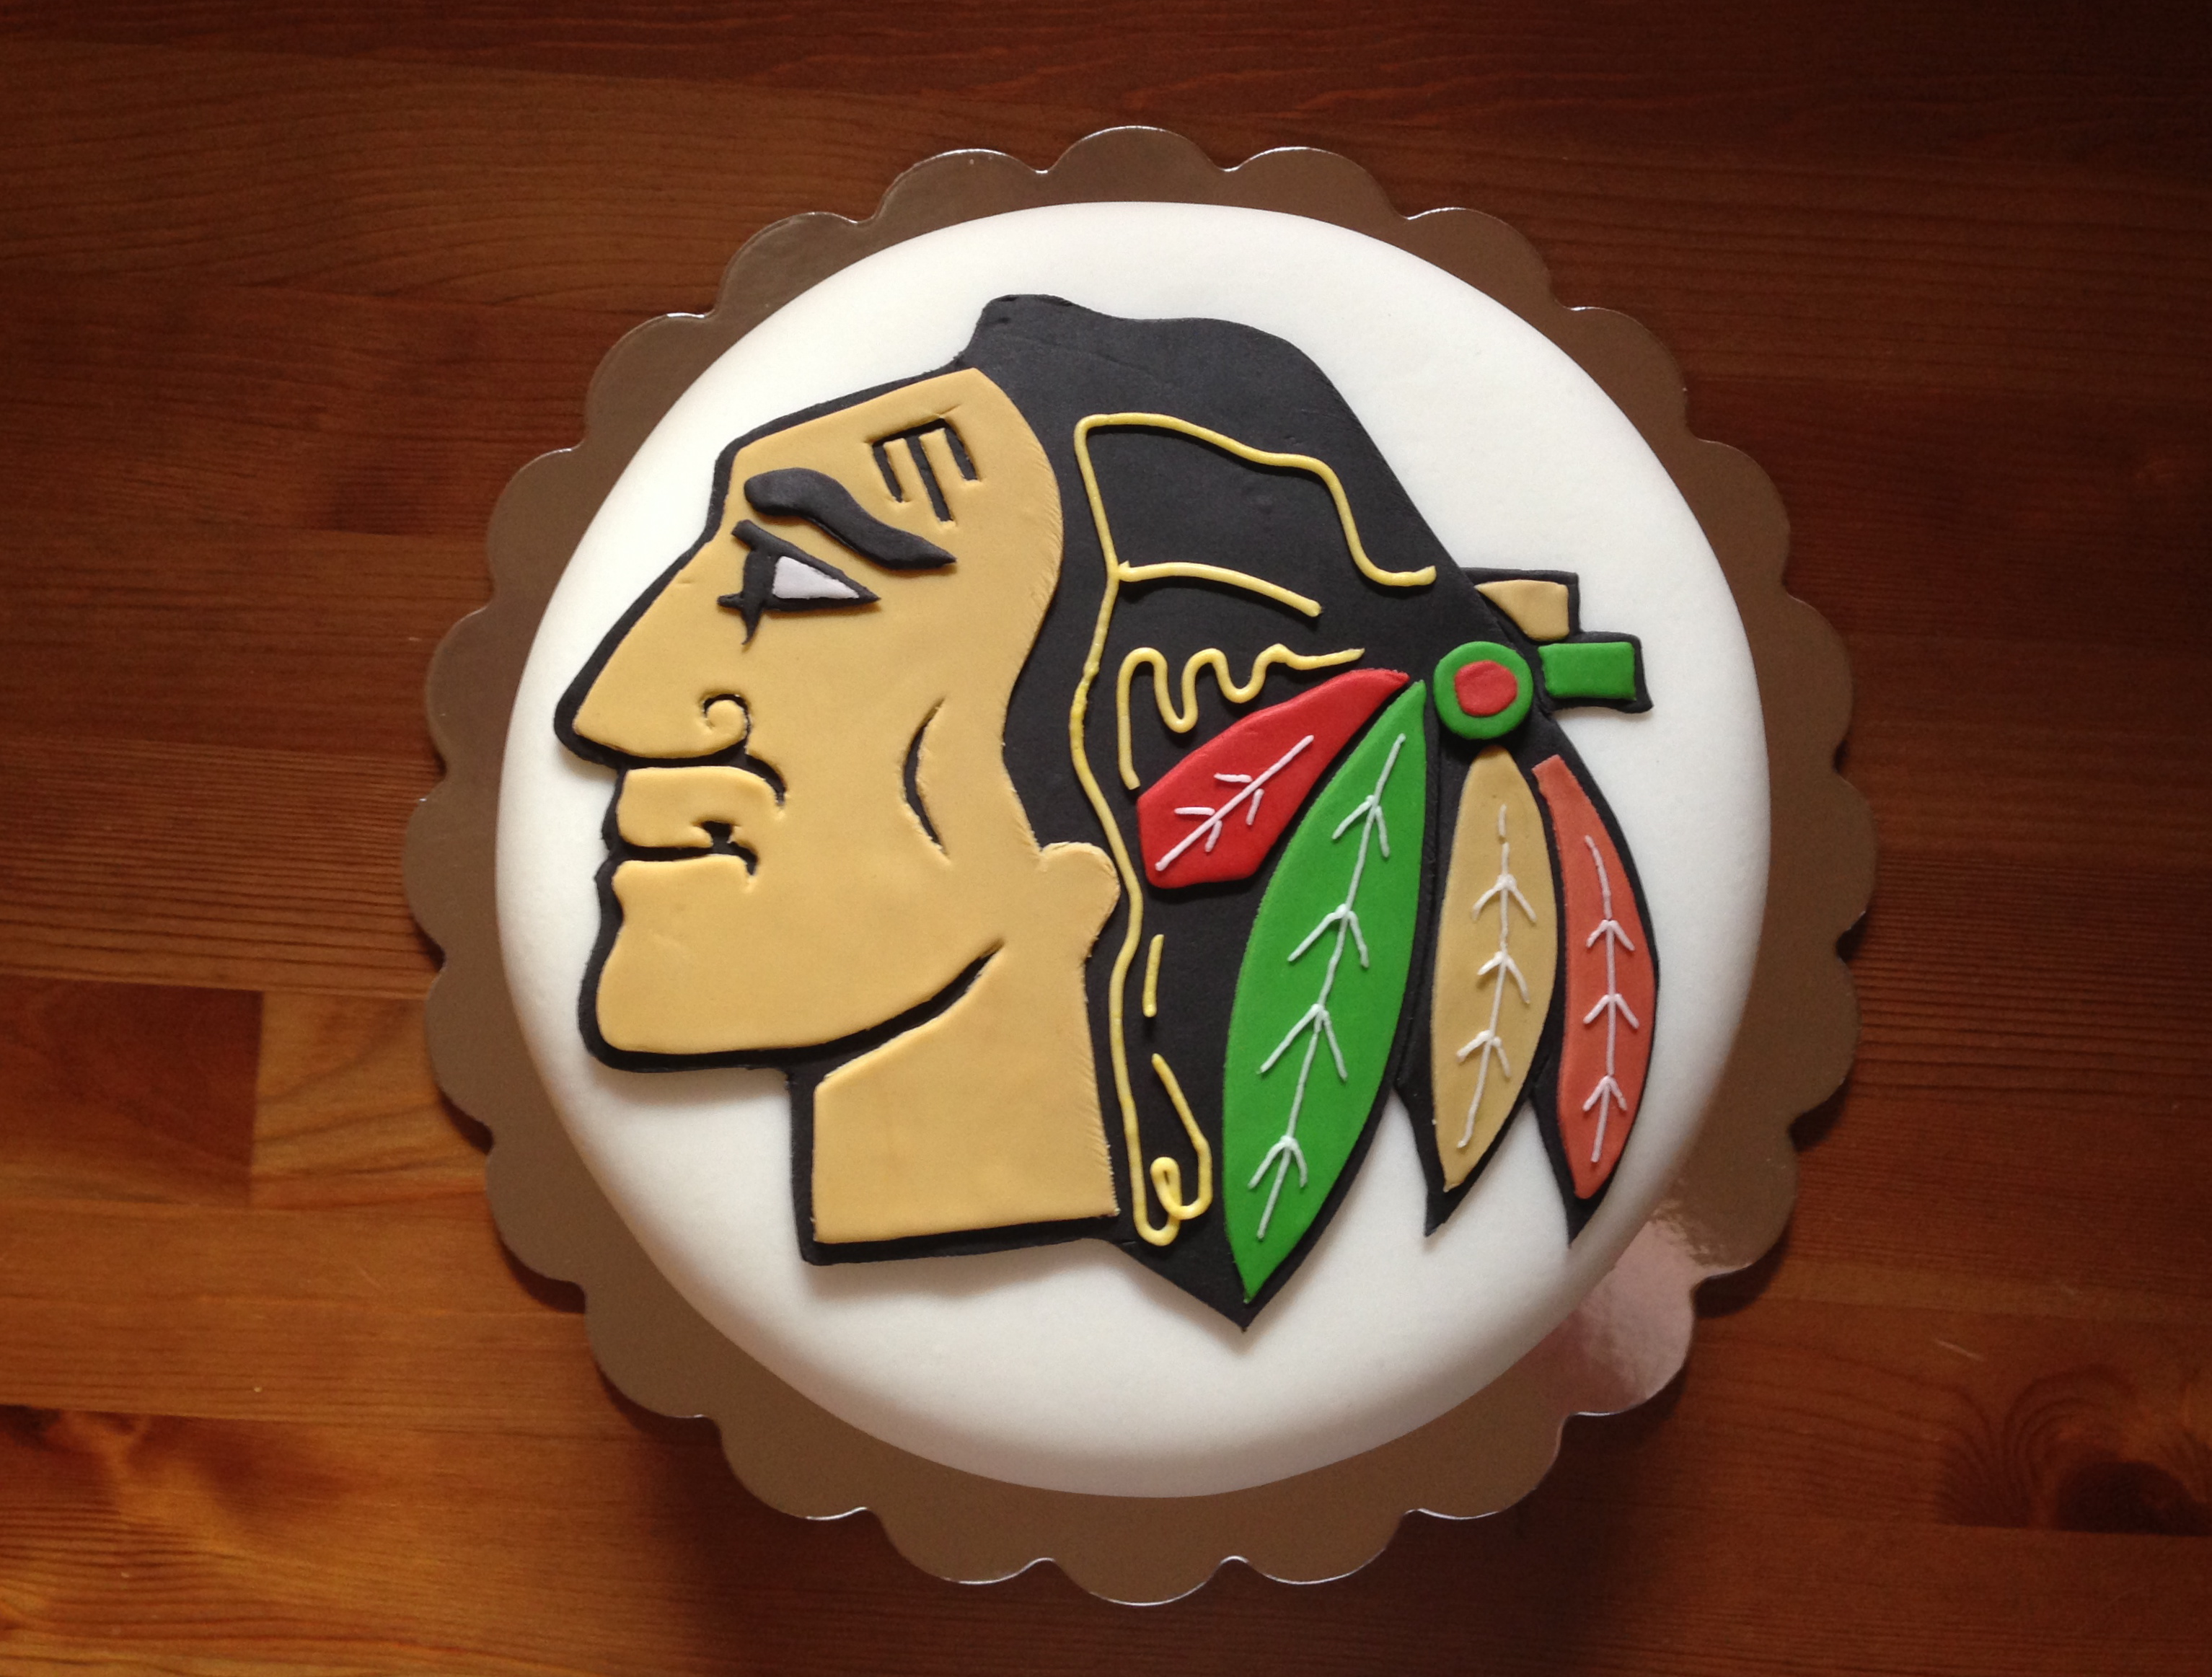
How to create a Hawks logo out of fondant? Cut and layer, cut and layer… (For a more intensive Blackhawks cake, check out my other post here, or here for intricately iced Blackhawks/ hockey cookies, or here for some Hawks jersey cookies, or here for a life-sized puppy cake for Bryan Bickell’s foundation!)
I was sooo out of time with this cake that I didn’t even take one photo. Ridiculous! Unfortunately, you’ll have to rely on my verbal description. 😦
1. Cover cake with white fondant.
2. Roll out a piece of black fondant. Carve the outline of the Blackhawk head.
3. Roll out a piece of skin-tone fondant. Gently lay the black cutout on top of that, and lightly trace the outline.
4. Remove the black piece and place on the cake. Then, using your lightly-traced outline as a guide, go in about a quarter inch and cut out the face. 5. Cut out the indentations marking the nose, mouth, cheek, chin, and forehead. Lay on the black piece.
6. Cut an eye and eyebrow and lay them on top.
7. Cut out the feathers and lay them on top.
8. Use buttercream and pipe the detail on both the feathers and the hair. And you’re done!

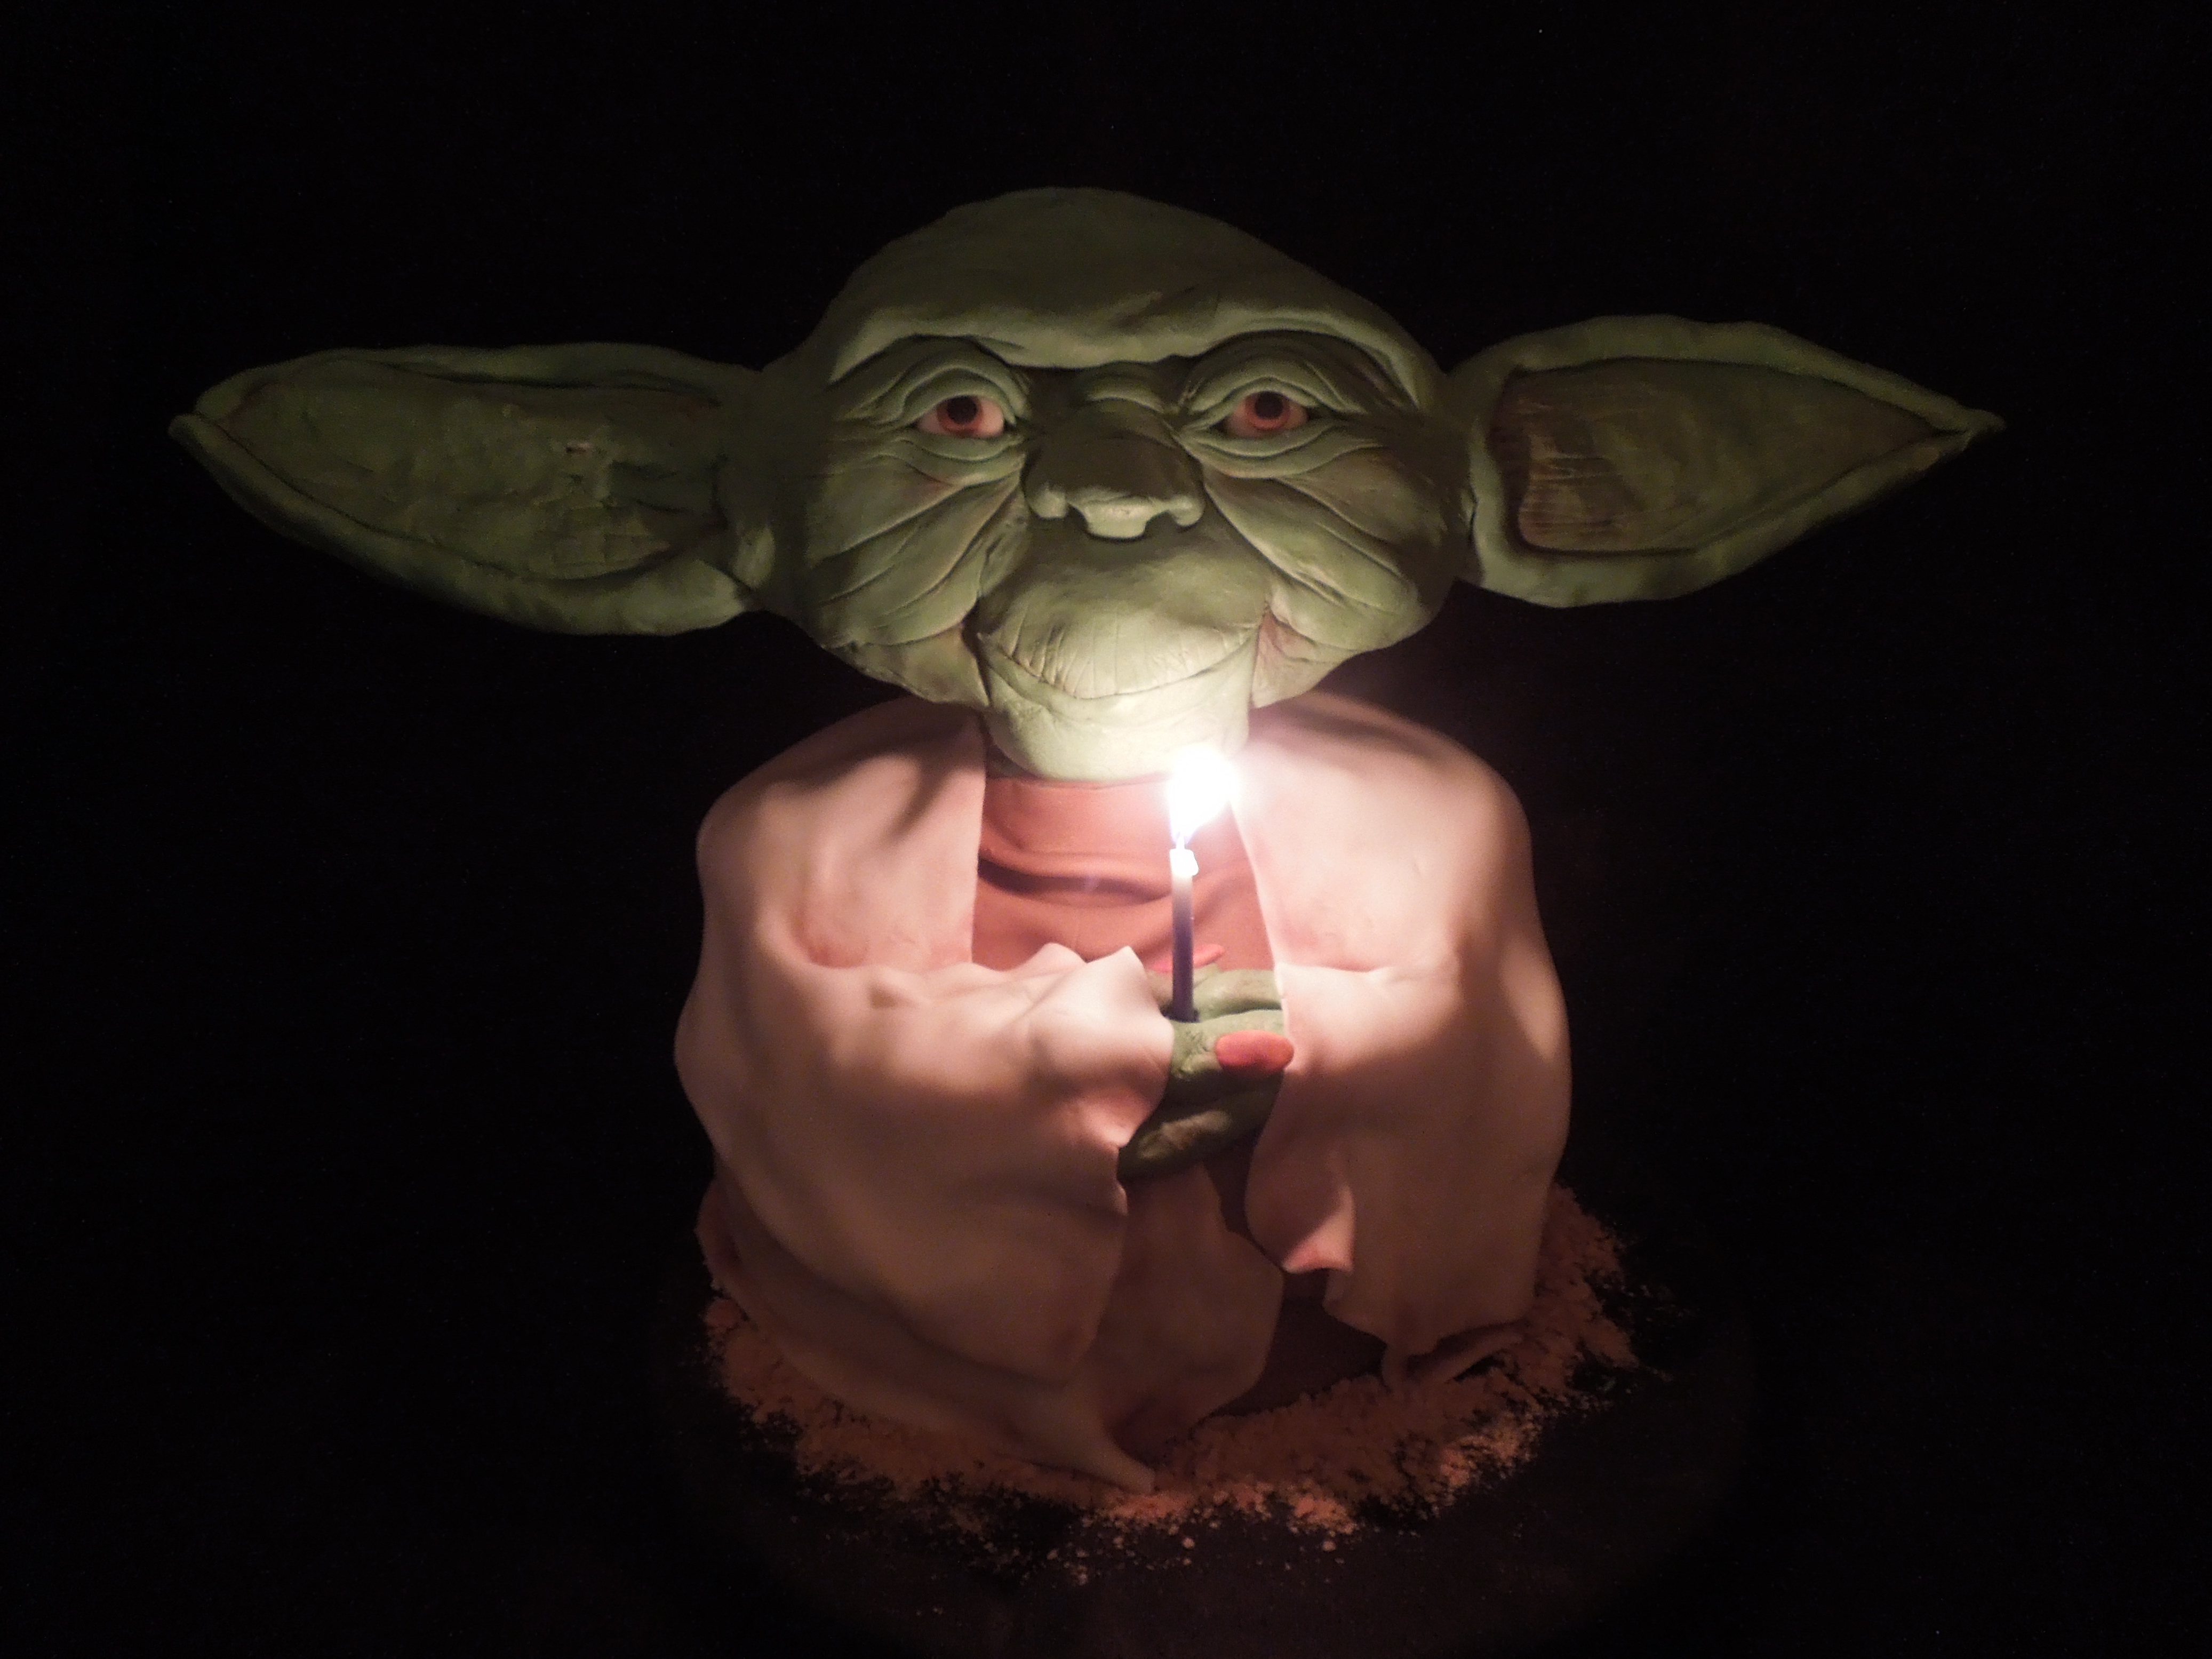
“Do or do not. There is no try.”
I recently watched these movies for the first time (I know, I know) as part of a year-long project. (I turned 30 this year and made a goal to have 30 new experiences during my 30th year!) Since I’d never seen any of the Star Wars movies, I decided it was high time! And who better to share it with than my dad, the Ultimate Fan? (We once went to a Star Wars concert and there were Stormtroopers milling about. My dad insisted on waiting in line to take a photo with them. There he stood in the long line, the oldest person by at least 40 years… but you’ve gotta admire his tenacity!)
Anyways, of the entire series, the line that stuck with me the most was that one: “Do or do not. There is no try.” When it came time for my dad’s birthday, it was pretty clear that Yoda was the man on the menu!
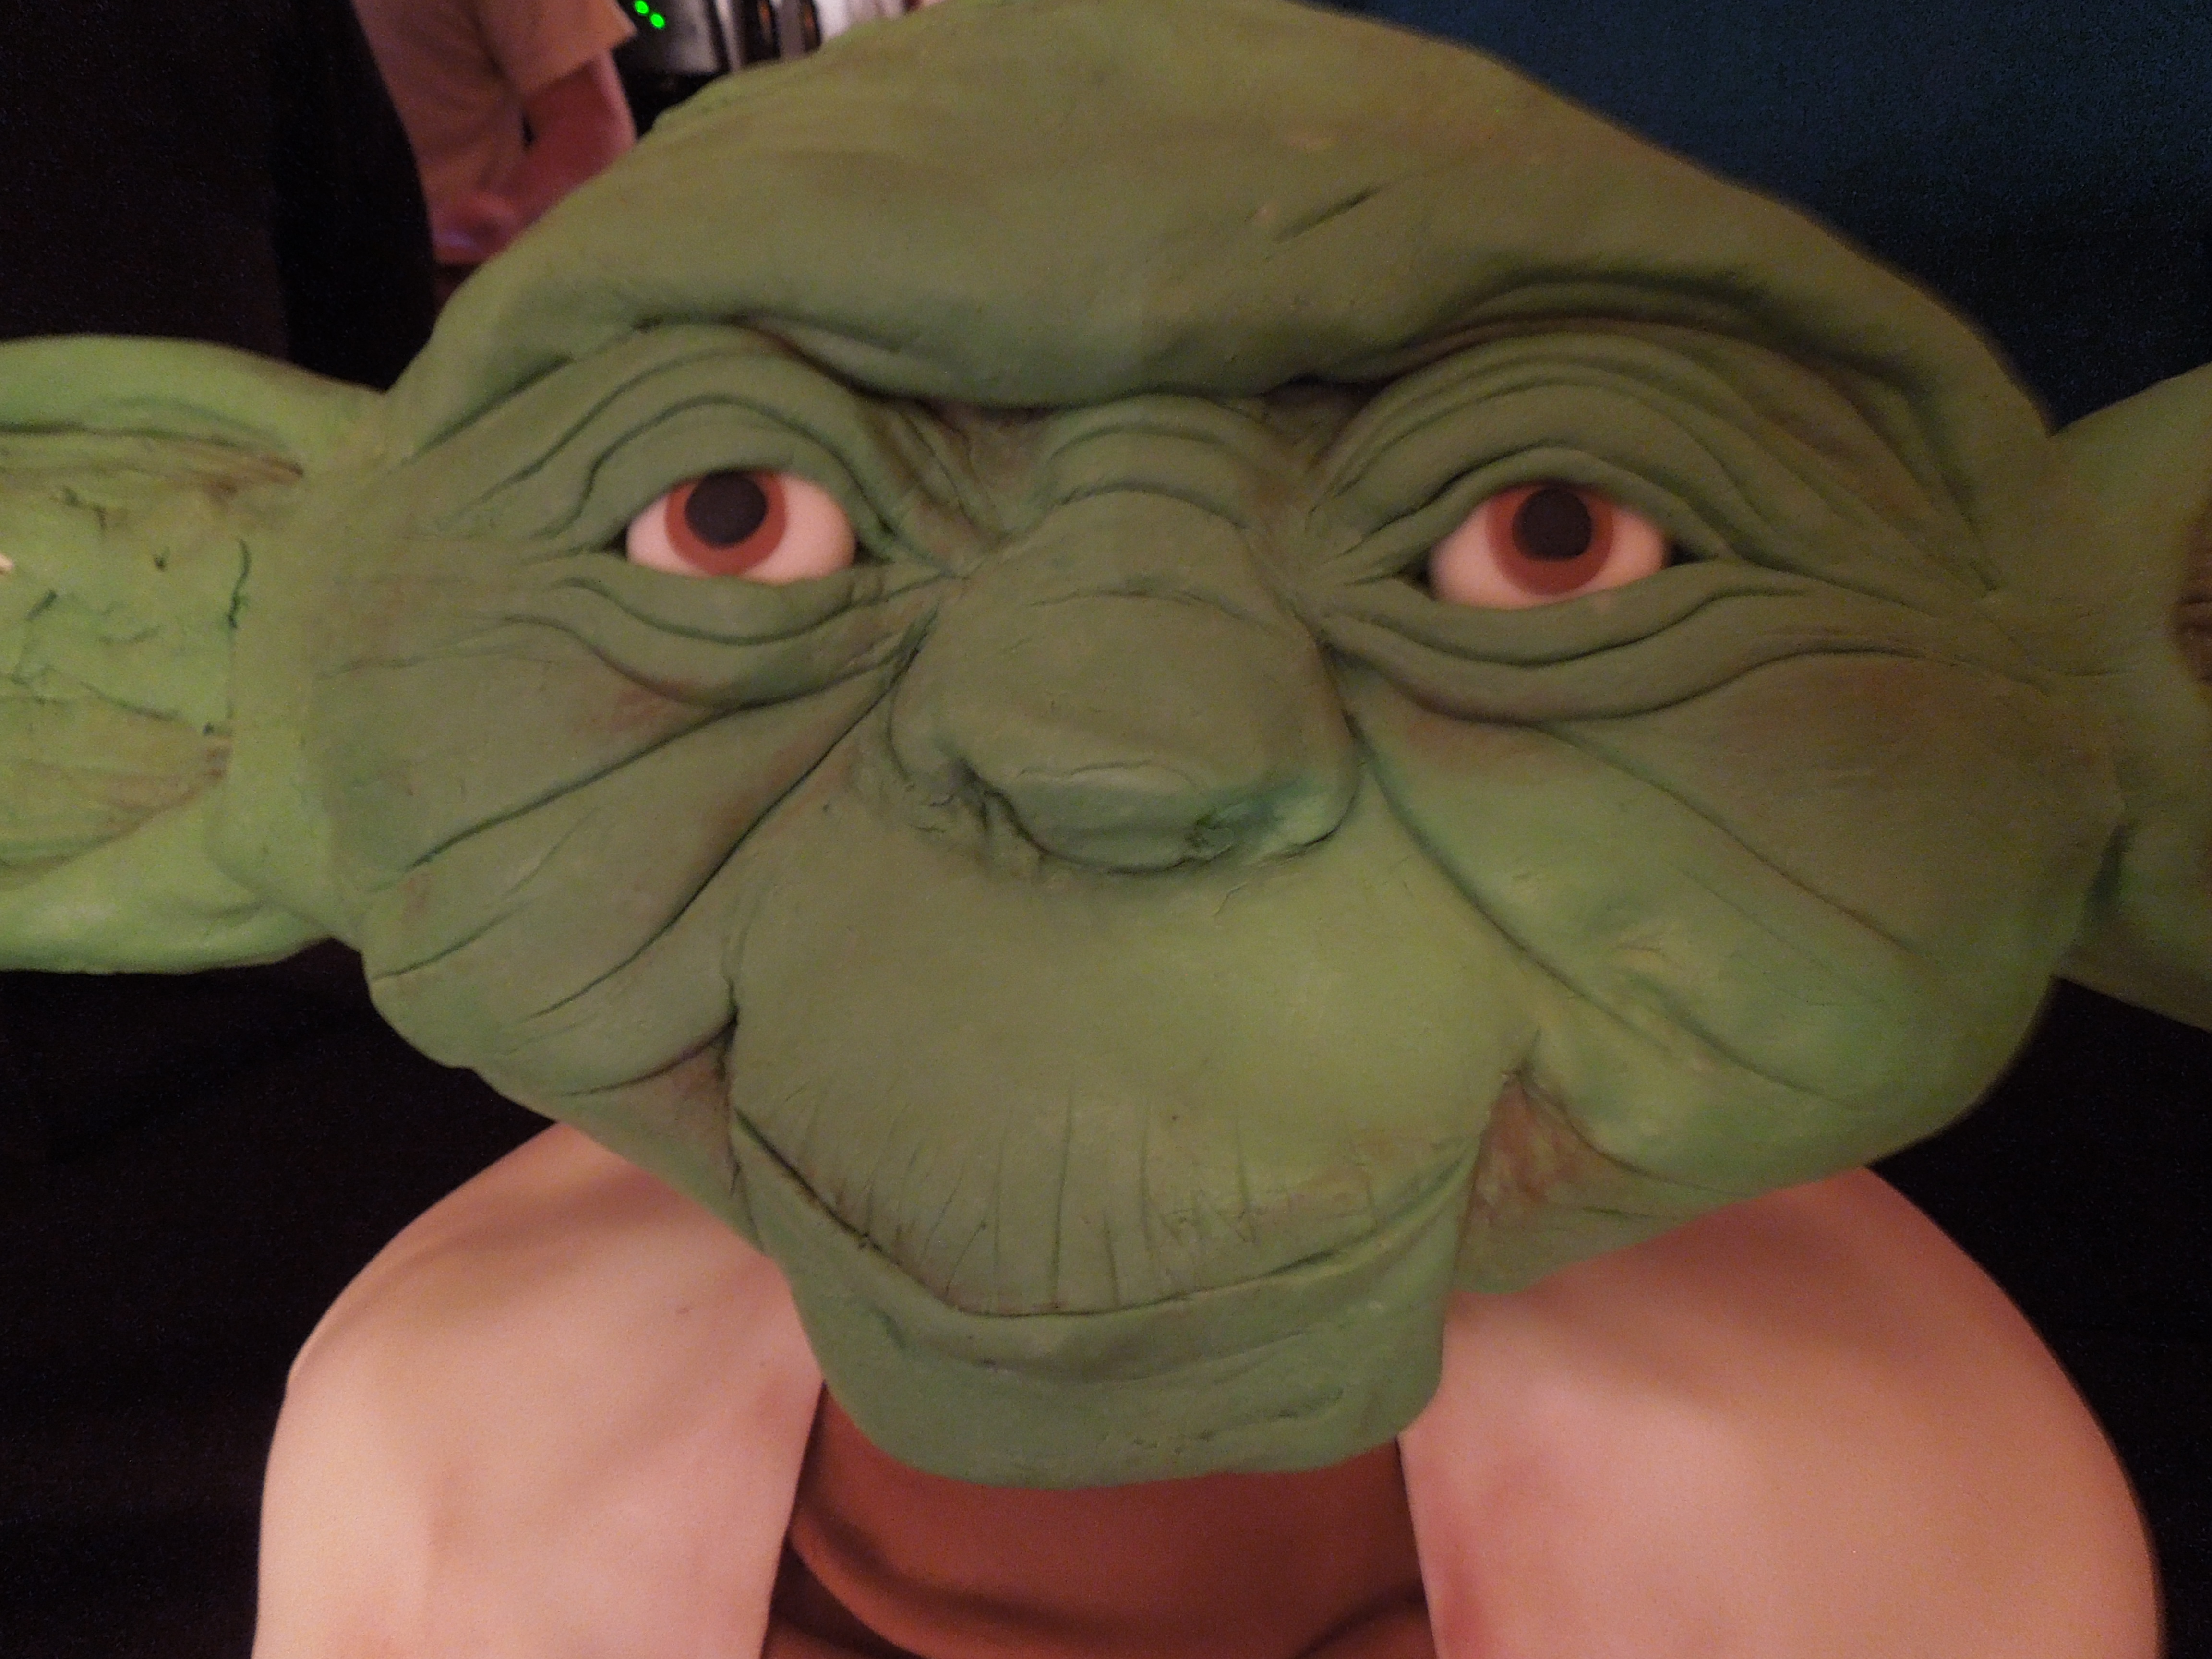
This was my first experience using modeling chocolate, and let me enlighten you on its many wonders! I’ve used fondant a bit, but with fondant, it’s basically impossible to work out seams. With modeling chocolate, you can stick on another piece and blend the two together so it is seamless. This works perfectly for creating Yoda’s face. Take a look below at the process! Simply start by covering a piece of styrofoam, and then add on from there. Use pointed tools to create wrinkles and other texture. (His face became flattened, a condition from which he never recovered, in between the fifth and sixth pictures, when I accidentally set him down face-first.) 
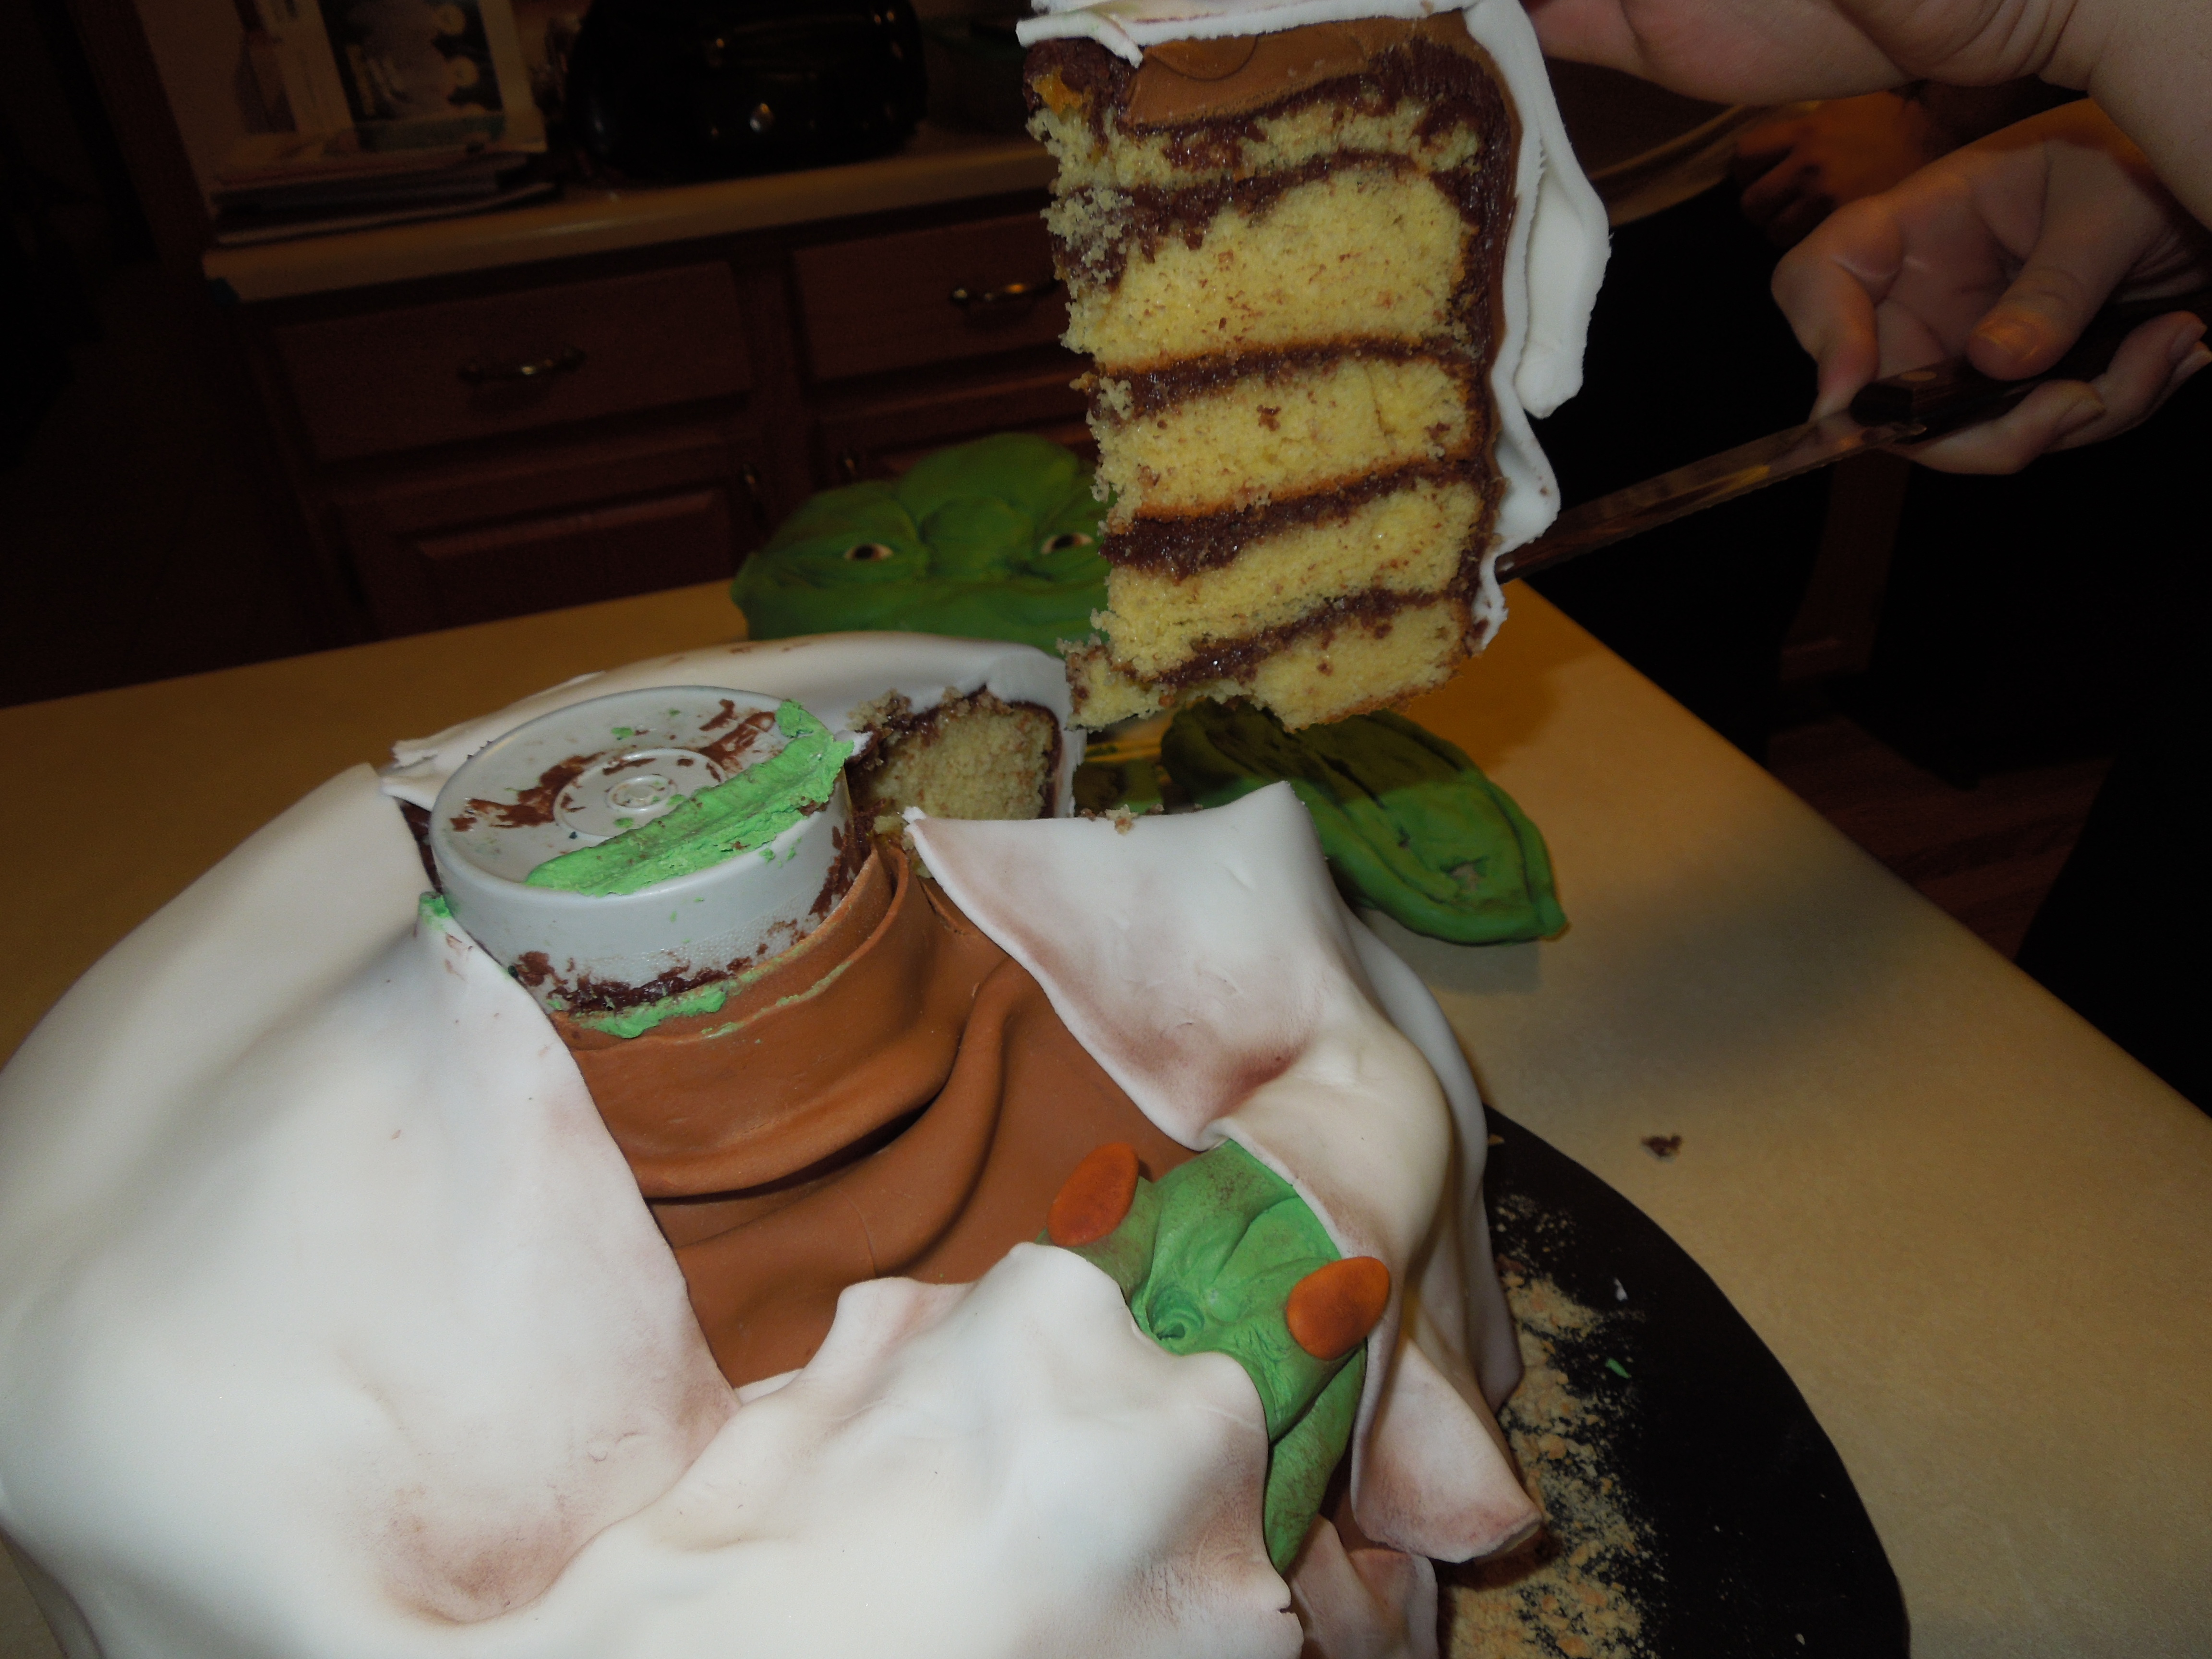
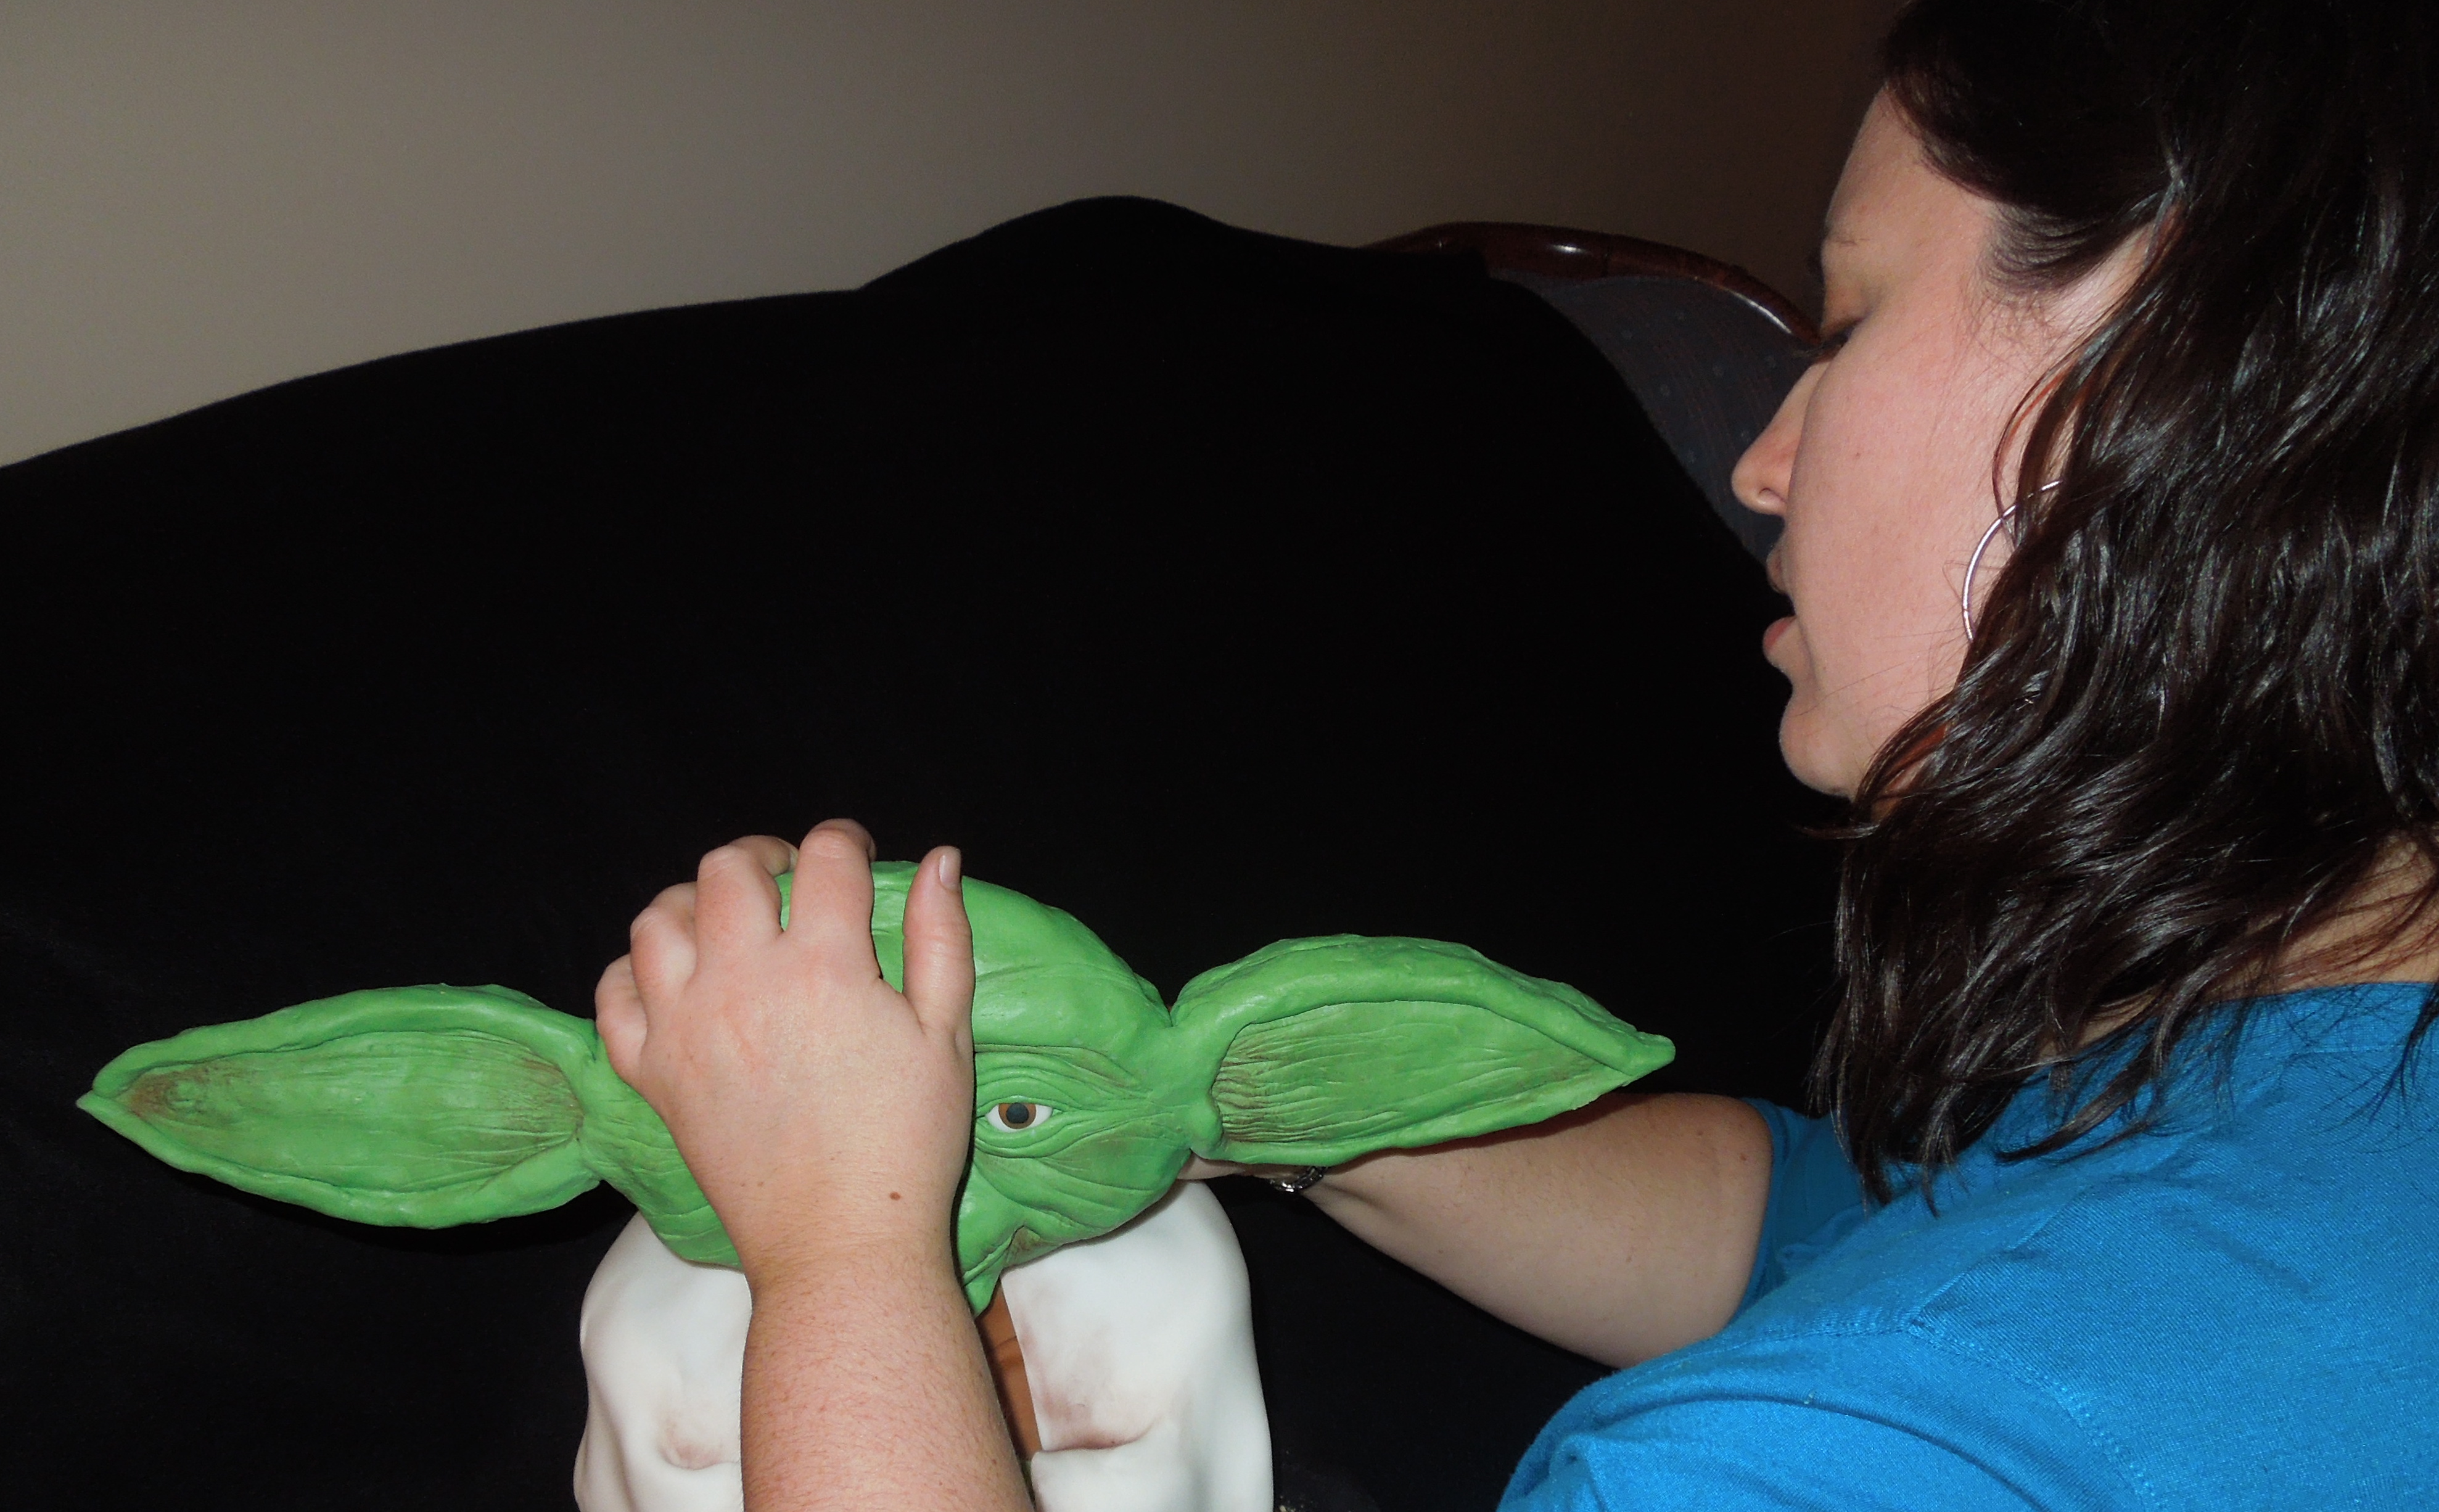 Once the face was finished, it was time to stick it on the body. I had created the body out of a stack of round cakes, with a cup shoved down the center. Let me be the first to inform you to NEVER DO THIS. I had failed to foresee the need for Yoda’s head to need to be on a strong pillar of some sort, something I could stick into the cake. So instead, I was stuck trying to balance it on the cup. Bad plan! Bad plan!
Before I finalized the cup-balancing-situation, I did some last-minute touch-ups, which included my sticking a pole up Yoda’s nose.  That part was more fun than I care to admit. 🙂
Oh! The ears! I hate them! They are made of rice krispies and are waaay too thick. I wish I had had the foresight to use gum paste, but by the time I thought of it, it was too late. So instead, I used two blobs of rice krispie treats and formed them into that shape. Cover them with fondant, add some texture and highlighting colors, and put a little candy stick in the end, and there you have it. I just think that they are so thick (especially from this angle here on the left). If I do this cake again, I will create gum paste ears in advance!
Thanks for reading! Do you have any tricks or tips that would have solved some of my conundrums? How about your favorite line from Star Wars? 🙂
