I always knew I would end up in Urgent Care because of the Blackhawks; I just always figured it would be cardiac-related. So now, older and wiser, might I suggest: Do not attempt to cake decorate while watching a Stanley Cup Final game.
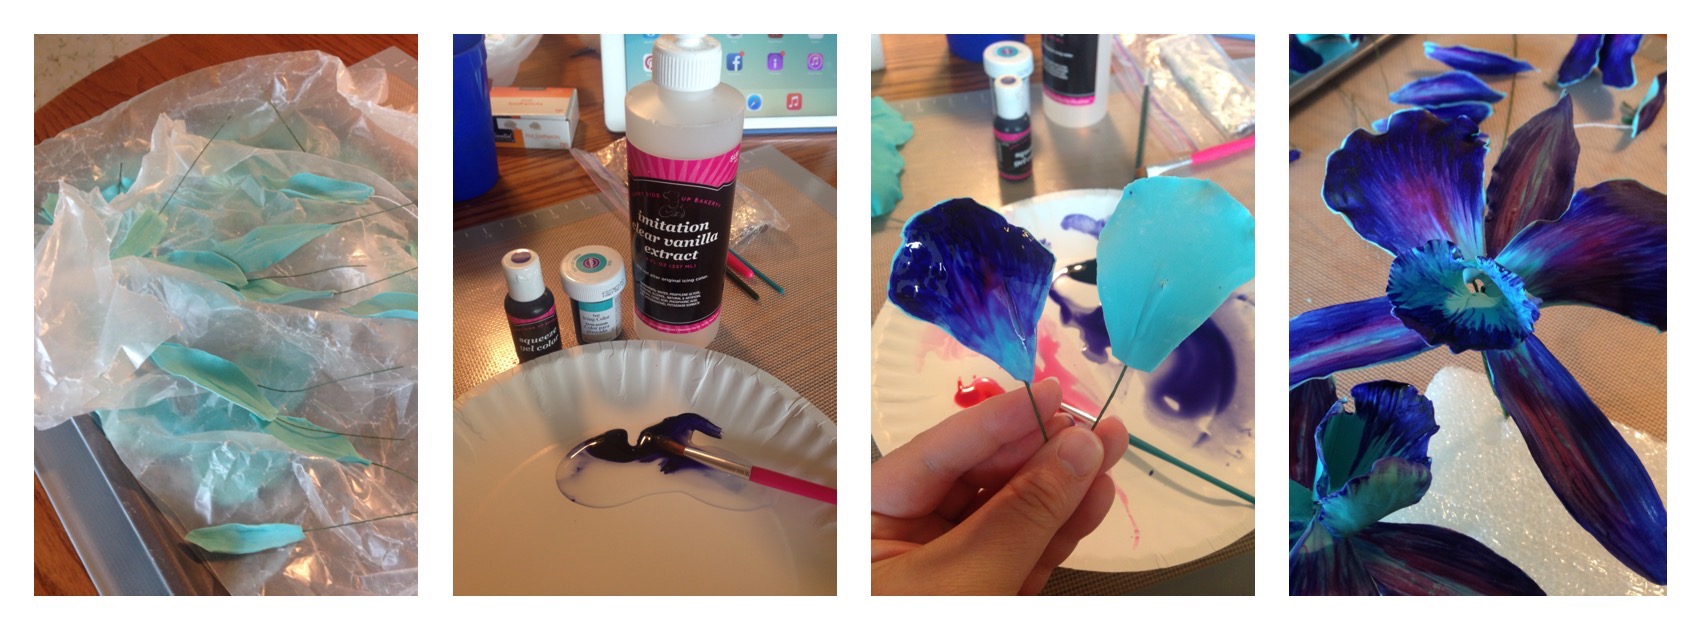
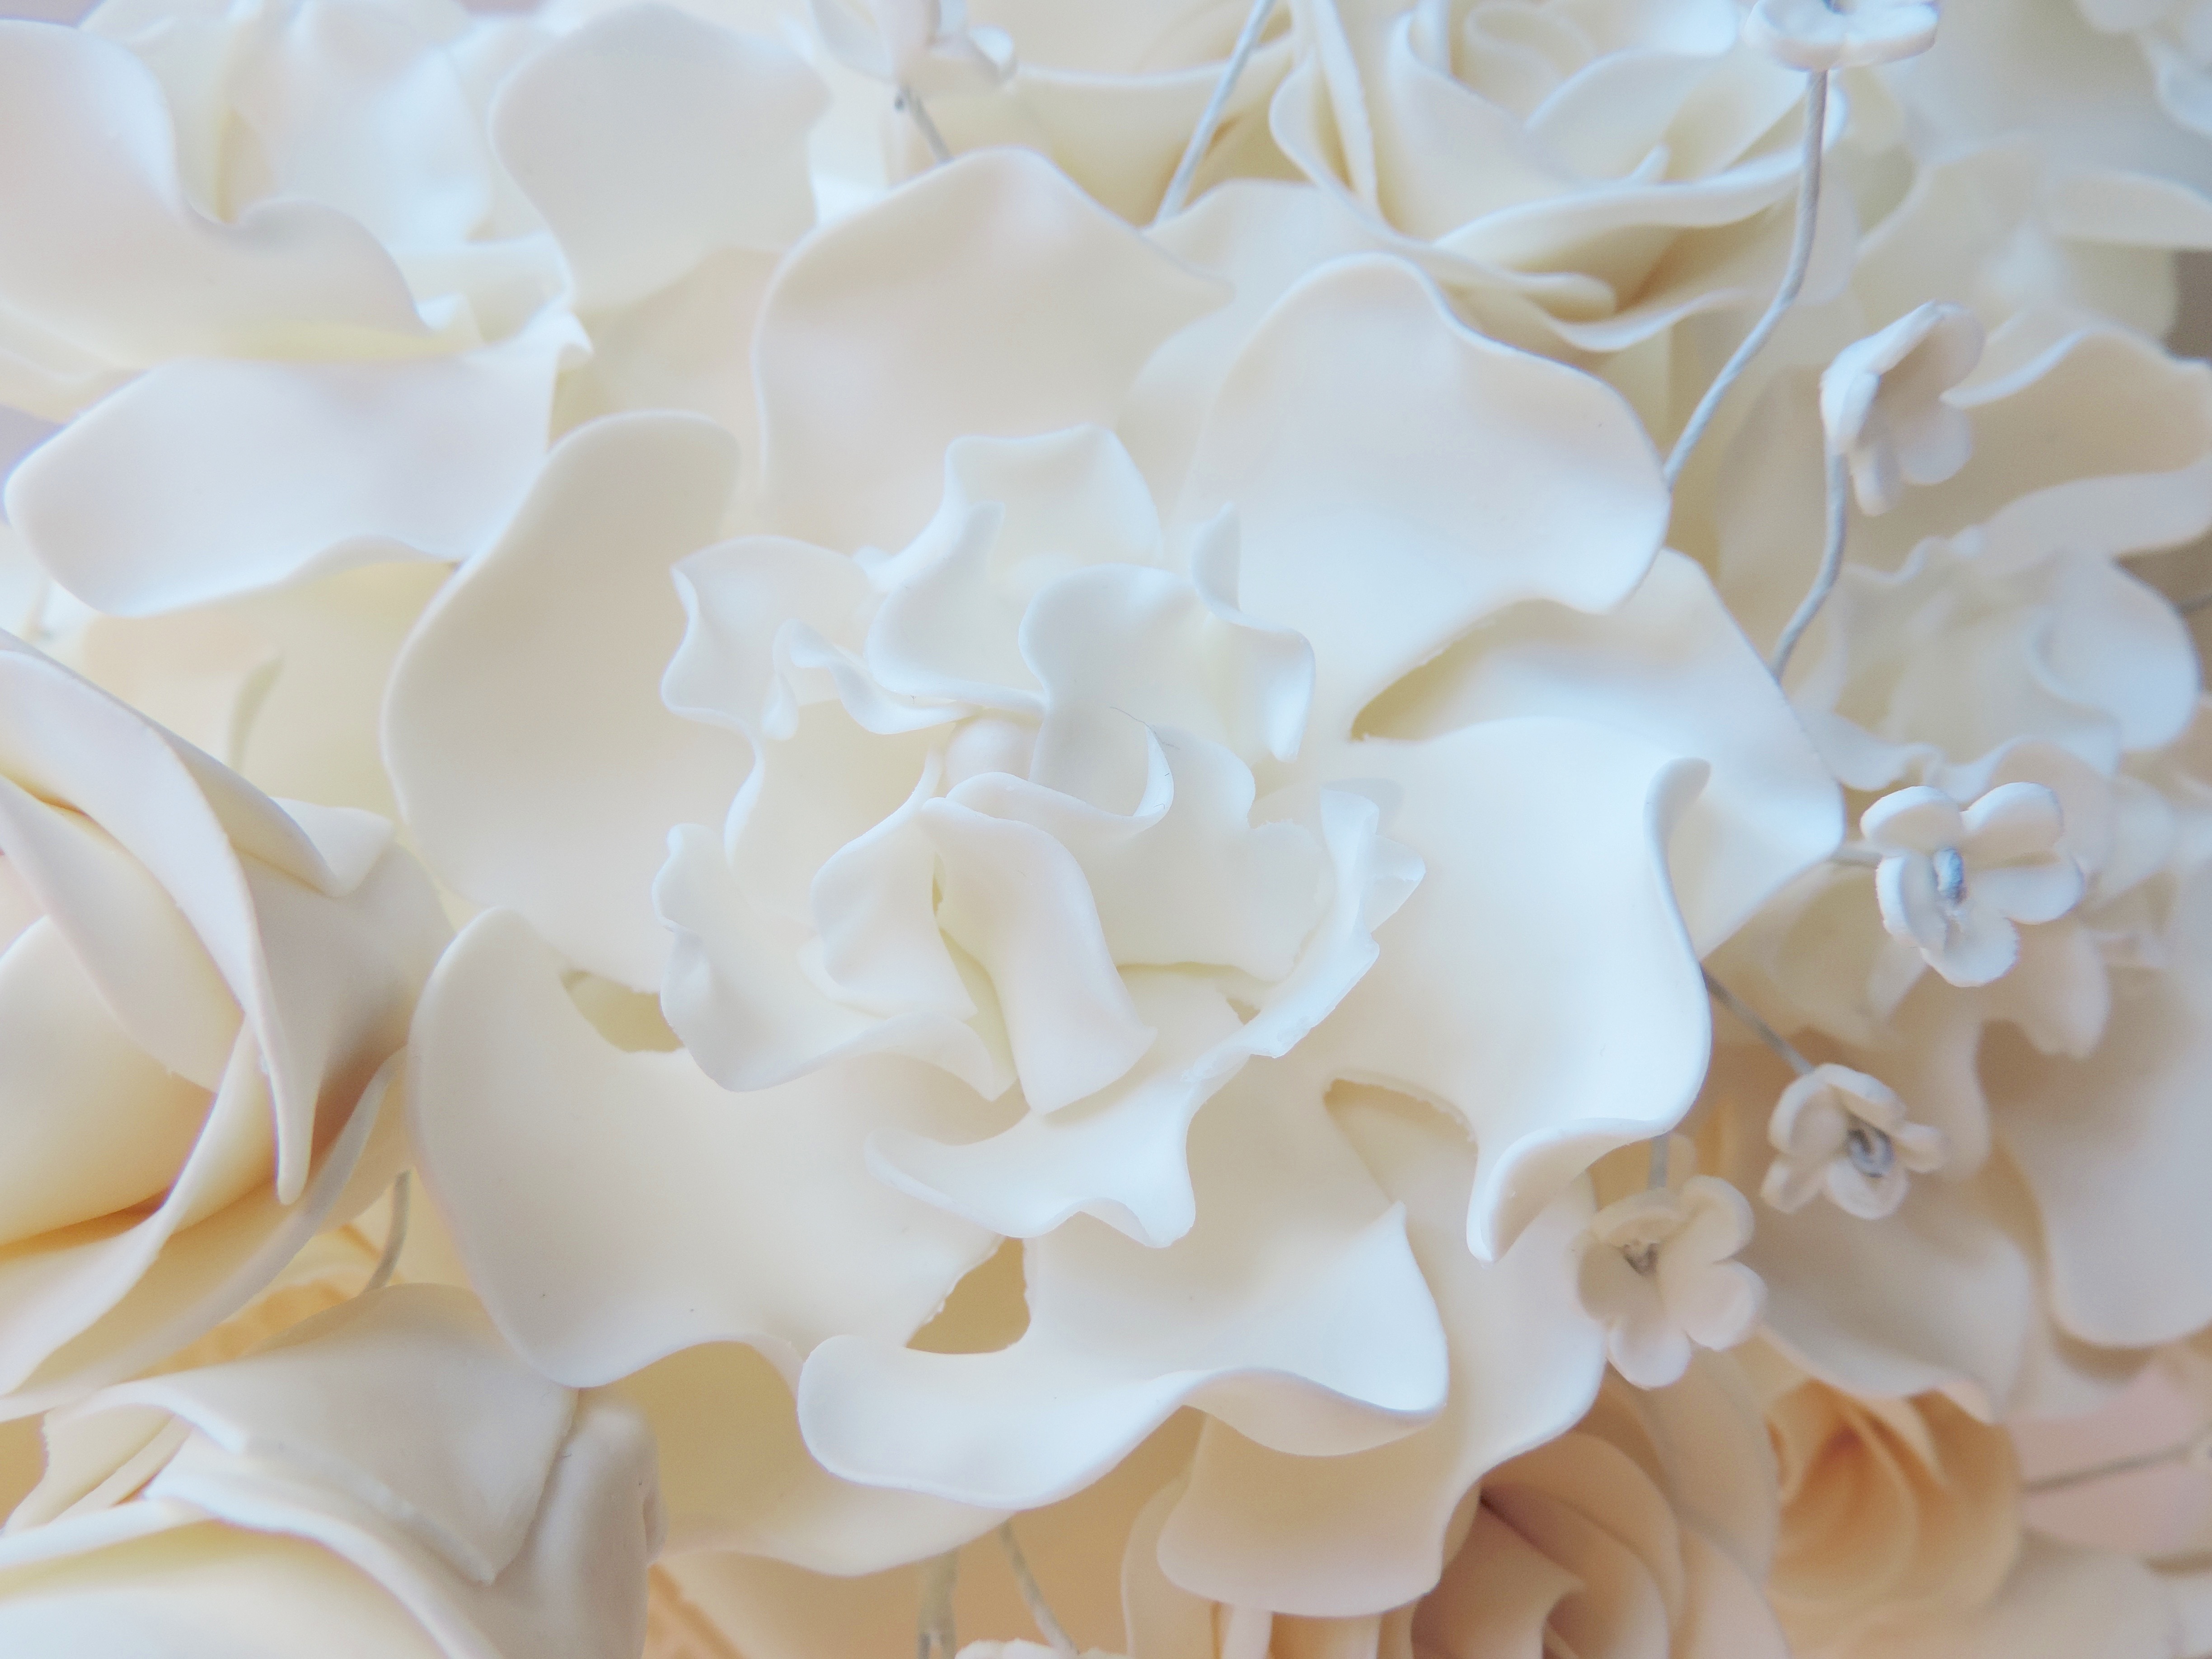
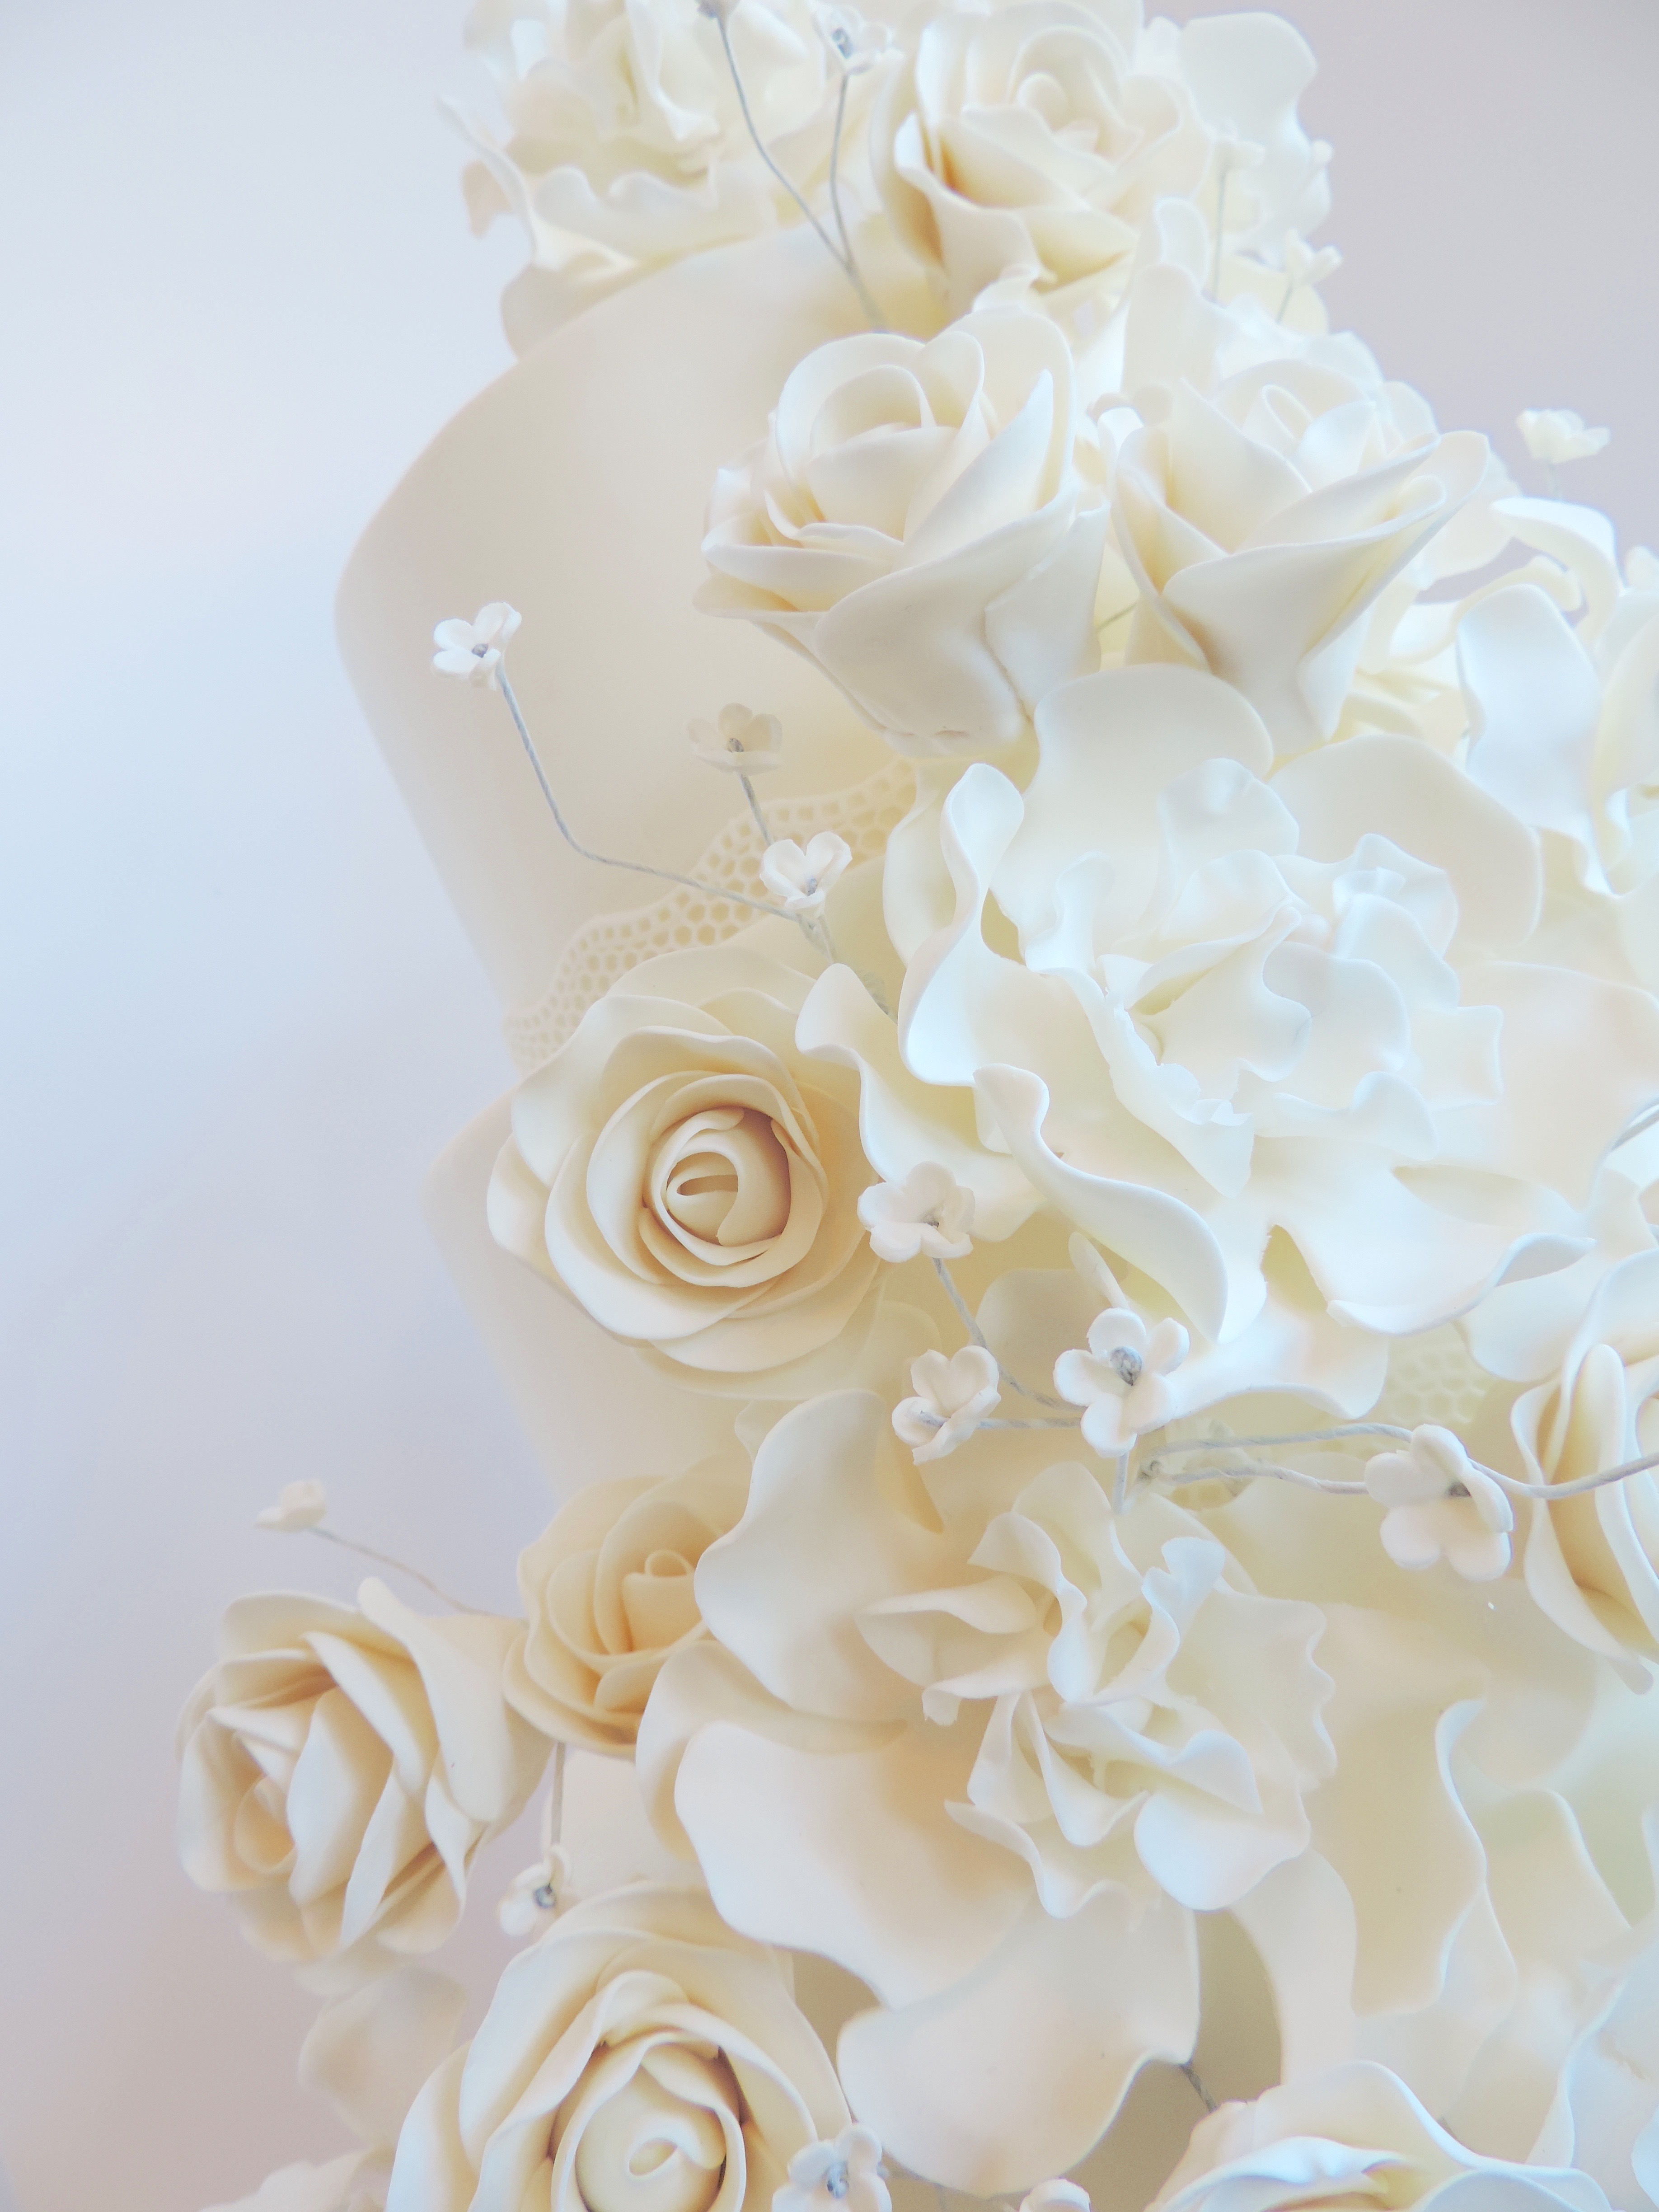
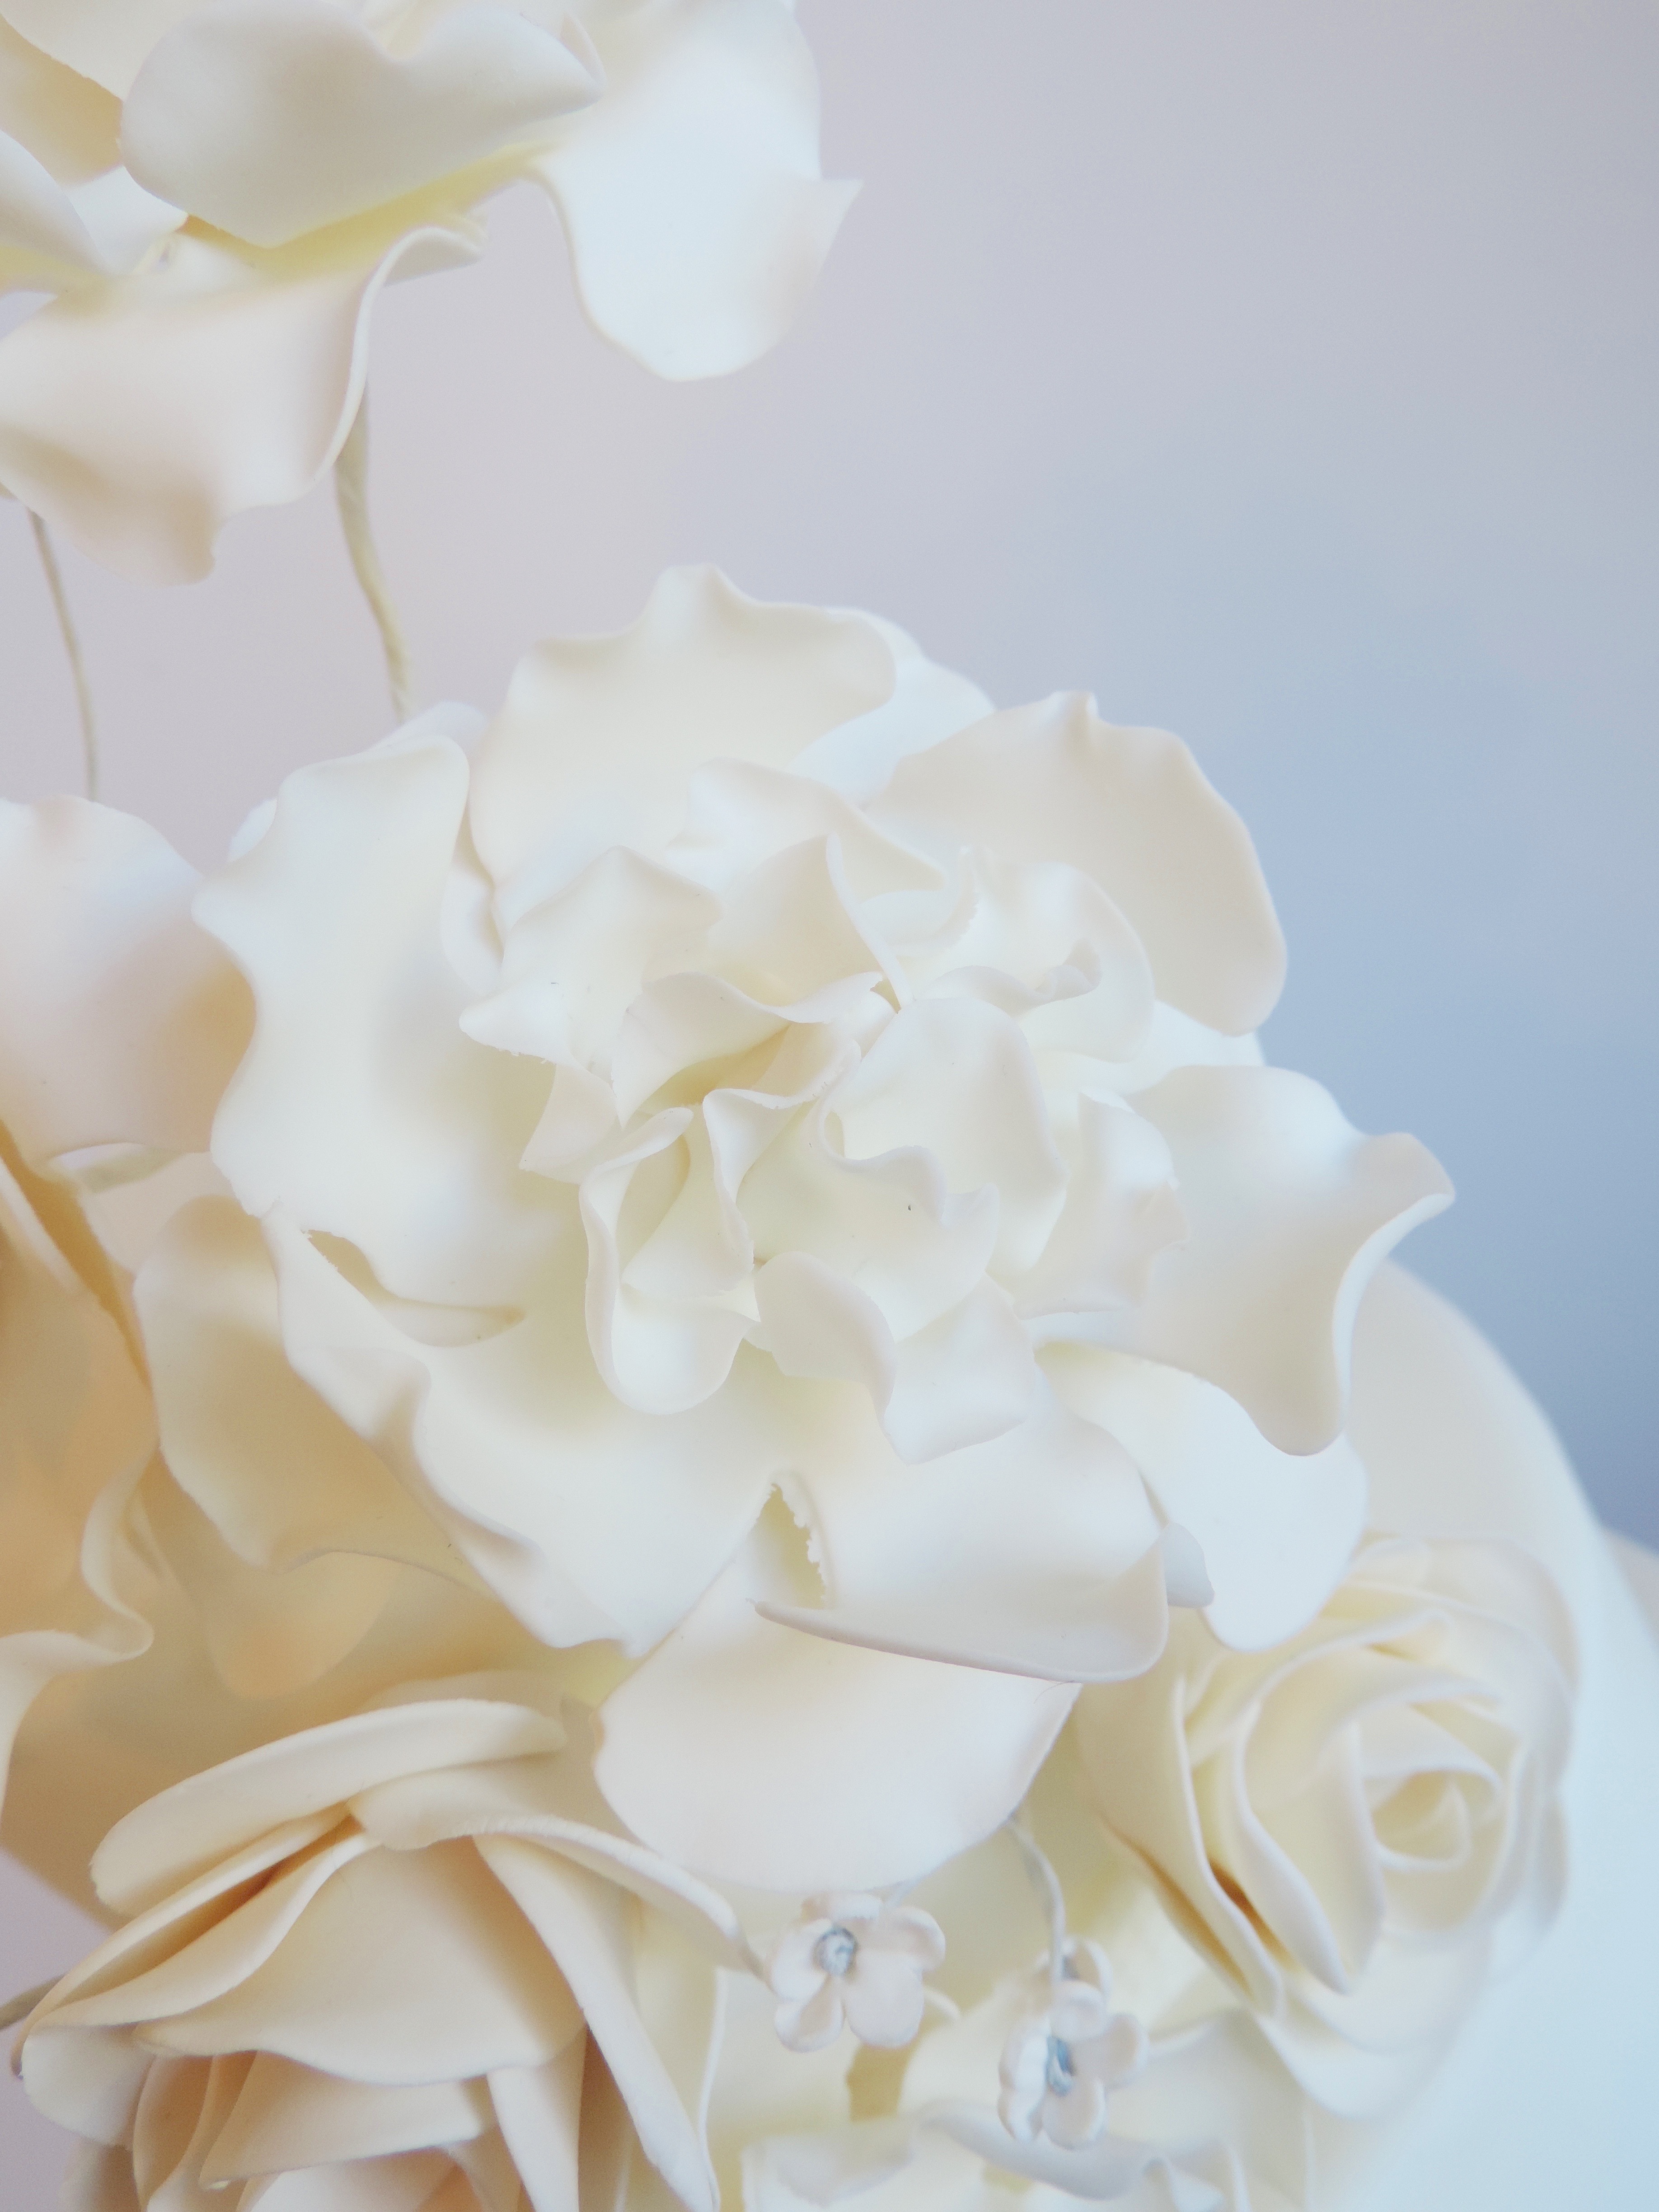
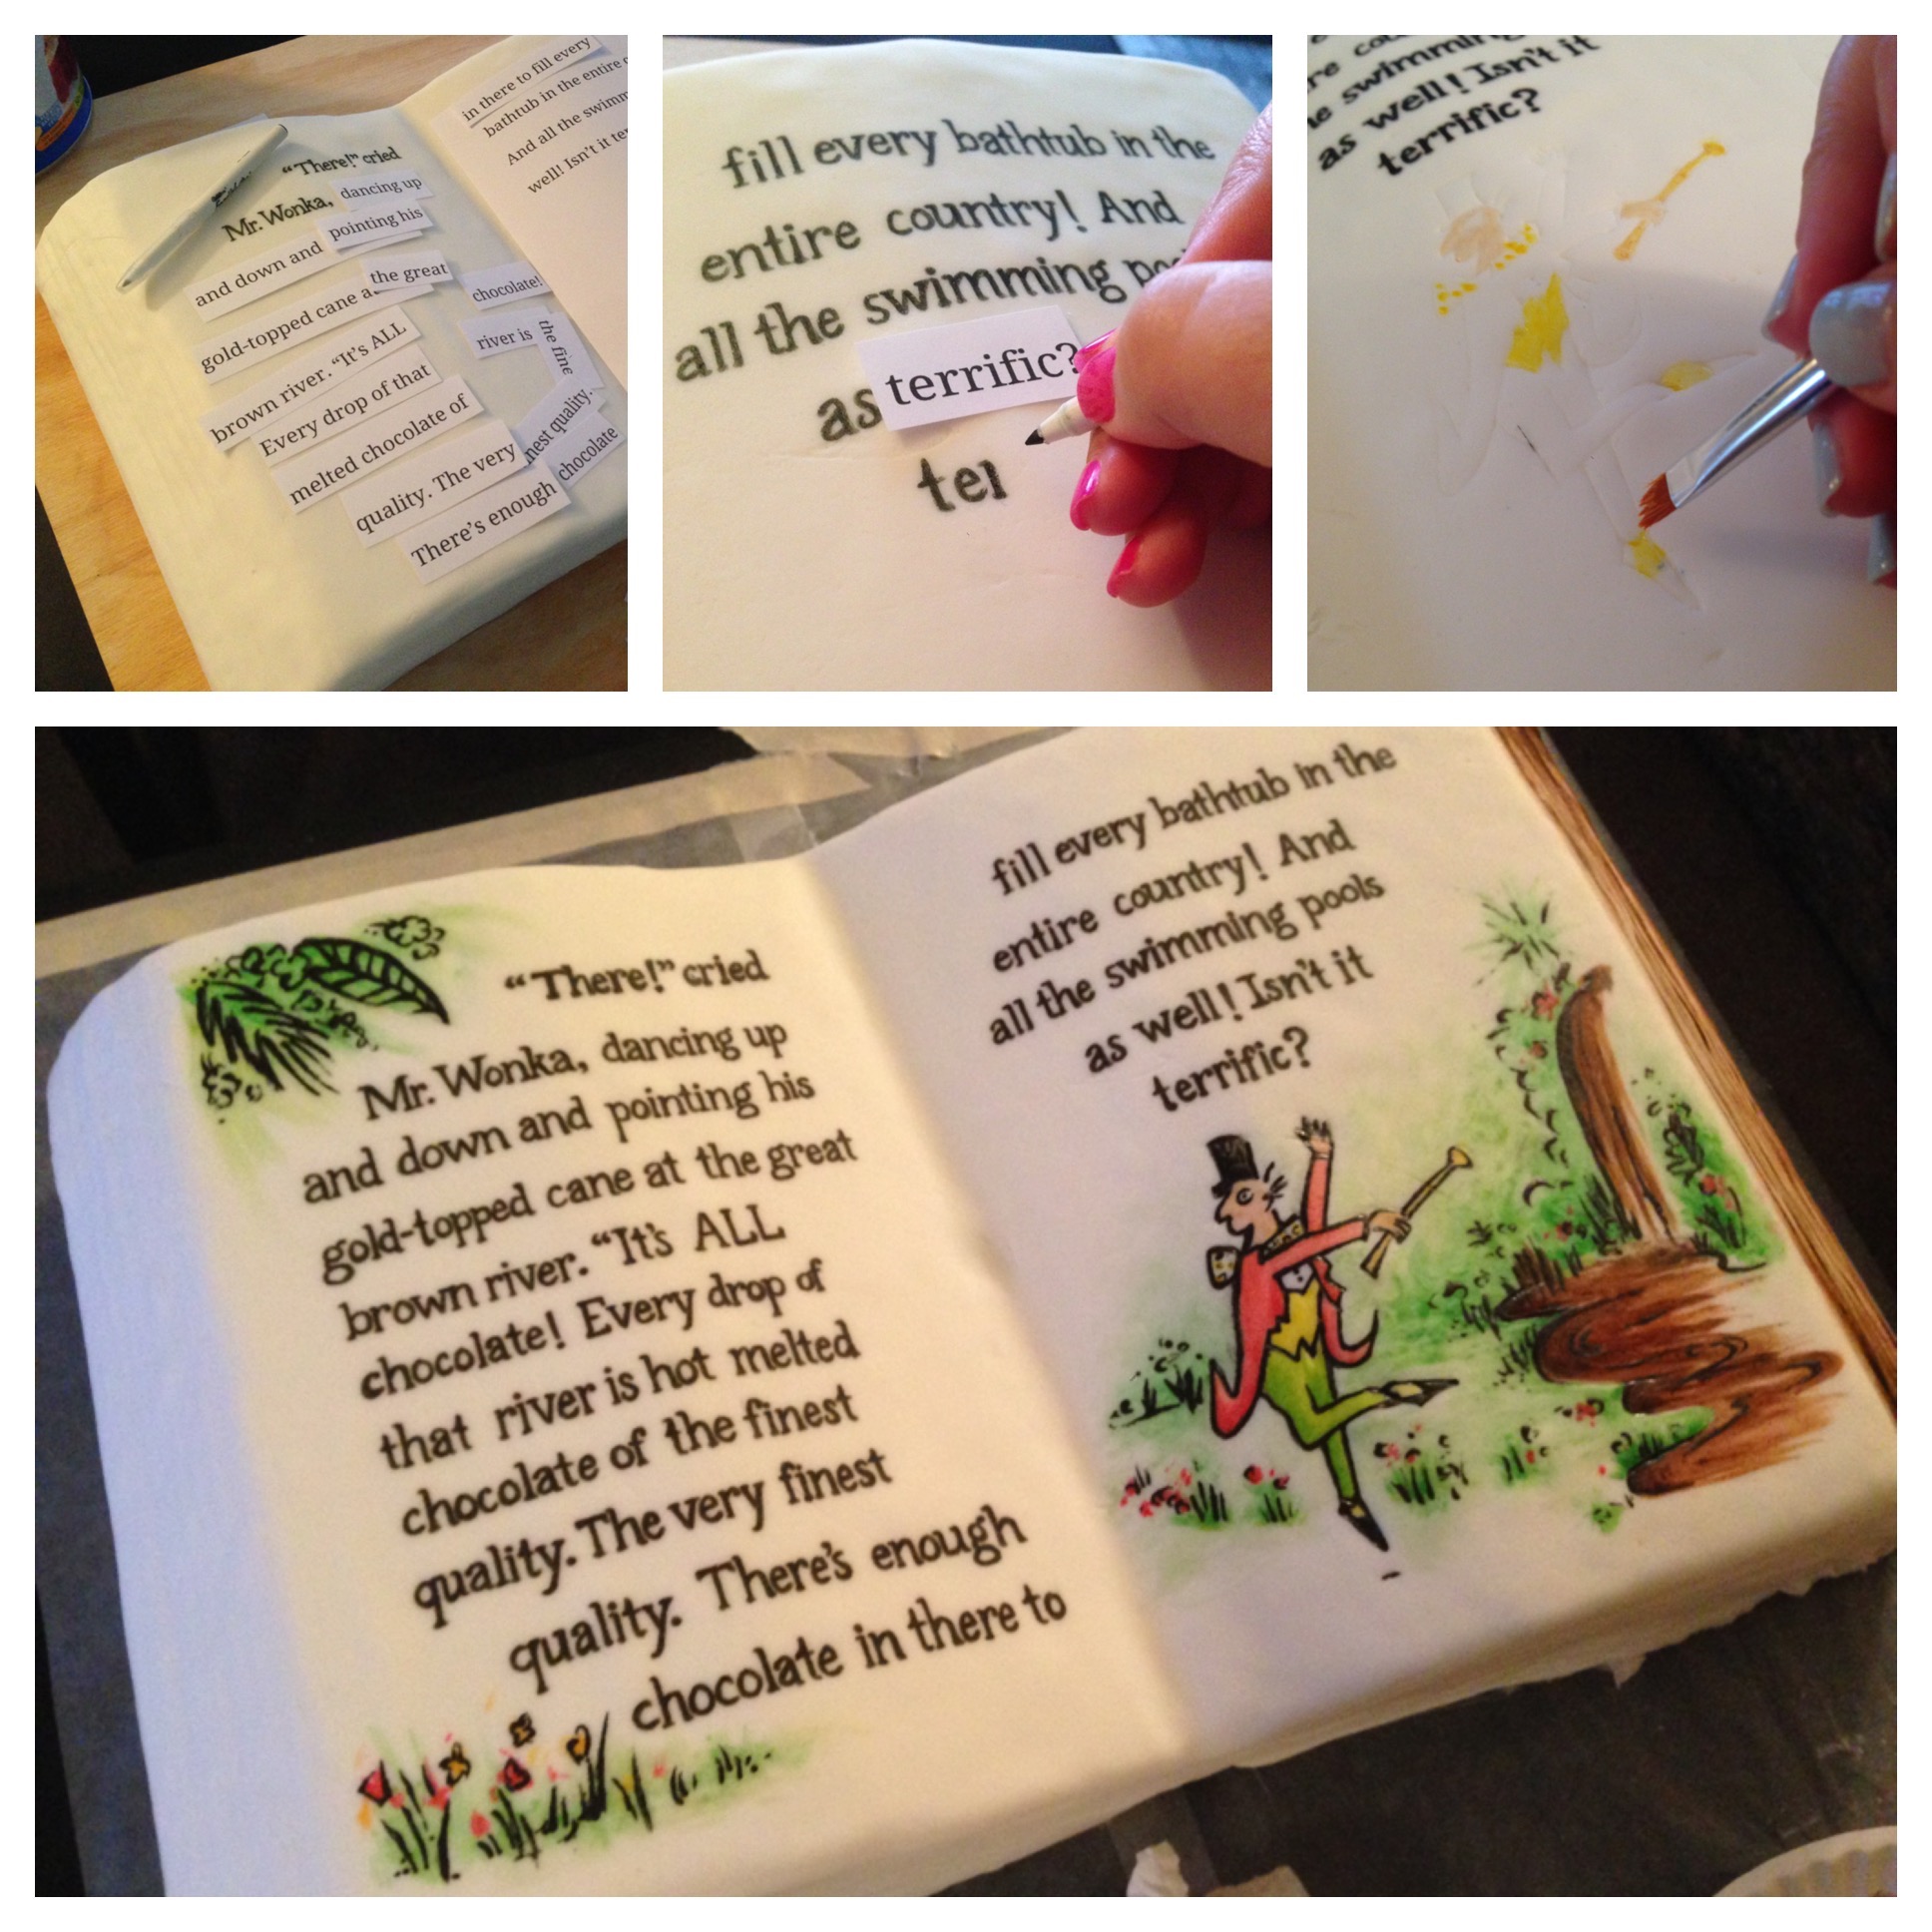
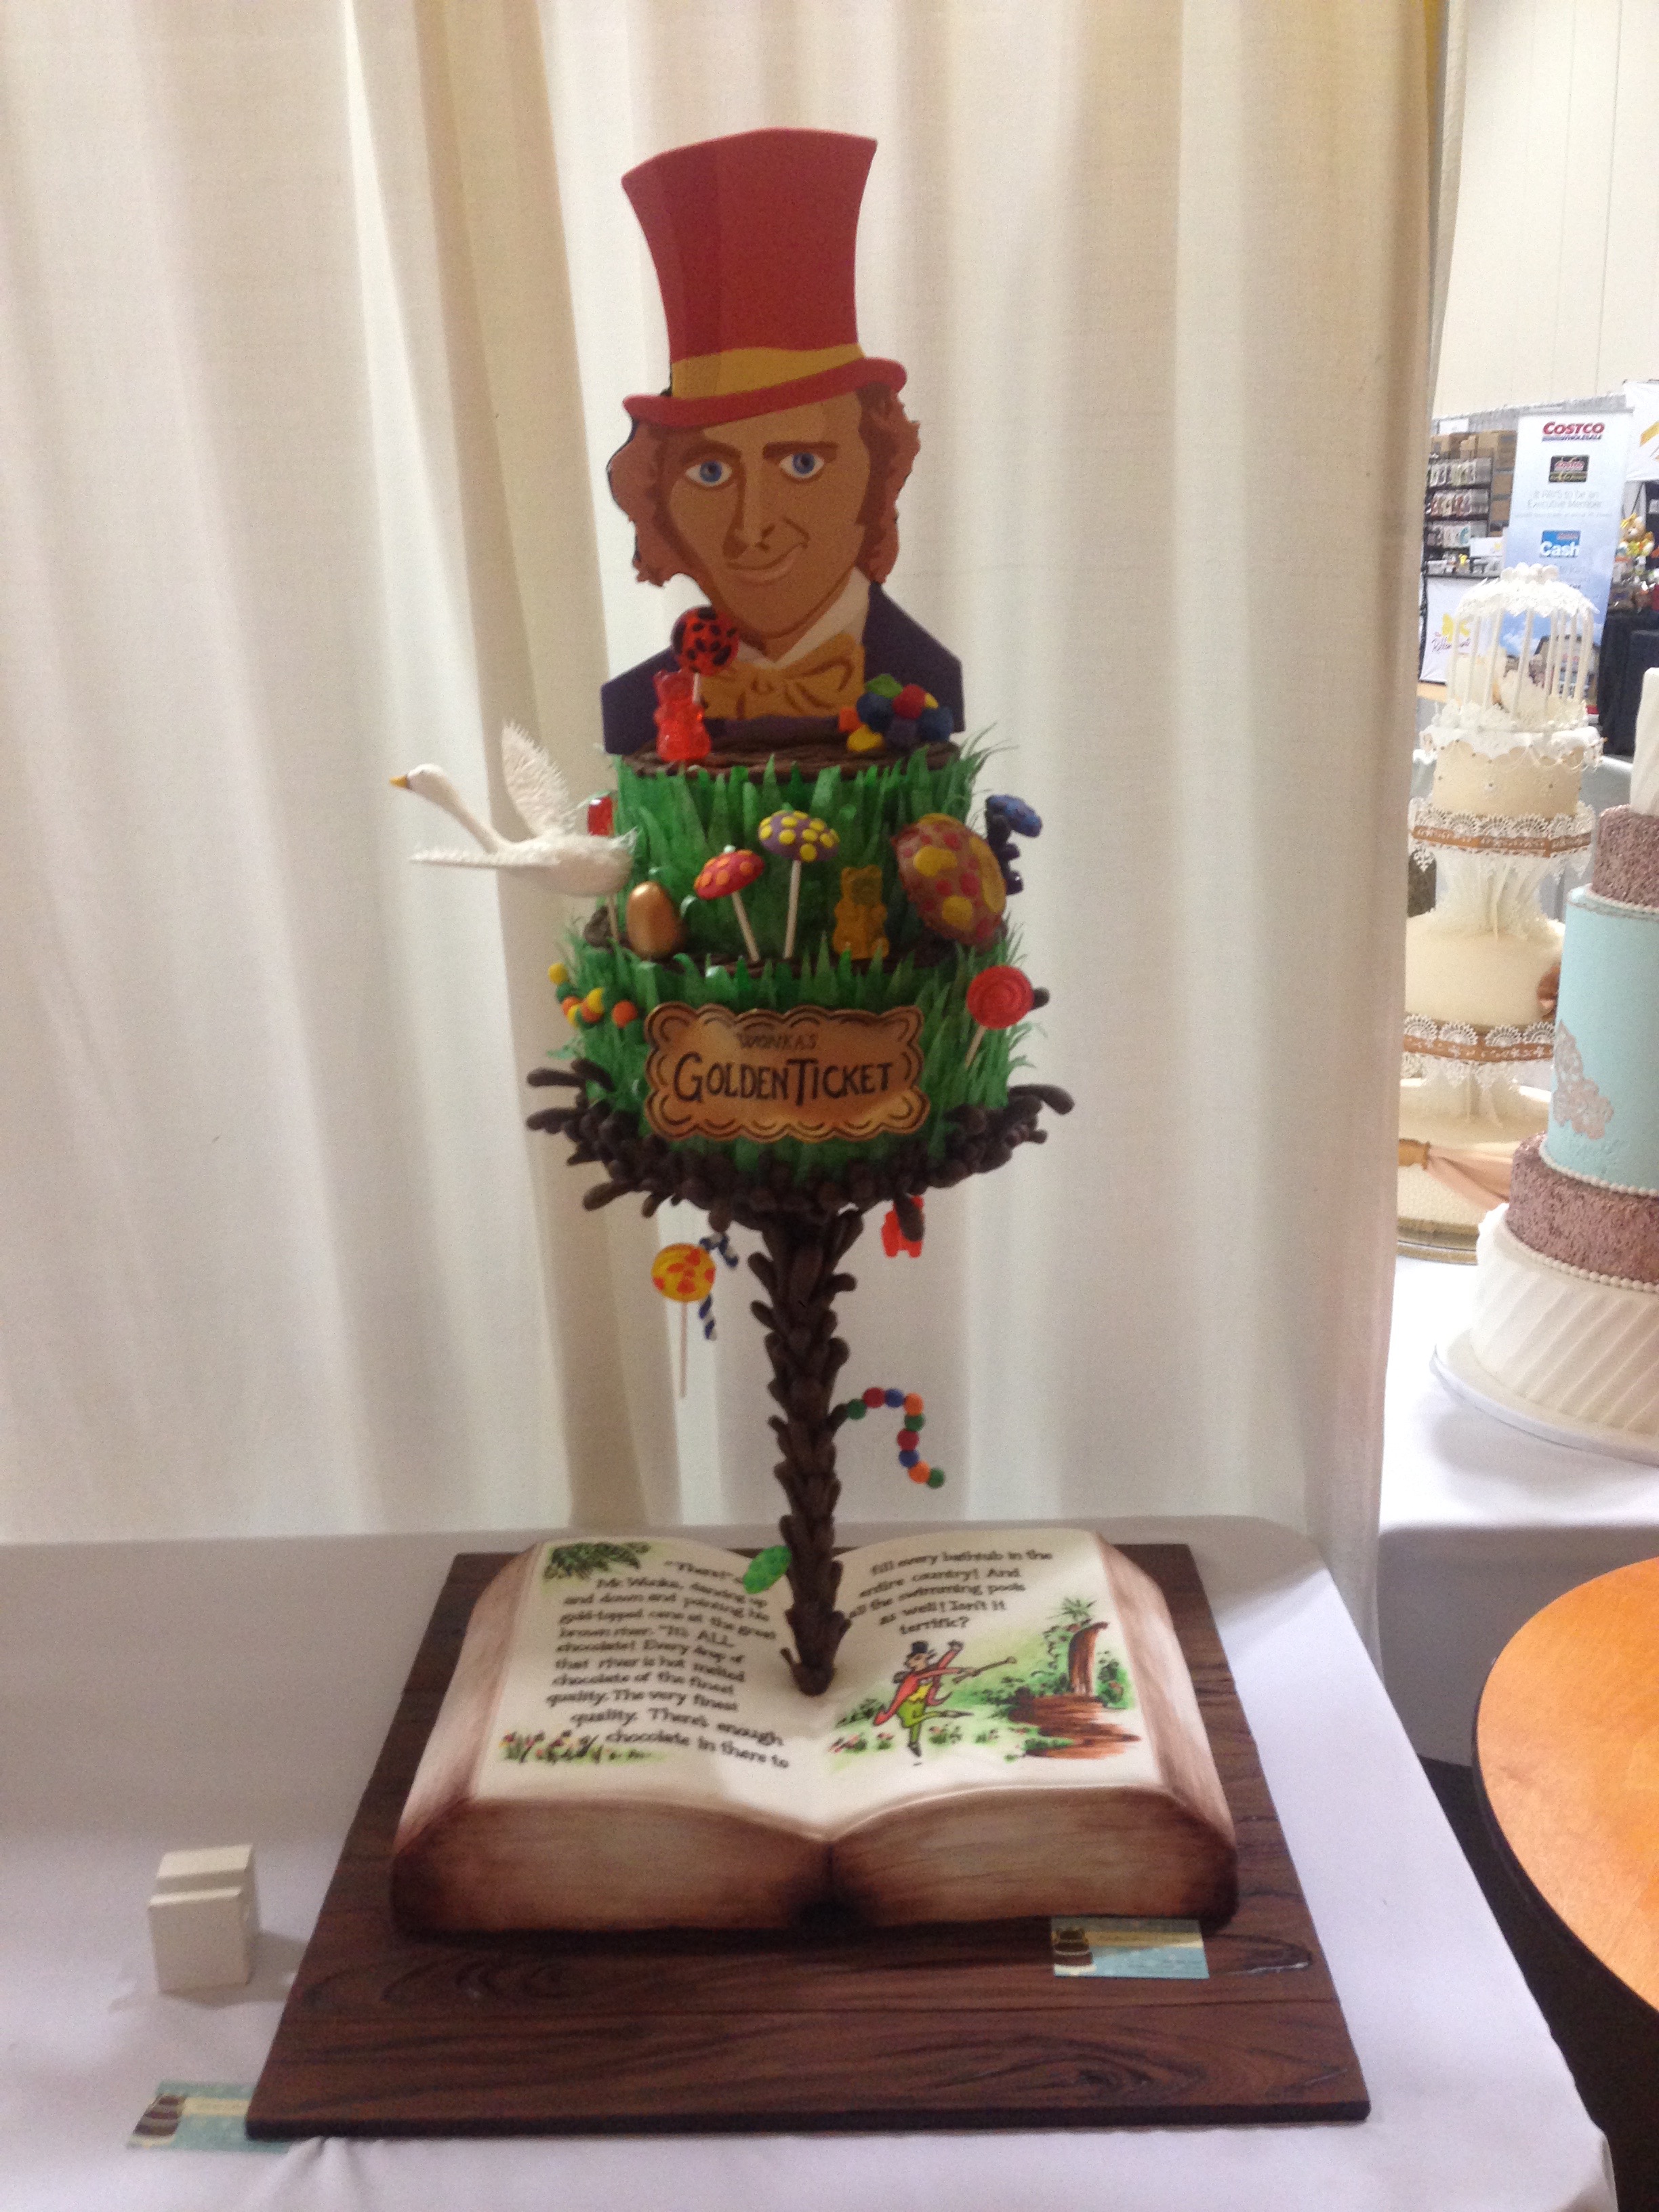
This particular cake was for a pair of dear colleagues who were retiring from my school. A cake, shaped like a flowerpot, fit both their interests and so I set to work. The first step was to create the gum paste flowers, a task that is time consuming, but pays off big in the end. (Just set up your Netflix and the hours will pass by.) You’ll need to first cut the petals out of gum paste, attach a wire to the back, and drape them across wax paper to let them dry. After they’ve dried (a day or two), you can paint them with food coloring mixed with clear extract. Once they’re painted, gather the petals in an artistic fashion and wrap them with floral tape. Viola!
 Stick them in some styrofoam to dry:

 As these were orchids (well, they were supposed to be orchids. They morphed into something else. 🙂 ), the flowers were supposed to be clumped together at the top of a stick. I had an idea to create a little divot in the top of the stick, and then I would rest the wire in that divot, and it would ensure the flowers wouldn’t slide down the stick. (You can see the divot pictured above. It came at a price.)
It was a good idea in theory, just carried out in a really, really dumb fashion. First of all, I don’t own a saw, and was trying to cut into the wood with a big knife. (Stupid Idea #1.) Then, I was holding the wooden dowel rod between my fingers with one hand while sawing away with the other. (Stupid Idea #2.) Thirdly, I was watching a very important game on TV during which the players were playing like complete doofuses. (Stupid Idea #3.) So as I was yelling something at the TV during the second period, a thought quickly flitted through my brain, like the fleeting glint of sunlight on a butterfly’s wings… “This isn’t safe.” And then a millisecond later, the knife slipped.
To their cr edit, the staff at the Urgent Care was very kind and almost completely hid their sighs of resigned exasperation at the patient who enters the building at 9:58pm when they close at 10. The women were so eager to get home (probably wanted to catch the third period), that all three of them were working on me at once. I felt like I was a patient in “Grey’s Anatomy,” except I wasn’t even sick.
The most important piece of information here is addressed to my many friends who were at this party, and who oblige me and read this blog: This contraption was made several days before I made the cake, and in a different place and with different tools. So don’t worry, everything is safe and clean as always. 🙂 
The last step was the actual cake. I tried a new oreo cake recipe that was pretty yummy! It had oreo frosting, with chunks of oreos inside, which made for bumpy fondant. Luckily, the squares of fondant I placed around the pot to create a “tiled” look also hid some of the bumps. Once the fondant was finished, I topped it off with some more frosting and then crumbled, dry oreos. (To look like dirt.) 


 Injury aside, I think it came out fairly well. And I learned something very important about myself: I cannot handle the sight of the inside of my own finger.

 I realized a girl can measure her love for her sister in individually-punched mermaid tail scales. “Yes, I love my sister roughly 7,000 evenly-spaced holes’ worth.”
  Then I painted it with gel food coloring and melted some isomalt and poured it on a silicone mat to harden in approximate “splash” shapes. Once they were hardened, I stuck them in the cake.
 Set those chocolate tails atop a buttercream cake, and voila!
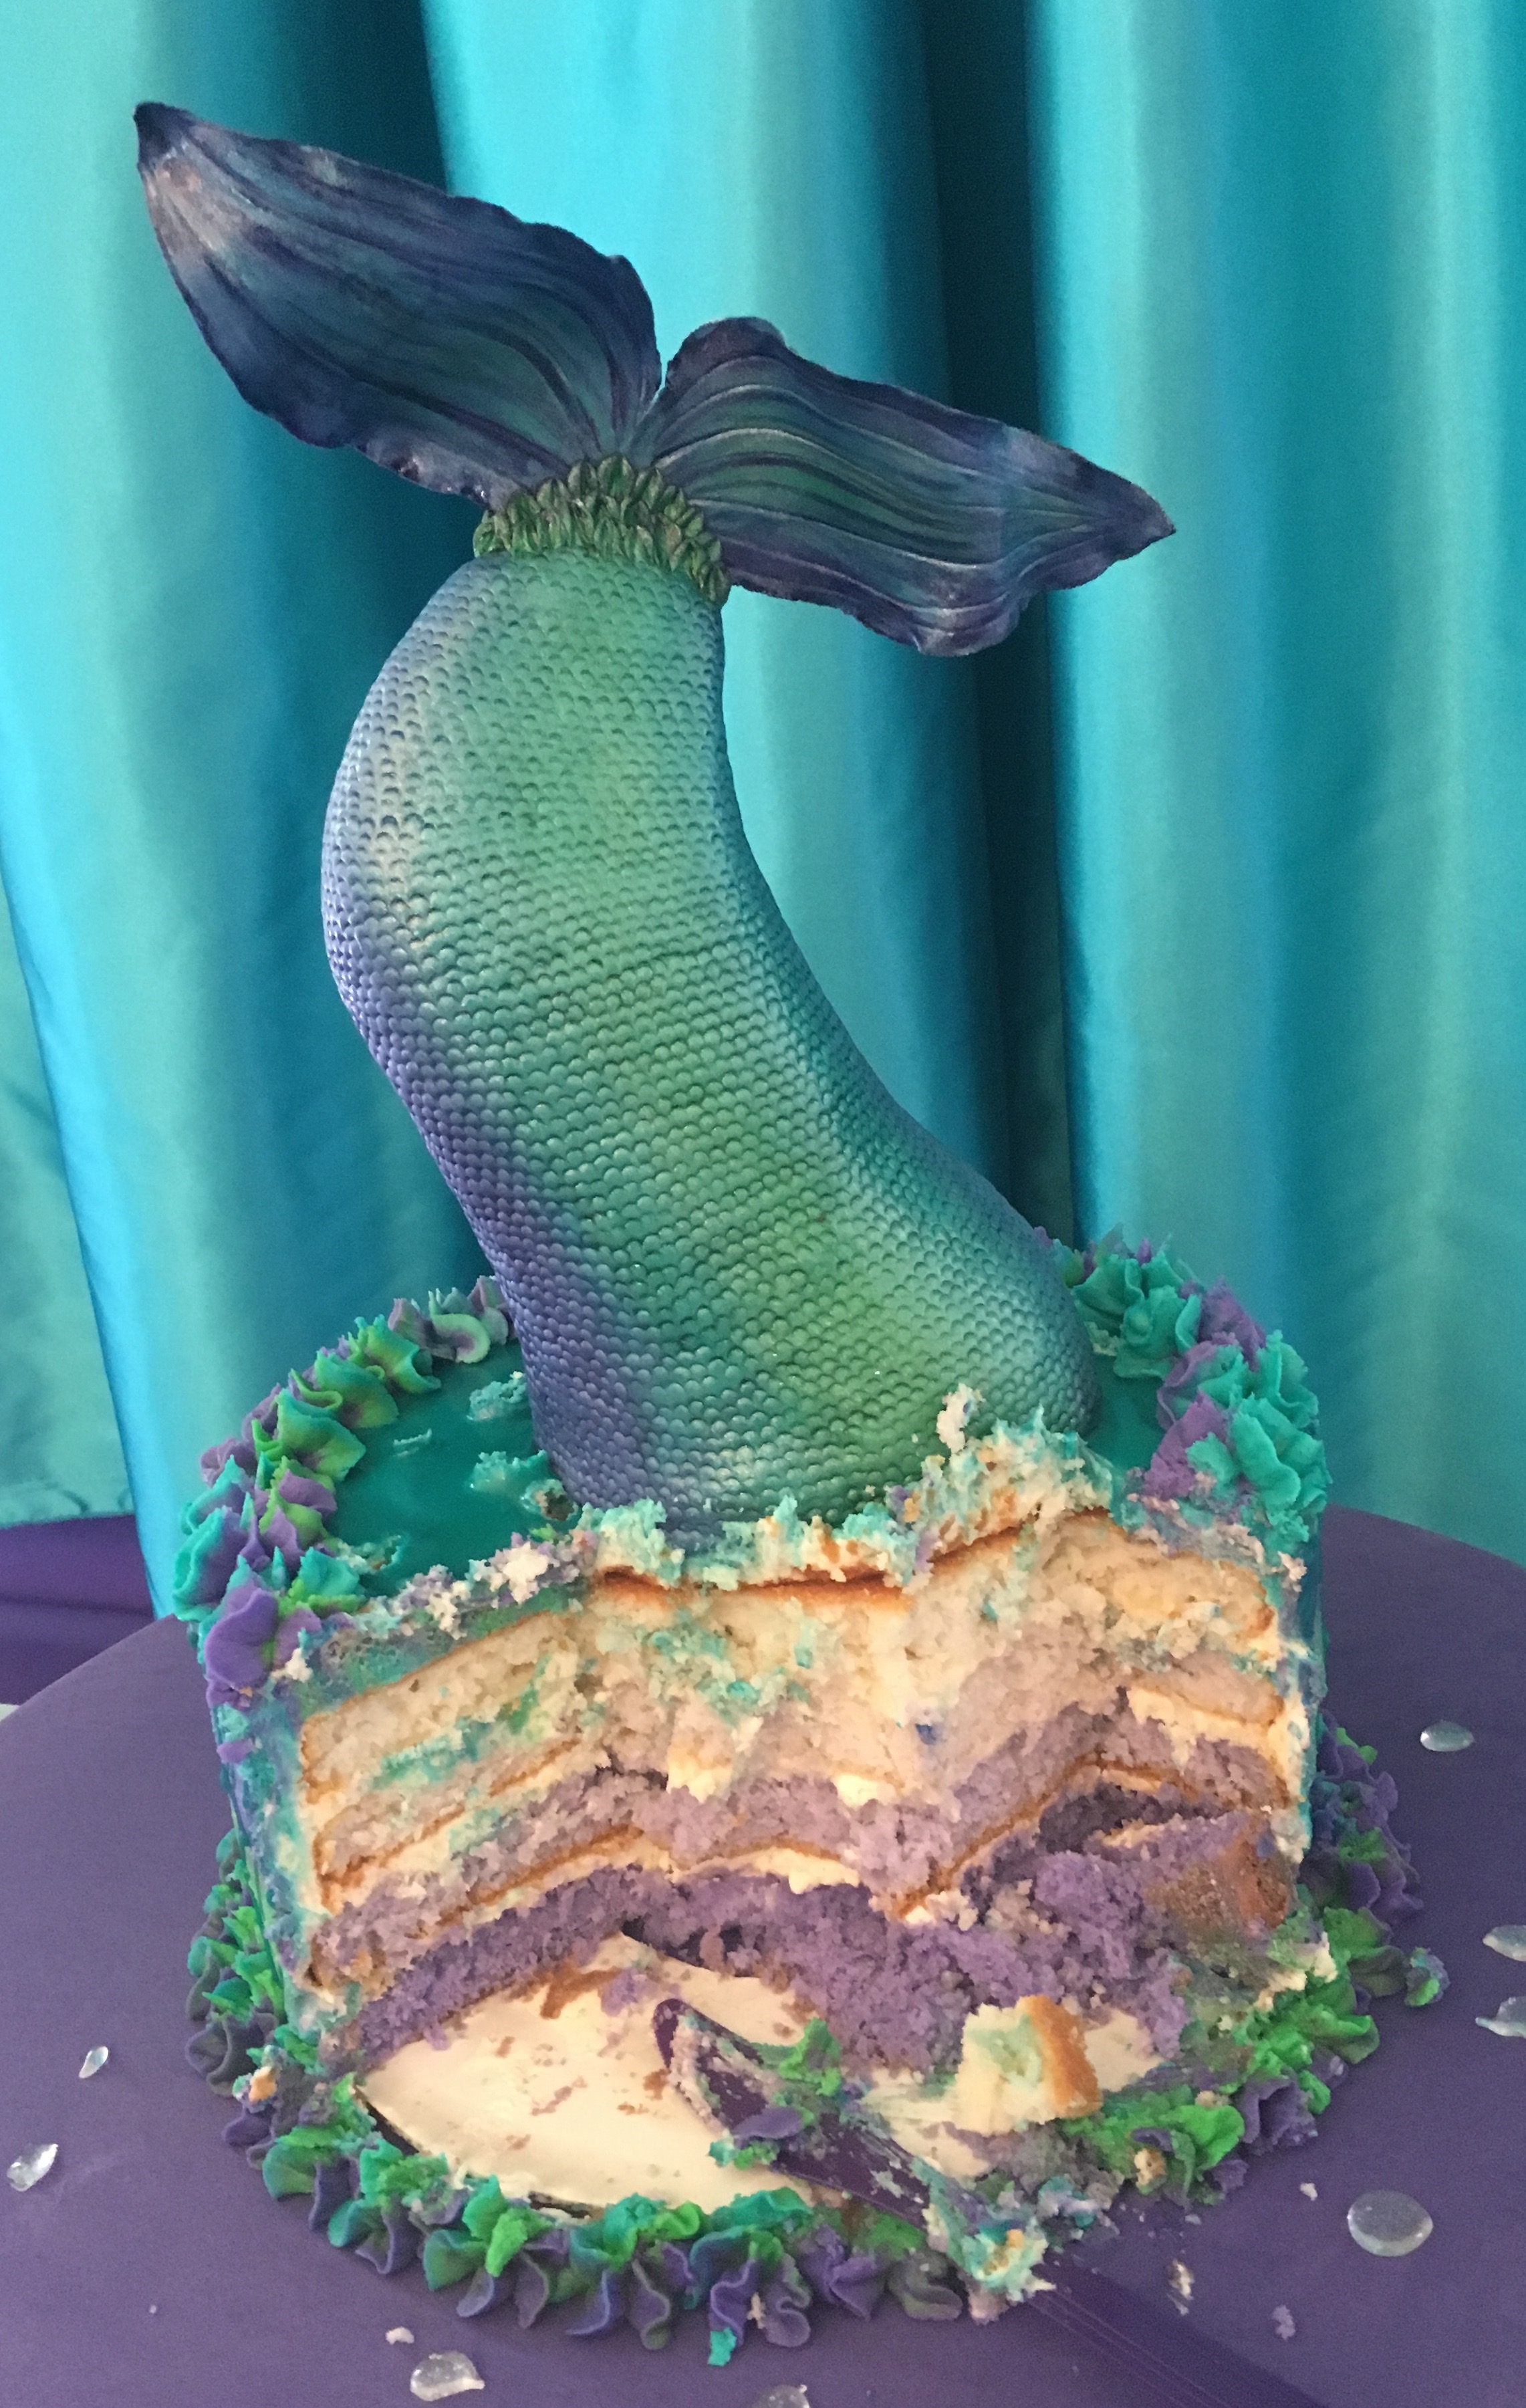


 What other things would you like to see made of modeling chocolate? Comment below!


 “You’re a mean one, Mr. Grinch. You really are a heel!”
 3. That’s it! Just take a cute photo by your tree and serve him up! 🙂