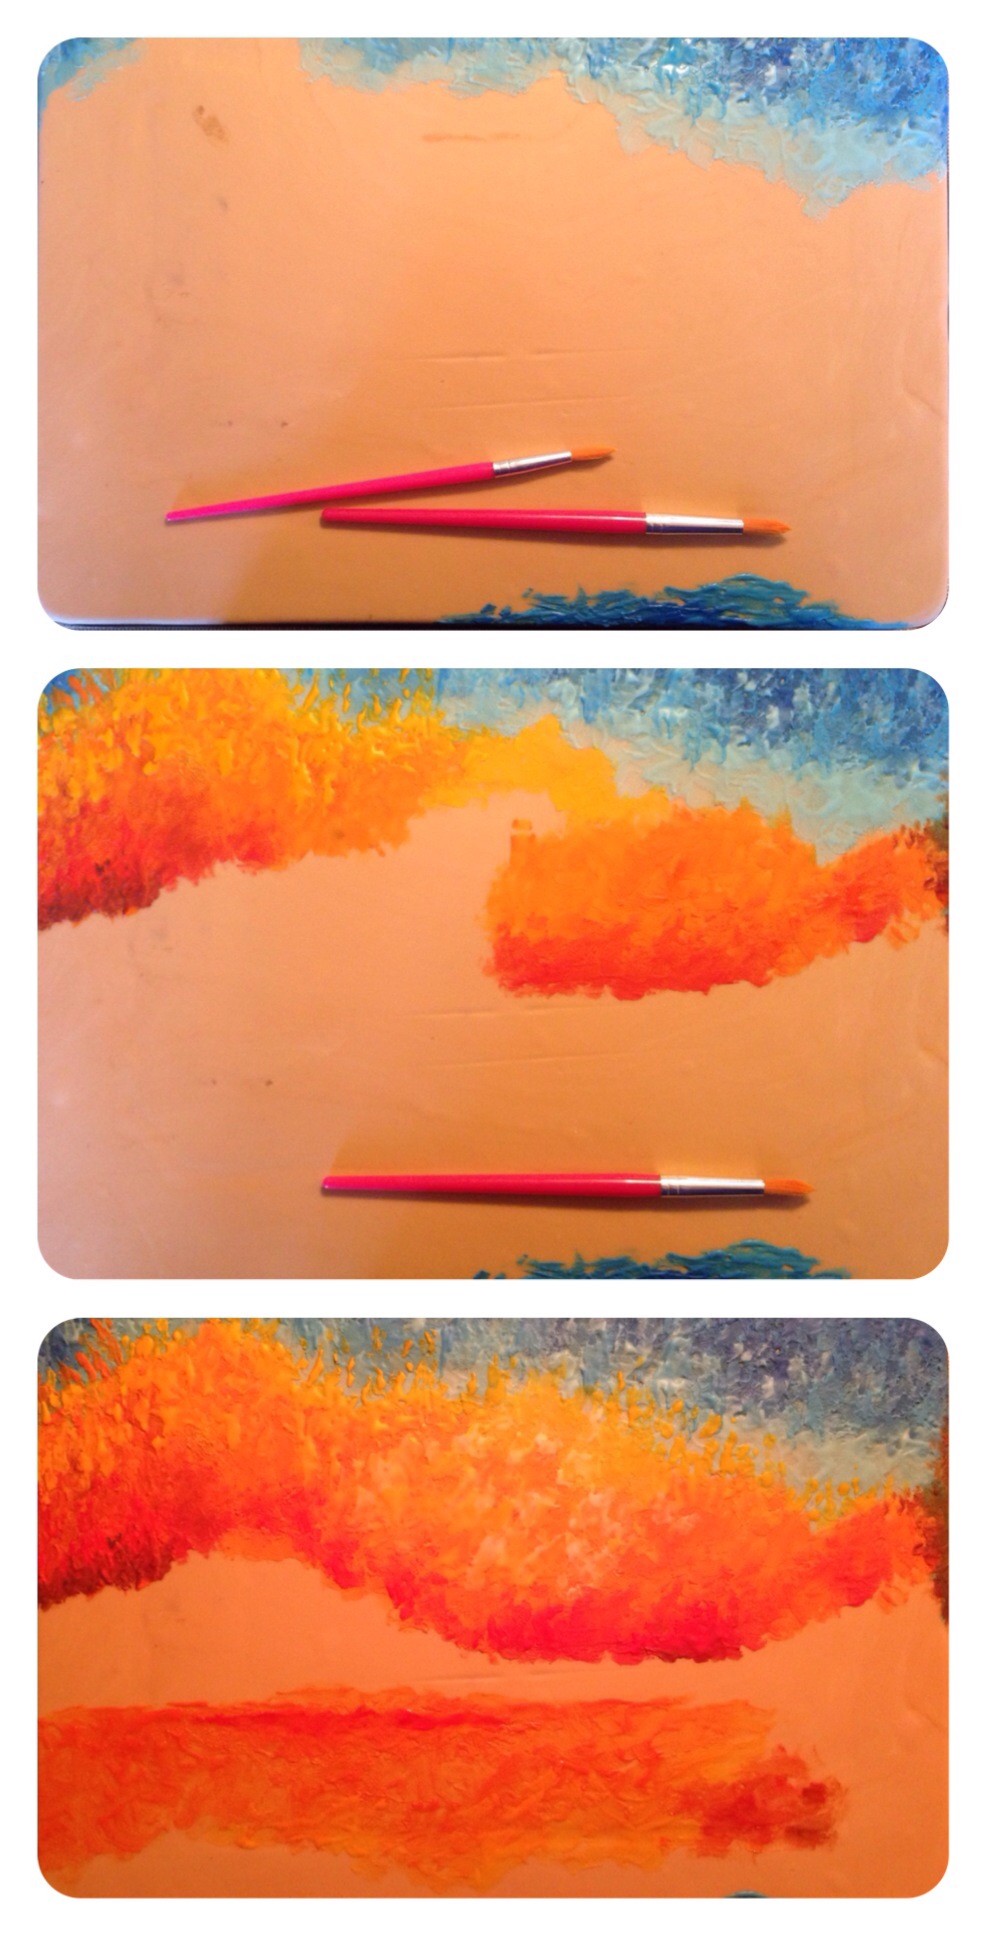
Well, it’s been just about 4 months, and the pain and humiliation have dulled enough for me to tell you all this horrible story.
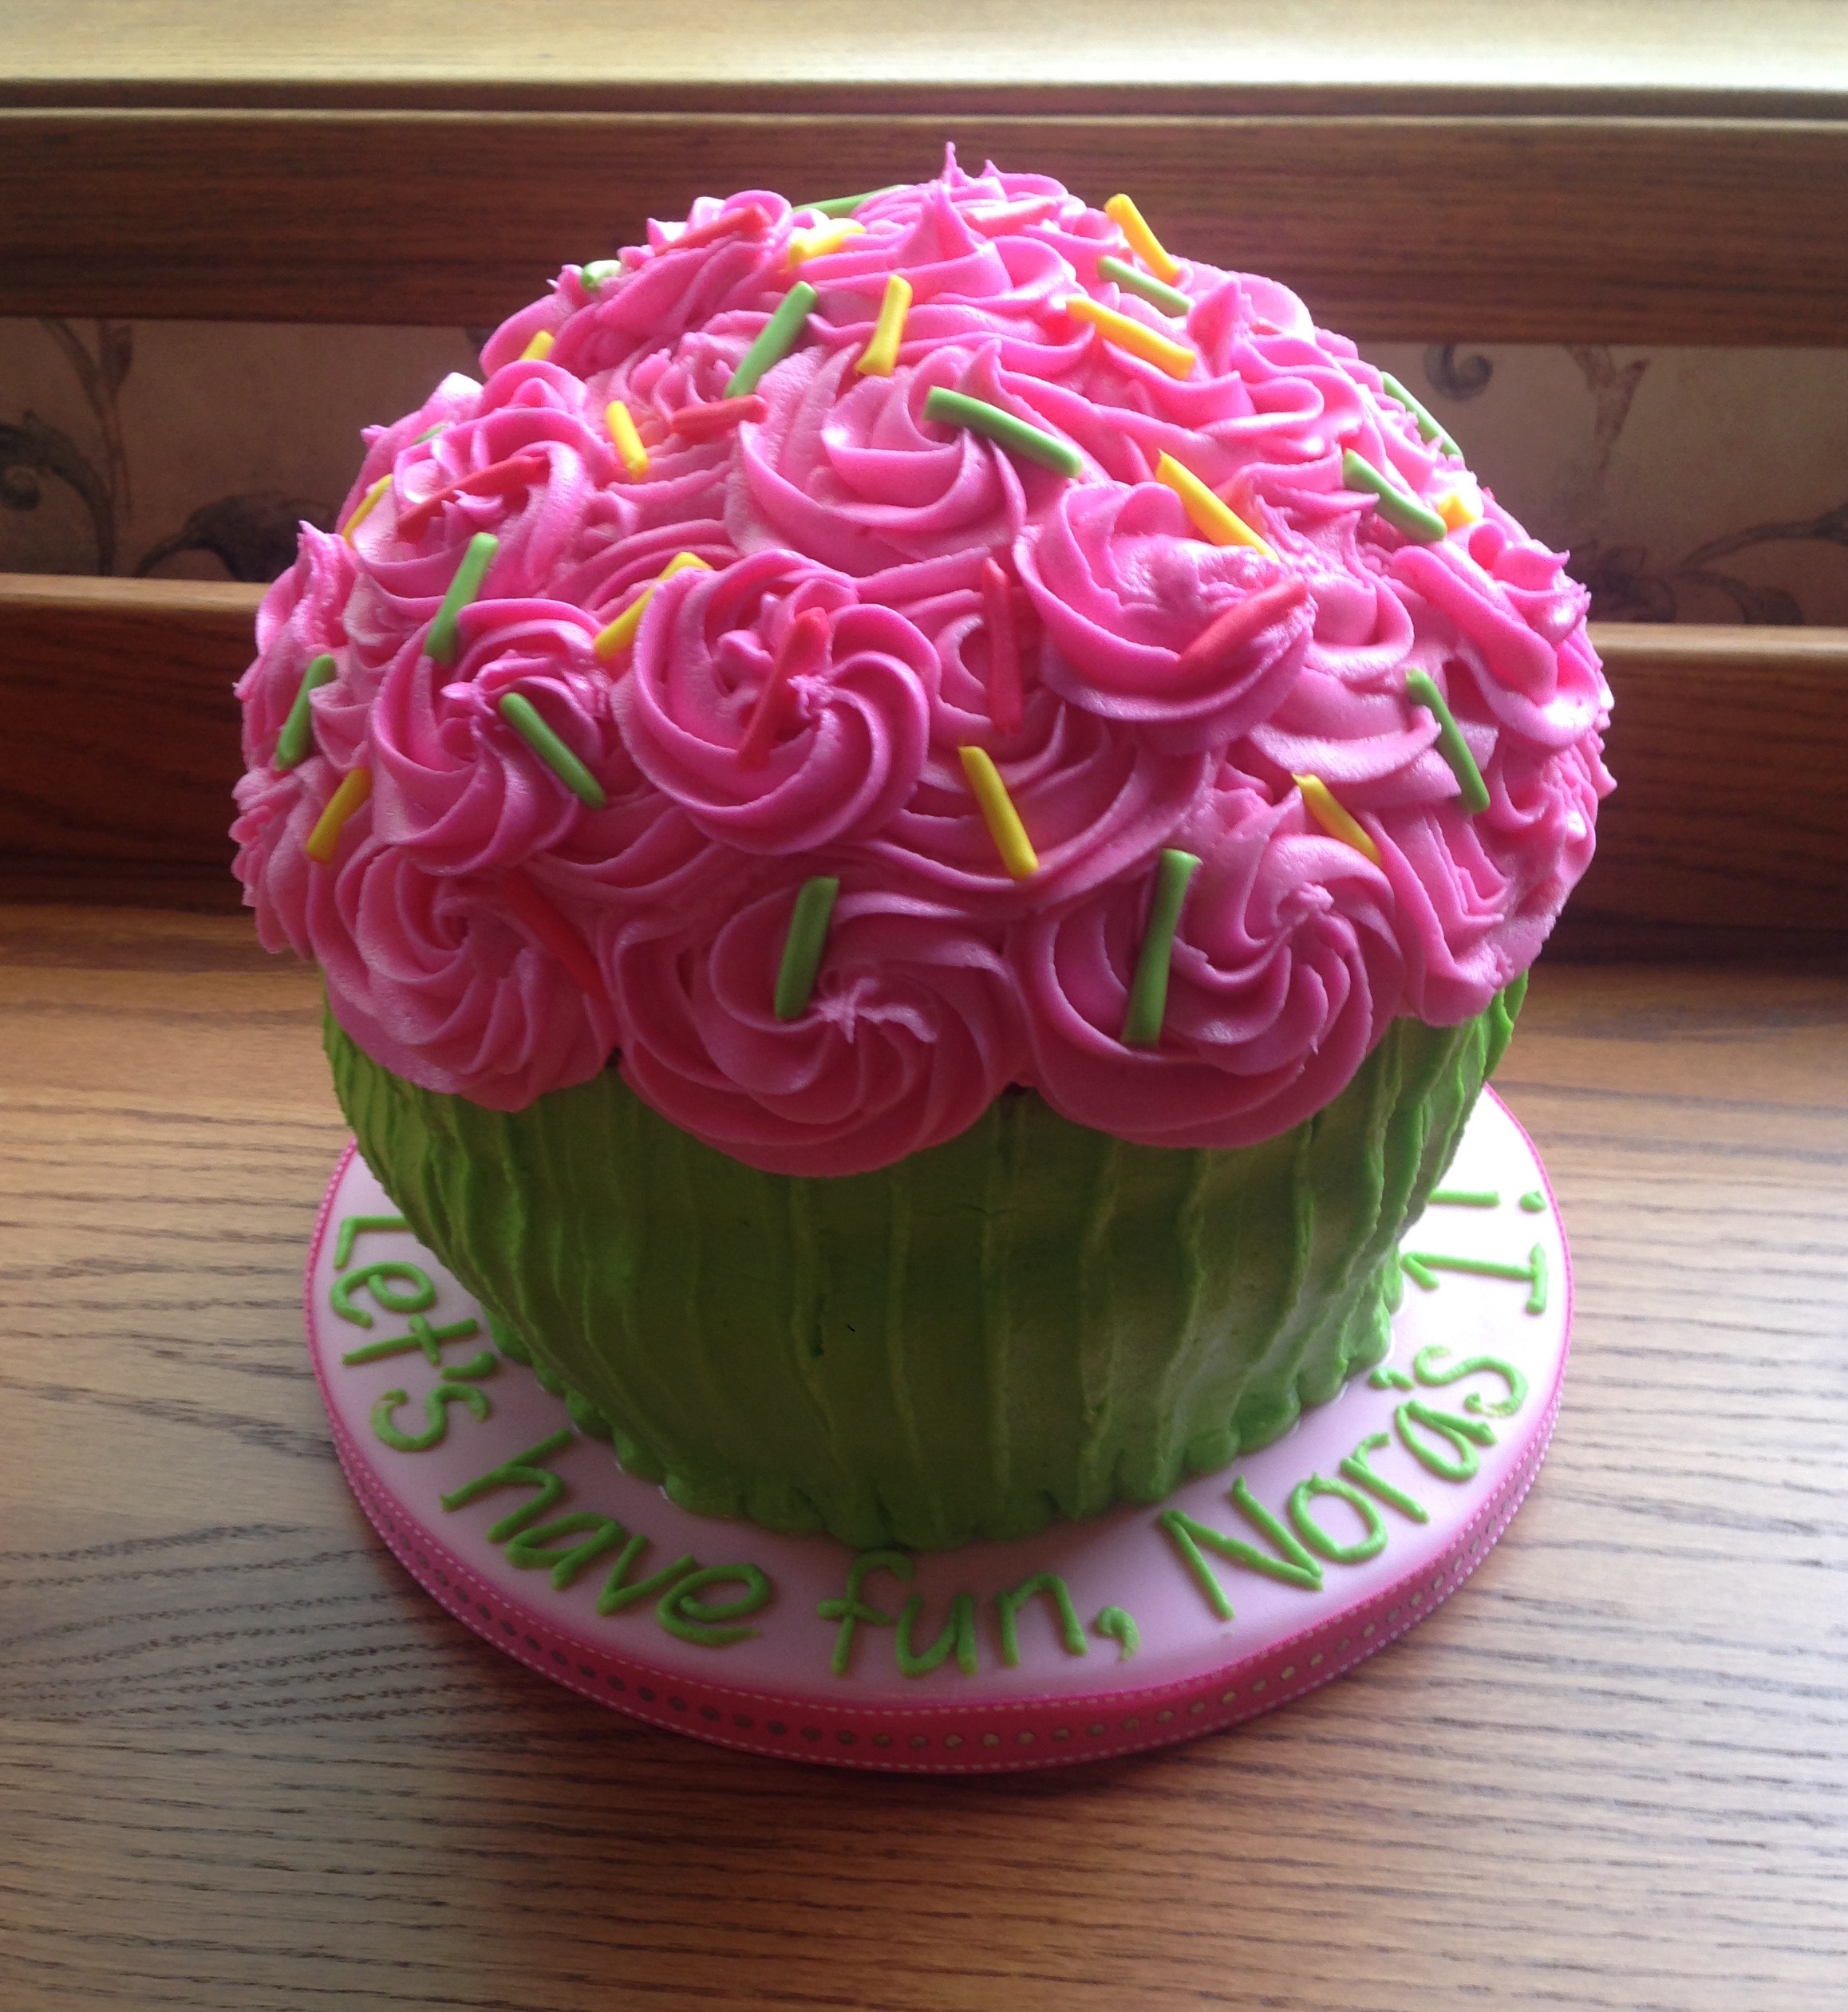
One day, a friend from work asked me to make a cupcake cake for her granddaughter’s first birthday. It seemed like an easy enough request. So I baked, I frosted, and I photographed:
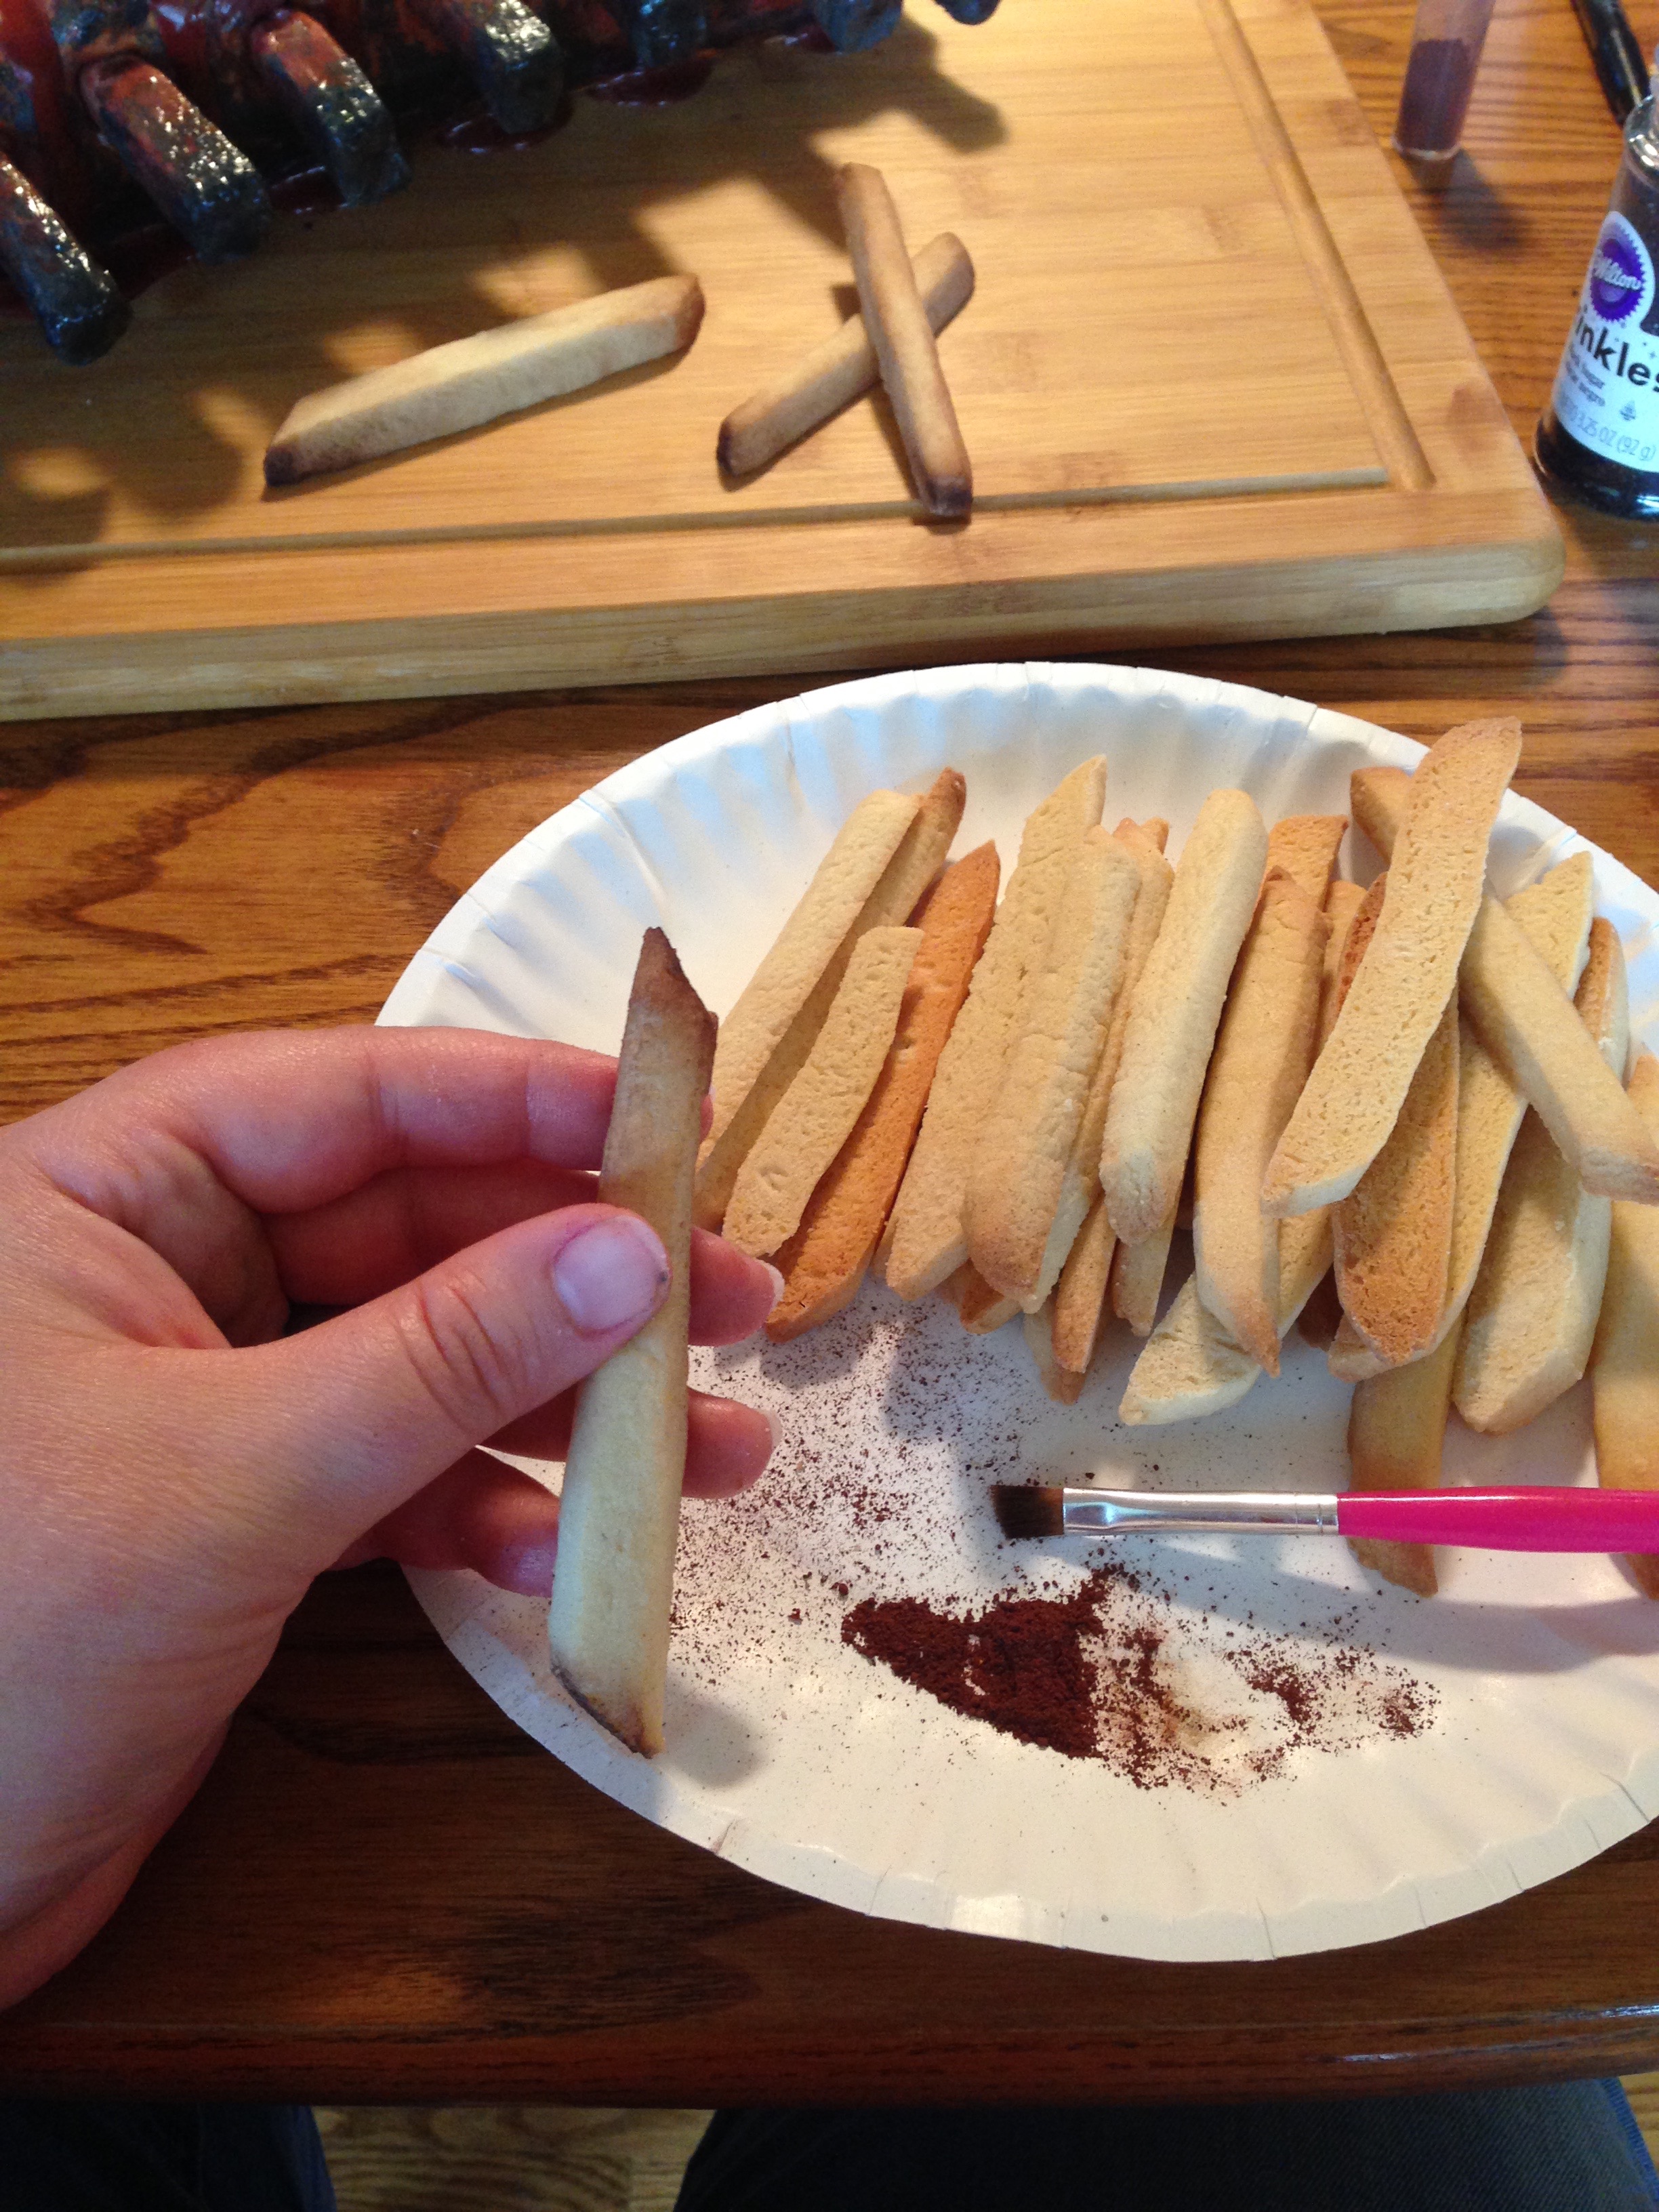
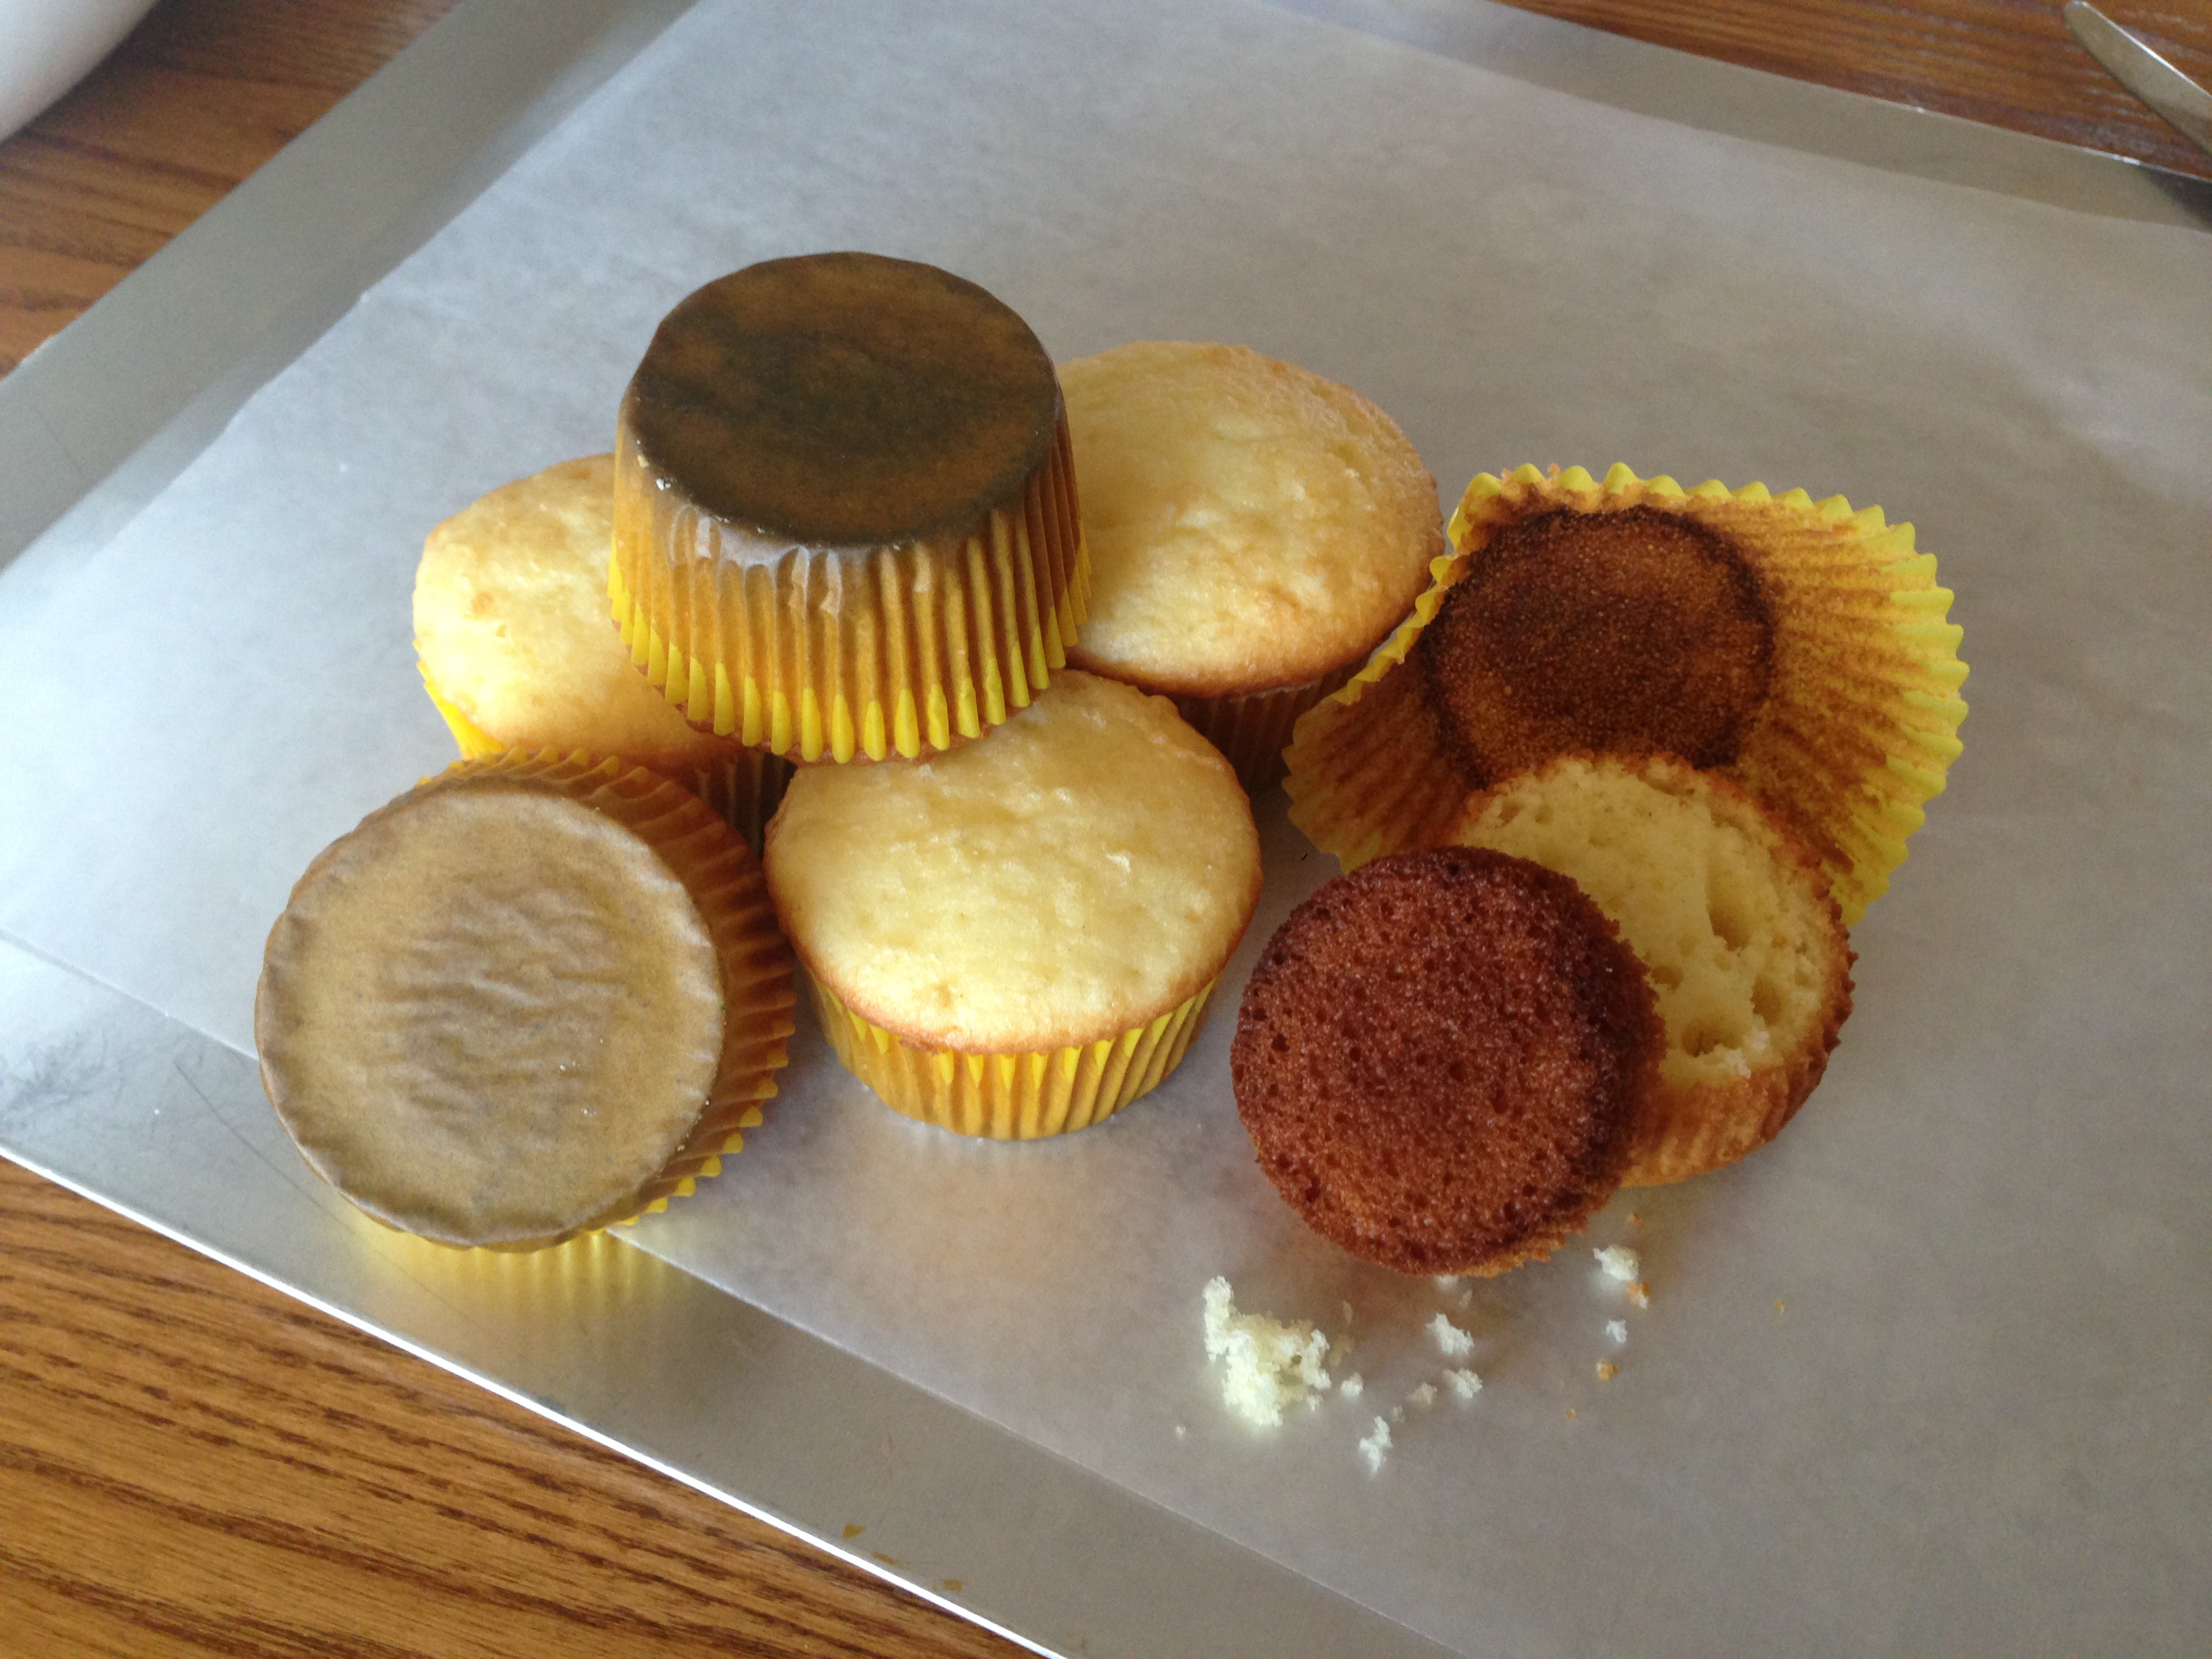
 The next day, I got up and loaded everything in the car. It promised to be a long day; after the 45 minute drive to drop off the cupcake cake, I was headed up north to Wisconsin for my college roomie’s bridal shower. Along with the cake for my coworker, I had 75 individually bagged cookies to bring to the shower. (It was a busy night of baking the evening before and I now realize I never even took a photo of the flower cookies for the shower. Some of them are pictured here in this photo I took to remind myself “Goodness I’ve baked a lot of things today:”)
 I drove away from the house with a spring in my step and a song in my voice. The cake sat securely next to me while the cookies were spread out across the backseat.
As I drove, I noticed that the cake was wobbling to and fro a bit. Nothing abnormal, and to be honest, I was secure in the cake’s internal structure. Three layers of cake made up the green base. Three other layers of cake were then set on a cake board, which was then placed on top of the green layers. With five thick straws holding up the pink section, and a wooden dowel rod going through both layers, I thought it had more than enough support.

About 20 minutes into the drive, a small crack appeared in the side of the green frosting. I momentarily freaked out, but, remembering the cake was for a friend, I knew she wouldn’t mind if I popped into her kitchen and used a spatula to fix that little crack.
Ten minutes later, and the crack had grown. Hugely. I began to drive with one hand holding onto the base, trying to keep it as perfectly horizontal as possible and trying to minimize bumps.
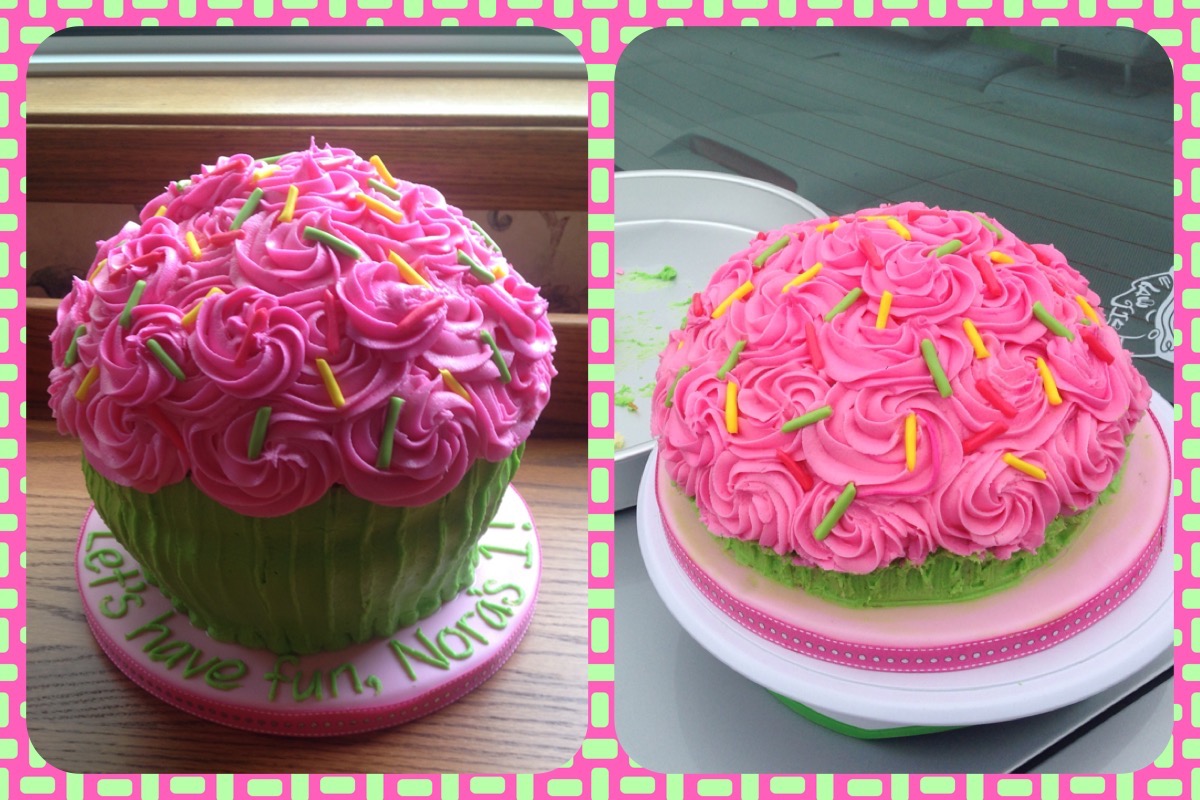
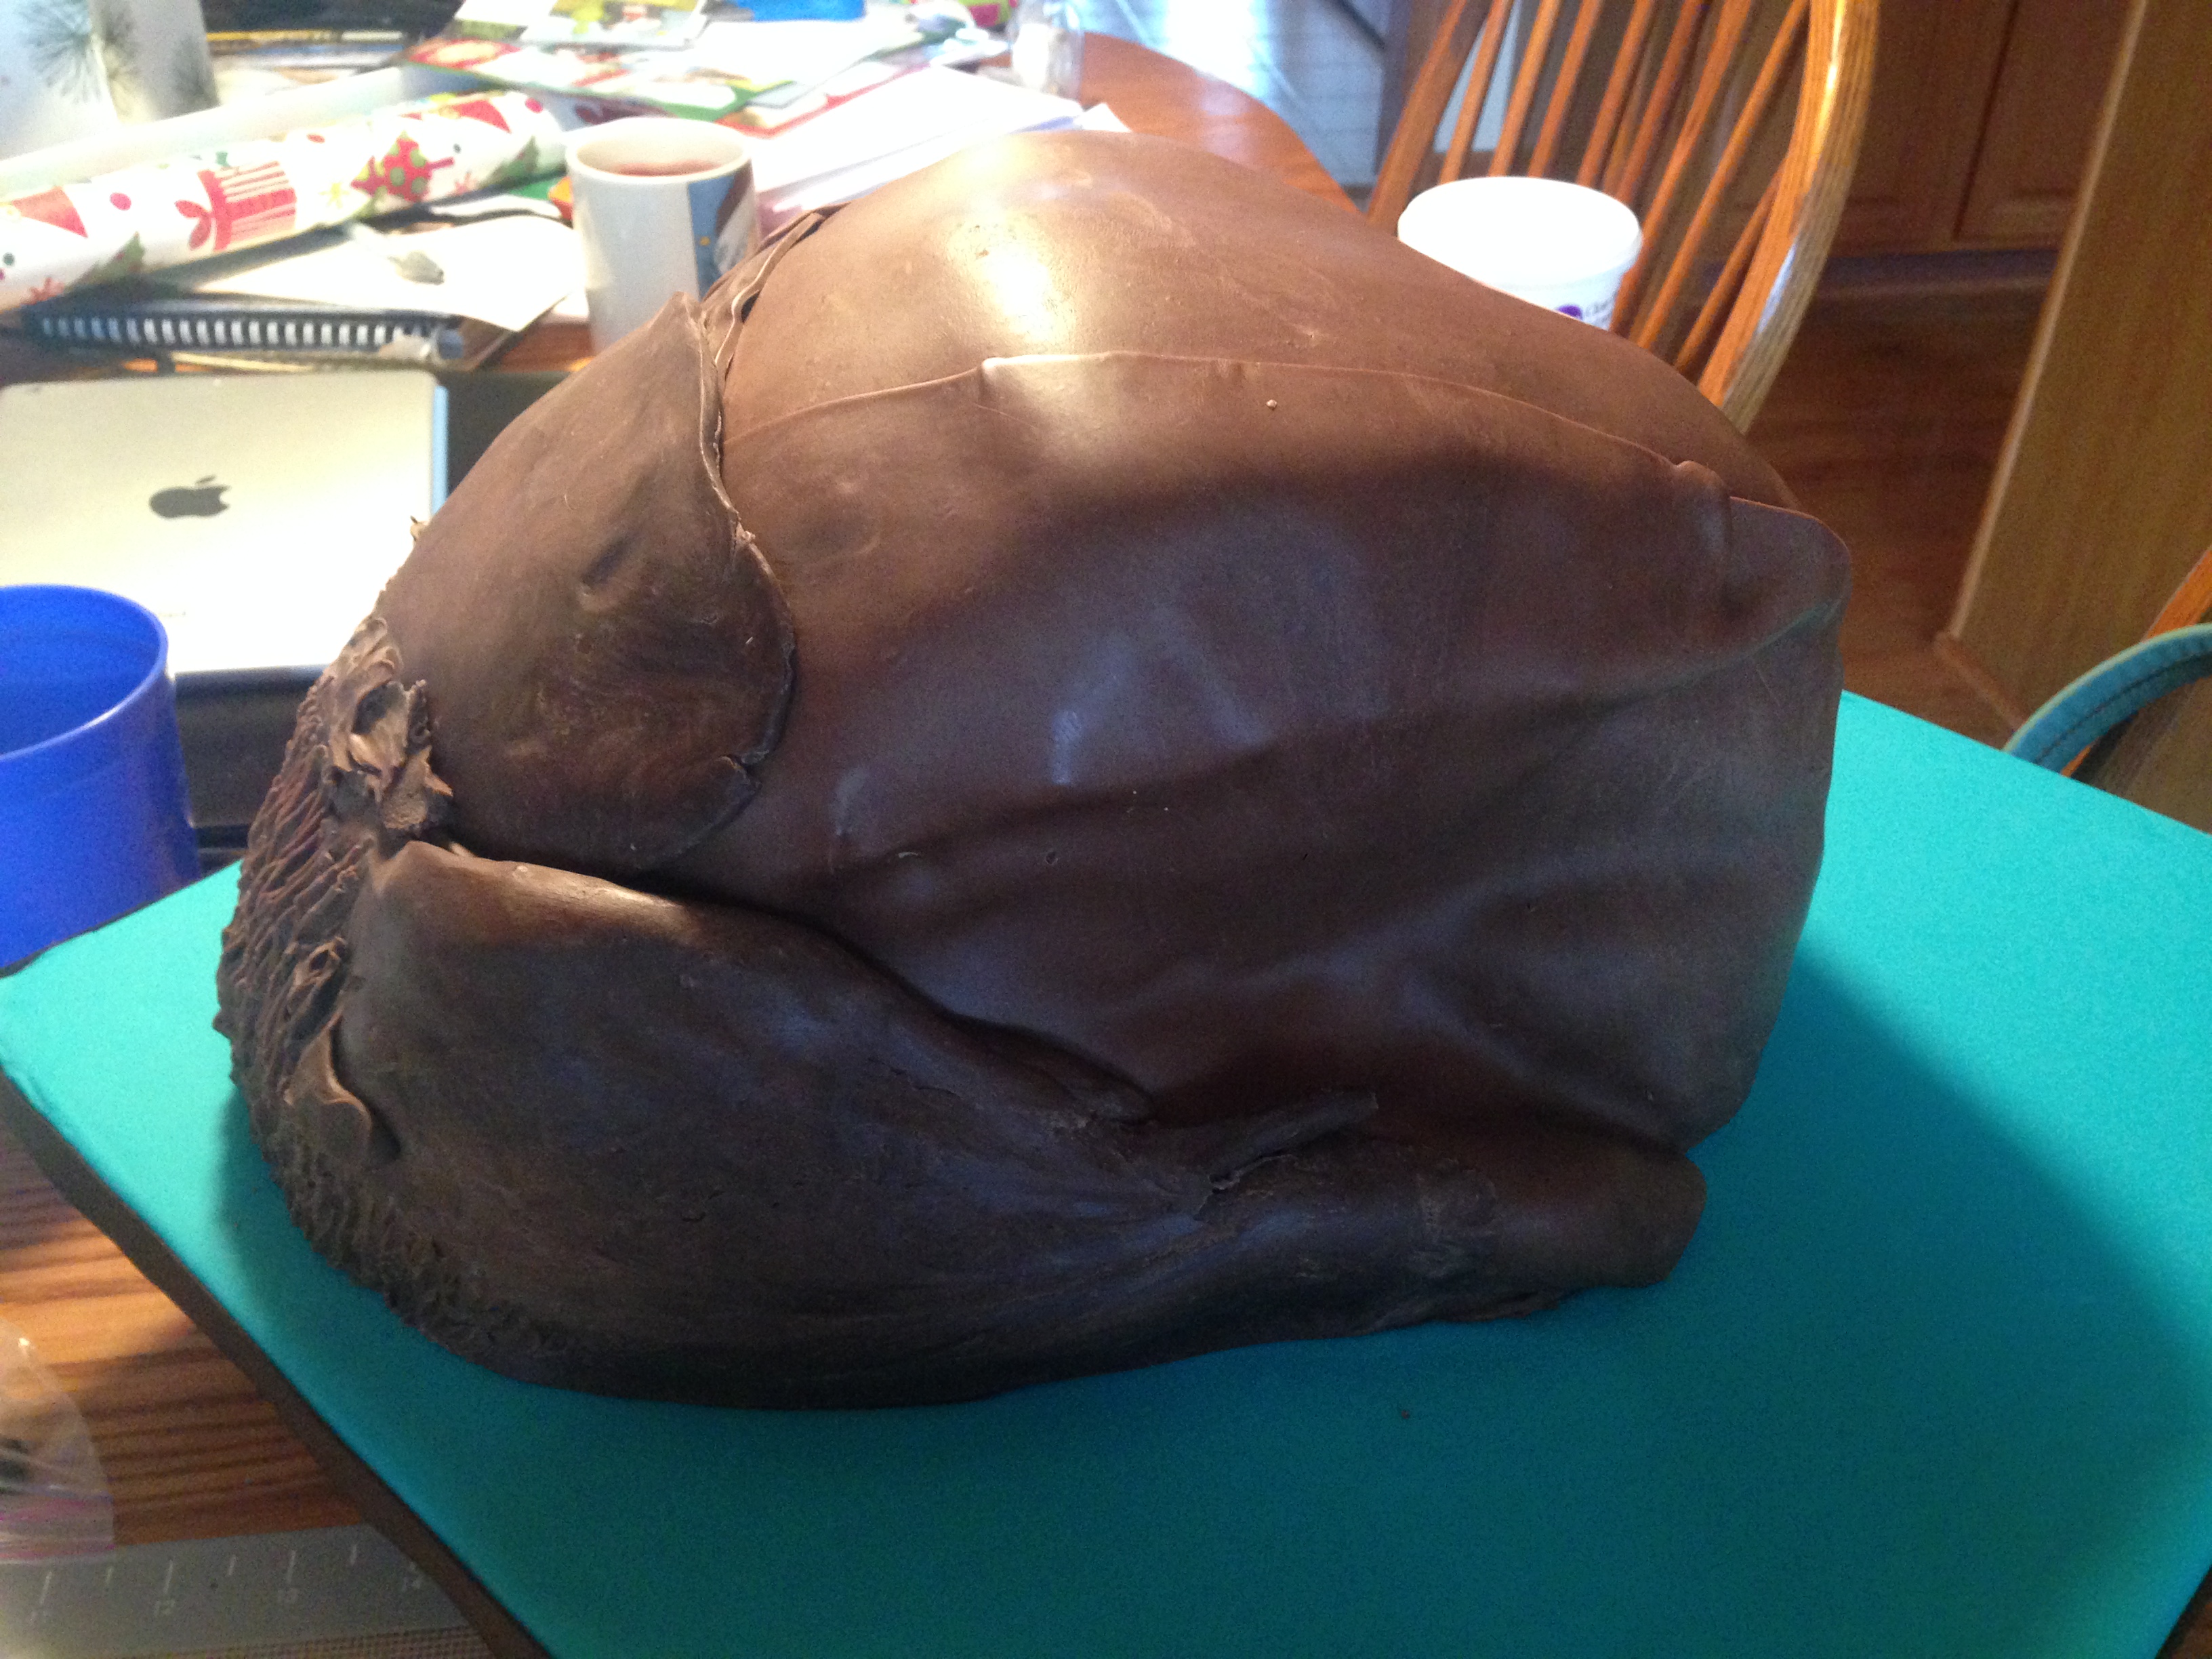
Suddenly, I felt something on my hand, Something heavy. Something that felt like frosting. Glancing quickly at the cake, I let out a high-pitched shriek as I fumbled between driving, catching the cake, and righting my newly arrhythmic heartbeat. The top half of the cake, the pink half, was literally sliding forward. I managed to pull the car over with my left hand just as I caught the top of the cake with my right hand, stopping it just before it fell clear off the bottom part. I sat there in stunned silence, my hand halfway shoved between the two sections of cake. Slowly, I lifted up the pink half of the cake, and the disaster beneath cannot adequately be described in words:
 I wish I could say that I scrunched up that cake to make it look worse for the picture, but unfortunately, I did not. It literally fell apart.
I got out of the car, still holding the (intact) pink half of the cupcake, and had no idea what to do. So naturally, I called my mom. And though she is excellent at providing emotional support, she was unable to provide assistance to her daughter who was standing sobbing in the Mariano’s parking lot on a drizzly Sunday morning with half a cake in one hand and the other half spread across her front seat.
I tried to collect myself. I removed the cake base with the messy green bits and put it on the floor of my car, and then set the pink half into the large circular pan. I stood there in the parking lot, using approximately ninety thousand Starbucks napkins that I have amassed over the years (I KNEW they’d come in handy some day!) to wipe off the buttercream that coated my entire arm. Between sniffles, I devised a plan.
I took my tear-stained face into Mariano’s. “Can I help you?” said a concerned worker. “I just need, um, plastic cutlery, and some paper towels. And water. And a plastic bag,” I answered with a hiccup. The gentleman showed me to the aisle and then, I assumed, went back to call the authorities.
I took the supplies back to my parking space and squatted next to the car. Handful by handful, I tossed chunks of cake and green buttercream into the plastic bag. I dampened some paper towels and then attempted to wipe off the frosting around the edge of the cake base. Wetting fondant is not a good idea because it causes it to get sticky and it also leaves a sheen, but it was better than leaving the green everywhere, I thought.
Once the base was sort of presentable, I put the top of the cake on the base. I stood up then and placed the cake onto the trunk of the car. (I can’t frost in a squat.) Initially embarrassed with the glances of Sunday morning shoppers, I now stared at them haughtily, my chin up and my hand tightly gripping my plastic spoon-spatula, eyes just daring them to make a comment: “What? You looking at ME? Haven’t you ever seen someone decorate a cake on the trunk of a car with a crappy plastic spoon before? Geez. Keep shopping, folks, nothing to see here.”
 Adding to the overall stress was the fact that, of course, I had promised to bring this cake over by a certain time, and not only would I now be late for that, but I was risking being late for the bridal shower. Which I had the party favors for.
When I eventually arrived at my friend’s house, she oohed and ahhed and graciously reminded me that it was “a smash cake for a one year old. Don’t even worry a bit.” And after showing her the pic of how I had helpfully pre-smashed the green layer for the kid, I went on my way.
“Technically,” the moral of the story is:
Do not taper the edge of a cake in so much. Especially if you’re using regular fluffy cake instead of firm pound cake.
However, the MUCH MORE IMPORTANT moral of the story is:
Only make cakes for kind people who are nice to you if you mess up.
Have you ever had a cake disaster? Or any disaster in the kitchen? Tell me about it in the comments below. It’ll help my self-esteem.


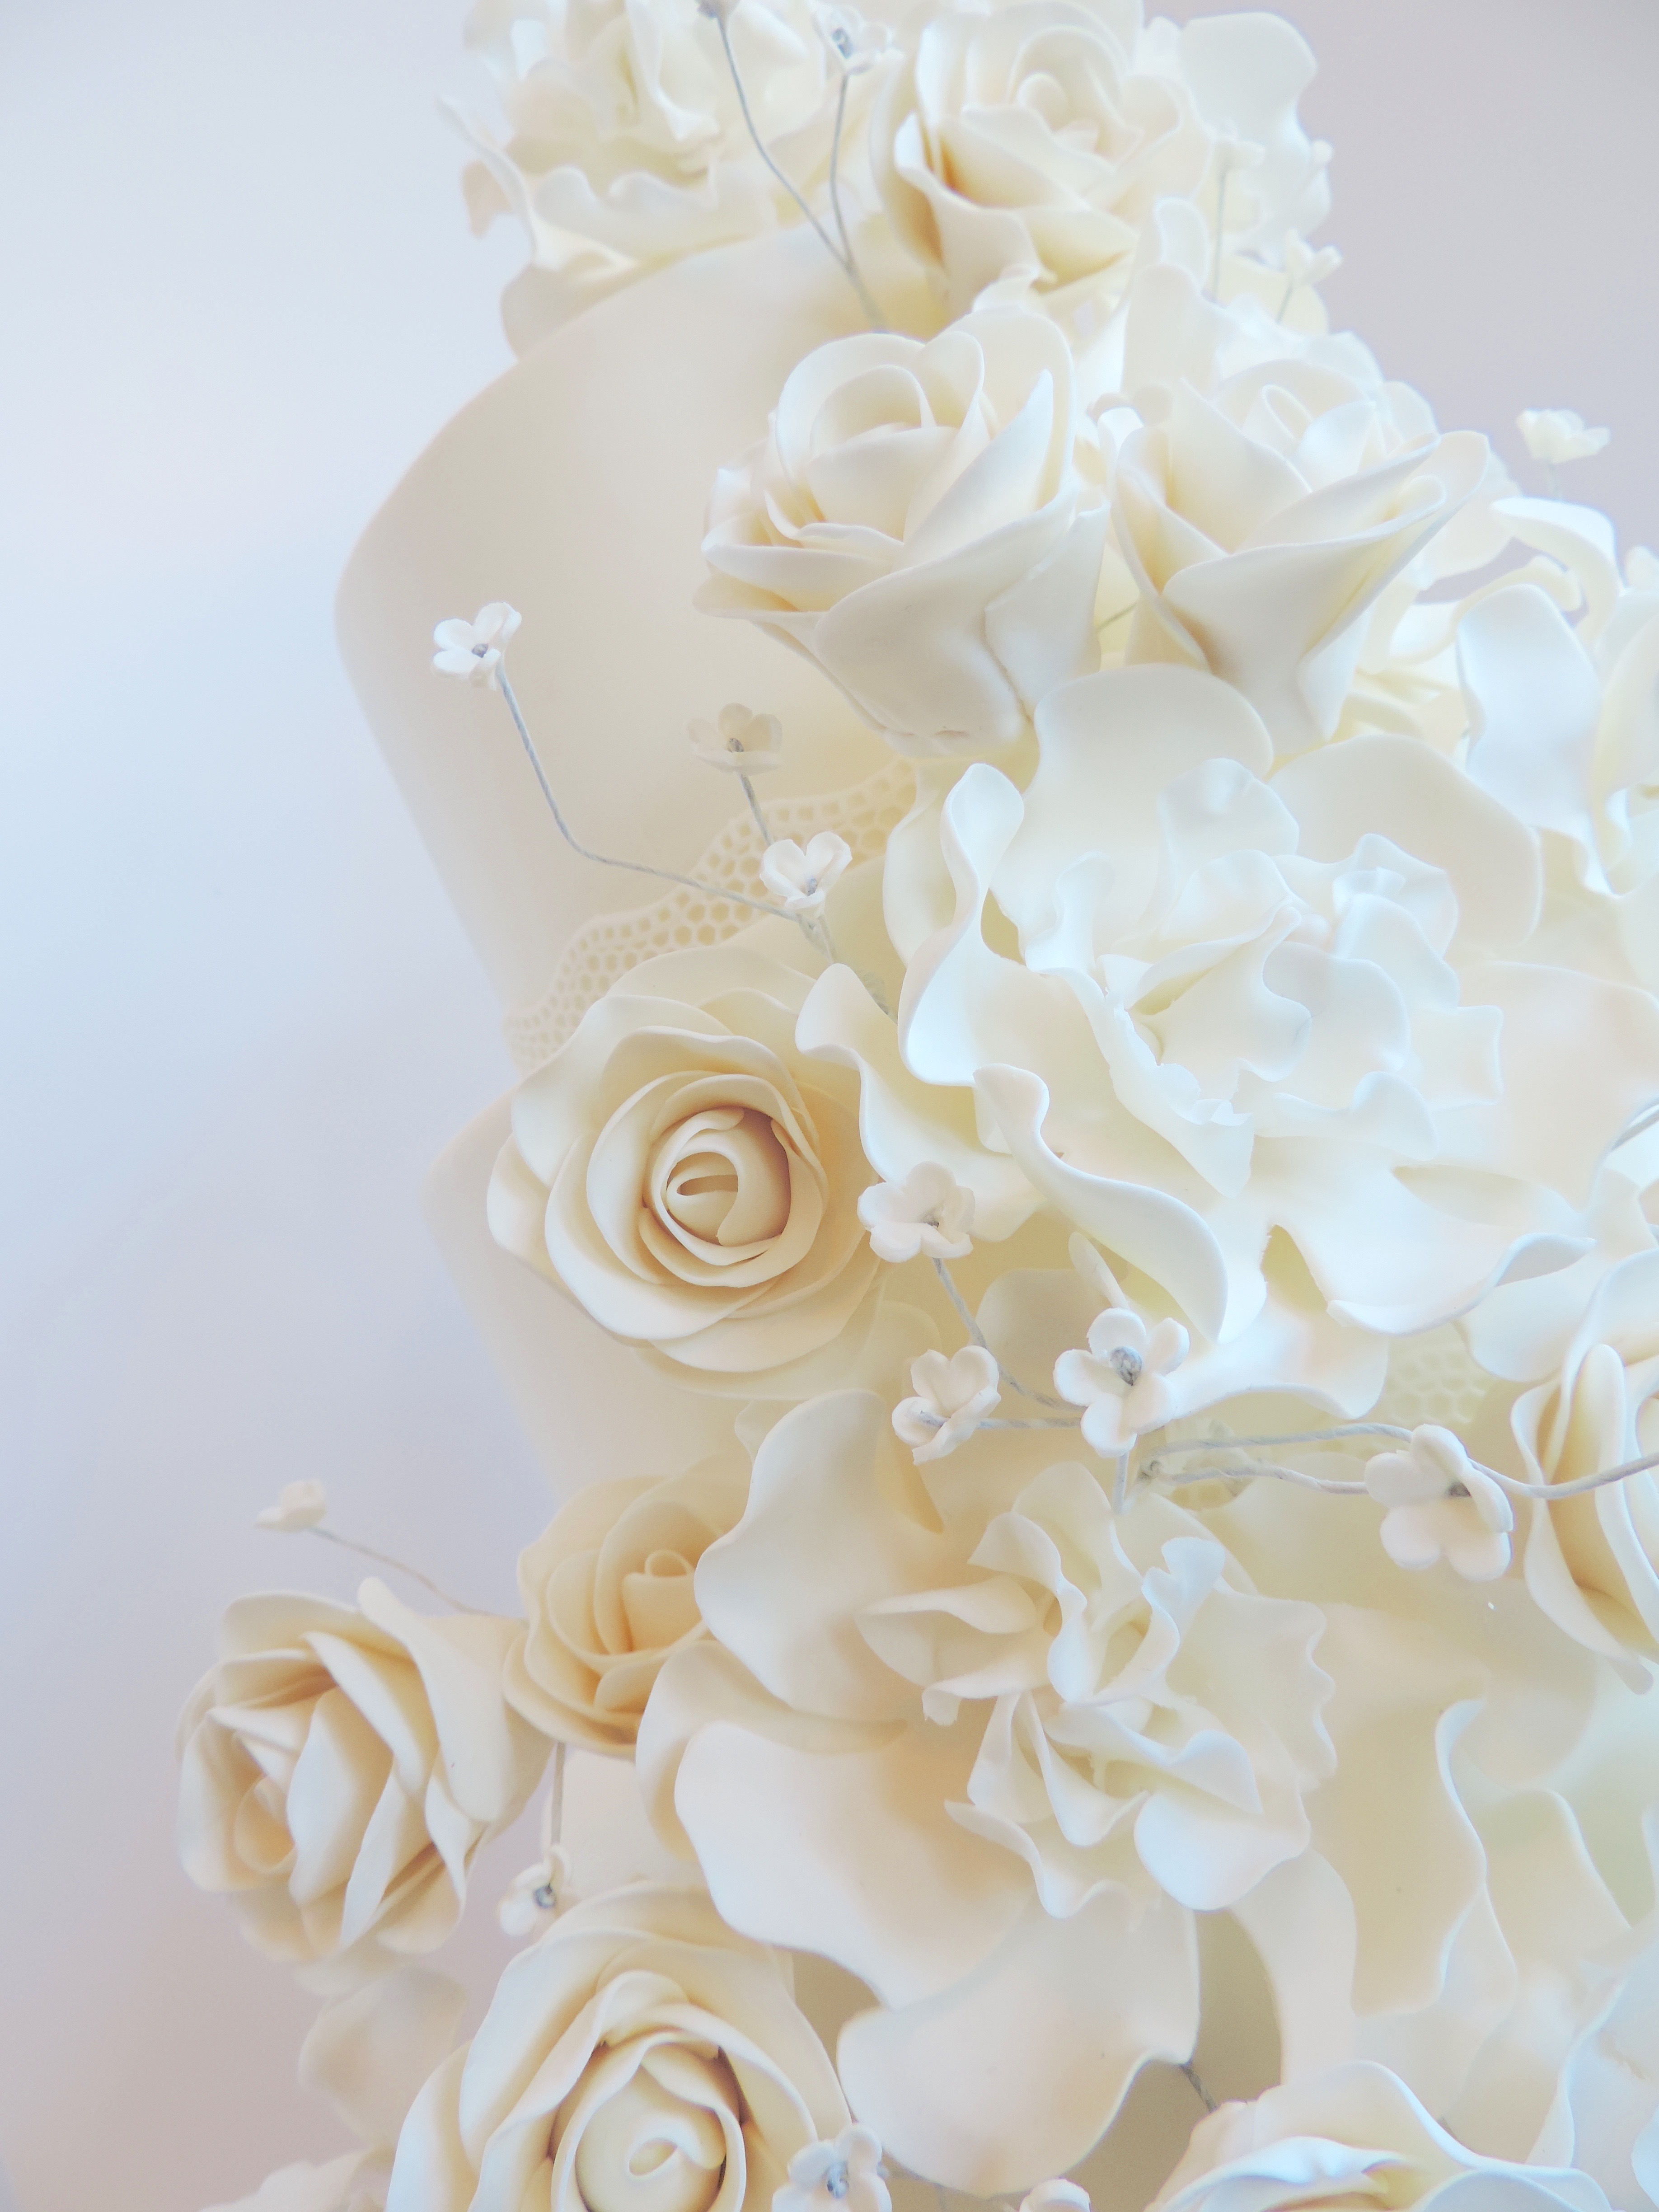
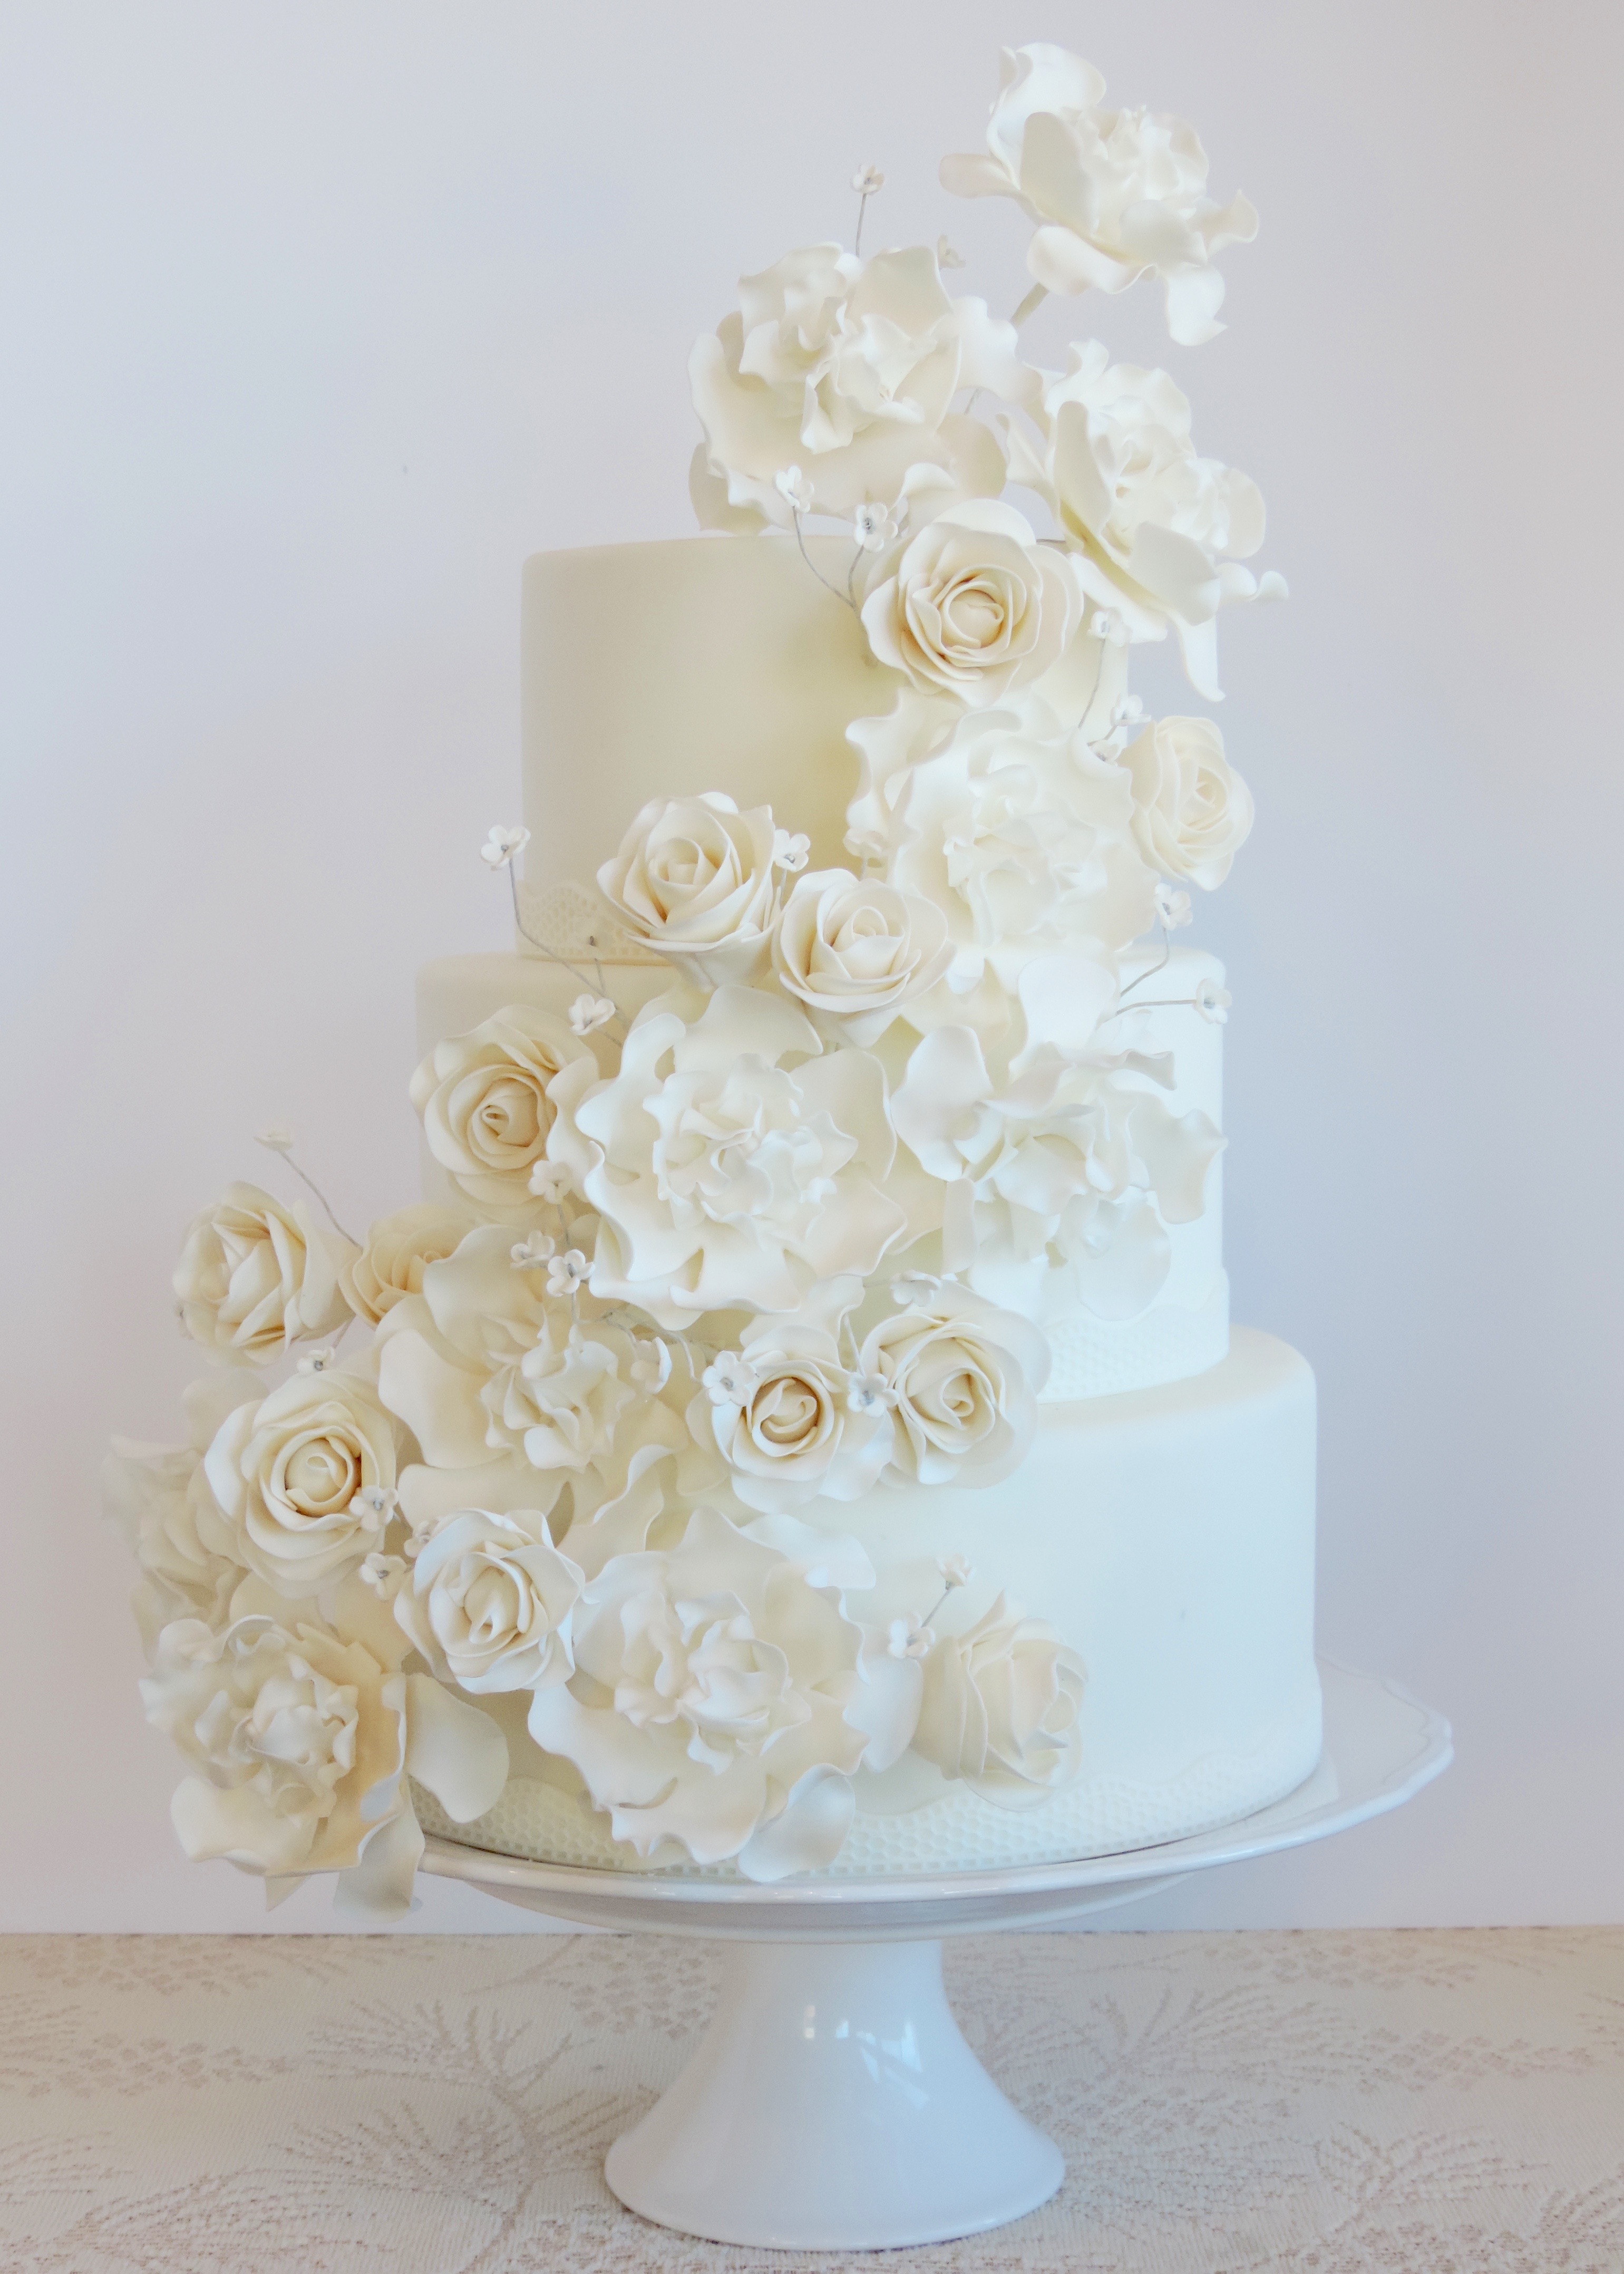 Well, hello, strangers! I realize it has been ages since I’ve posted anything here. I want to let you all know that I have been working quite a bit behind the scenes and will be doing a website update at some point in the near future. In the meantime, I figured I may as well post photos of a cake I made recently. Enjoy!
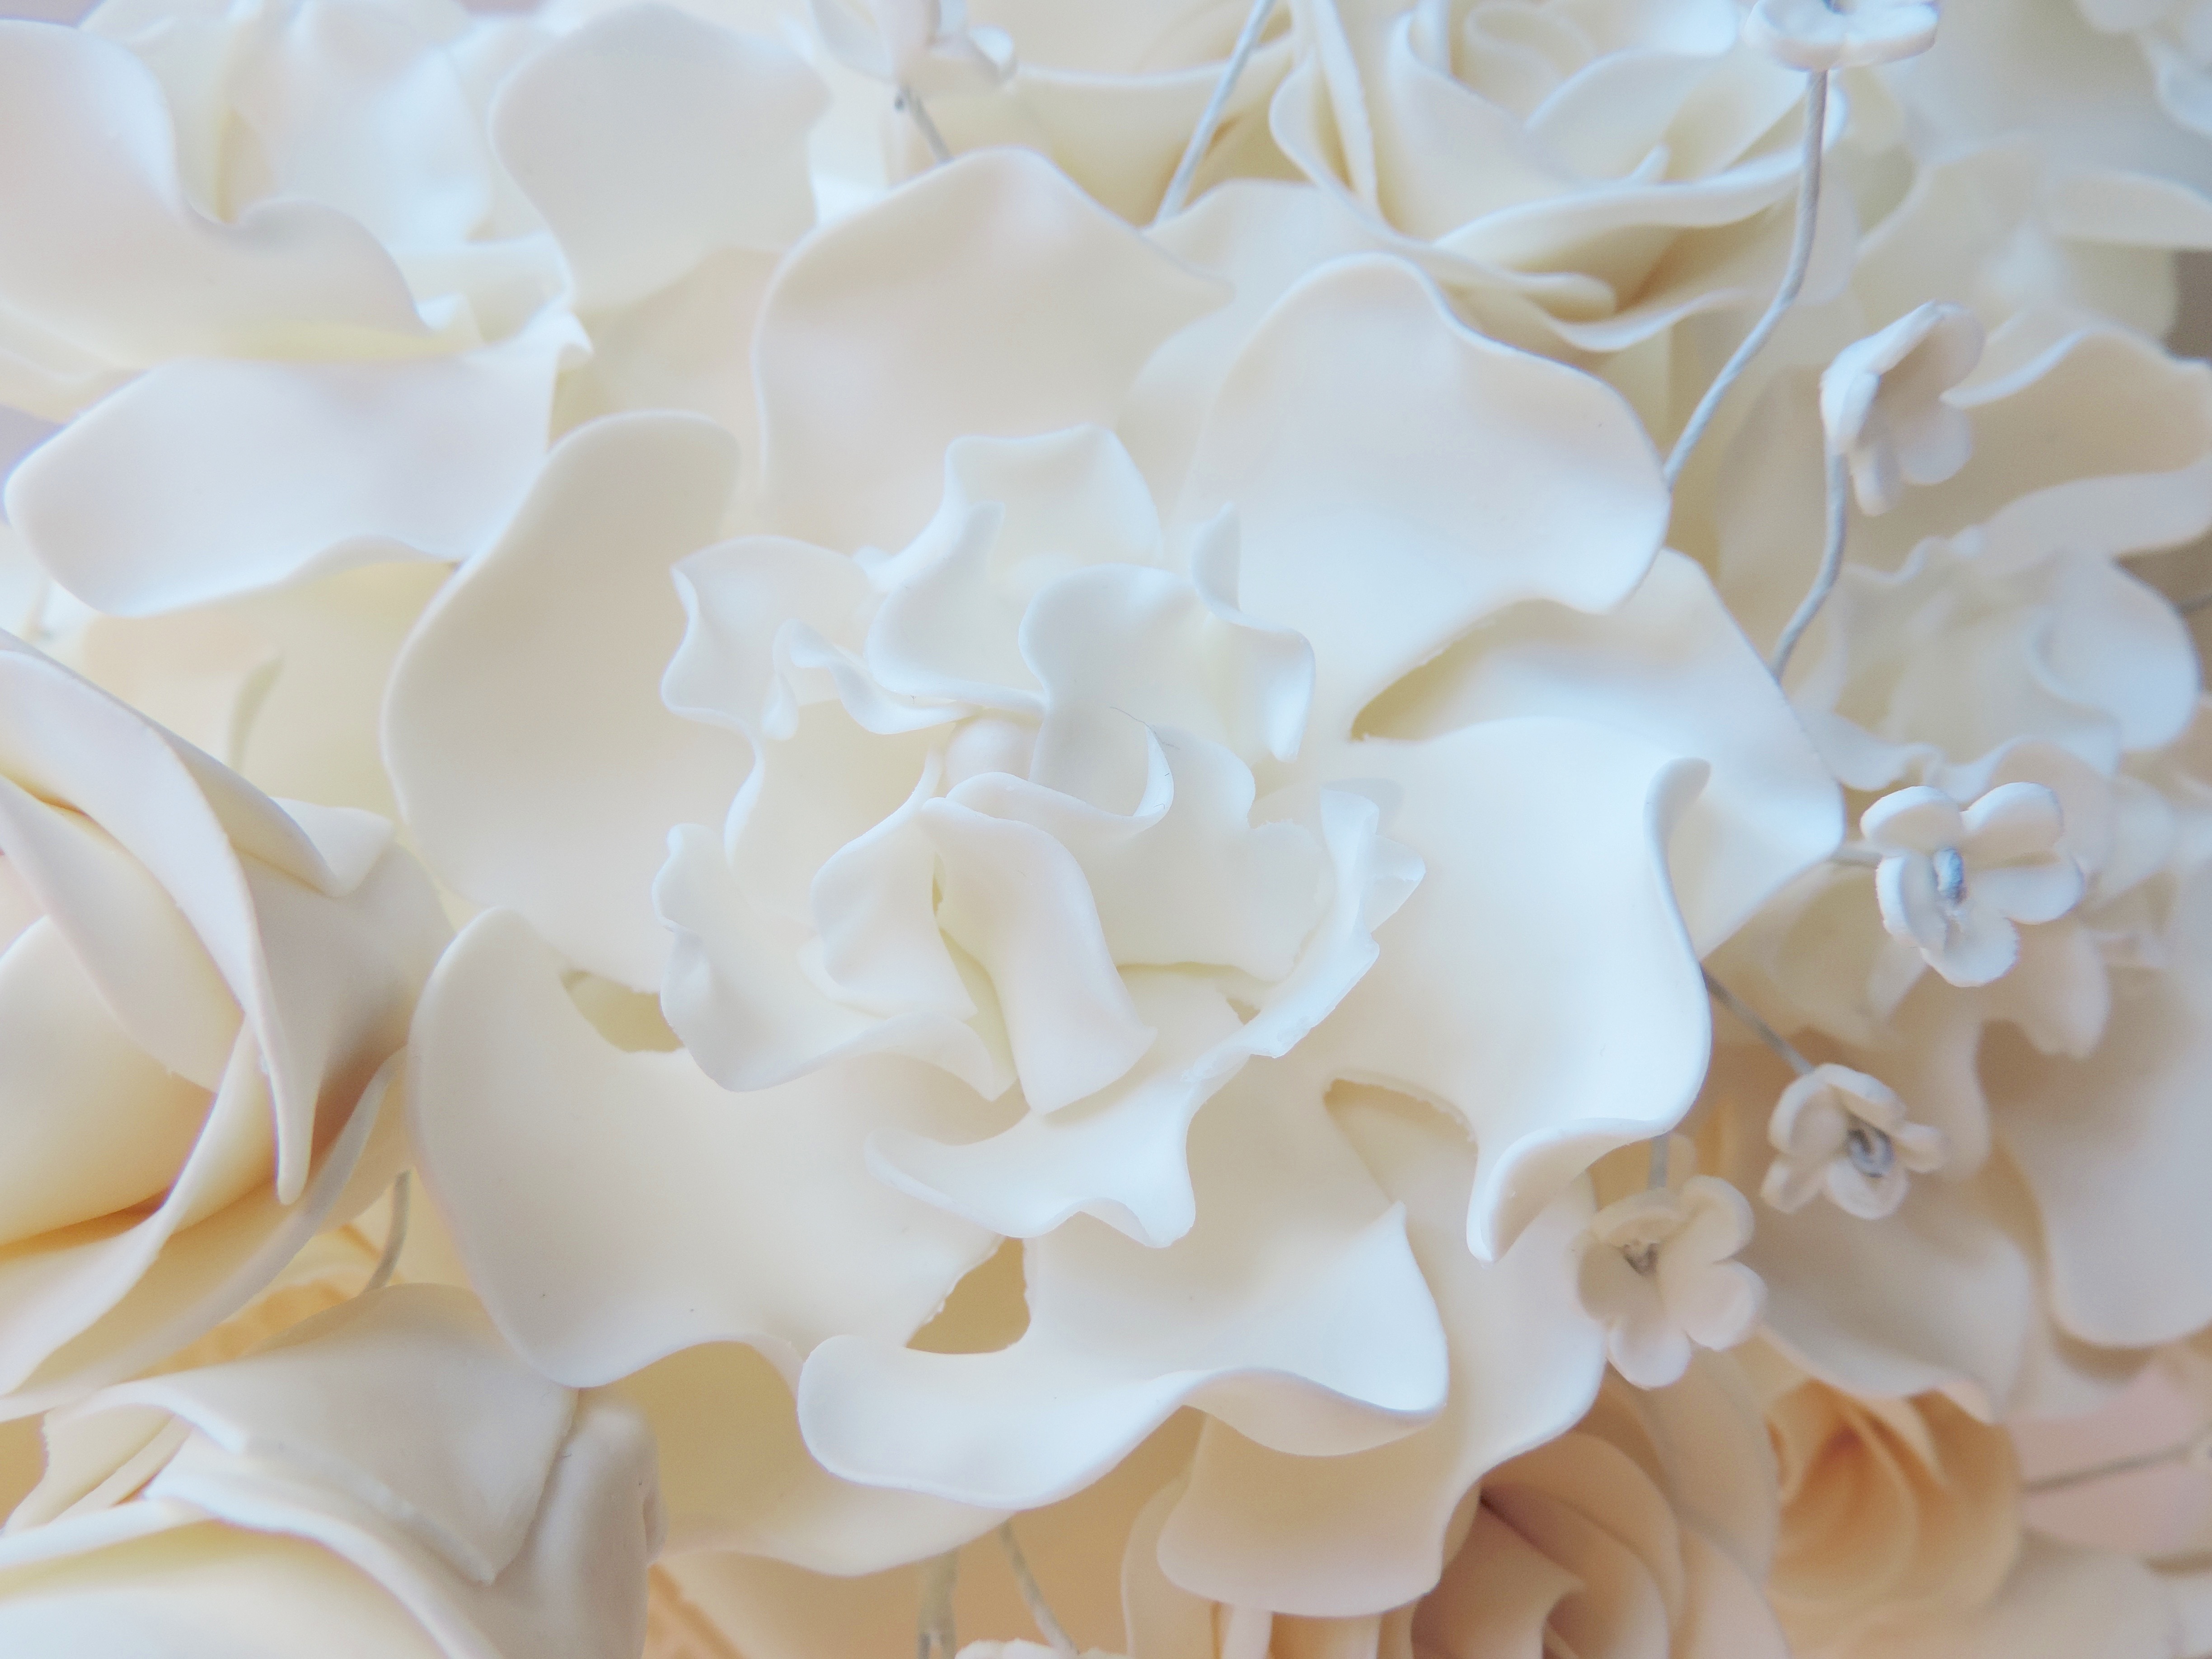

 When my sister asked for treats for a Parisian-themed bridal shower, I just knew what would happen. And, exactly like usual, it happened.