I’ve been trying to decide why I love hockey, and I think it’s because my mother is a nurse. I spent many of my elementary years attempting to fake sick so that I could stay home and watch “Little House on the Prairie,” but alas! To have a mother as a nurse is to never, ever, ever miss a day of school. Her insistence that we muscle through any dribbly noses or rumbly stomachs has created within me an immune system so strong that in 8 years of teaching, I have only succumbed to illness once. (Which reminds me: always get that flu shot. Trust me.) Her no-nonsense attitude has completely rubbed off on me and I’m both ashamed and proud to say that, should someone complain that they have a cold, I might outwardly exhibit signs of compassion, but you can be sure that on the inside, I’m thinking, “Take some Dimetapp and move on with your life already- geez!”
It is commonly known that hockey players are the absolute best when it comes to muscling through pain. And I think my mother would approve. I’ll never forget the sight of Andrew Shaw, a gaping gash across his face, hoisting that cup last year! Now there’s a trooper! Or Keith taking a puck to the mouth, losing teeth, and then finishing the game? I can’t even come up with a sport where they’d do anything like that.
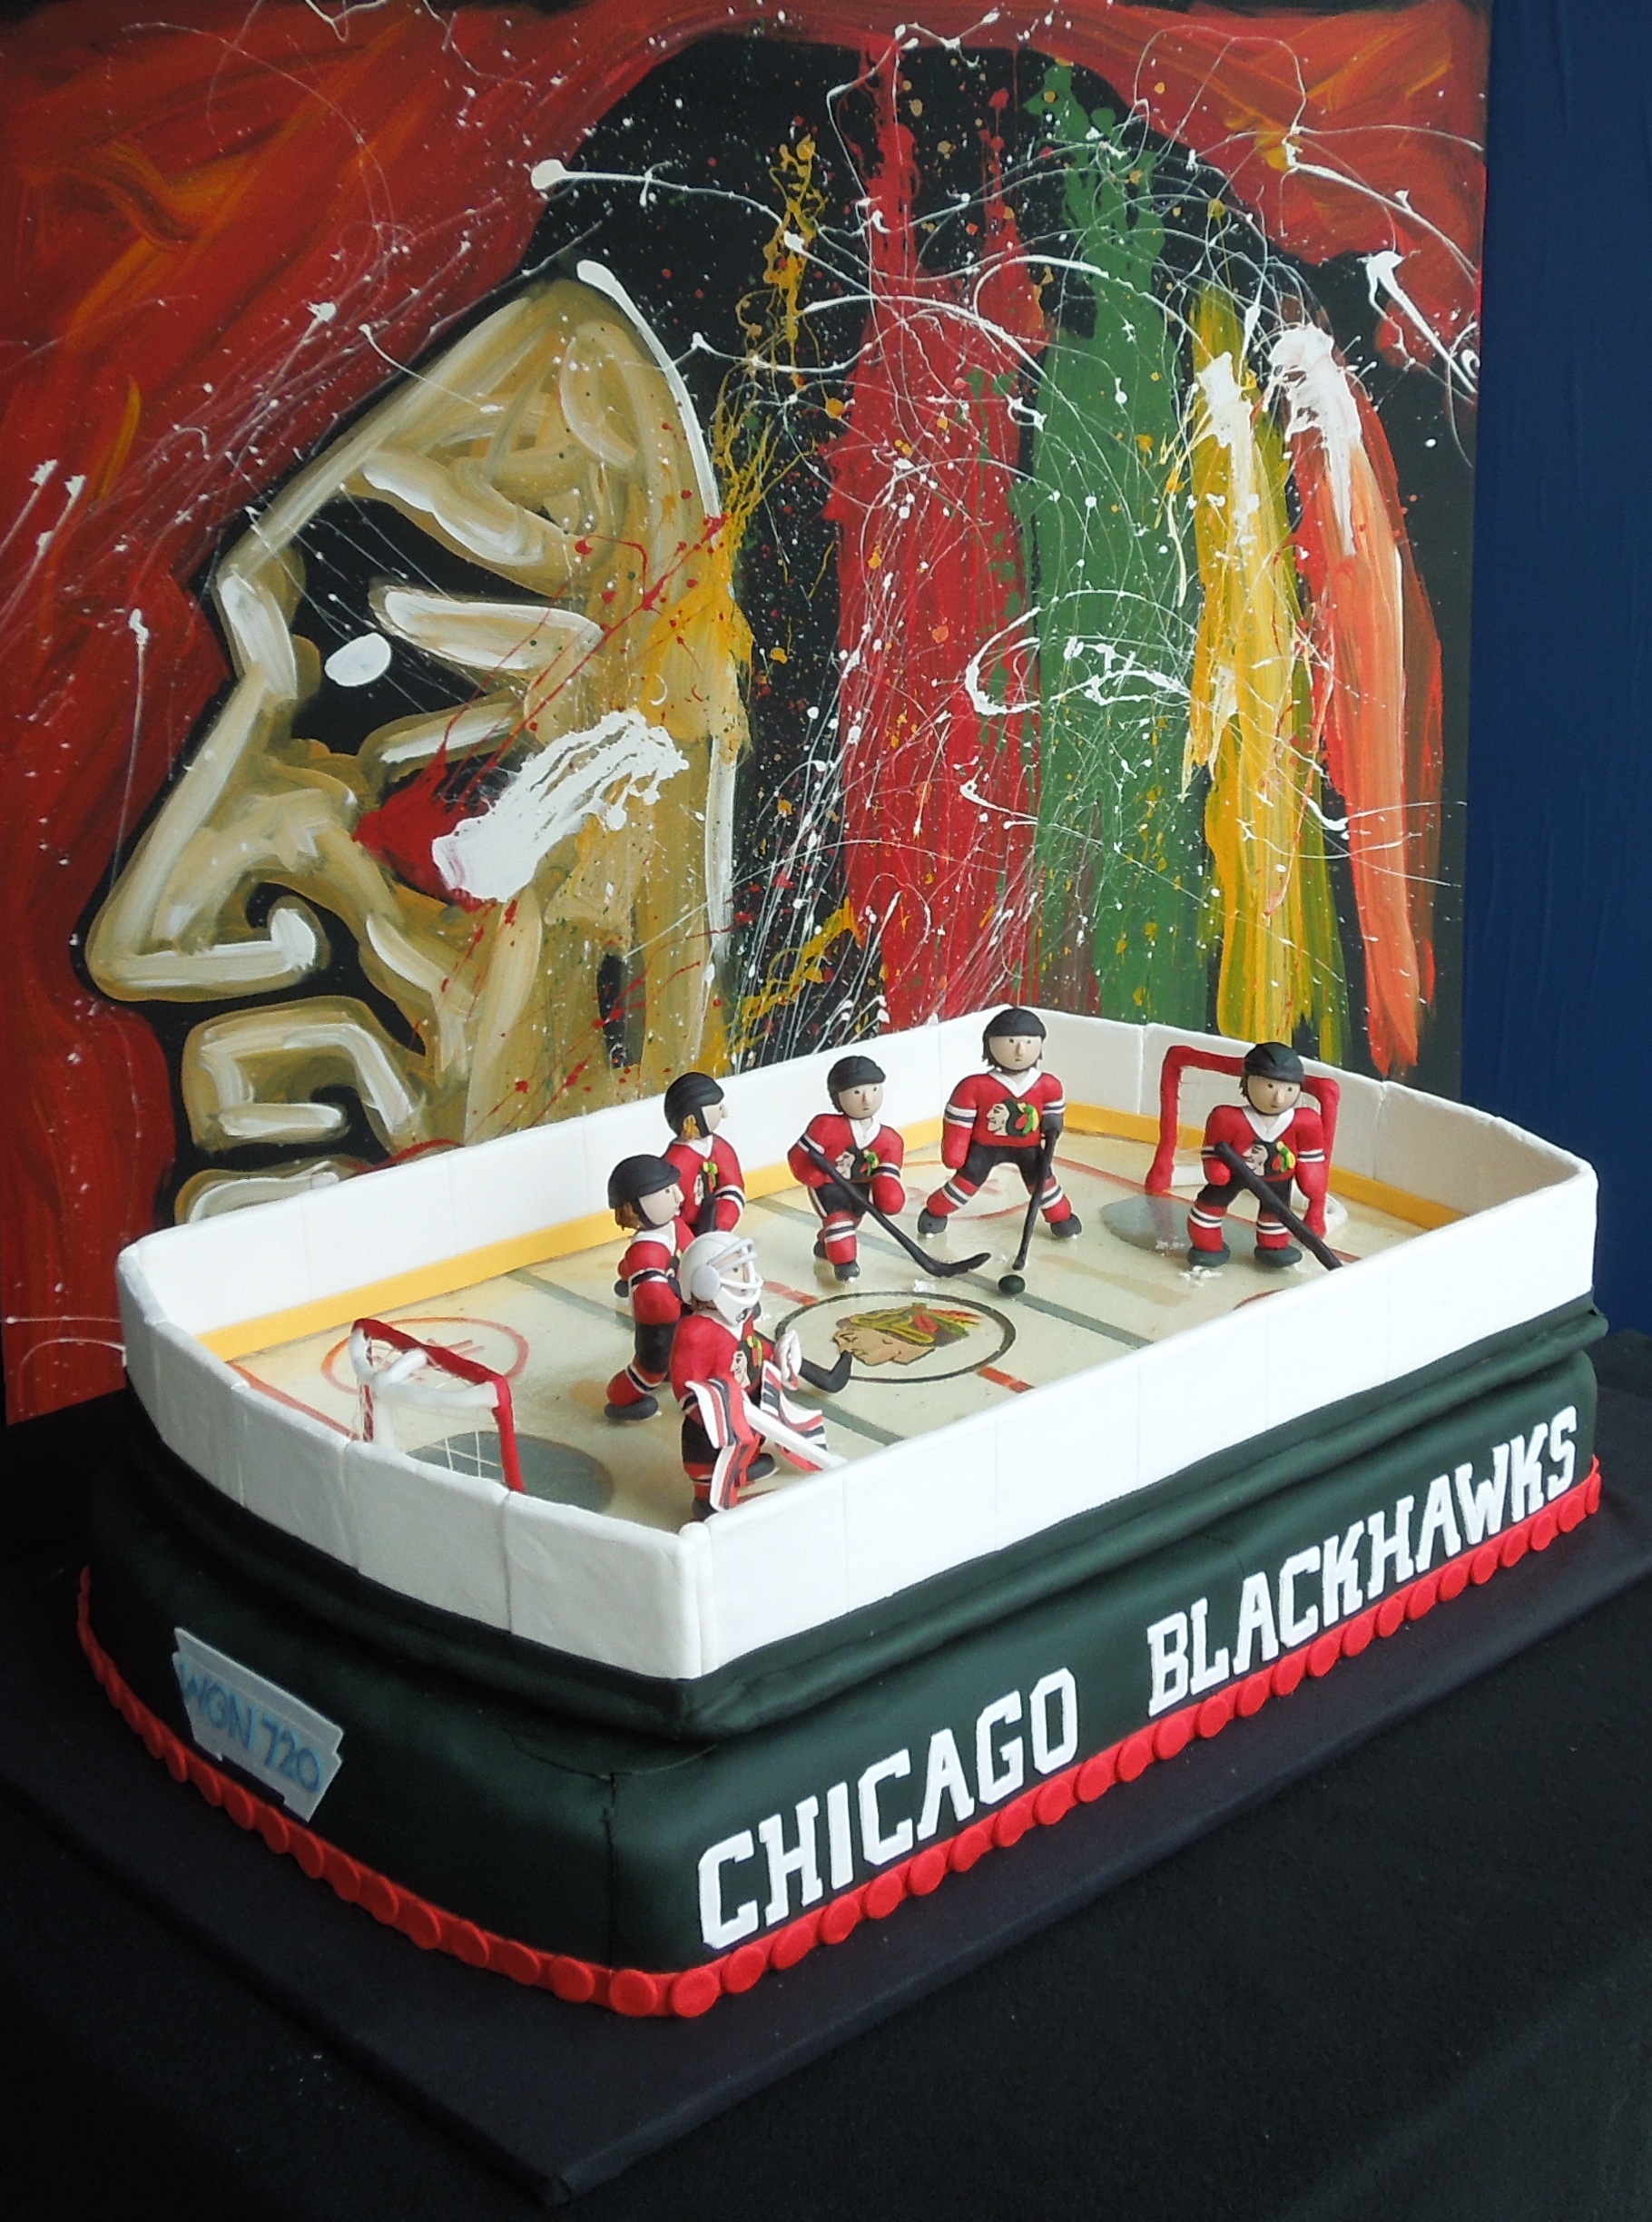
Strangely enough, I have baseball to thank for this hockey cake I made. How richly ironic is that? Baseball: the sport where time stands still and the biggest threat to players are grass stains. Any readers who are baseball fans, please enlighten me as to how I can better enjoy the game. Until then, consider this an open invitation to the high-speed world of hockey, where the players move fast, hard, and even win once in a while.
Several weeks ago, The Cake Boss brought a cake in to Wrigley Field to celebrate their 100th Anniversary. The cake was left out all day for the enjoyment of the fans at the ballpark, and by the end, was deemed not safe to eat (or something like that). It found its way into a dumpster, where someone took a photo, which went viral, naturally. The Cubs just can’t catch a break. Many of my friends sent me the photo, and I jokingly commented to them that I wanted to build a hockey cake, instead! Later that evening, I heard a discussion on WGN radio where the hosts were going on and on about the cake, and about how Wrigley should have eaten it, and aren’t there any bakers in Chicago, anyways? I fired off an email to the station offering to bring in a Blackhawks cake, and- wonder of wonders!- the producer was in touch with me within minutes. And then, a deep gulp: what had I gotten myself into?!
With a ten-day deadline, a regular job to do, and absolutely no knowledge of large cake construction, the project seemed doomed for failure. Luckily, my family is awesome and, as usual, served as my minions. There is absolutely no way I could have done this without them.
STEP 1: CREATE THE RINK
Supplies: foam board, rotary cutter, and fondant
1. Cut out foam board to a “rink” shape.
2. Lay fondant on the board and smooth it out (it was easier to roll it directly on the board than to try and transfer it after rolling).
3. Using a very thinly-rolled fondant, cut out various rink decorations.
4. Create center logo. Keep all these pieces like a puzzle, rather than layers. Make it as flat as possible.
5. Use a black food-safe marker to create highlights on the face and feathers.

STEP 2: CREATE THE “ICE”  (Disclaimer: There may be, and likely is, an easier way to do this. I have no idea what it is though and would welcome suggestions because this was hard. 🙂 )
Mission: Create a clear piece of “ice” that was in the shape of a rink that can lay atop the fondant rink pictured above. I was dead-set on creating this and required it as the “wow” factor.
Difficulty level: Almost off the charts
Success rate: 8 experiments later, we came somewhat close. Result still slightly yellow-ish and bumpy, but seriously, eight tries! Enough already!
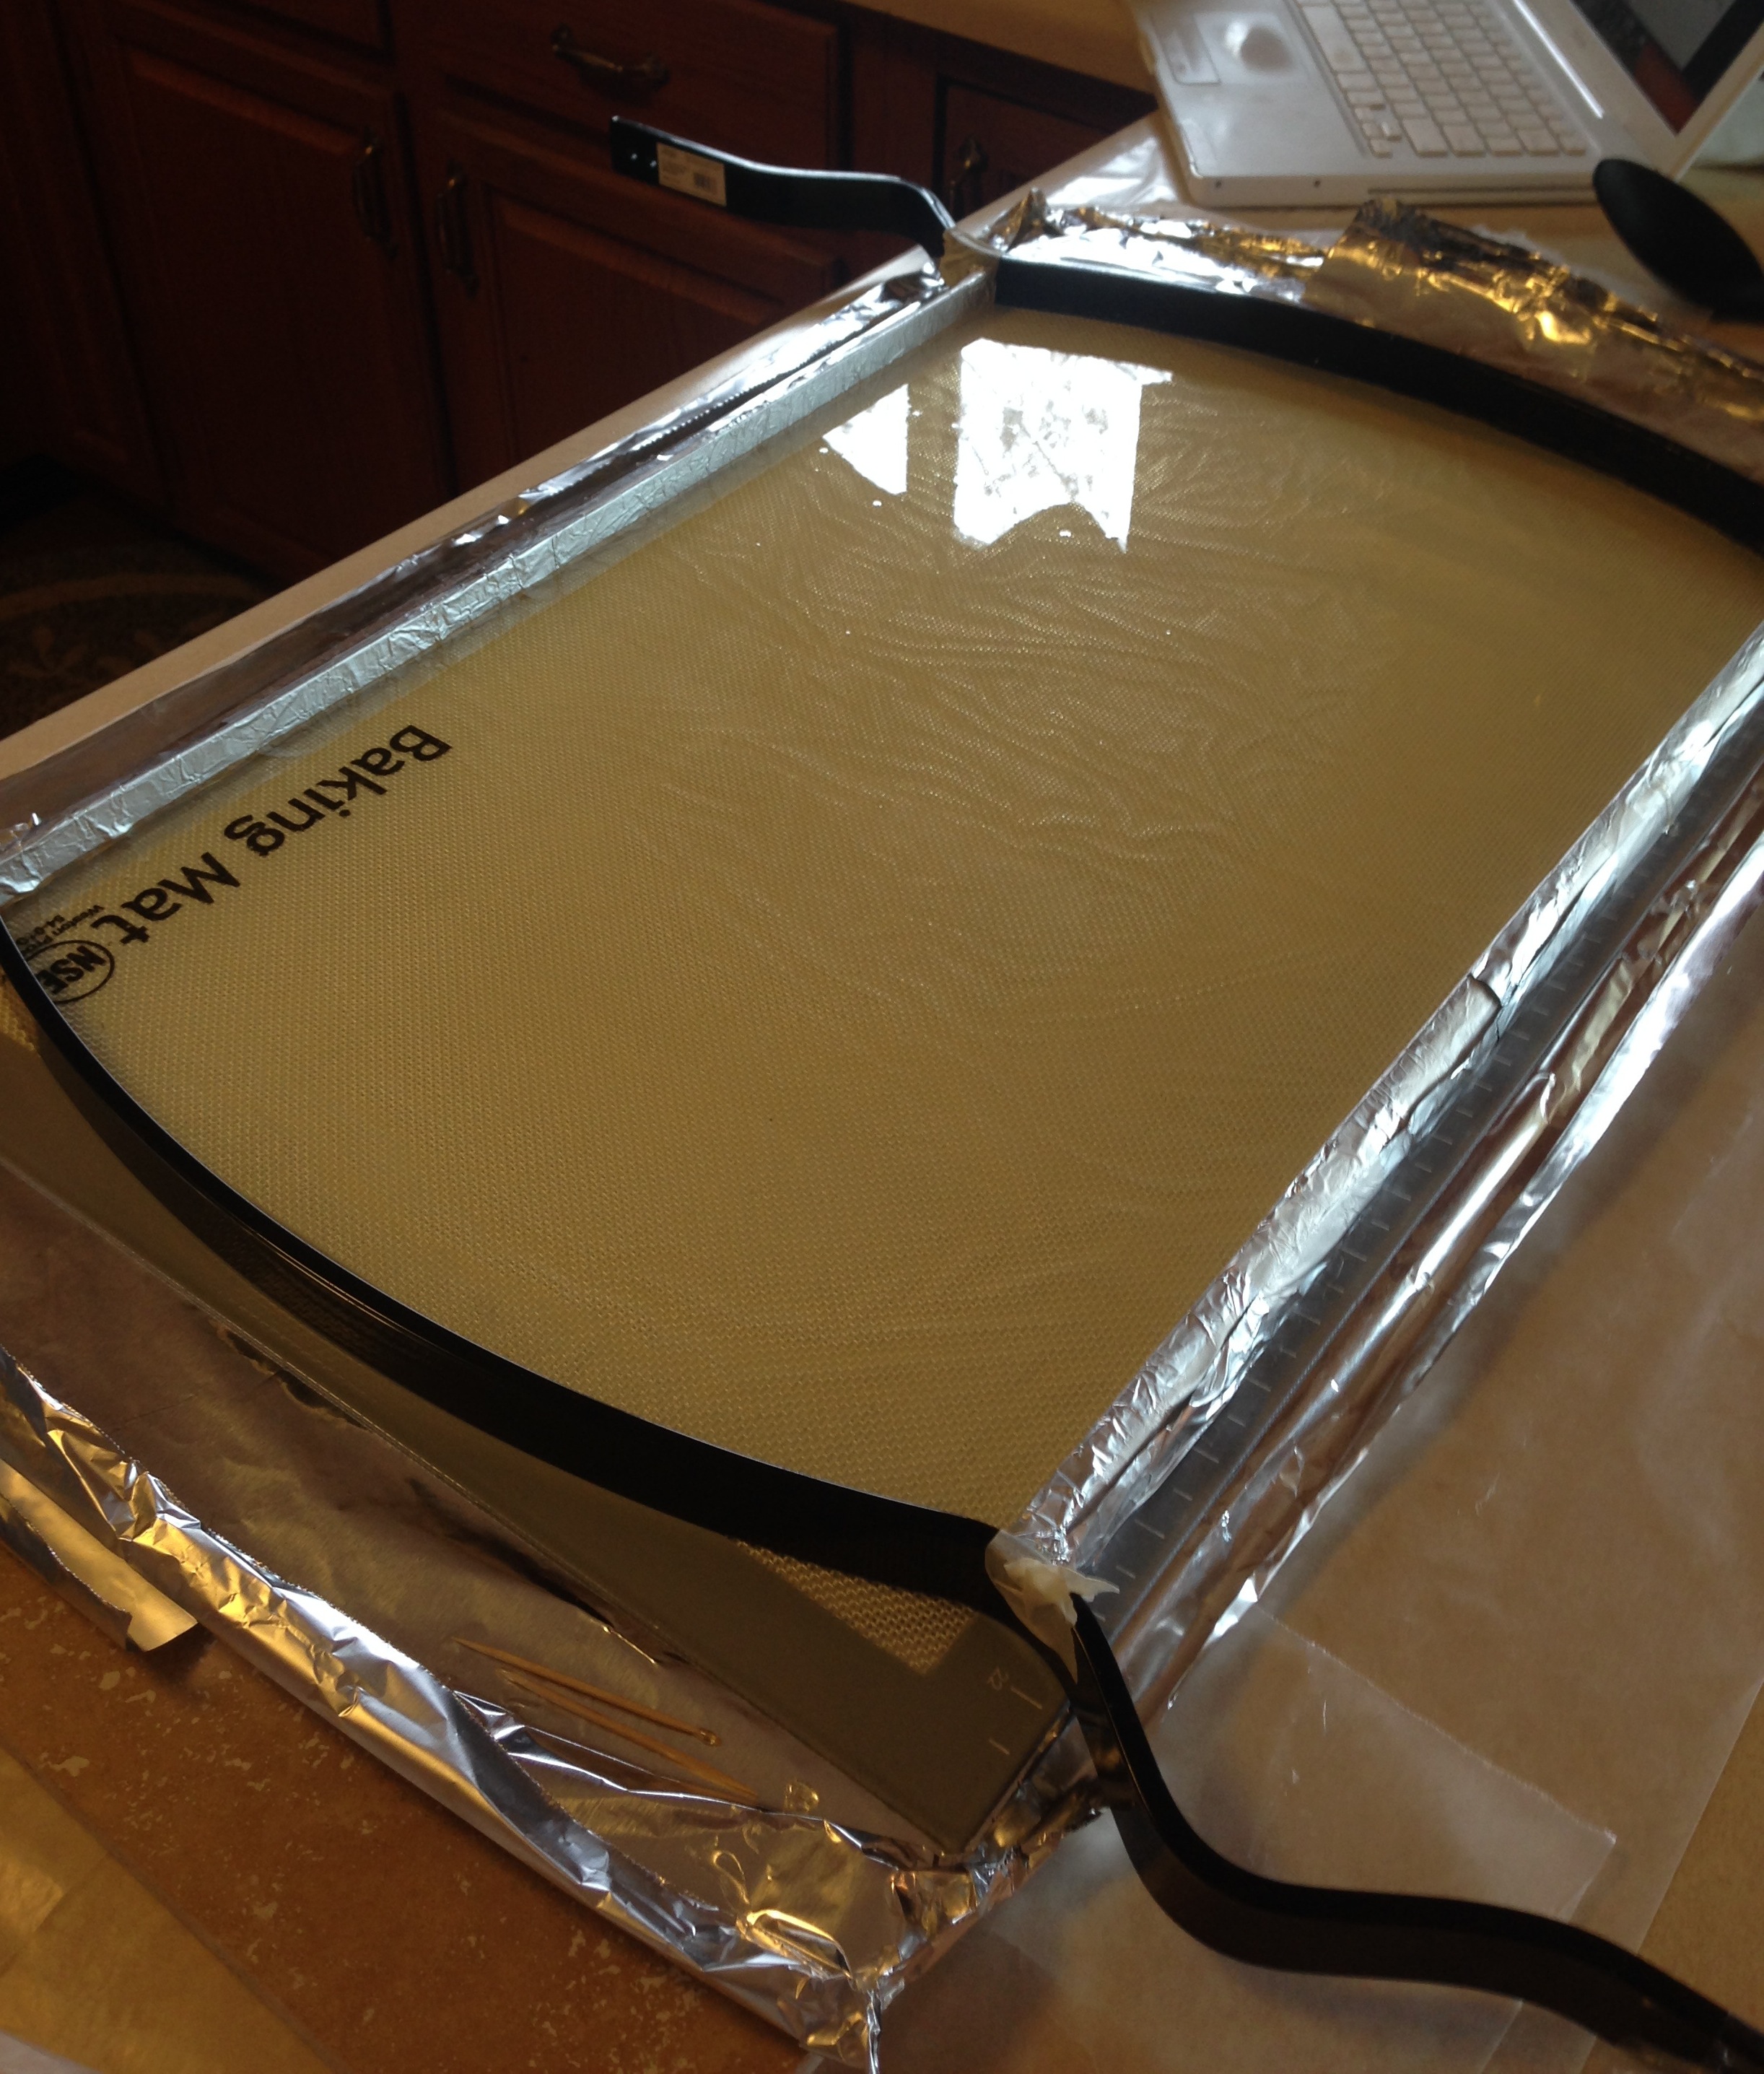
1. Bottom surface: Granite (don’t have granite, like I don’t? Buy some garden thingies from Menards!)
2. Lay foil across stone tiles
3. Lay nonstick mat atop foil (that’s me, always food-safe!)
4. Create a barrier that will hold in the boiling sugar and allow it to harden into the shape of the hockey rink (For my barrier, we improvised and took a trip to Menards. We found black metal pieces with a gentle curve (somewhere in the fencing department) and then had a gentleman cut a piece of wooden molding down to the required size (2 feet). We wrapped the wood pieces in foil, coated the foil in crisco (so that the hardened sugar wouldn’t stick to it), and laid them carefully on the mat.)
Method: Cook sugar according to recipe (I used this one). Make sure you have a good candy thermometer- the temperatures listed on the device are extremely important and even a few degrees’ difference is enough to throw off the entire batch (I repeat: we did this EIGHT times). Here are three of the failed attempts. The first we cooked to the marking for “Hard Crack” (310°F). It was clear as we poured it but it turned brown about halfway through- apparently it continued cooking even when off the flame. Attempt 2 we cooked to “Hard Ball” (250°F). As you can see, it was too droopy. Attempt 3: cooked without corn syrup in an attempt to get rid of yellow tinge. Didn’t work- the corn syrup is important in getting rid of all the granules of sugar. This photo shows how cloudy it was, even after half an hour of cooking!


The final result that we used was “Hard Ball” (285°F). We poured it out and then let it sit for an entire day. Then we gently removed the side pieces, and luckily, it stayed in place! This one was the winner! Here’s a photo of the sugar right after it was poured:
 STEP 3: CREATE PLAYERS
I created body pieces out of red gum paste, and allowed them to harden for several days. Then, using red modeling chocolate, I added another layer to create the uniform. Once the pieces were mostly covered in modeling chocolate, I stuck a little bit of white gum paste in between to hold the leg (or arm) to the torso. Then, I covered the entire joint area with modeling chocolate and allowed it to harden for several days. (My lineup of players lived in this pan while drying. I checked on them frequently to make sure they were behaving and not falling over.)


Each player had an individual stance and therefore, his own personality. The Toews figure turned out to be the most reliable one, which amused me greatly. (It’s the little things in life.) Every time I had to pick up one of the others, I looked over at #19 and thought, “Well isn’t that just like him. Always the responsible one, getting it done.”
 I was so utterly lost for time that I even packed up a little kit to work on while attending my dad’s spring band concert! My last guy came to the concert as a lump of modeling chocolate, and left a player. Not easy to do by the flickering candlelight, but the deadline loomed and I was motivated by the thought of them showing an incomplete cake.


STEP 4: CREATE NETS
Using a heavy gauge floral wire, I sculpted two hockey nets. They were then covered in white fondant. My mom, a whiz with fabrics, created the net with a bit of string. Then she covered the remaining portion of the nets with red modeling chocolate.
STEP 5: PUT THE RINK TOGETHER 
Once the white fondant was dry, and the sugar-ice was hardened, it was time to lay it on top and see if it worked! This picture pretty clearly shows the yellow cast of the ice. 
Once the ice was down, it was time to create the walls of the rink. These were foam board covered in fondant and stuck into the rink using toothpicks. Unfortunately there are no photos of this part! WE’RE RUNNING OUT OF TIME!!!
STEP 6: MAKE THE CAKE
Here’s the most awful part about cake decorating: there are certain things that you have to do last minute. Like putting the cake together. Sure, I can make the parts in advance, but one doesn’t quite know how it will work until the actual cake is there! Luckily, my mother is an absolute angel and she baked twelve cakes while I was at work. Twelve!
Once the cakes were carved and frosted, it was time to cover with fondant. I decided to cover the top with one piece, and the sides with separate pieces. If I had the luxury of hiring someone, this would be their #1 job because I am absolutely awful.
Don’t forget to put supports in the cake so the rink doesn’t come crashing through! 🙂


STEP 7: PUT IT ALL TOGETHER!
Here’s a handy dandy photo that shows the many layers of the cake:

STEP 8: TRANSPORT DOWNTOWN


STEP 9: SET UP CAKE IN WGN SHOWCASE STUDIO


Check back for my next post that will describe my experiences at WGN! I was able to bring the cake into the studio, talk on the air with Garry Meier and Tom Skilling, and leave the cake in the Showcase Studio window for passersby to see! I am so grateful to WGN for this awesome opportunity- it was a lot of fun and something that I’ll never forget! In the meantime, tune in to the podcast, available here: http://wgnradio.com/2014/05/07/garry-meier-full-05062014/ (beginning around the 3rd minute).
Oh yeah: GO HAWKS!

Like the Blackhawks? Check out some other goodies I’ve made here:
– Blackhawks/ hockey-themed iced cut-out cookies
– Blackhawks logo cake
– Life-sized puppy cake for player Bryan Bickell’s foundation
– Blackhawks jersey cookies

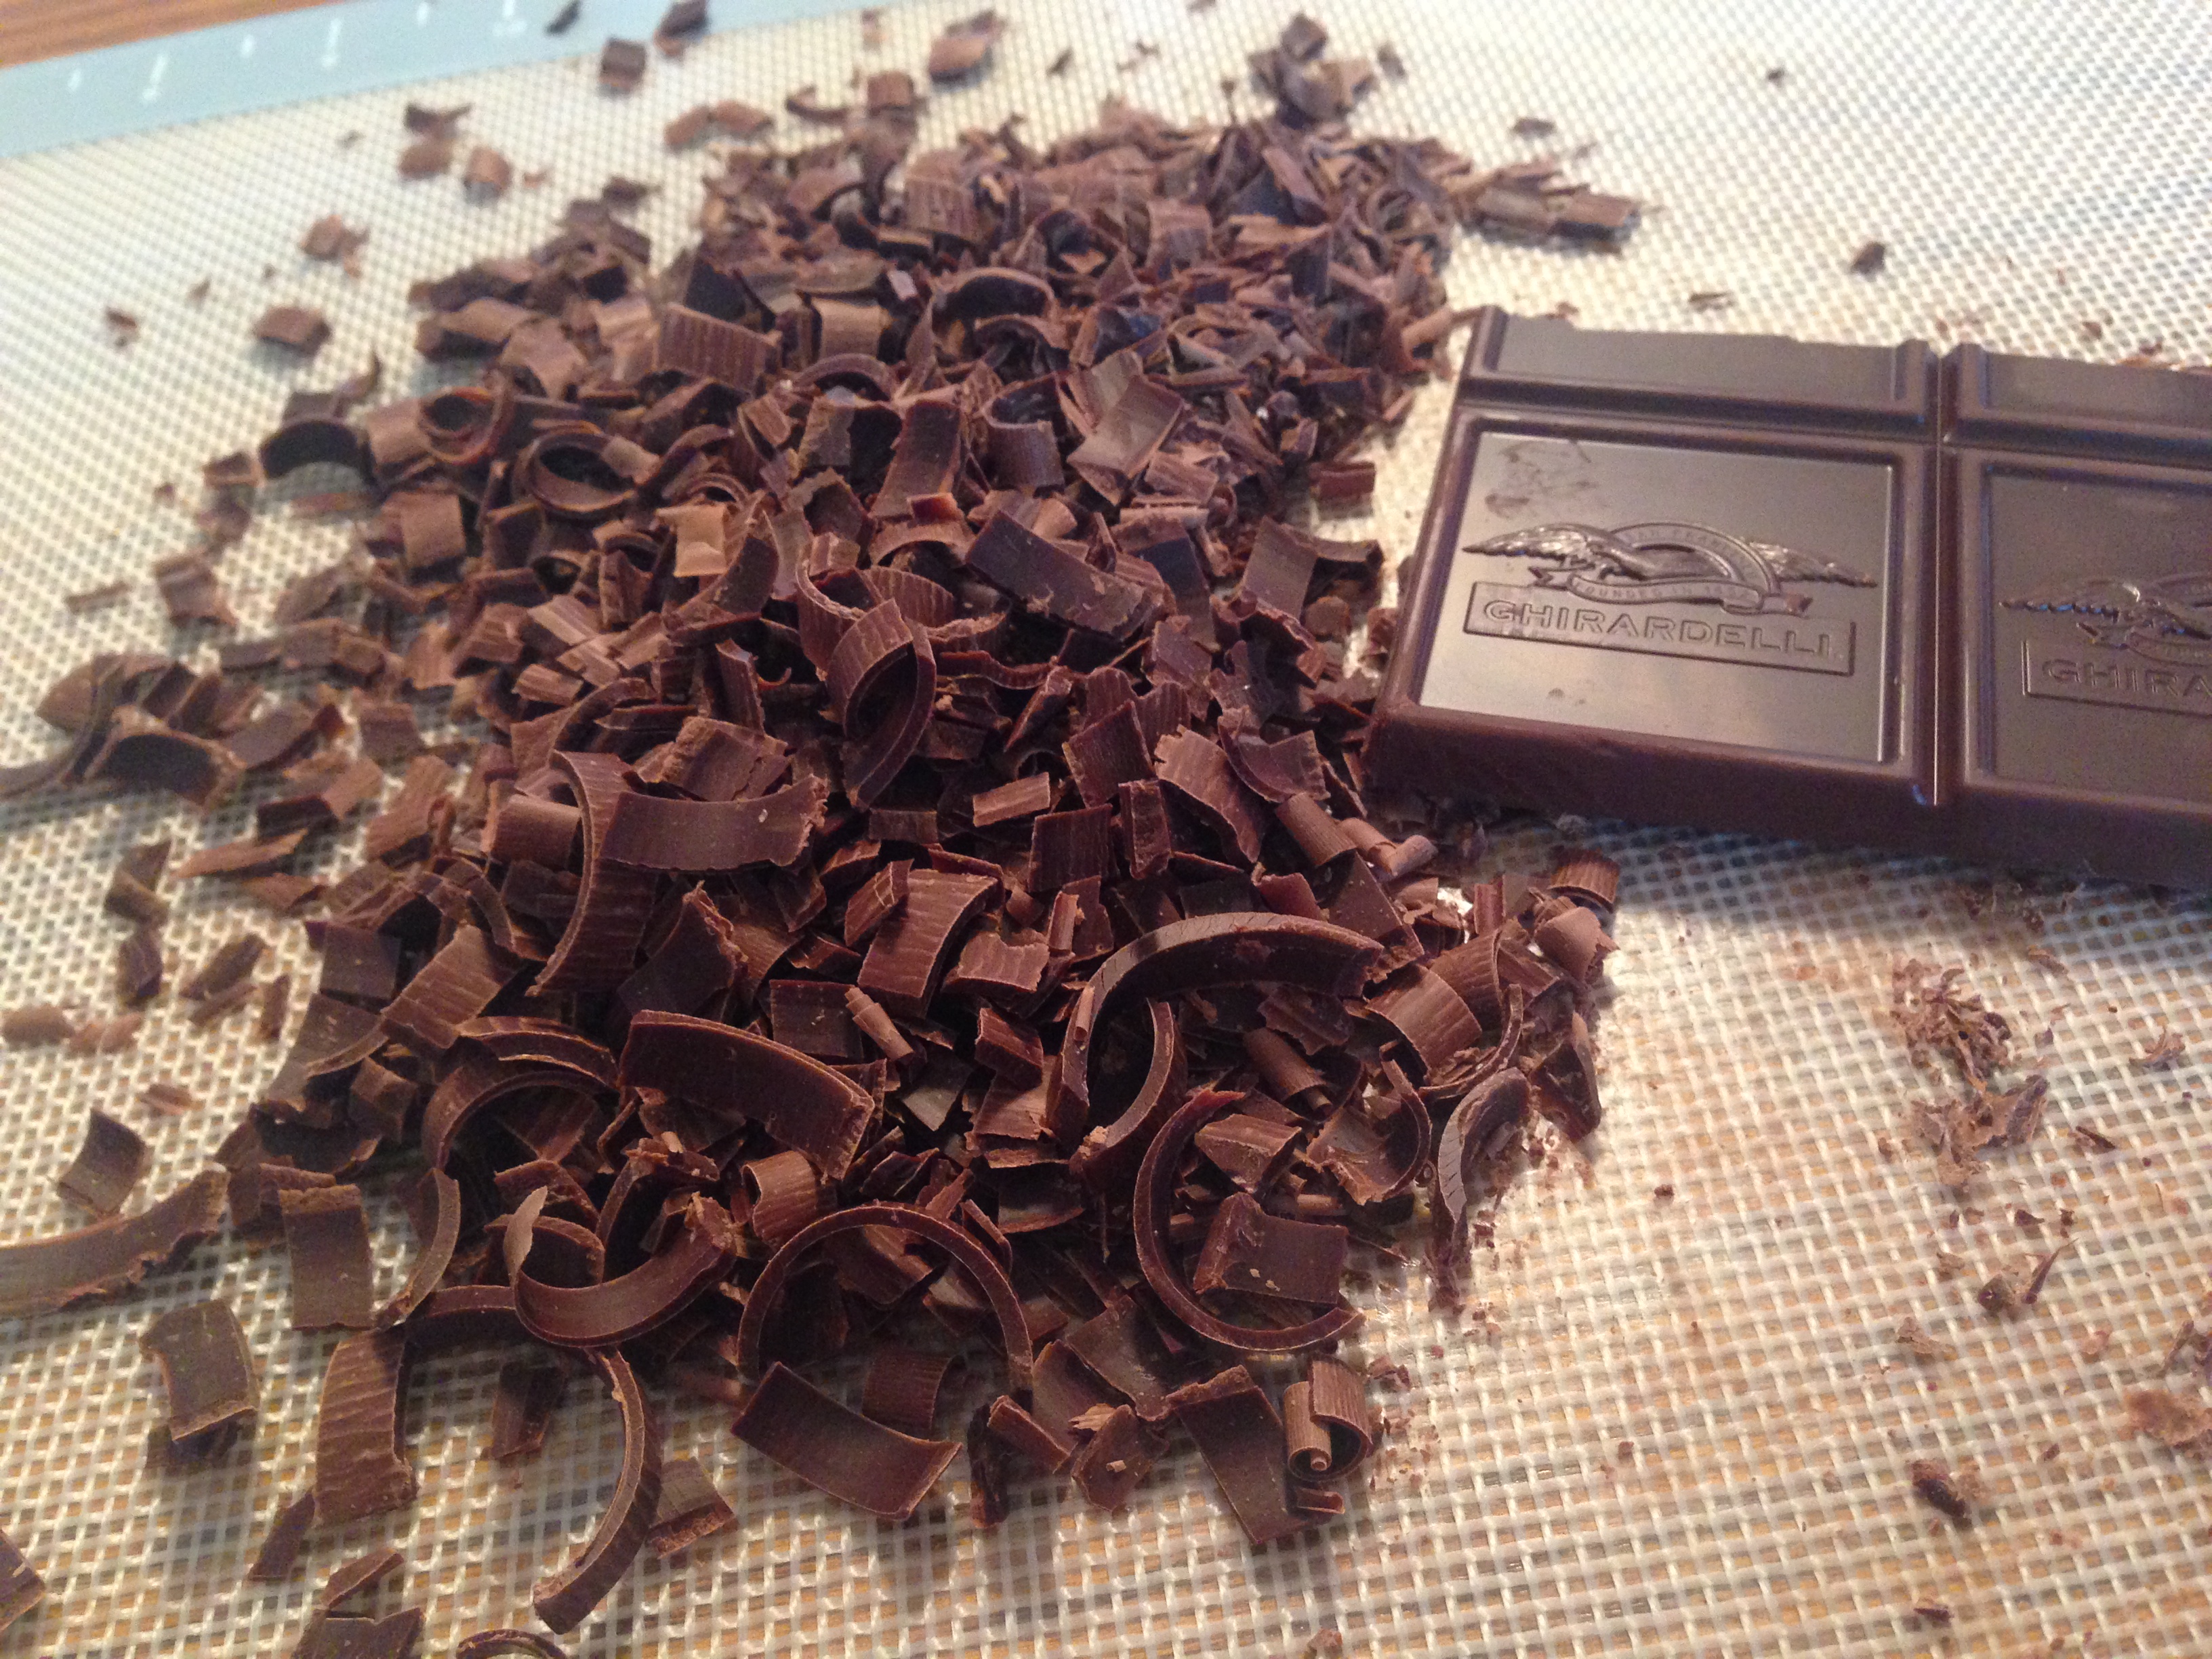 “All you need is love. But a little chocolate every now and then doesn’t hurt.” (Charles M. Schulz)

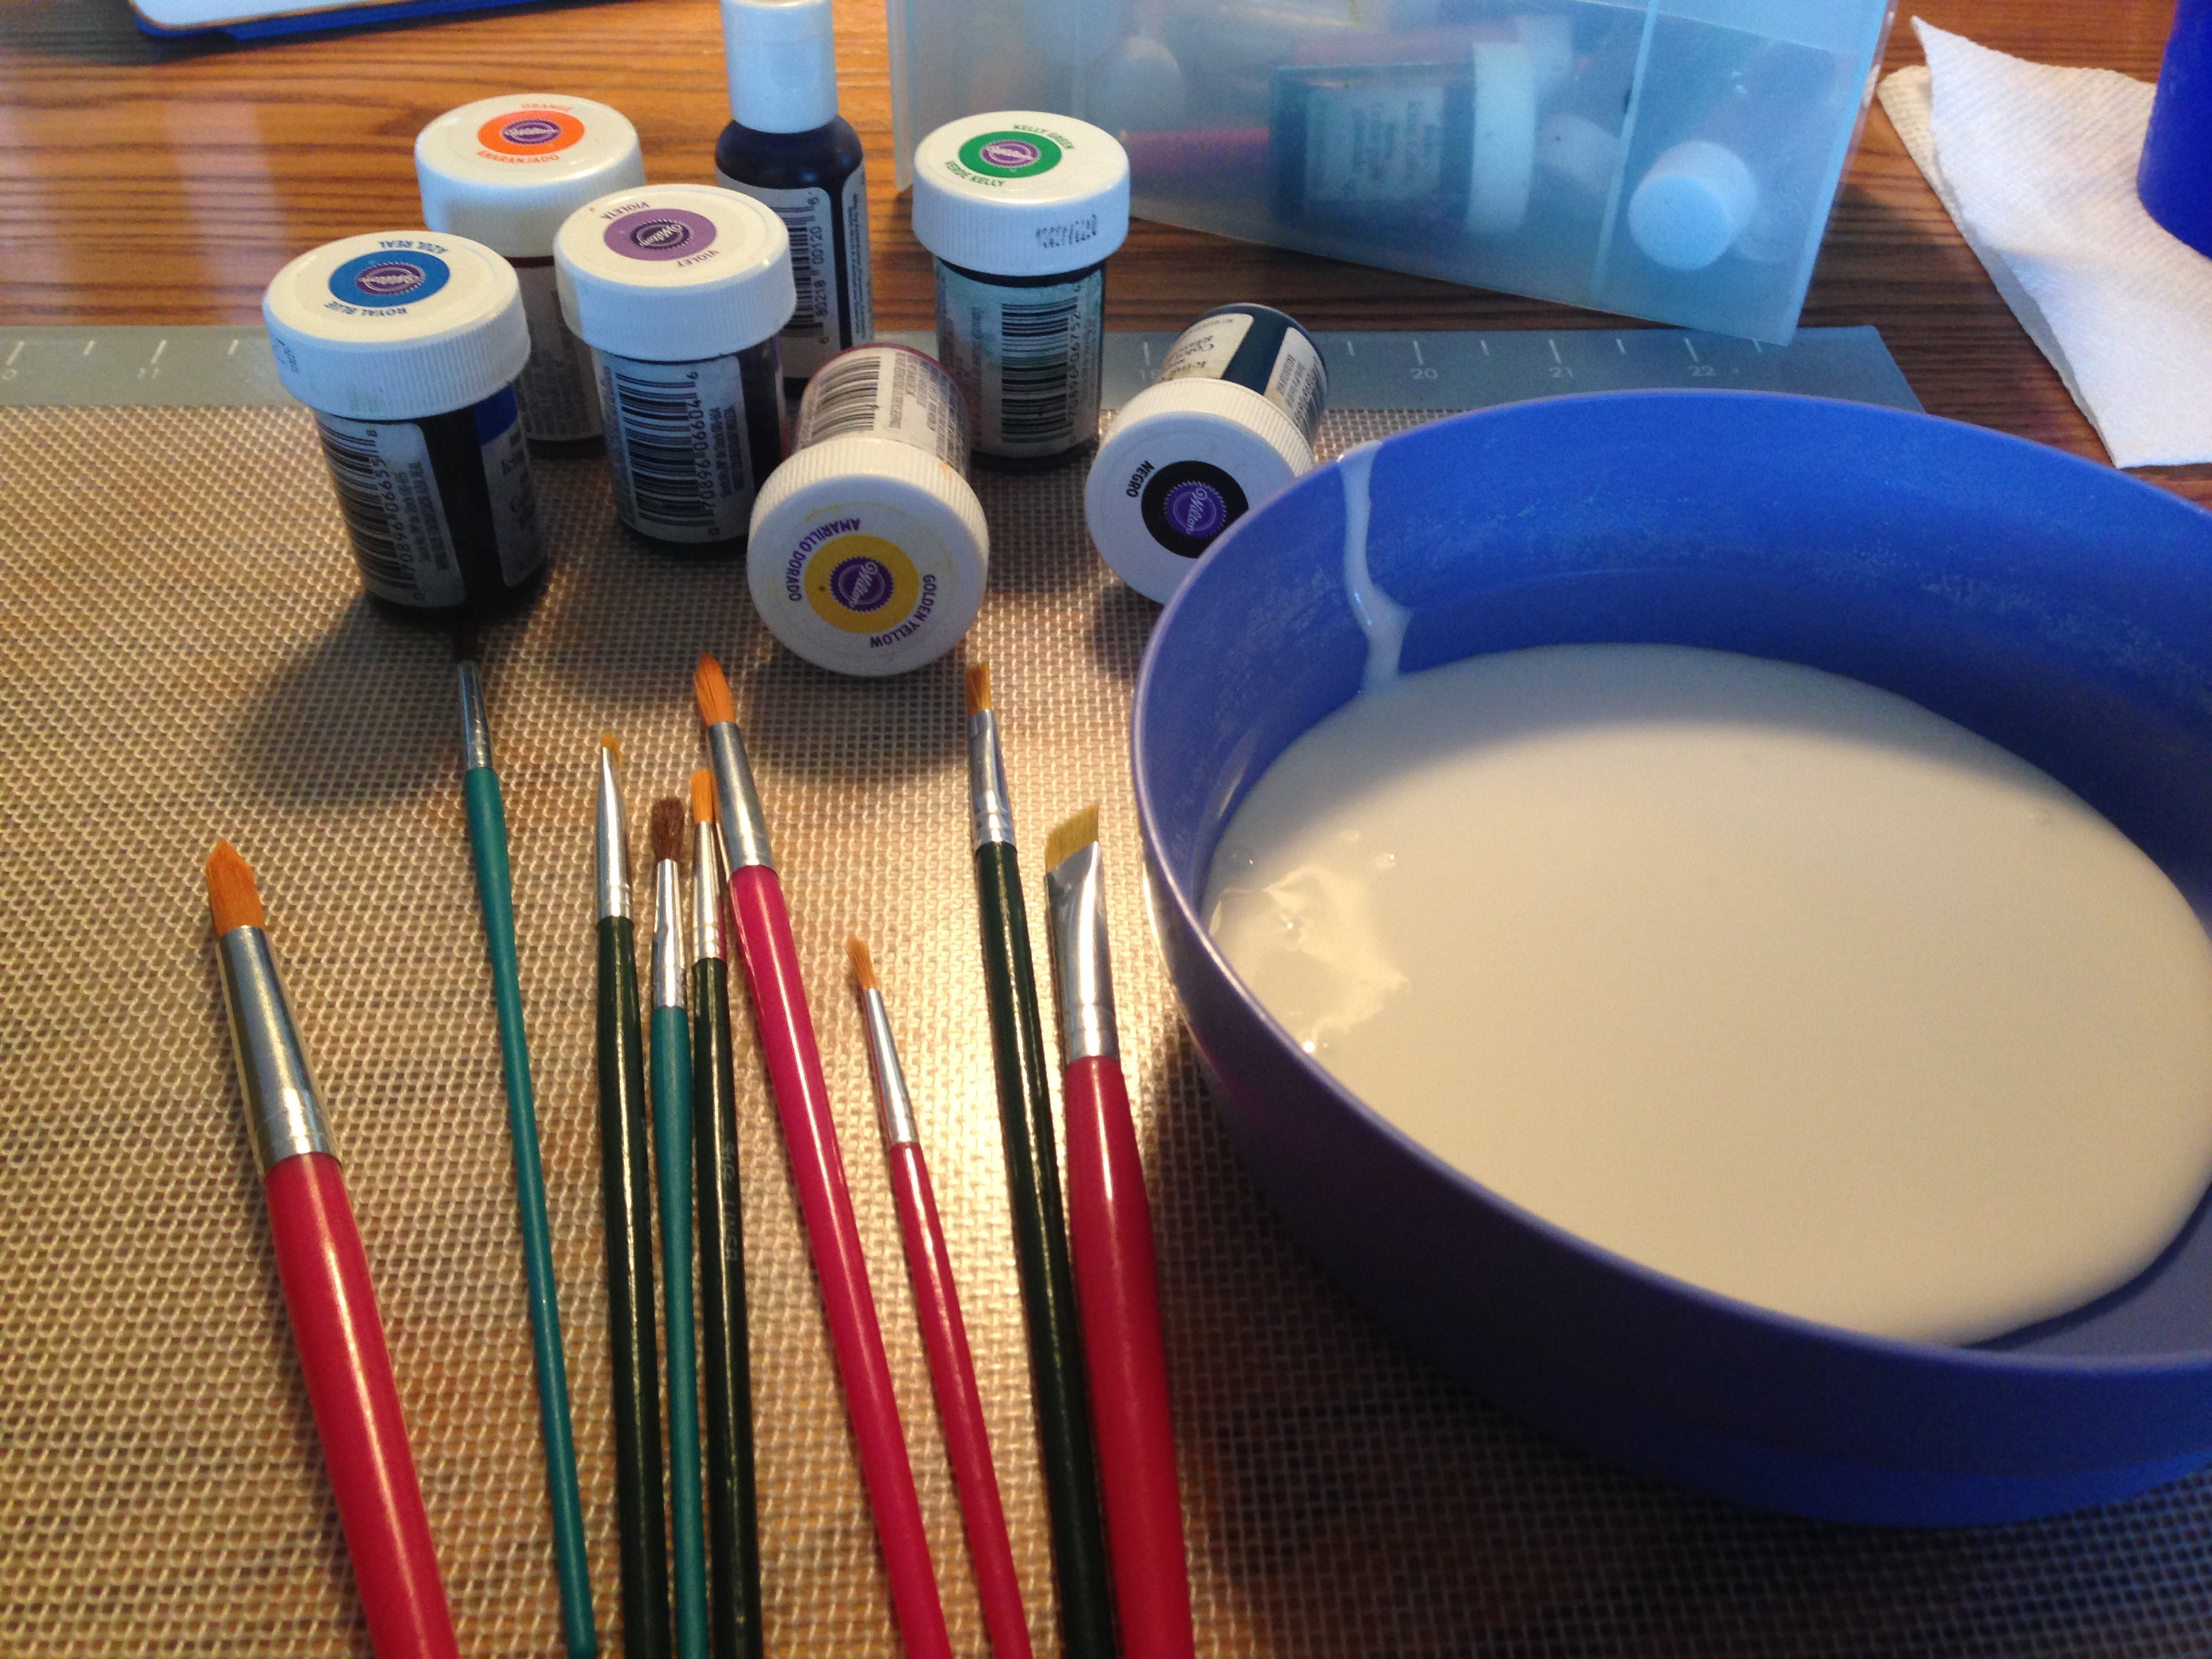
 Here’s an inside look at my high-tech photography studio! I made this cake at my parents’ house and used my mom as a human shadow-blocker. Thanks, Mom! 🙂


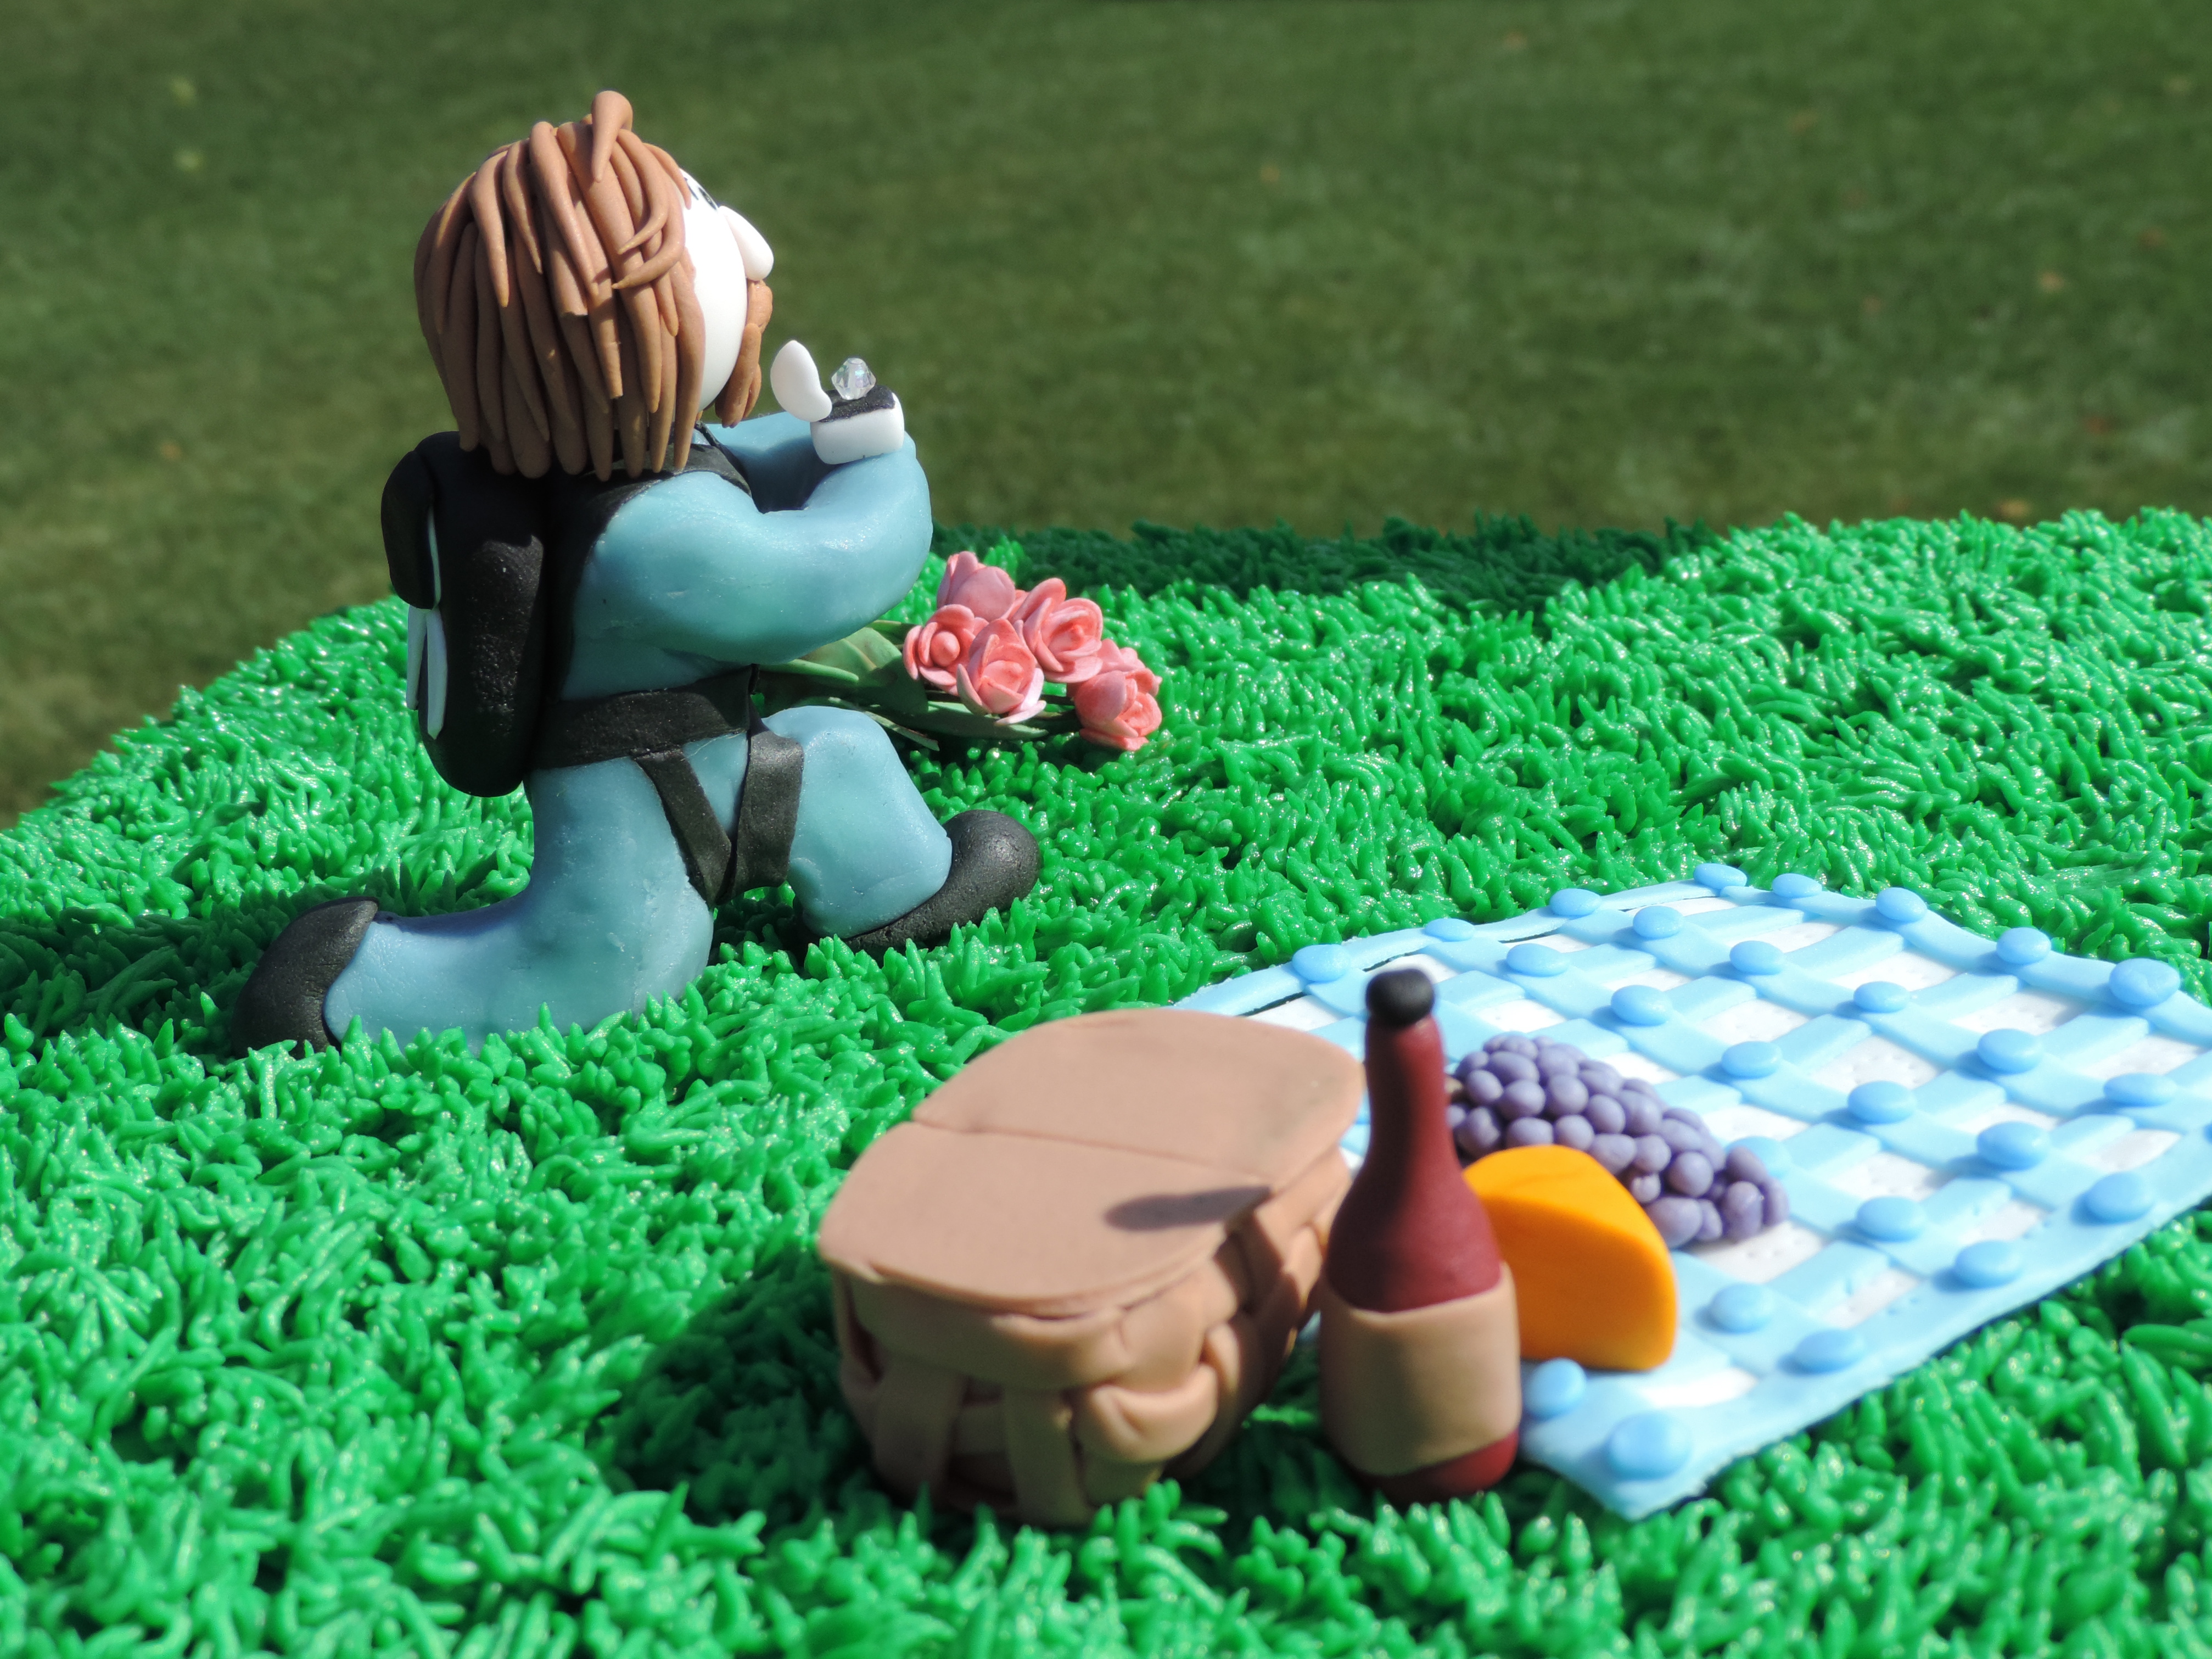
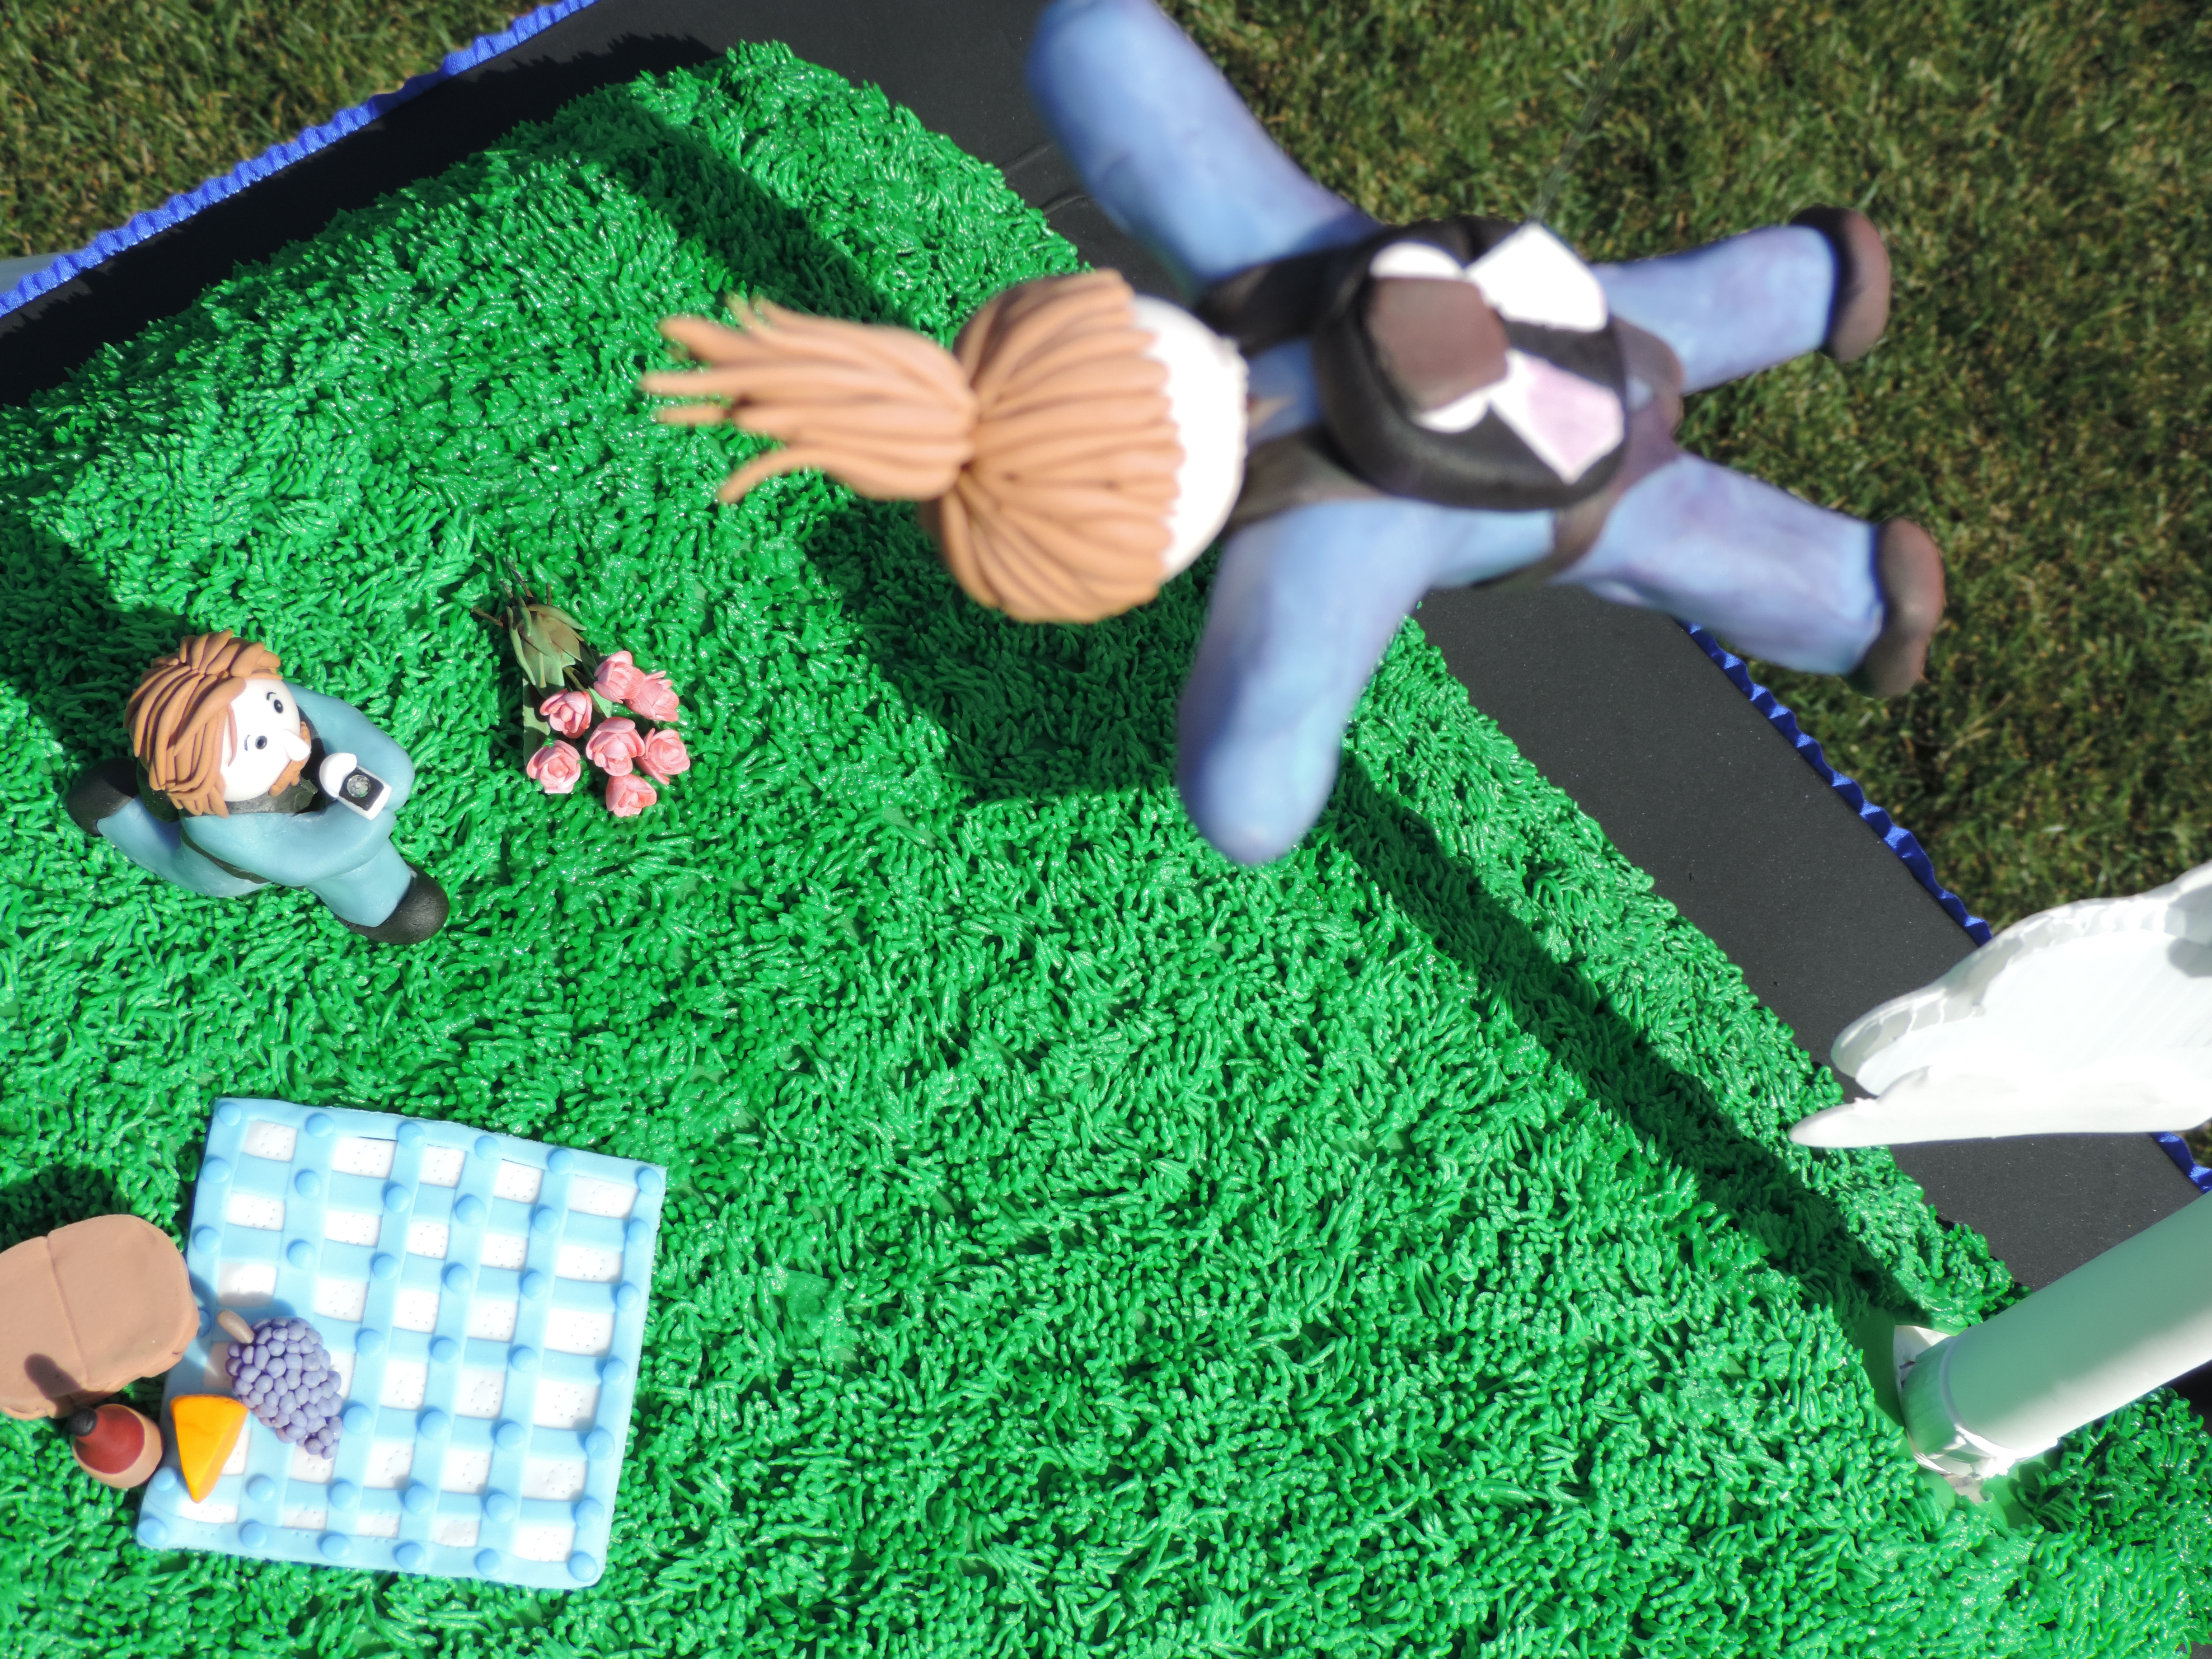
 And so began the hunt for materials. How does one make a plane suspended from the sky? Ideas were swimming around inside my brain until my Technical Director, er- I mean- my mom, and I finally went to Home Depot. We had the good fortune of running into the most creative and helpful employee in the place. “I’m making a cake, and it needs to have a plane suspended in midair. And a girl skydiving off the plane- so I want her suspended, too. The actual cake will be the hill underneath the plane.” I paused. “Do you have any ideas?”
 And next comes the cake! The wooden base was covered in black fondant, and then I put down a cake board. I then covered with several sheet cakes, cut up another sheet cake to make an angled side, covered with frosting and fondant, and then piped on the grass:
  And voila! You have a skydiving cake!


 *
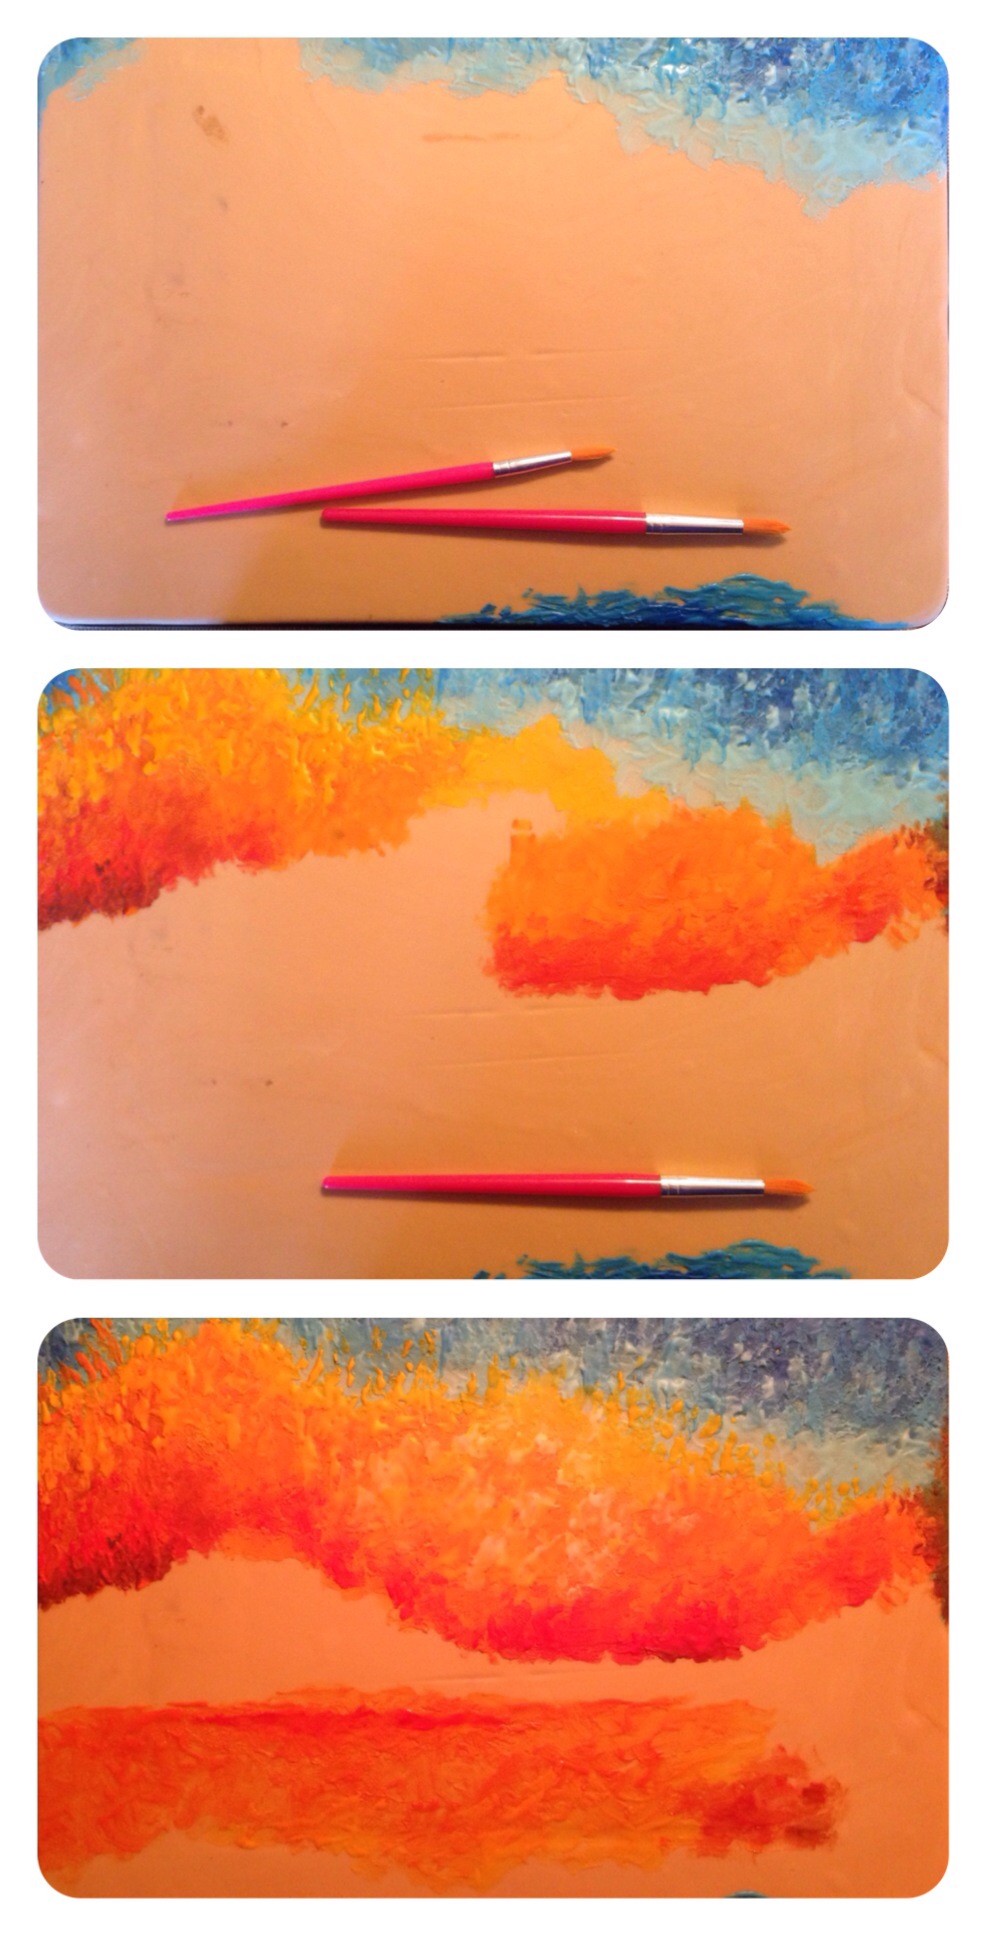
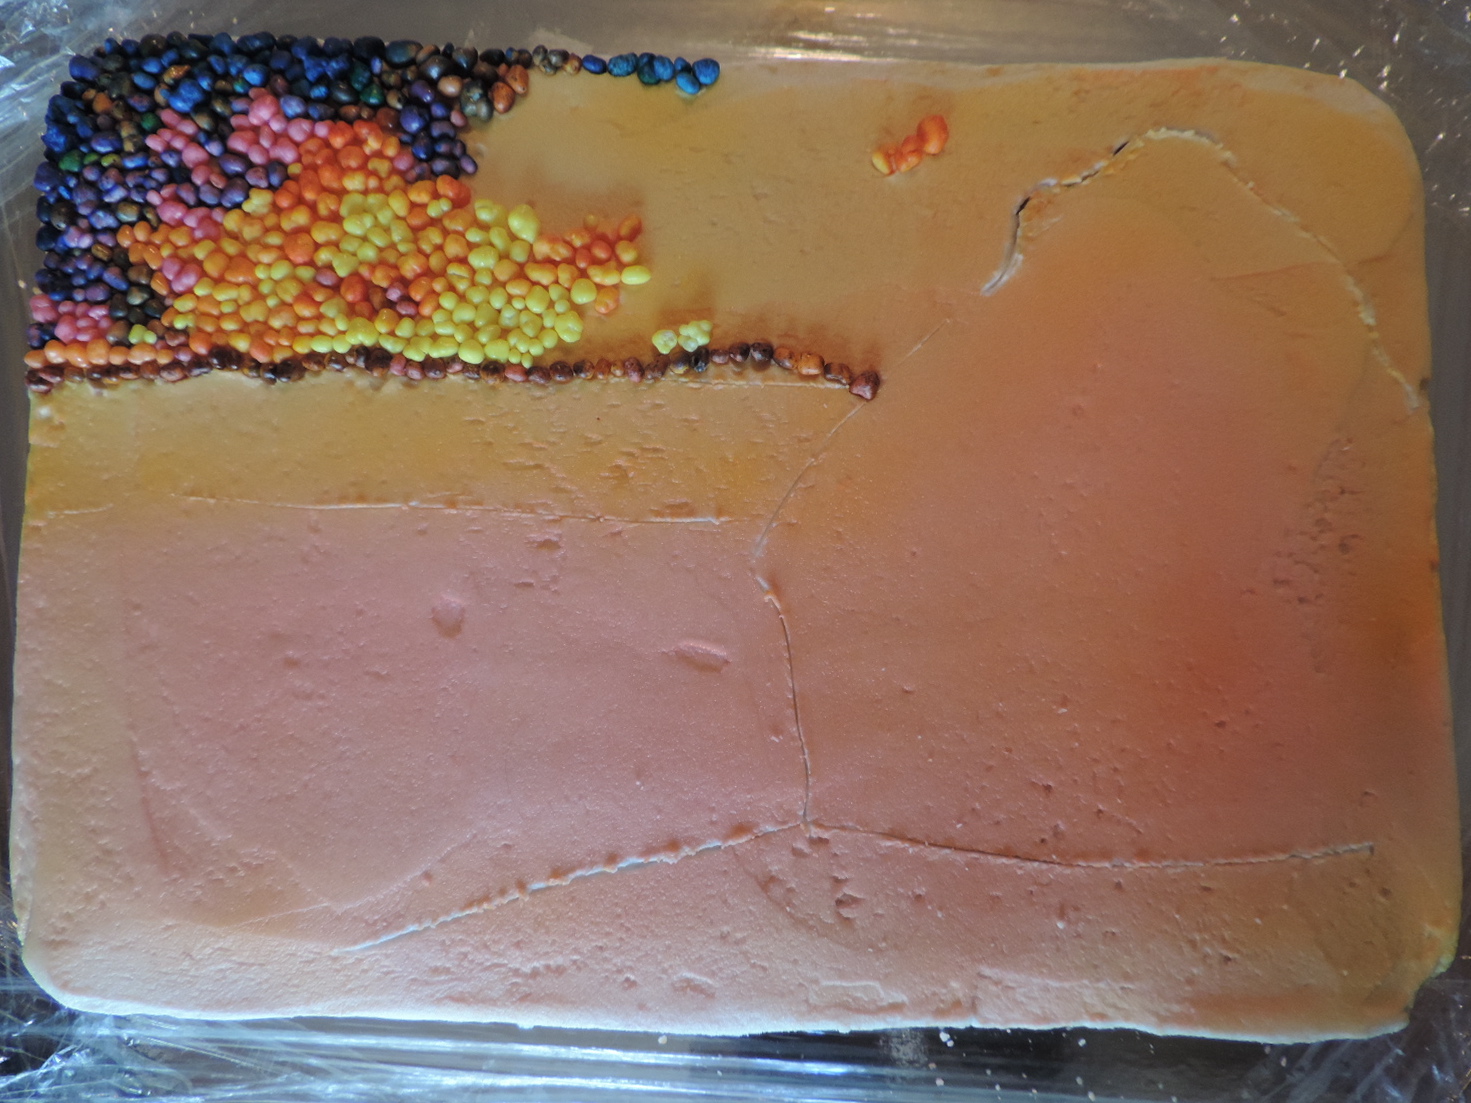
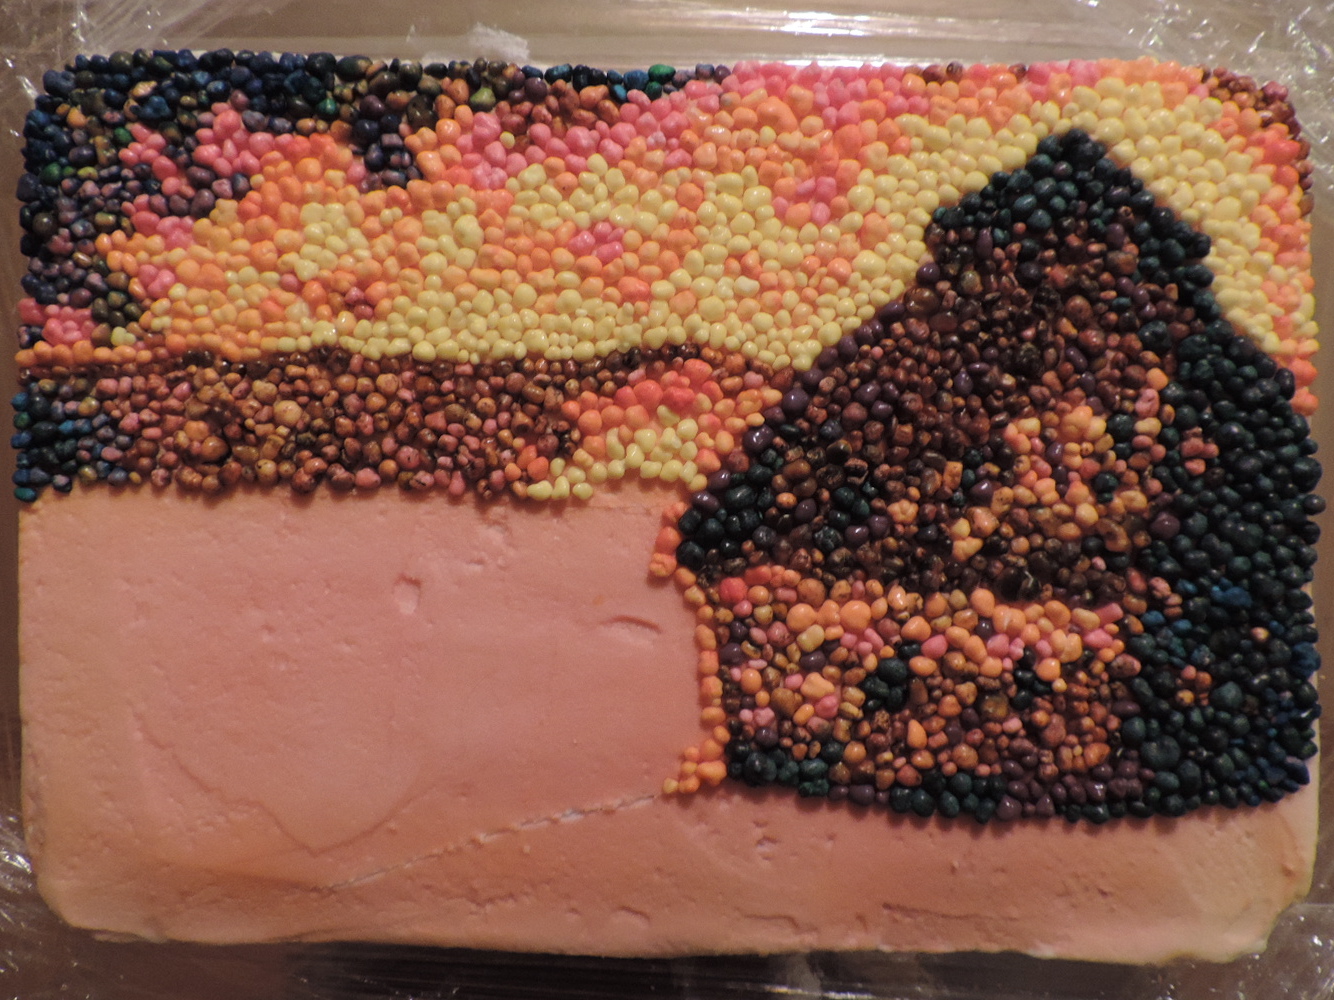
* STEP 5: Cover cake with frosting and then airbrush it in a color similar to the lightest color on your cake.


 Missed the other pieces in my “Famous Works of Art” series? Check them out here:


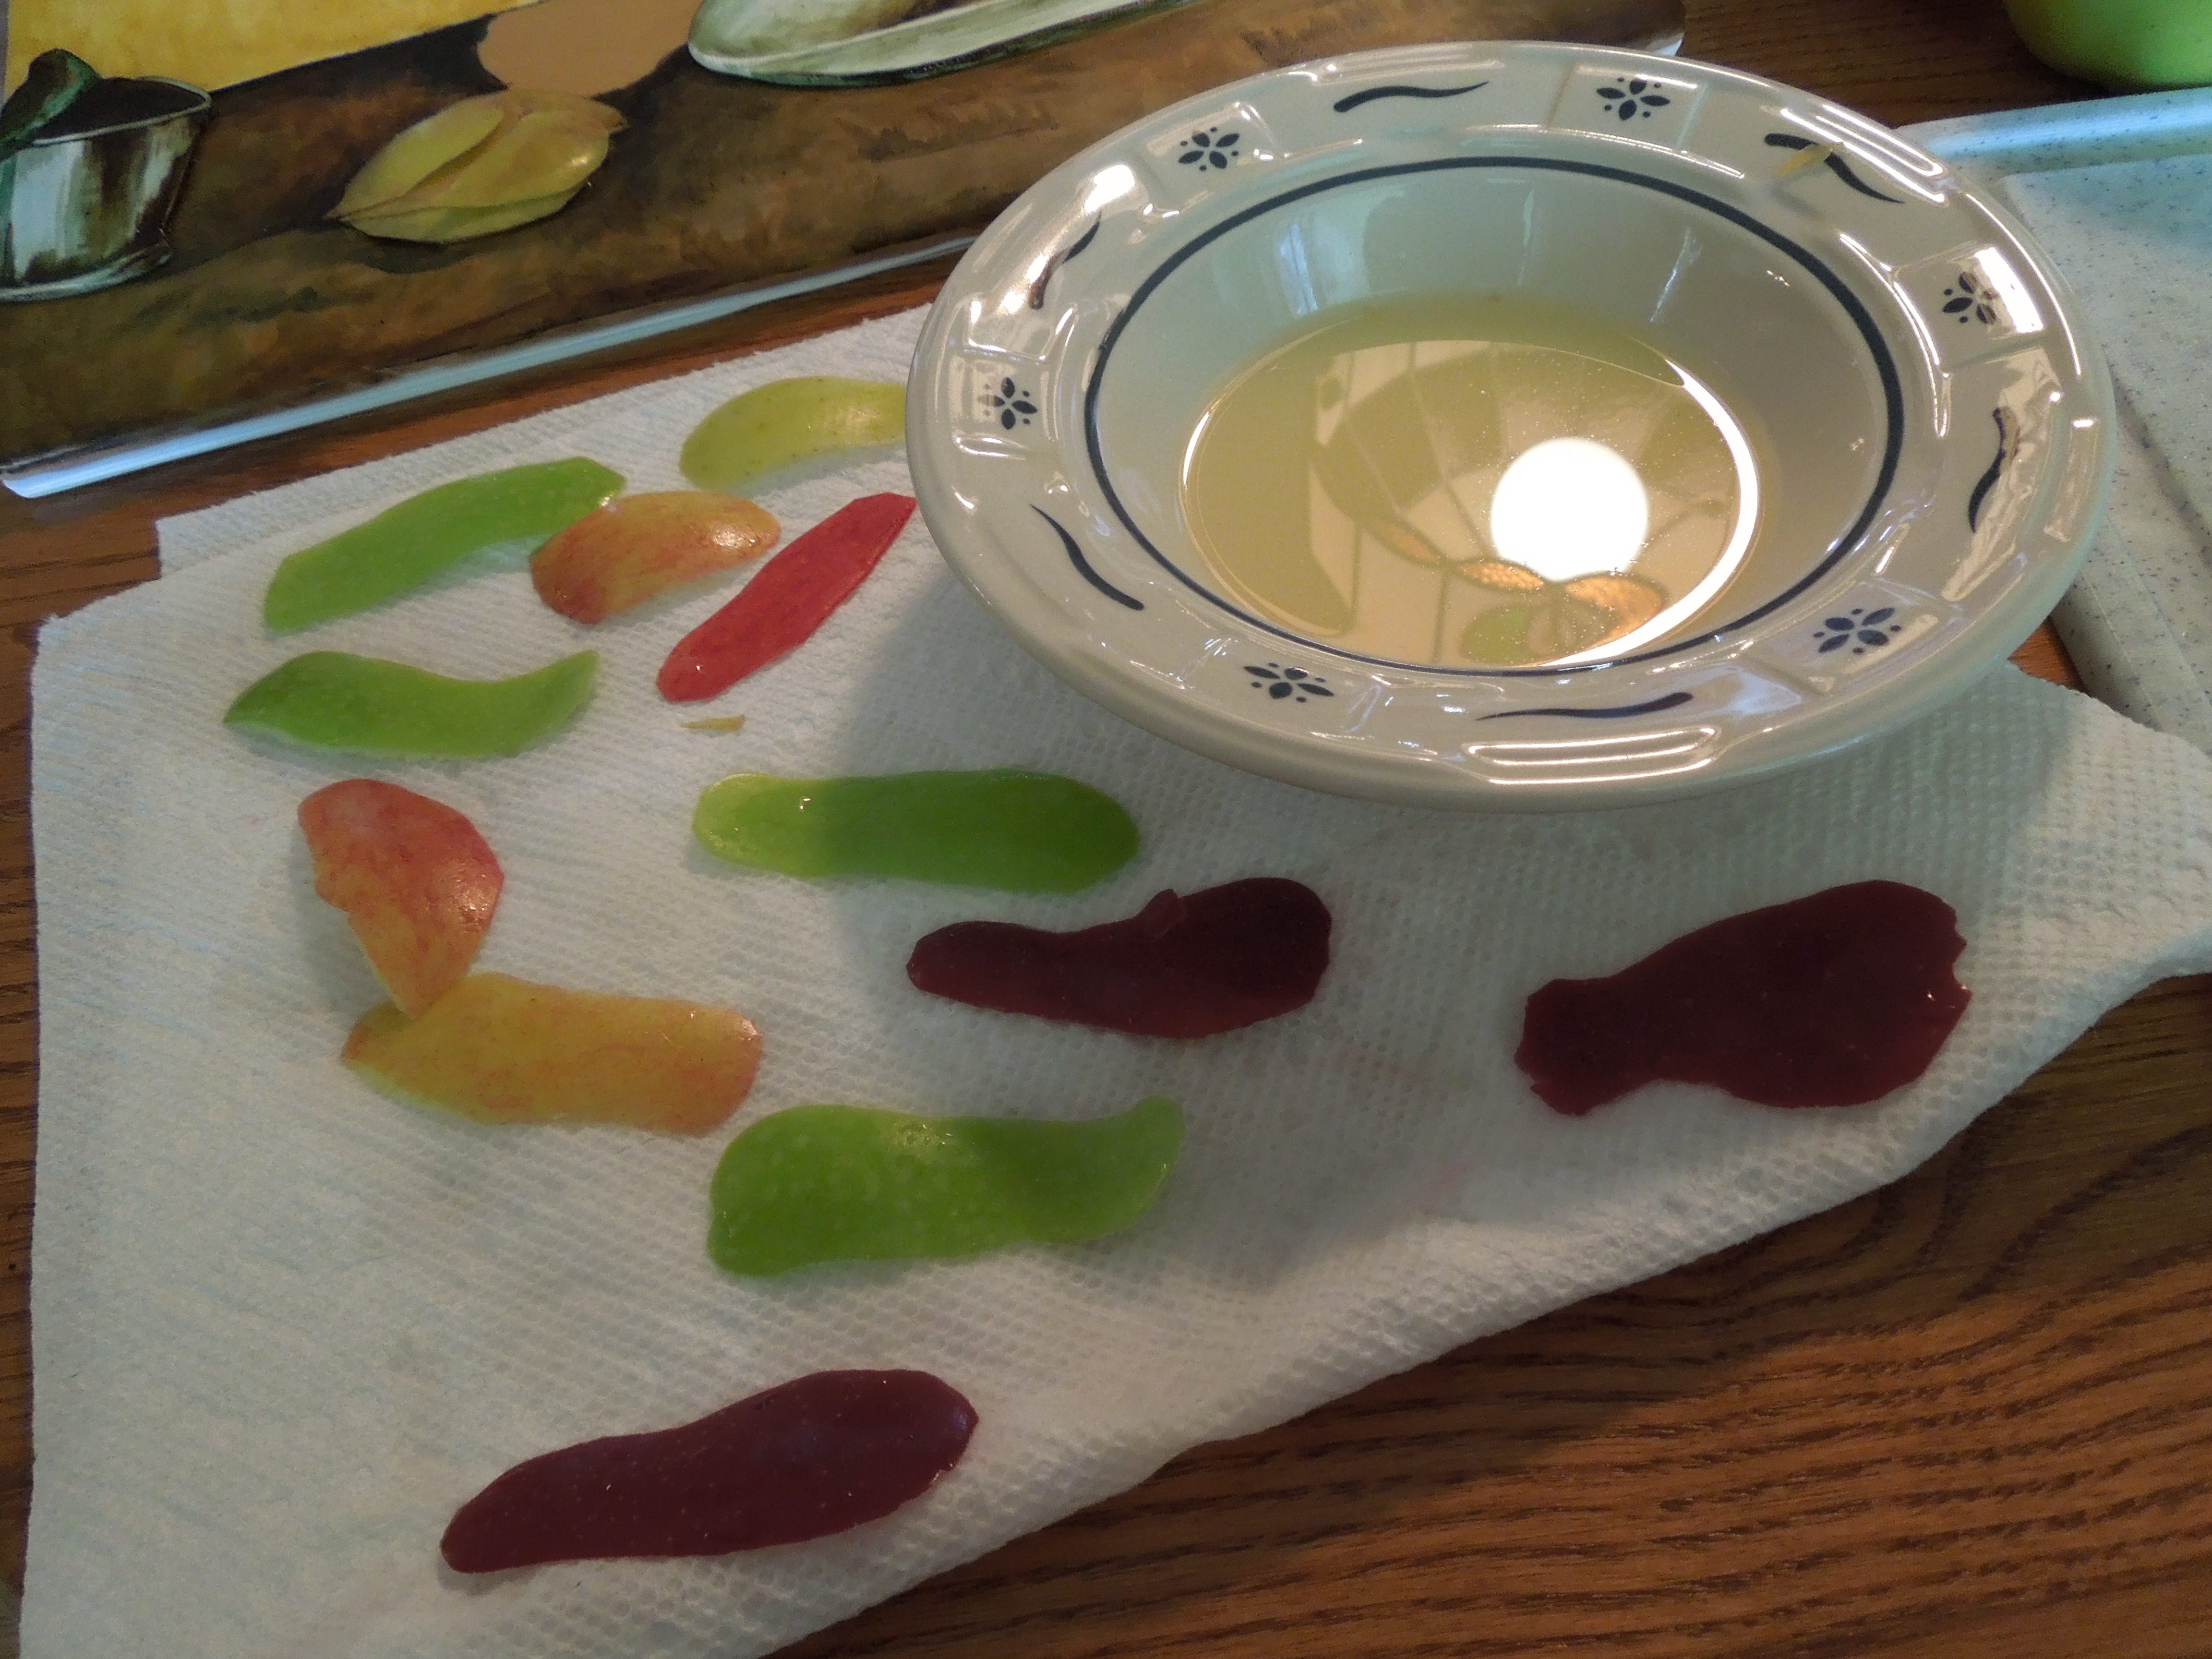
 Once the apples were layered, it was time to photograph! If you step back and squint hard enough, the apple peelings come together enough to look like the apples in the painting! 🙂

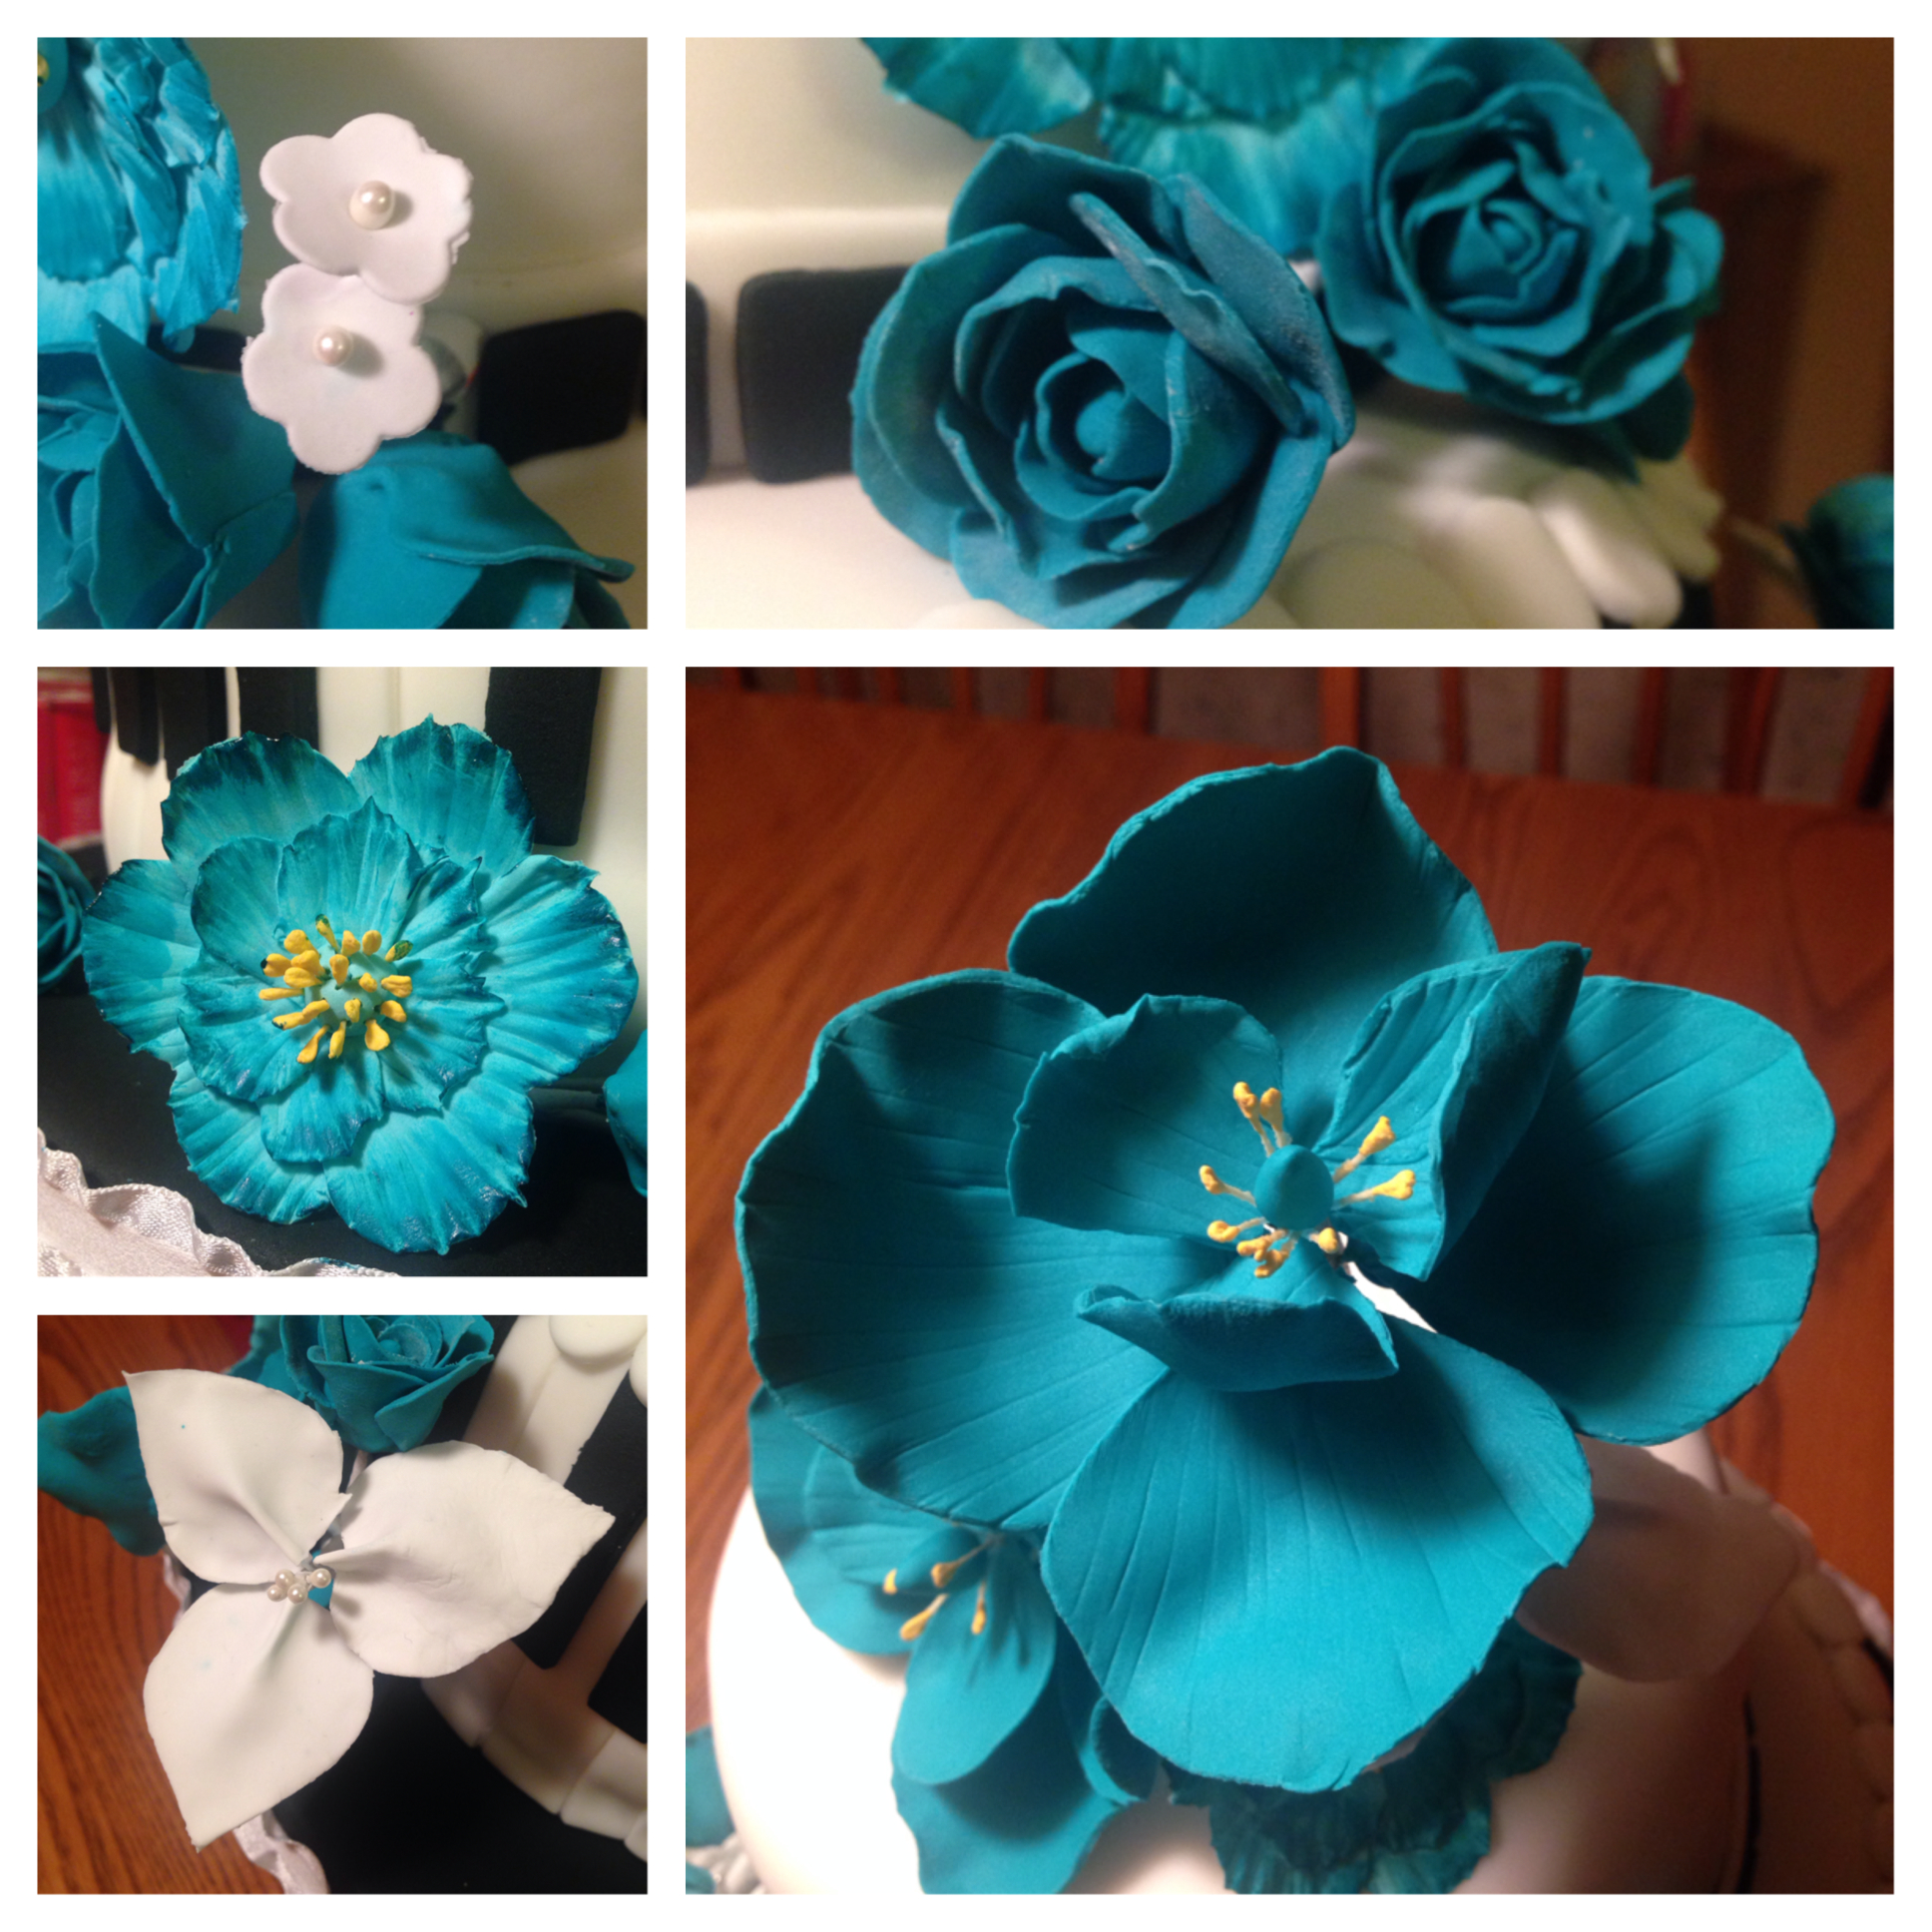
 About a year ago, I came across a gorgeous terrarium that just happened to be the exact size of a round cake. “I must have this,” I said resolutely, “and shall someday fill it with something important.” A few months later, when my sister’s tropical bridal shower was announced, the wheels clicked into place. “Fish! I shall fill it with exotic and beautiful fish of every color, and put a cake on top of it!”


