A silence fell over the kitchen as I set the cake down on the counter. The candle, so unceremoniously shoved last week into her raised chocolate hand, was lit by my mother with a reverence usually reserved for old family photos and high-thread count fabrics. It flickered an eerie greenish glow as we all stared. “Well, we should sing!” someone piped up.
“What, just because there’s a cake with a candle on it, we have to sing?”
“But it’s not a birthday!”
“It’s sort of America’s birthday, I guess…”
A quiet pause. The guests shifted uneasily on their feet.
And then, from the back, in an octave known only to prehistoric reptiles and James Earl Jones, a voice began, “O beautiful, for spacious skies.” My eyes snapped away from the cake and I looked about for the rumbling initiator. Slowly, one by one, more voices added in. Not wanting to appear an ungrateful host, I attempted to join in as well, only to find that my singing voice stops approximately five octaves higher than their chosen range. My gaze drifted from guest to guest, all of whom were intently staring at the green lady and her wimpy torch. And as the final sounds of “From sea to shining seeeeeeeaaaaa” melted away, the Fourth of July guests, tank-top-clad and red-faced from the heat and yet sounding like a Russian Men’s Glee Club, looked expectantly at me for direction.
My dad broke the silence, “Well, that has to be the weirdest thing this family has ever done.”
“We’re being patriotic!”
“Yeah, we’re just celebrating the 4th!” a few people countered.
“No, you’re all staring at a cake. And singing to it,” he pointed out.
Well, as usual, he was right. It WAS weird. But “weird” is why I love my family and friends. I can confidently say that no other family was singing to a green chocolate statue that day. And I can confidently say this is why I love them so dearly!
STEP 1: Make modeling chocolate
Easy recipe! Melt a 12-oz bag of candy melts in the microwave. (Half power, 30 seconds at a time.) Once it’s melted, stir in 1/4 cup of corn syrup. The consistency will immediately change and it’s AWESOME! Wrap the blob in saran wrap and put in the fridge for a few hours. Ta-da!  STEP 2: Create Lady Liberty (a week or so in advance)
This portion took approximately two days of non-stop work. I set myself up with Netflix on the left and the photos of the Statue of Liberty on the right, and I began! My version has a styrofoam cone to begin with, and then I coated it with a layer of green chocolate. I then started at the bottom and added the folds. If you compare it to a real photo of the statue, the folds are pretty close. I didn’t embellish anything! Which reminds me- I’m glad I wasn’t the model for this statue, because she is wearing a LOT of fabric. 🙂
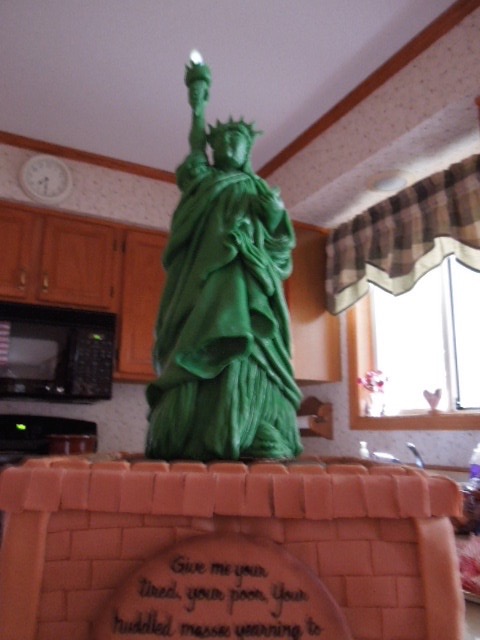
 Here is the final version, front and back:
 Here are some up-close detail pics:
 STEP 3: Make the cake
Ugh that CAKE! The thought of it raises my blood pressure! Making the colored layers was easy enough- but stacking thirteen layers was literally a recipe for disaster. More on that in a moment… Here is what the inside eventually looked like!  STEP 4: Add the details
Once the cake was covered in its base layer of fondant, I cut fondant bricks and began to lay them on. I could have used a brick imprint mat (a piece of plastic you press into the fondant) but I think this looked better. Then I covered a small cake board in brown fondant, and using a very tiny paintbrush and food coloring, painted on the quote of Emma Lazarus’ that is inside at the base of the actual statue. I just love this quote. Having also worked in genealogy, and having found the names, dates, and photos of the ships in which my ancestors arrived from Ireland, Sweden, Norway, and Hungary- I’m just happy to know that they were coming to a country that welcomed them.
 As you can see, I didn’t have a plan or anything drawn out. I was really really hoping that the words would all fit on this circle. Luckily, they fit just perfectly. WHEW!
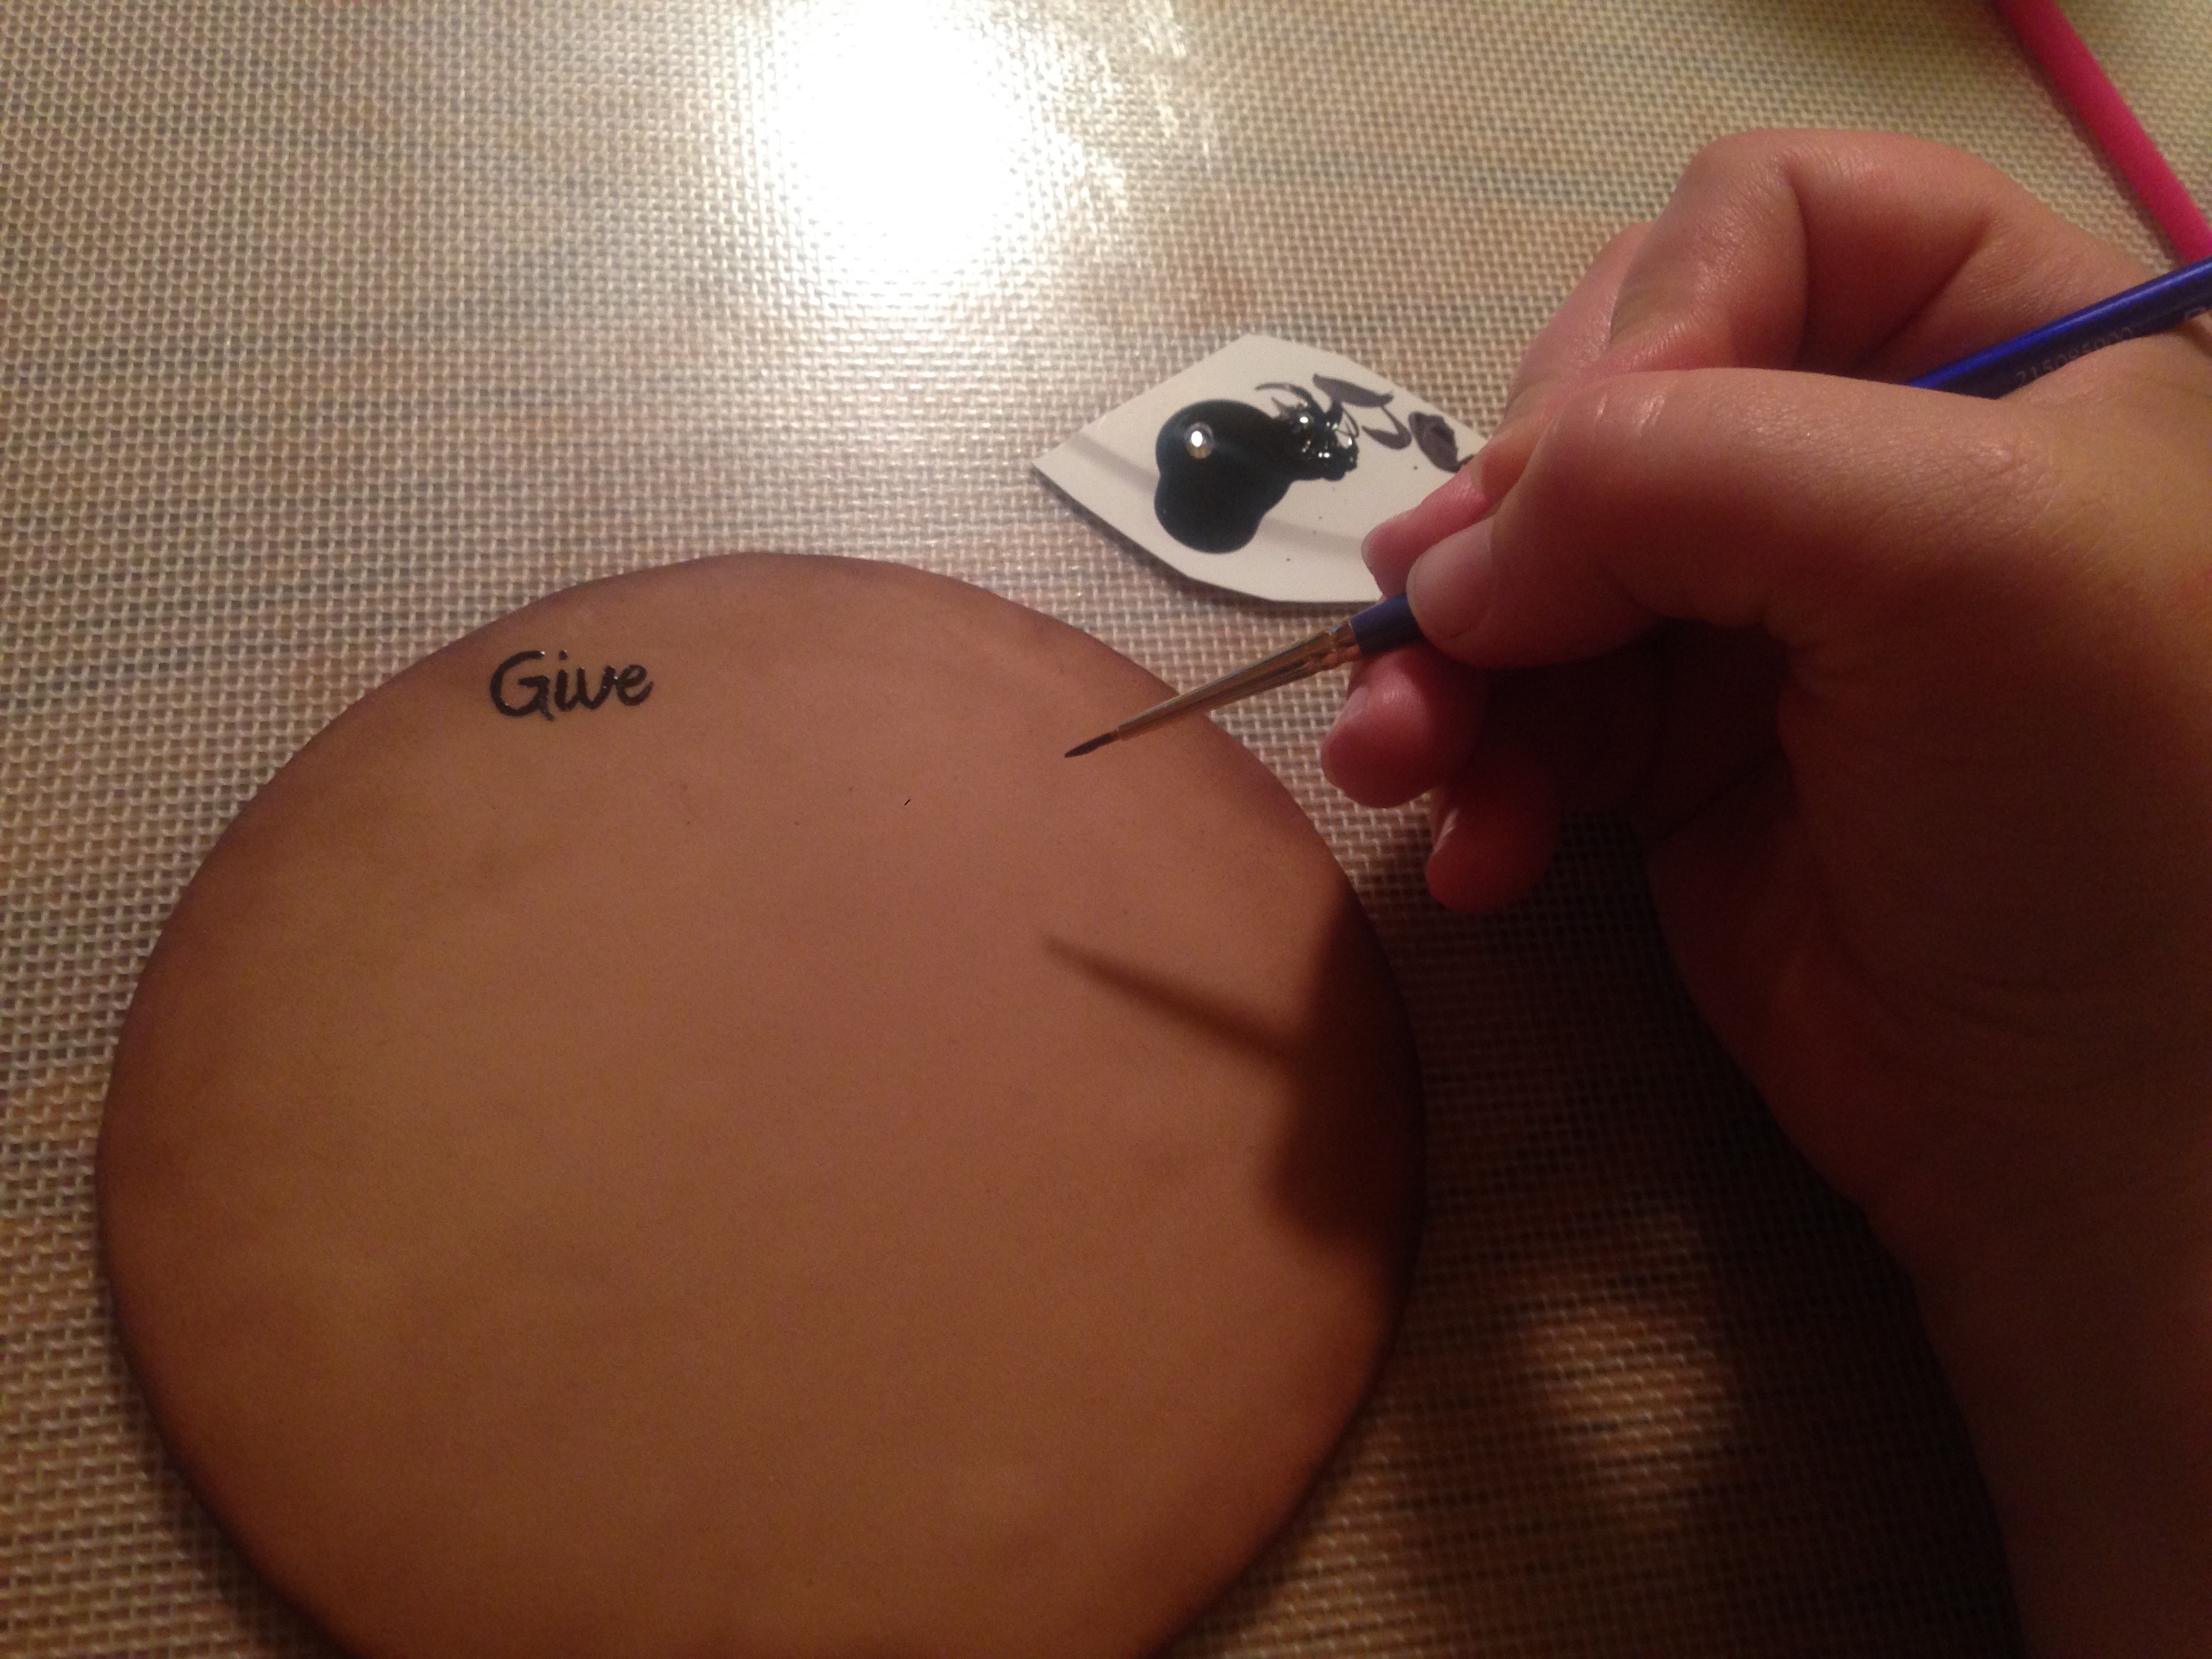 STEP 5: FIX THE CAKE BECAUSE IT IS FALLLLLLING
Ok. So I covered the cake in fondant on Friday afternoon, went to dinner, and when I returned, everything was fine. As I sat there that night, gluing bricks to the sides, I noticed a tiny crack at the top. Bit by bit, the crack grew, until suddenly it was a gaping hole!!! It turns out that the blue cake section and the striped cake section next to it would NOT stay together. They were coming apart faster than a Hollywood marriage. I grabbed boxes and put them flush against the sides of the cake, squeezing it back together, until I could work out a solution.
And by “I,” I mean my mom. She is my cake engineer. She texted me a brilliant idea: “Why don’t we sew it?” Ladies and gents, this is actually true. This cake was literally sewn together. Here is a small sketch:
Once the string was pulled taut, the foamboard pieces held the cake together. It really worked. My mom, a quilter of much renown, sewed a cake. Here she is “un”-sewing it so we could eat it: